Some might argue that the gravy is the most important thing on the table, because somehow it ends up on everything on your plate. The simple steps in this tutorial will show you just how easy it is to make amazing homemade gravy from simple ingredients!
Step 1: Make a Roux
Basic gravy starts with a roux, which is a mixture of cooked butter and flour that will naturally thicken liquid. There’s a reason we’re not just tossing cornstarch in here- a butter and flour based roux provides one of the main flavor components. I recommend real butter here if you don’t have any dietary exceptions that prevent that. You could also use turkey fat here, but I prefer the flavor of the butter. If you’re making any sort of bacon-wrapped meat, bacon grease works beautifully as a gravy starter as well.
Melt 4 tablespoons butter in a sauce pan and add 4 tablespoons all purpose flour. Use a whisk to combine it into a smooth mixture.
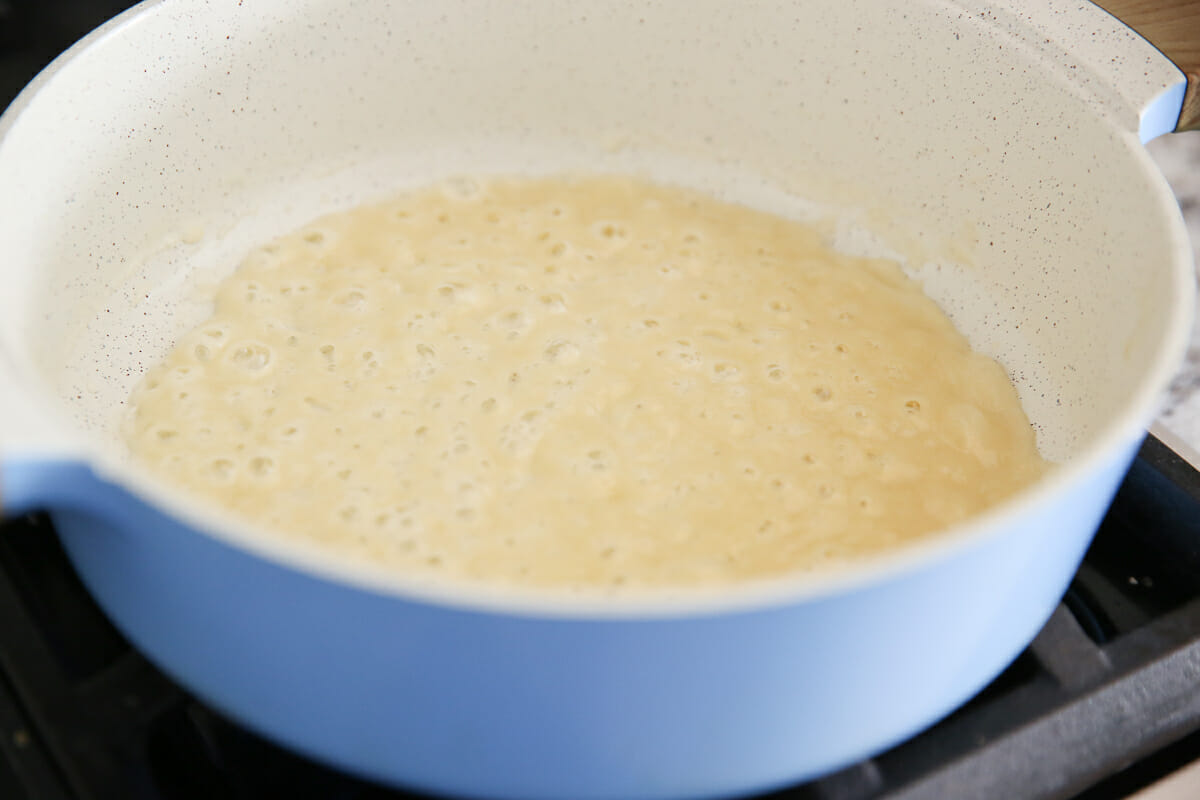
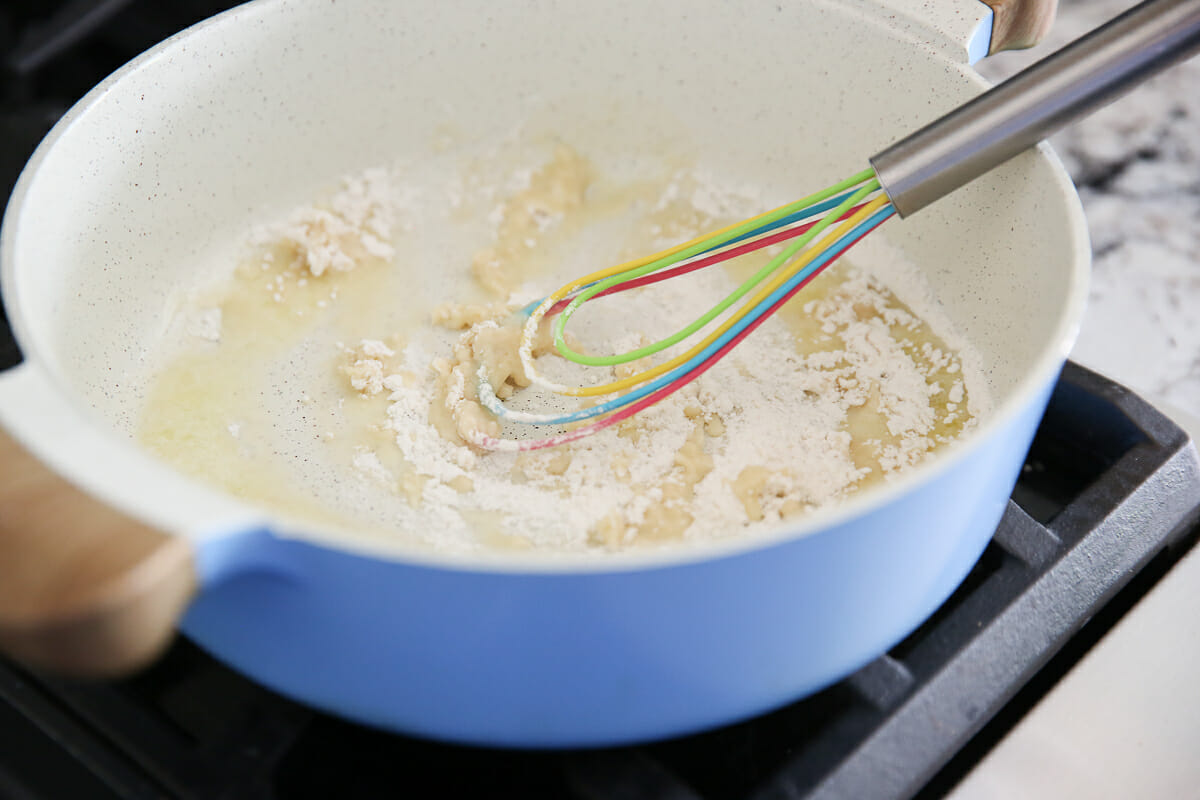 Stir/whisk it constantly as it bubbles. Here’s something to know about a roux: it should basically match the color of your finished product. So if you were making a white sauce, you could cook it for a couple of minutes until it looked creamy pale, like this:
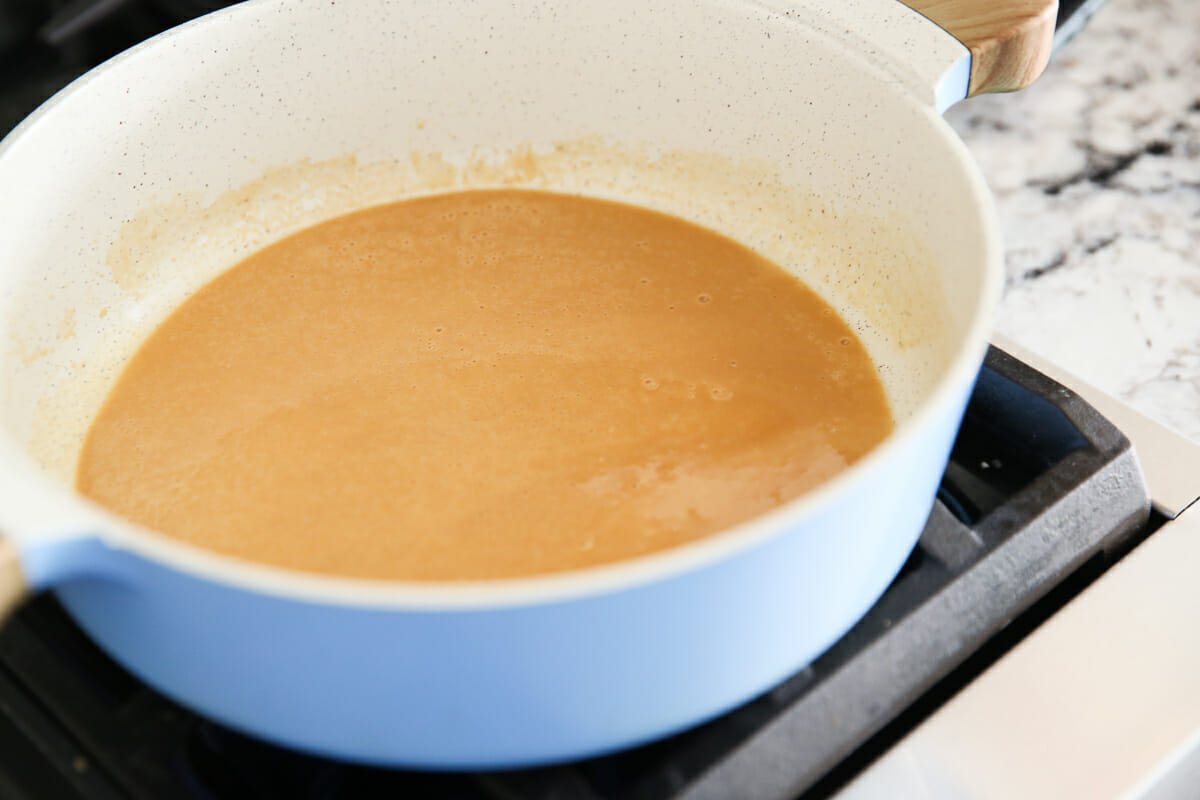
Cook until deep caramel in color. But for beef or poultry gravy, you want to cook it longer, being careful not to burn it, until it’s a golden caramel color. Basically the color of gravy. It will smell amazing, almost like dessert.
 When your roux reaches that point, it’s time to whisk in your liquids. Here are some choices when it comes to liquids to use in gravy:
PAN DRIPPINGS
The pan drippings from your meat (turkey, roast, chicken, etc.) That’s where that fat separator comes in handy. I always taste my pan juices before adding them to the gravy. Depending on how you cooked your meat, the drippings may be incredibly salty. If that’s the case, take note, and maybe use a higher ratio of broth. If your finished gravy is too salty, there’s some trouble shooting tips at the end of this post. Sometimes you’ll have tons of pan drippings, other times close to none. Generally speaking, I make my gravy with broth, as explained below, and then at the very end I whisk in some pan drippings for extra flavor.
Broth/Stock
If you’re making poultry, use chicken stock, if you’re making beef gravy, use beef stock. There is always the homemade vs store-bought debate. Yes, homemade broth is delicious, but your gravy will still be delicious with store-bought broth. If you’d like to make your own broth, check out this tutorial. You could do that same thing, but instead of using a rotisserie chicken, roast some turkey wings with a diced carrots, onion, and celery and then use that to create a turkey broth. Honestly, I just use a good low-sodium store-bought broth and it works great.
When your butter/flour mixture is ready, start adding your liquid a very small amount at at a time and stir constantly. Don’t be scared when the mixture seizes; that’s natural. It will get very clumpy at first, which is why it’s important that you just keep whisking constantly. It’s also important that you only add a small amount of liquid at a time and don’t add more until you’ve whisked it in smooth. If you dump in all your liquid at once, it will most certainly be lumpy!
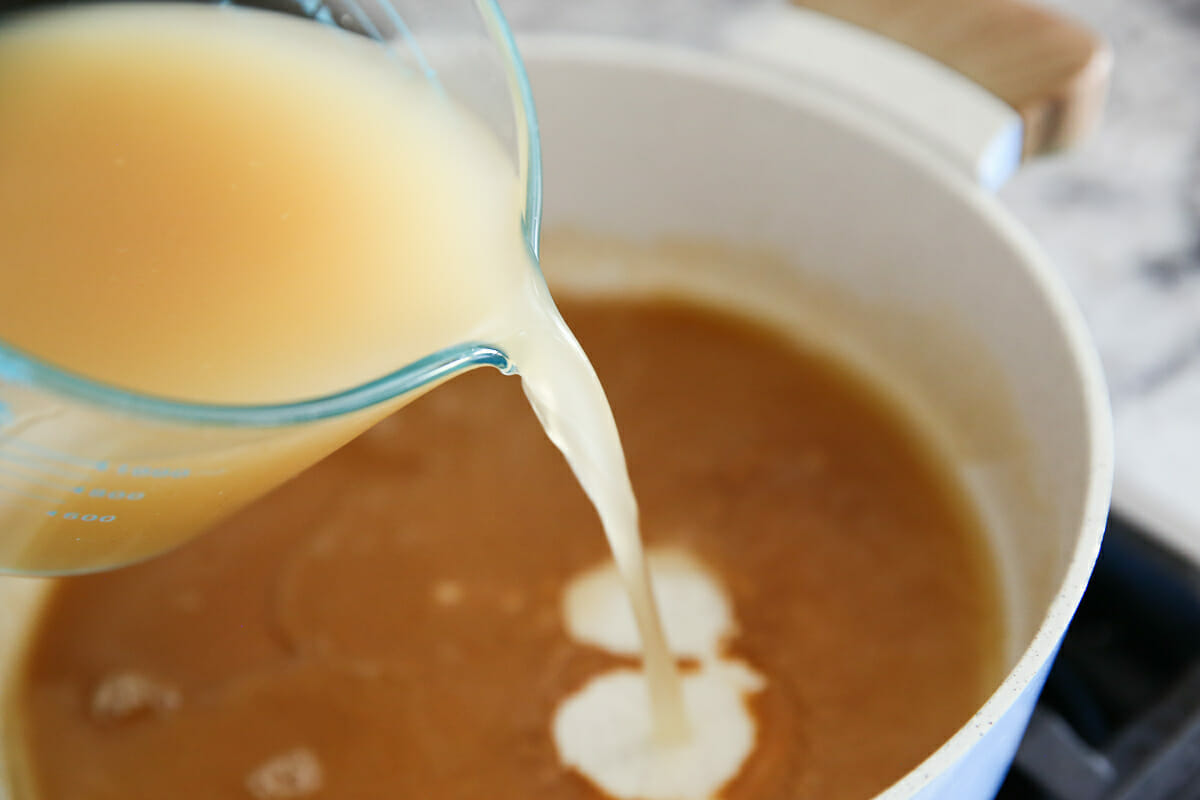
Avoid Lumps.
No one wants lumpy gravy. It shouldn’t be hard at all to whisk this smooth, but if for whatever reason, you’re having trouble here, and your gravy is full of clumps you can’t seem to get rid of- toss that stuff in the blender. Seriously. Be careful if it’s hot- and remove the stopper from the lid and cover it with a towel, but take the time to save your gravy from lumps.
Simmer Gravy to thicken.
Bring the gravy to a simmer and let it bubble away to thicken for about 5 minutes (this is a great time to drop in some fresh herbs if you’d like to). This is your basic recipe. From here, you can customize it. It’s nearly impossible to follow and exact recipe for gravy because everyone’s pan drippings will taste different. So from here, definitely season with salt and pepper first, if needed. Then taste it and see what it needs. I always, always add a splash of Worcestershire sauce. I like a little bit of acidity to balance out the flavors, a splash of red or white wine vinegar also works great. If you’re serving it with smoked meat, try a splash of liquid smoke in there. You can add chopped fresh herbs, and any other seasonings you like.
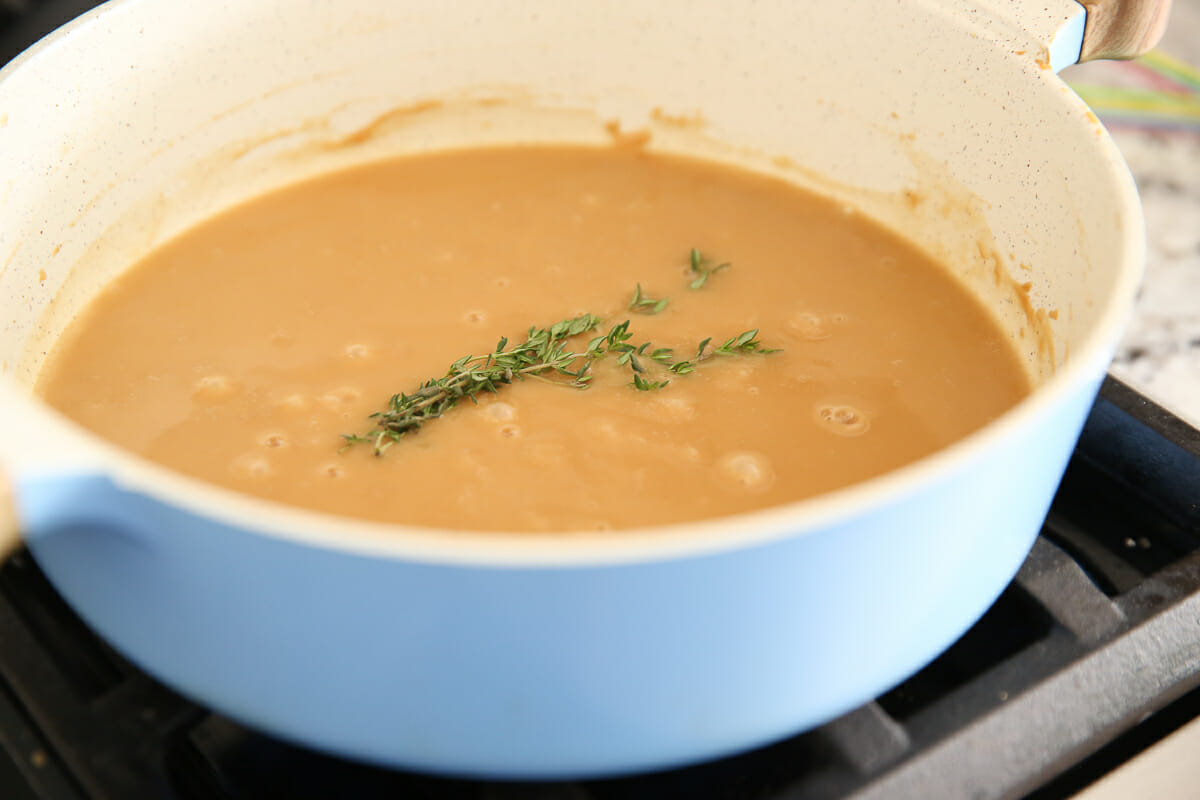 Get the right consistency.
Everyone seems to have a desired consistency when it comes to gravy, too. If your gravy is too thin, you can thicken it with a little cornstarch slurry. (We don’t want to start with corn starch as our thickener, but it works great at the end to adjust). Too thick? Add more broth. Too salty (especially if you have extra salty pan drippings)? Try a squeeze of lemon juice or even a spoonful of sour cream. The sky is the limit; if you’ve got working taste buds, you can take it from here!
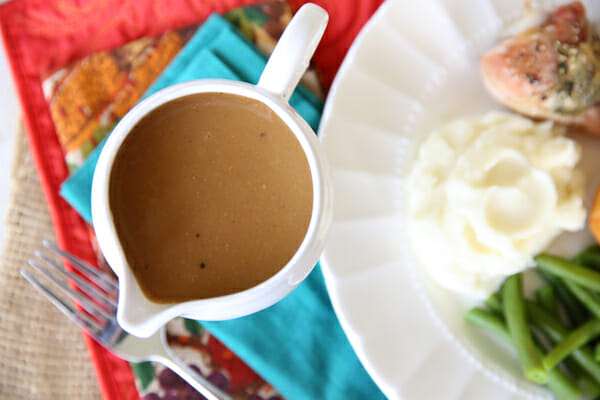
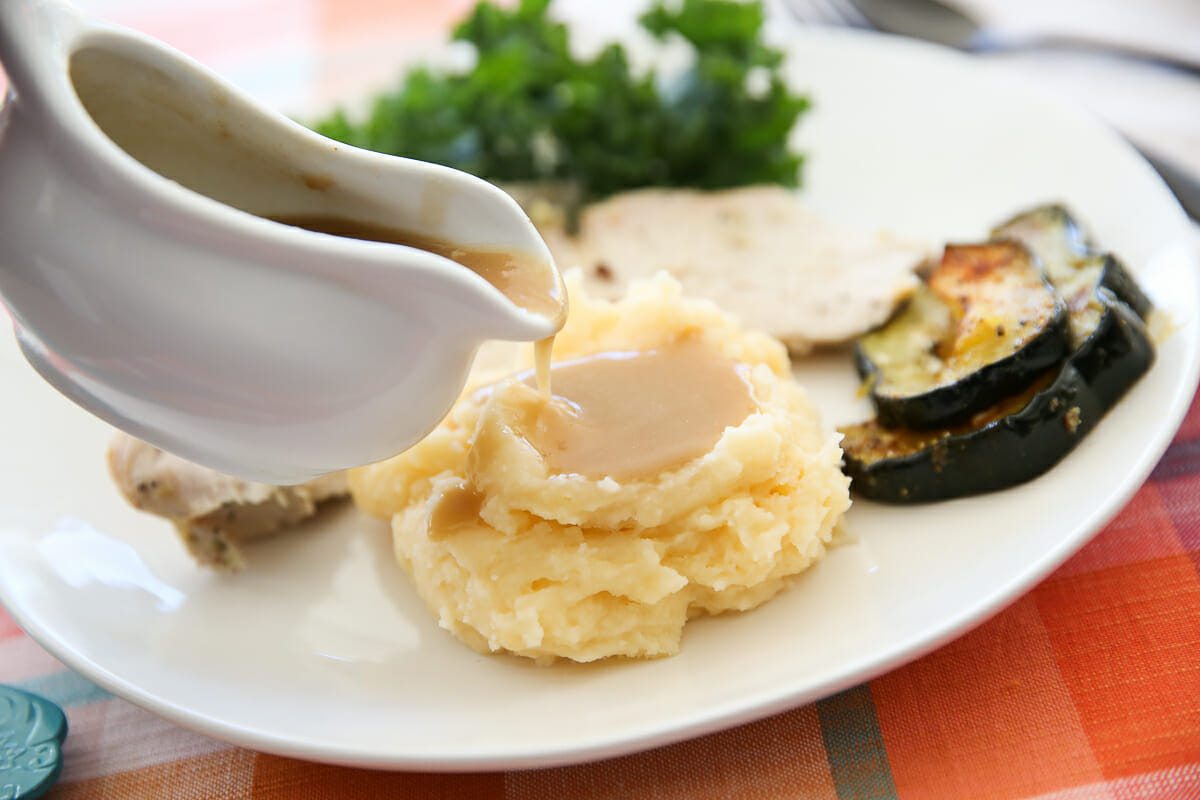
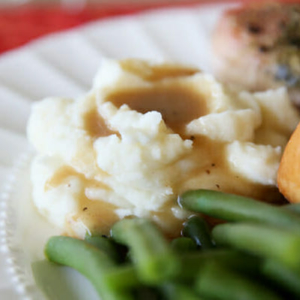
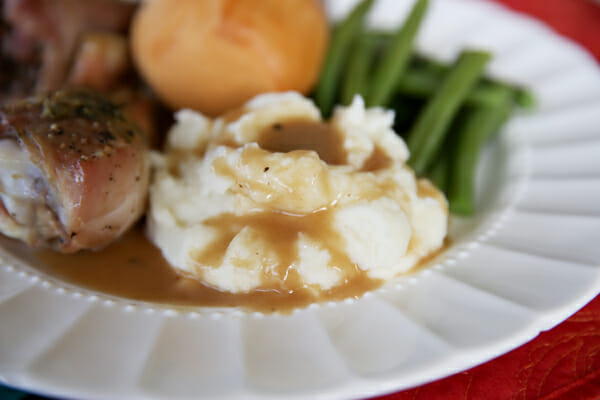
There is nothing like rich, buttery gravy over a creamy bed of potatoes.
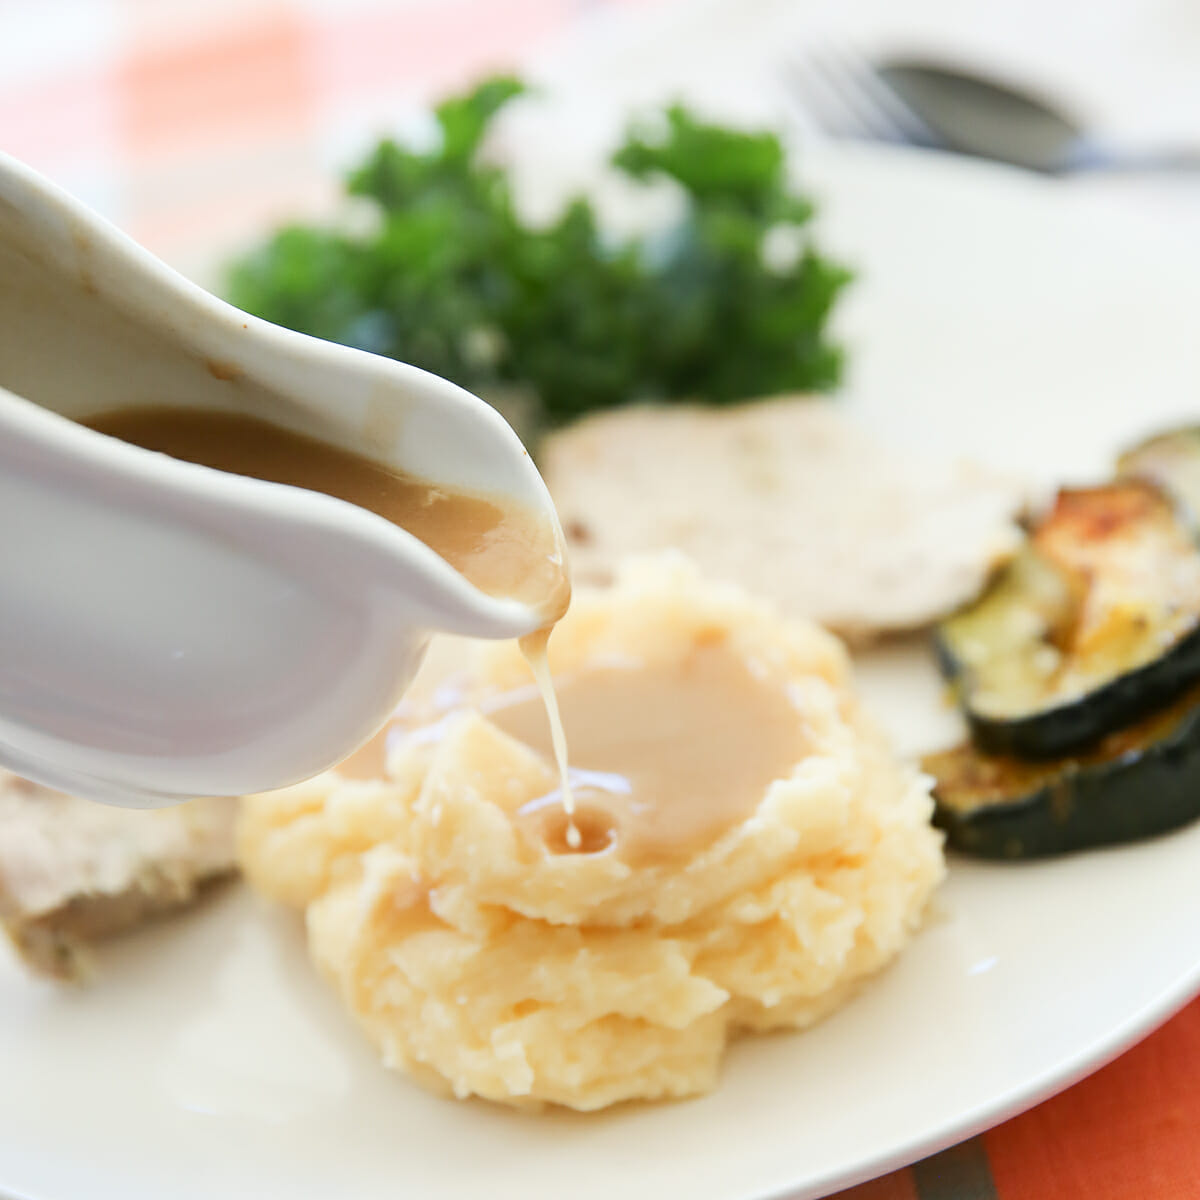
And possibly my favorite thing is when everything on your plate ends up covered in it. It somehow totally works. If you need to make gravy for a crowd, guess what? It freezes great!
How to Make Stock and Freeze Gravy
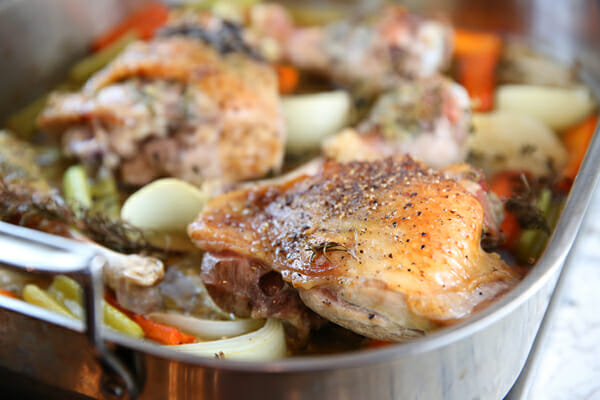
What I did, just so I had a little extra for Thanksgiving day, is make a batch this week and pop it in the freezer. No one wants to roast a whole turkey for that purpose, but try taking some turkey drumbsticks, thighs, or breasts. Keep in mind you get the most juice with the dark meat of the thighs and drumsticks. Place them in a pan with 2 carrots and 3 ribs celery (both cut into about 3″ pieces) and 1-2 onions cut into wedges.
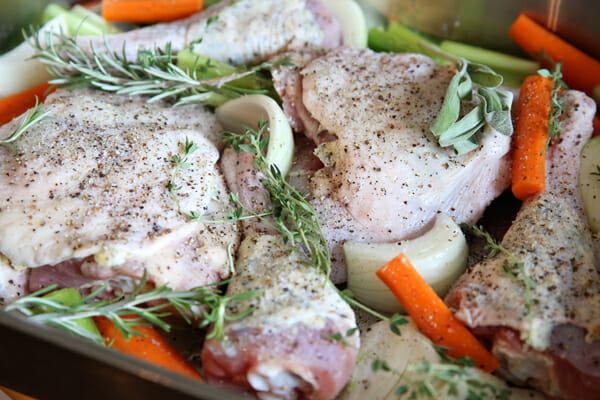 Drizzle all of that with a few tablespoons of olive oil and then season it all with salt and pepper and some fresh herbs like rosemary, thyme, and sage. Cover the pan and roast at 350 until the meat registers 165, removing the lid about halfway through. You’ll get a turkey dinner one night, and juices for a batch of gravy for the freezer!
Another helpful tool: Fat Separator
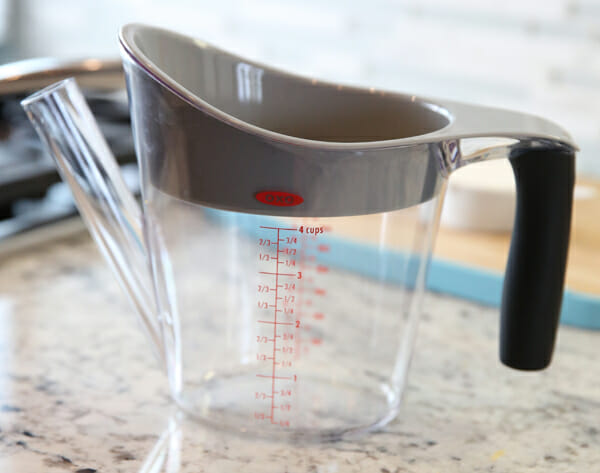
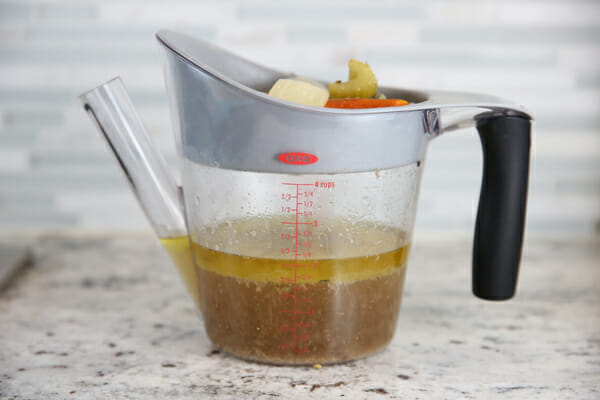
If I were Oprah-rich, I would buy one of these fat separators for each and every one of you right this second. This is one of my most favorite kitchen gadgets. They’re not very expensive, and I love OXO’s because it’s made from sturdy plastic (as opposed to breakable glass, like some of the competitors.) This isn’t an ad, I just really recommend these. Are you wondering what exactly it’s for? When you cook meat, like a big roast, or a turkey, for example, you’re left with a pan full of delicious juices, mixed with a layer of greasy (yet delicious) fat. You need to get rid of that fat in order to get to the juices (a main ingredient in gravy). You can skim it off, but this makes it so much easier.
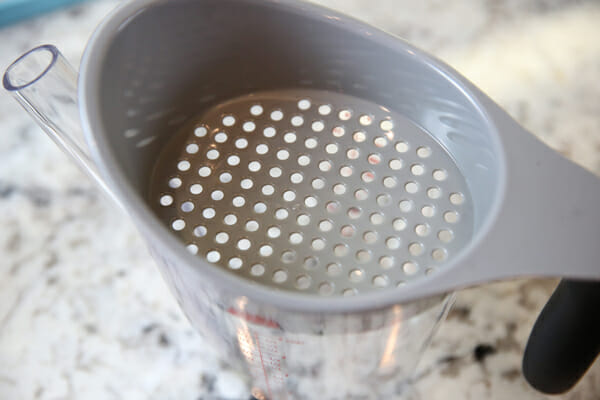
There’s a large hole strainer on top to strain out any big chunks. All you do is pour all of the juices and fat in there together. Just quickly empty out that pan.
Fat will naturally rise to the top as it settles. If you do this with a normal measuring glass, when you start to pour, you’re pouring the fat. Notice on the fat separator, the spout connects at the bottom, so you just pour out the flavorful juices and can easily stop when you get to the fat. I seriously use this thing all the time, and you might want to pick one up before Thanksgiving- it will come in handy!
How To: Make Homemade Gravy
- Total Time: 20
- Yield: 2-4 cups gravy
Description
How to make perfect gravy every time!
Ingredients
4 tablespoons real butter
4 tablespoons flour
2 –3 cups liquid: combination of pan drippings and broth; see note below
Salt and pepper to taste
Additional flavor agents: fresh herbs, seasonings, vinegar, Worcestershire, etc.
Instructions
Melt butter in a medium-sized sauce pan. Add flour and whisk constantly until mixture is golden caramel color and smells fragrant (3-5 minutes). Slowly whisk in liquids, while whisking, until mixture is smooth. Bring to a simmer and cook until thickened and bubbly, 5 minutes or longer.
Taste, and then season with salt and pepper to taste, and add any other flavorings like fresh herbs, or vinegar. A small splash of Worcestershire is recommended (1-2 teaspoons should do it).
see troubleshooting tips below
Notes
Notes on Liquid:
Technically, with the proportions of roux here, this can thicken 4 cups of liquid. That’s a little too thin for me, and I like the flavor of the roux more concentrated, so I keep my liquid to 2-3 cups. You can always thicken more after if necessary.
troubleshooting
Too thin? Combine 1 tablespoon cornstarch with 1 tablespoon cold water. Mix until smooth and add to simmering gravy. Let simmer a few minutes to thicken, and repeat if necessary until desired consistency is reached.
Too thick? Add more broth.
Too salty? Try a splash of cream, lemon juice, or even sour cream. You can also make more roux, and use only broth in the second batch to dilute.
- Prep Time: 5
- Cook Time: 15 minutes
- Category: Condiments
- Method: Stove Top
- Cuisine: Comfort Food


Questions & Reviews
What??? That’s awesome!! I’m so dang excited to find out more about that bottle. I don’t really love gravy, but this makes me want to try it, lol.
Every time I look at this post, I want Thanksgiving to come faster!! This looks SOOO GOOD!!!
This was a really helpful tutorial. I love the idea of making the gravy waaay ahead of time and freezing it for the big day. Huge congrats on your new line of products! Can’t wait to hear more!
Do you have any suggestions for gluten free gravy? I am in charge of the turkey, mashed potatoes, and gravy this year and my sister in law is gluten intolerant. What do I do?
I don’t really know Lyndsay, but I’ll ask around and see if I can find an answer for ya!
Great tutorial! I love Oxo products and will pick this one up for sure! If the gravy isn’t thick enough, or you thin it too much, can you just make a little extra roux and add that as opposed to cornstarch? Thanks so much! I’m adding your blog to my sidebar!
Cheers!
Yep, you can definitely add more roux.
Thank you so much for the step by step directions for the gravy. I need that 😉 Could you give me an approximate time for cooking the turkey thighs, legs and breasts. You said 165 degrees but when would I start checking. I’m cooking challenged so I will give both these recipes to the hubster! Thanks!
Yea! I’ve been wondering how the olive oil thing was going and have just kept forgetting to ask you. That’s so exciting! And of course, the gravy looks delicious as well. 🙂
It is super cool that Our Best Bites is offering yummy additions to my pantry 🙂 I am definitely looking forward to shopping in your online store 🙂 Are you going to offer Kate’s homemade vanilla too? I would totally buy that 🙂 Also, although Kate “talked” me into buying an entire set of the USA baking pans, if you come out with some I will give my sister my current pans and buy yours anyway, if they compare to those pans (which totally and completely ROCK!! 🙂
Anyway, thank you for the gravy tutorial. Gravy has never been a strong point of mine ~ I’m going to roast some turkey thighs per your suggestion and make it ahead of time and freeze it.
Love to see good things come your way, keep up the good work!
To avoid lumps in the gravy or any sauce, take the pan off the heat while adding flour to butter. This allows you to get the roux nice and smooth, without worrying about burning it. Once smooth place back on heat!!
I must admit using the butter sounds good but I can’t throw out the turkey fat with all that flavour (I disowned a son for doing that one Christmas), so I’ll compromise and use both .. 🙂 There is never enough fat usually anyway for the amount of gravy I want to get. Thanks for the tip.
Wow!!! So helpful. Love Our Best Bites!!
SO I have been making good gravy for many years, but I will be giving this a try on Thanksgiving, or before if I do a roast or something. Looks Delish!
Hi Sara,
Do you have any suggestions for making a rich gravy without flour? Jessica is allergic to wheat and needless to say, I have to get creative. I have used cornstarch, but, yep, it’s not the same. Thanks!
PS – your hint looks like an awesome thing for you and Kate!
Heike- a lot of people have asked this. I’m not sure, but i’m going to ask round and find out!
Thank you! I am loving all these tutorials! Since we have unexpected company coming I will now be better prepared! Great tips on the gravy! I’ve always been okay at making gravy, now I will be even better! A Master Gravy Maker! Ha!
And kudos for the new product line! That is awesome!
So excited for your new line of oils and whatever else is coming. . . so happy for you and so excited to try them. Gravy took me a few years to figure out, but I make mine the same way you do and it does totally work. I used to use one of those separators but now I just use a gallon size zip-loc (not environmentally friendly, I know) but once a year it really does the job on a 20 lb. turkey for me.
Wow, you girls have branched out. Blog, demonstrations, cookbooks, and now your own brand of products. Way to go, live the dream!
That is one thing that is never consistent with me and it’s never fabulous. I’m going to try it tonight. Thank you for posting!
Your tutorial is the BEST I’ve ever seen! I have a very hard time making good turkey gravy mainly because I don’t eat the turkey or gravy. I love all the side dishes though! Now with your direction, I think I’ve got this! BTW…I do make other gravies just fine and I lucked on to an OXO separator at Target for about &6! I’m all set for ‘turkey day’ thanks to you!!
Okay, so I really wanted those imaginary do nothing bonus points and so I was combing through the entire post ever so carefully…and then BAM! You really ought to make it harder…especially when the stakes are so high! :0 )
Thank you this tutorial was helpful 🙂
Thanks! This was extremely helpful!
Thank you SO much for taking the time to write this awesome, helpful post! I think I’m a fairly decent and confident cook, but making the gravy always makes me panic a bit – the turkey’s done, it’s “go time” and you have to get it right. Now I know so much more about how to do it! Yay!
HOLY CRAP! Can I just say how excited I am right now? I’m a huge fan of your recipes and calander and cookbooks and now I’m SURE I’ll be a huge fan of your Flavored Olive Oils!
Thanks for this great tutorial on gravy! Can’t wait to try it for Thanksgiving!
Whaaaaaaaat!? An OBB line of bottled goodness?? Can’t wait! And thanks for the gravy tutorial! I’m making the turkey and gravy this year for the first time.
Question: Last year we made your turkey (which was AMAZING because it was our first year hosting and everyone LOVED it), but when we made gravy it was too salty because we had brined the turkey, and I can’t remember what we did to remedy that. If I don’t get around to making it before hand, do you have any suggestions for using the actual turkey drippings that won’t leave you with a salty gravy?– Just more water and less drippings?
Jo, read the part of the post where I add the broth, I talk about this very thing, then there’s also trouble shooting tips in the printable portion of the recipe with ideas to help!
You can also cut a raw potato into big chunks and put it in while you are simmering for 5 minutes, then take it out before you serve it. The potato will suck out some of the salt.
Oops, totally missed that part! Thank you 🙂
Thank you thank you thank you!!!!!!!
HOLY CRAP!!!! that is so freakin’ awesome – YOU GO GIRLS!
Seriously awesome tutorial. Gravy has been one thing I have been tentative about. This really explains it clearly and helps me tremendously. Our thanksgiving dinner thanks you.
I wish you were Oprah-rich too! Thanks for the great tutorial!
Question- because of my daughter’s allergies, we’re staying away from dairy (and nuts. and beef. and carrots. and CORN, which is the really tough one…pretty much it means NO processed foods). It there any difference as far as the structure of the gravy if you just use the turkey fat to make the roux rather than butter?
Yep, totally. I prefer butter because of the flavor it adds, but it’s common to use turkey fat as well so go right ahead!
I have a dairy intolerance a well so I clarify my butter. Google clarify butter, there are tons of tutorials. It will save you if you or someone in your family can’t do dairy!