DIY Paper Snack Bowls {Easy!}

You know what my favorite part is about riding on an airplane?  Oh wait, let me rephrase that:  You know what my favorite part is about riding alone on an airplane??  The magazines.  Any mother knows exactly what I’m talking about because flying with children is a whole different ball game.  Reading a magazine would be quite laughable in that situation.  However over the past few months Kate and I have been traveling a ton, and I had almost forgotten how relaxing it can be to sit on a plane by yourself with nothing to do but dive into silly magazines you wouldn’t otherwise spend money on.  (Because something about being thirty thousand feet in the air makes me suddenly feel the need to know everything there is to know about tween heartthrobs, the cast of the Jersey Shore, and the status of the latest Bachelorette Couple.)  But I also always grab at least one legit magazine in the case that it’s way to awkward to admit I’m looking at the other.  That’s why I buy a copy of Martha Stewart too.  I’m prepared like that.  I was skimming through the June issue of Martha Stewart Living and these cute little bowls caught my eye, mostly because it’s the most simple idea ever and I’m mad I didn’t think of it.  Darn you Martha! These are so cute and I can think of a million different uses!  Check it out.

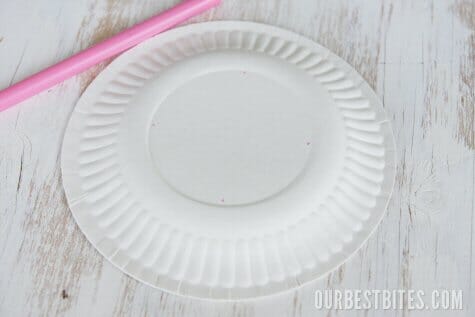
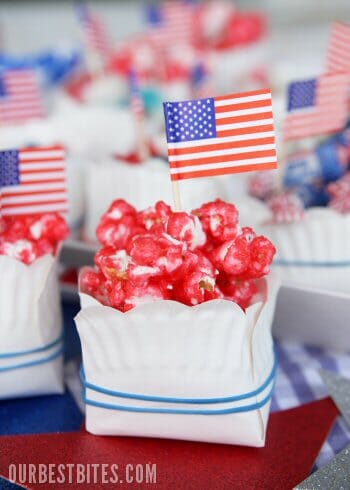
The only things you need here are paper plates (and we’re talking the thin, cheap-o kind), scissors, and rubber bands.  Heck, you probably have all of that around your house as we speak, right?  You can use the regular dinner sized plates, or you can use the mini dessert sized ones.  The smaller plates are perfect for little snacks, they’ll hold about a palm full of stuff.  The large dinner sized plates will hold a couple of palm fulls- they’re great for popcorn!
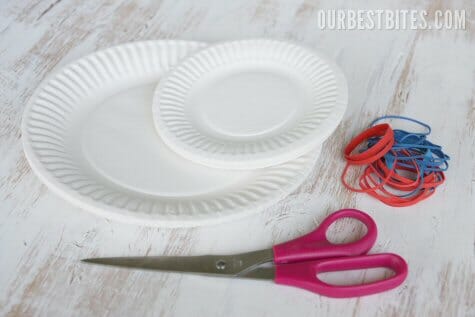
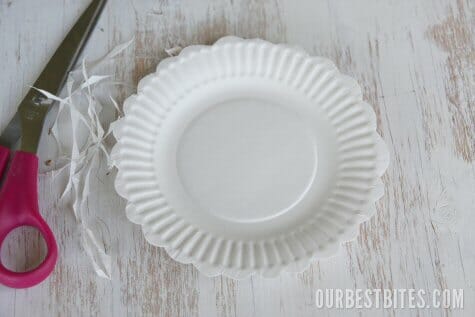
Now Martha uses fancy scallop-edge scissors, but I’m not crafty enough to own such luxuries.  So I used (get this) non-fancy scallop-edged scissors! The plates you are using are so thin (they’re the kind that you have to basically peel apart to get one single plate off) that you can stack several and quickly cut an edge.  And if you want to skip the scallop all together?  Go for it.  Be crazy like that.

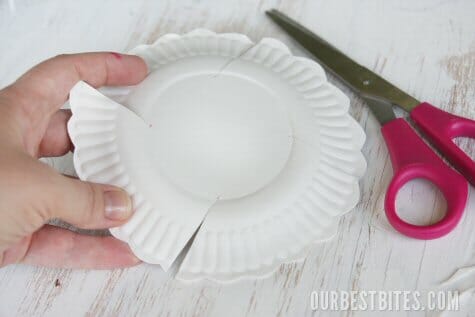
After you cut the quick scalloped edge, flip the plate over.  Now, don’t be scared.  You’re not going to cover it with pink sharpie, I’m just drawing so you can visualize what we’re doing here.  Basically you want a tic-tac-toe shape.  The center square you see will be the bottom square of your little bowl.  So you can make that square large, like the larger square I drew below, or you can draw your tic-tac-toe closer together to end up with the center square I’m showing.  One way will give you a wider shallower bowl, and one will give you a narrower, tall bowl.

You will rotate the plate around and cut every other line, the dotted lines you see above.  Just cut from the outside edge of the plate into that center square.  That’s it!  Draw on a few plates so you get the hang of it, and then you can move into super-advanced-paper-bowl making.  Stack several plates on top of each other and just lightly mark 4 dots instead drawing the actual lines.

When you make your cuts, it looks like this:

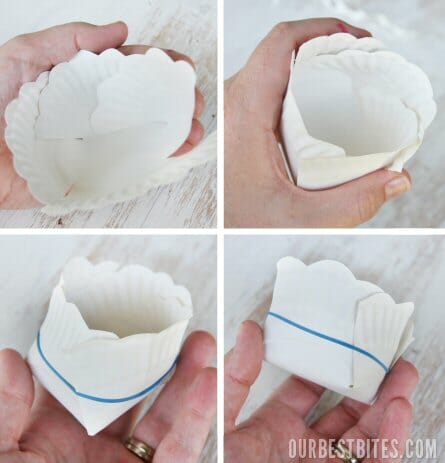
If you stacked several plates before cutting, separate them.  One at a time, fold the layers into one another and you’ll see it forms a little bowl.

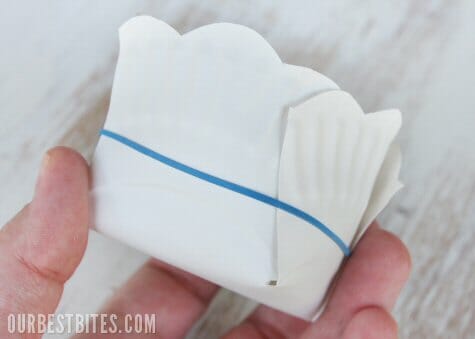
And this is where Martha (or one of Martha’s five gazillion employees) is so brilliant.  Because I would have then started punching holes and tying ribbons and fidgeting with double-sided tape.  But for Martha?  Not so complicated.  Slip a rubber band around it! Boo ya!  So easy, and so cheap.  Older kids could definitely put these together, and they could even decorate the plates first.

You could do a million things with these; I think they’d be adorable all dolled up with some accessories like the aforementioned ribbon or cute cutouts slipped in the rubber band.  I can see them on a sweet table for a birthday party or baby shower filled with little snack mixes.  But even sweet and simple they’re fantastic for little party favors or casual backyard bbq’s.

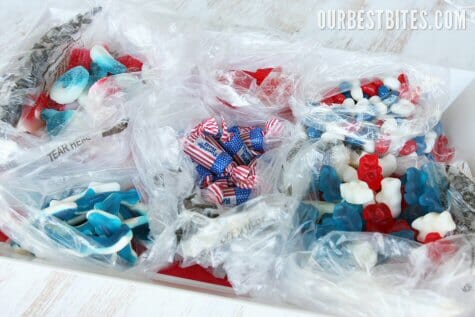
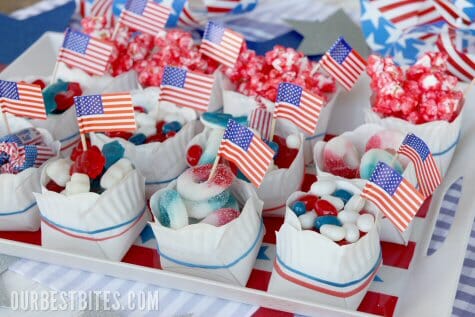
I thought they’d be great for little Fourth of July goodies, sitting out on a festive table.  I headed to a local store with bulk candy bins and found tons of red, white and blue stuff

How fun is that?

I’m not a big fan of Tootsie Rolls, but these American flag ones are TOO cute!

Jelly Bellies.  Always a go-to for any color themed party.

I think these are especially fun for popcorn- like this Fruity Candy Popcorn (so good!)  On that note- if you ever have the idea that using blue jello will be fun for the fourth- don’t do it!  Well okay, maybe do it.  Someone left a comment on that post saying they do blue jello, but I will tell you that I have tried it a million times and every single time I end up with red, white, and teal popcorn.  So consider yourself warned.

Have fun getting crafty and foodie on the Fourth!
Sara Wells
Meet The Author

Sara Wells

Sara Wells co-founded Our Best Bites in 2008. She is the author of three Bestselling Cook Books, Best Bites: 150 Family Favorite RecipesSavoring the Seasons with Our Best Bites, and 400 Calories or Less from Our Best Bites. Sara’s work has been featured in many local and national news outlets and publications such as Parenting MagazineBetter Homes & GardensFine CookingThe Rachel Ray Show and the New York Times.

Read More

Join The Discussion

Your email address will not be published. Required fields are marked *

This site uses Akismet to reduce spam. Learn how your comment data is processed.