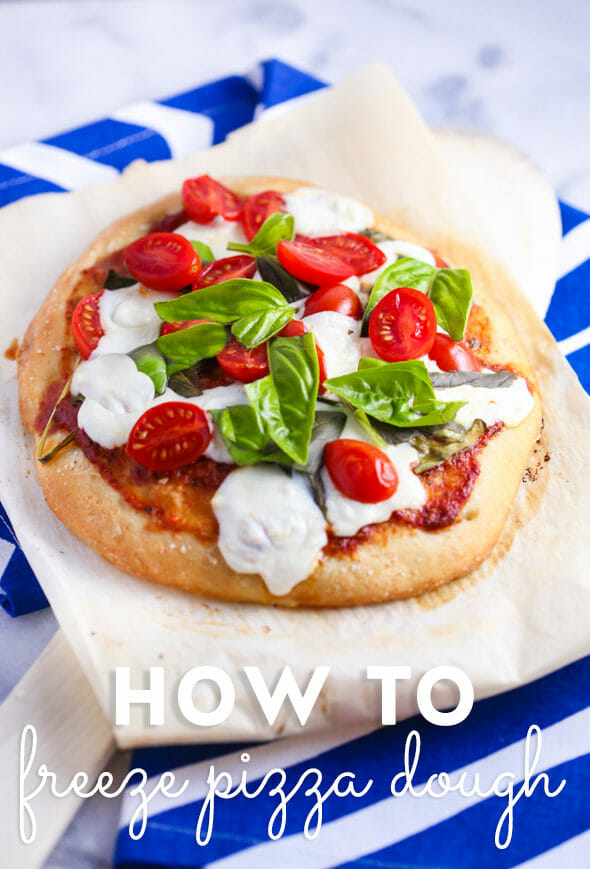
One of the most frequently asked questions that we get is whether or not you can freeze our yeast doughs. I never quite know how to answer that because while once upon a time it felt like I had all the time in the world to make rolls and cinnamon rolls and pizza crusts and breadsticks, those moments are few and far between and when I do make them, it’s usually for a special occasion and I need to be experimenting like I need more animal, small children, and piles of laundry in my house.
But when one of my kids mentioned in passing that we had never had homemade pizza, I kind of stopped in my tracks. I mean, I used to make homemade pizza weekly (that was before we lived within walking distance of a certain pizza chain. Also, when my life was way more chill.) But I never make it because by the time I make homemade pizza crust, we’re all a little hangry and no one wants to associate pizza-making with hangry thoughts.
So I started experimenting. Turns out it really wasn’t so hard. I started by tweaking our go-to pizza crust recipe (the recipe for our breadsticks); when I froze it as the recipe is written, it dried out and the elasticity started to break down after some time in the freezer, so I added a little extra-virgin olive oil to the dough to keep it nice and happy. I also tried out freezing at different steps along the way, from straight out of the bowl to completely topped and ready to bake. I decided it definitely needed that first rise to help the dough be structurally sound enough to handle being frozen. I also realized that I didn’t really want to top my pizzas because while Margherita might sound good one day, I might want supreme 3 weeks later. I also didn’t want to par-bake them because I love grilling pizza (and this dough totally works for that), but grilling a par-baked crust just isn’t the same.
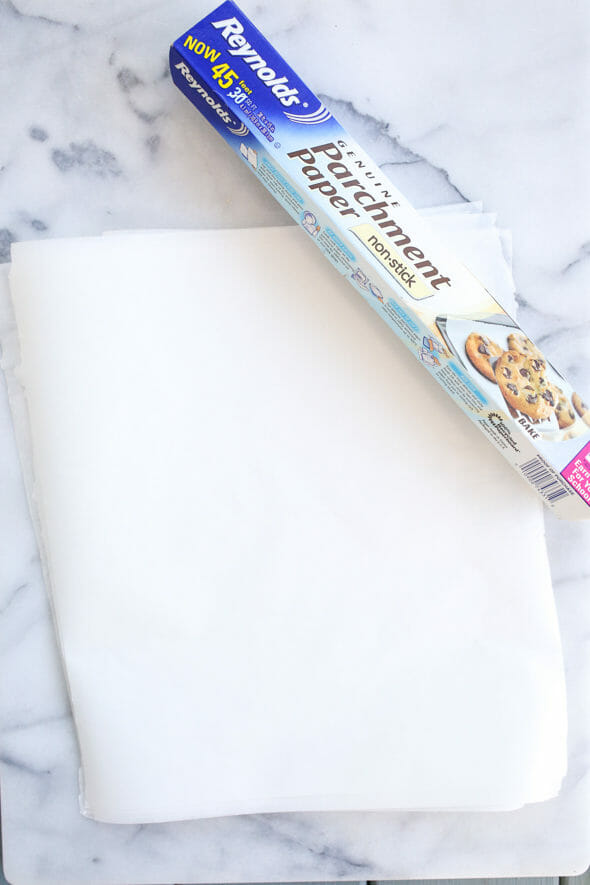
This is a perfect activity for a Saturday or Sunday afternoon when you might have some downtime. The dough is a great one for learning how to make yeast doughs (whether you’re 5 or 85) and it breaks the steps up into easy, manageable pieces. The key to all of it working? Reynolds Parchment Paper Rolls.

 I had never really used parchment paper until a few years ago–I thought it was basically wax paper. When I finally tried it, I realized that I was way off. For starters, it’s much more robust than wax paper. It keeps my cookie sheets clean when I bake cookies and allows even browning along the bottoms of cookies and breads; I can use it to wrap meat before placing it in a freezer bag; I can make a pocket, fill it with meat, veggies, and seasonings, seal it up, and have a mess-free meal; I can roll out cookie dough, place another sheet on top, and chill the dough that way instead of trying to roll out rock-hard cookie dough; you can stack crepes and freeze them for later; and, like we’re doing today, you can use it for shaping, baking, and freezing doughs. It’s basically magic.
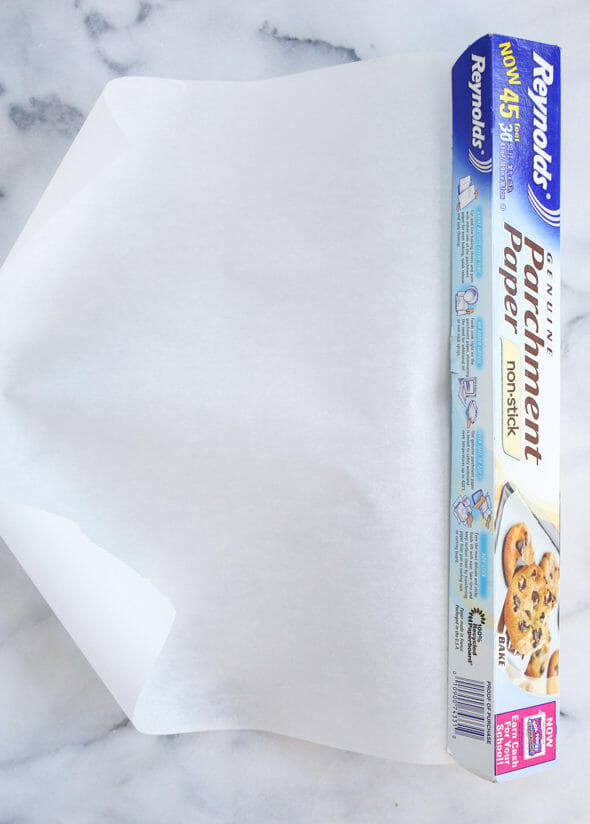
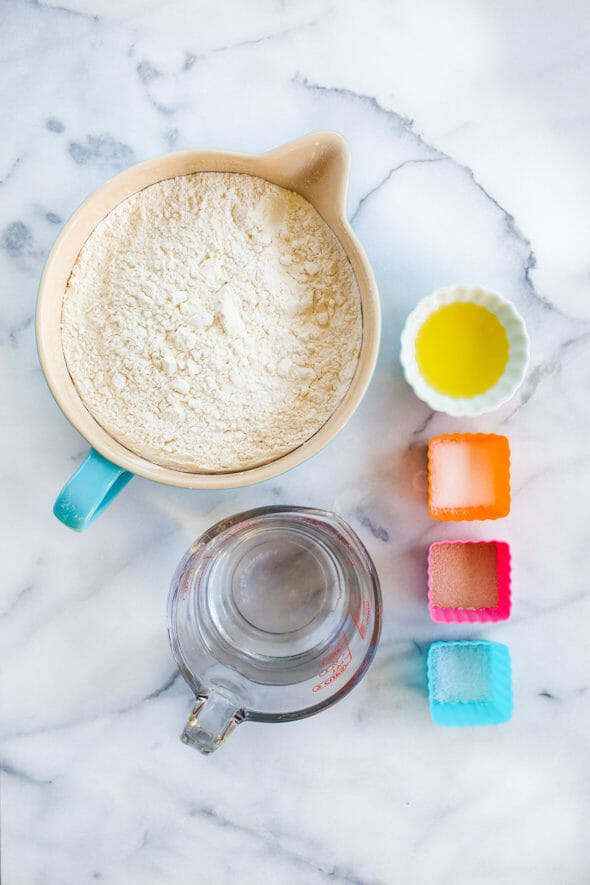
To make the dough, you’re going to need warm water (105-115 F–I always say warm enough that it would be a pretty warm shower but not so hot that you wouldn’t want to wash your face or hair in it), sugar, active dry yeast, extra-virgin olive oil, and all-purpose flour.
Add the sugar

and yeast
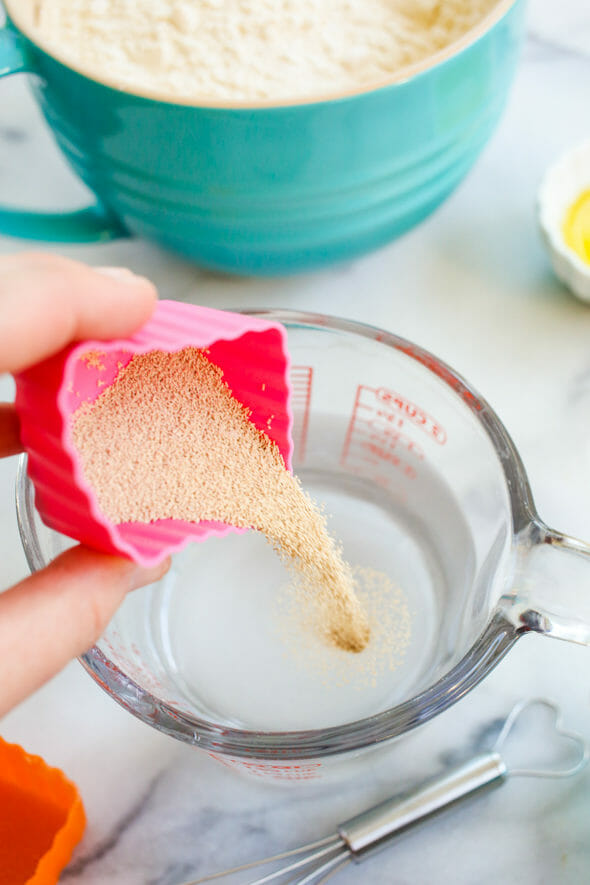
into the warm water and whisk.
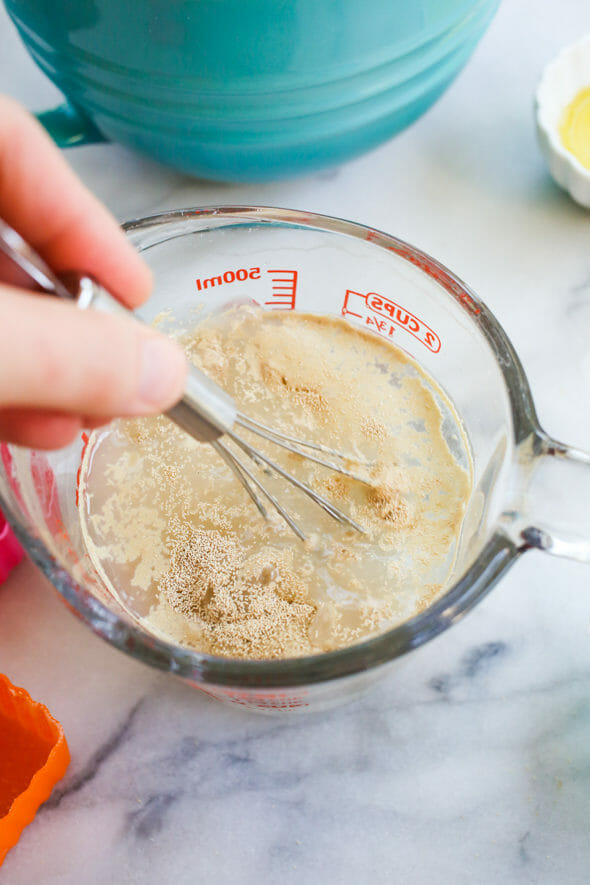
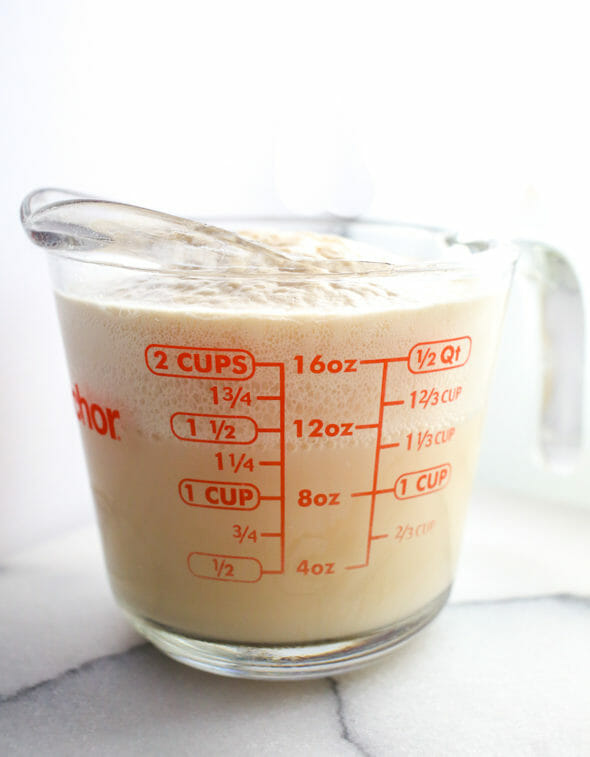
and allow to stand for 10 minutes or until the mixture is frothy and has risen up considerably.


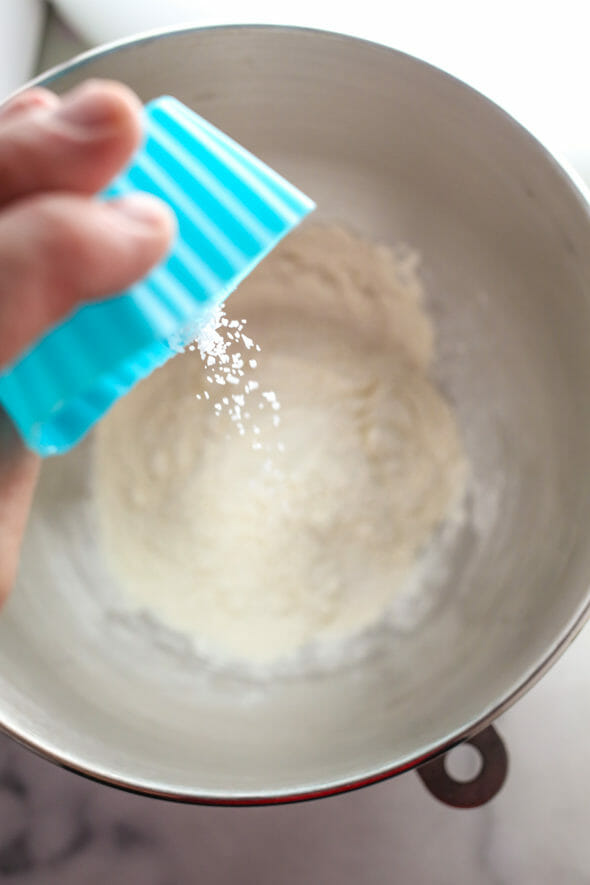
While the yeast is proofing, whisk the salt into the flour in the bowl of a stand mixer.
Right before adding the yeast mixture, add the olive oil
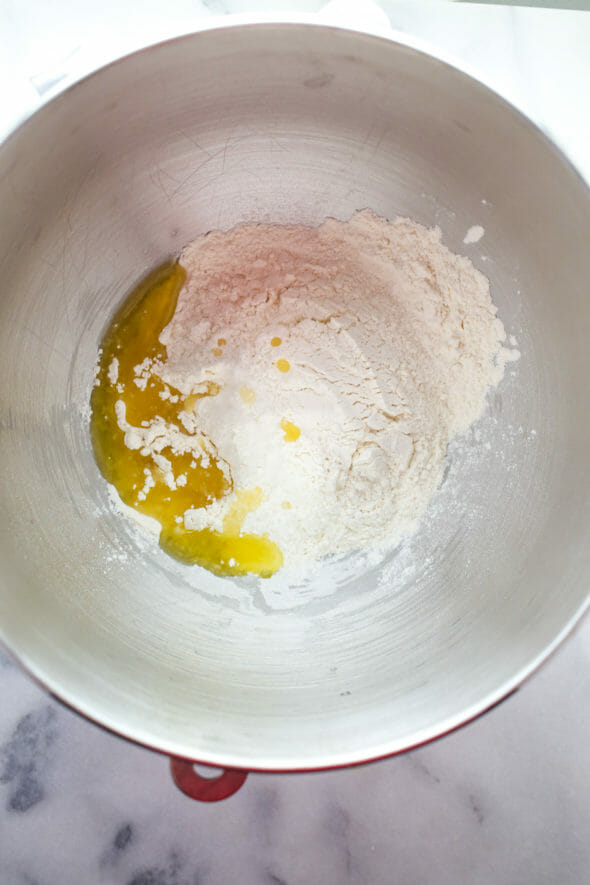
(and then add the yeast/water mixture). Add 1 cup of flour and mix with a heavy-duty mixer until combined. Continue adding flour, 1/2 cup at a time, until the dough pulls away from the bowl and forms a ball and when you touch it, the dough barely sticks to your finger.
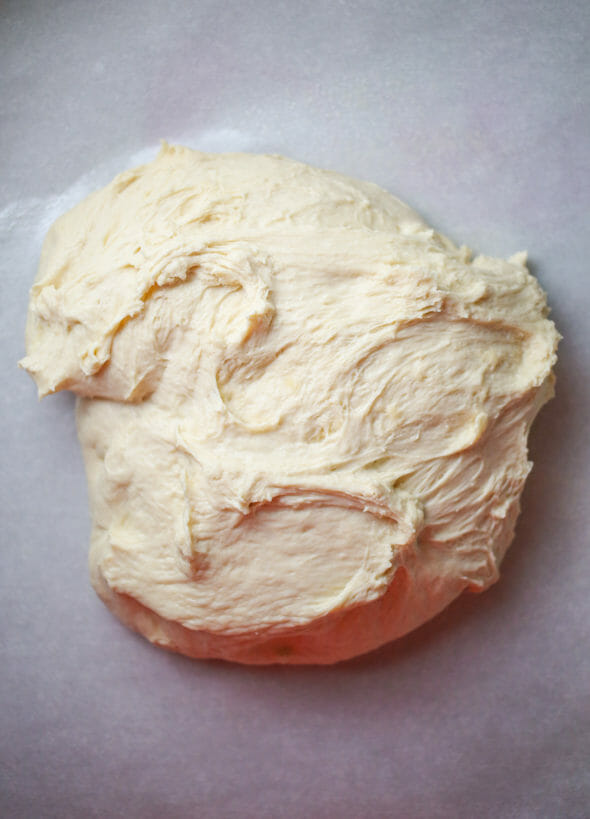
Allow the dough to rise about 45 minutes or until doubled. While the dough is rising, use parchment paper from a roll to make 8 squares
and brush the squares with olive oil and set aside. Spray a large parchment sheet with non-stick cooking spray. When the dough is done rising, transfer it to the large, lightly-floured parchment sheet and divide it into 8 portions (I actually weigh it first then divide it by 8 and aim roughly for that number).

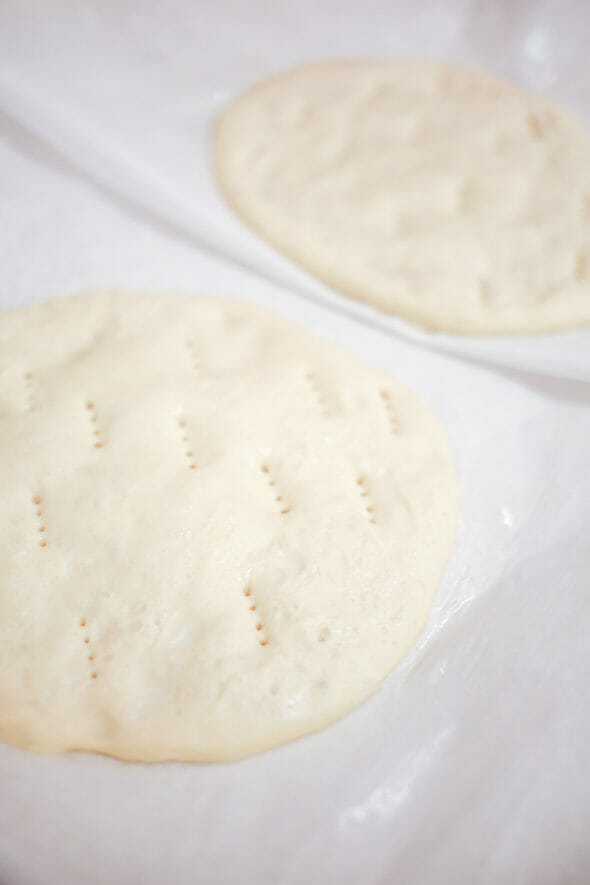
Flatten a portion of dough lightly with your palm and then, starting in the center and working outward, use your fingers to press the dough into a thin circle (or other shape; just get it as thin as you can without tearing the dough) on an oiled parchment sheet. Place on a baking sheet or plate (just something you won’t mind missing for a few hours while the dough freezes.) Repeat with remaining dough, stacking the dough circles on top of each other.
When done, top with another sheet of parchment and freeze for 2-3 hours or until completely frozen. Transfer to a freezer bag or freezer-safe container and store for up to 1 month.
When ready to bake, take desired number of dough discs from the freezer and allow to thaw for 30-45 minutes. Preheat oven to 420 (if you’re using a pizza stone, place that in the oven before preheating.)
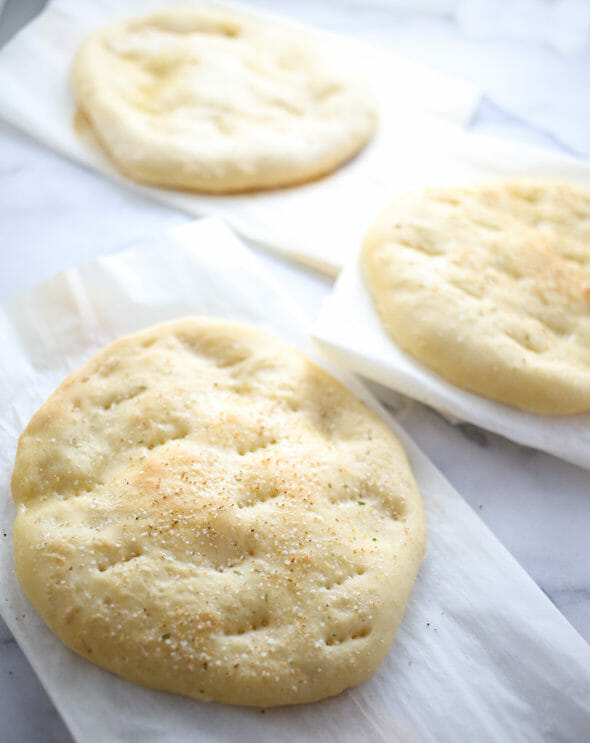
When the dough has thawed, prick with a fork, brush with olive oil, and sprinkle lightly with garlic salt, all the way to the edges.
Bake for 7-10 minutes or until very lightly golden on top.
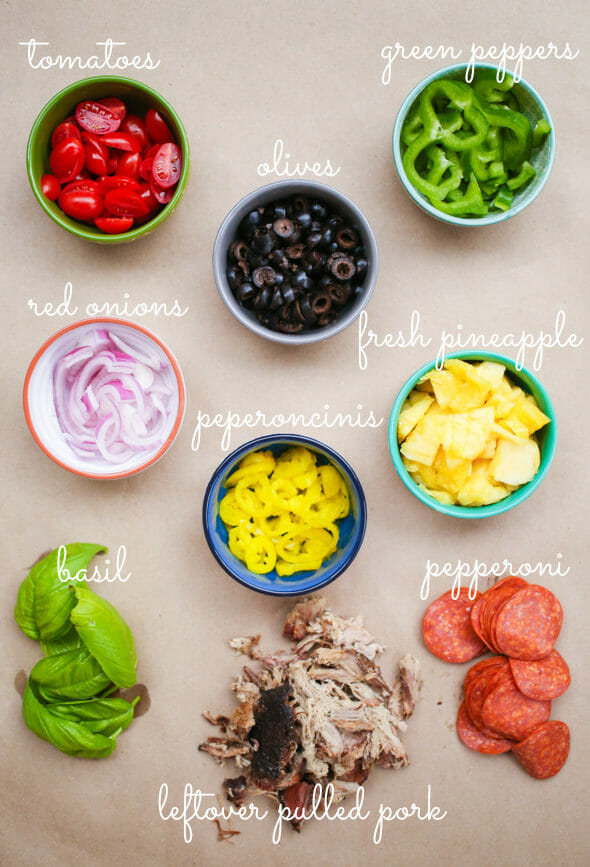
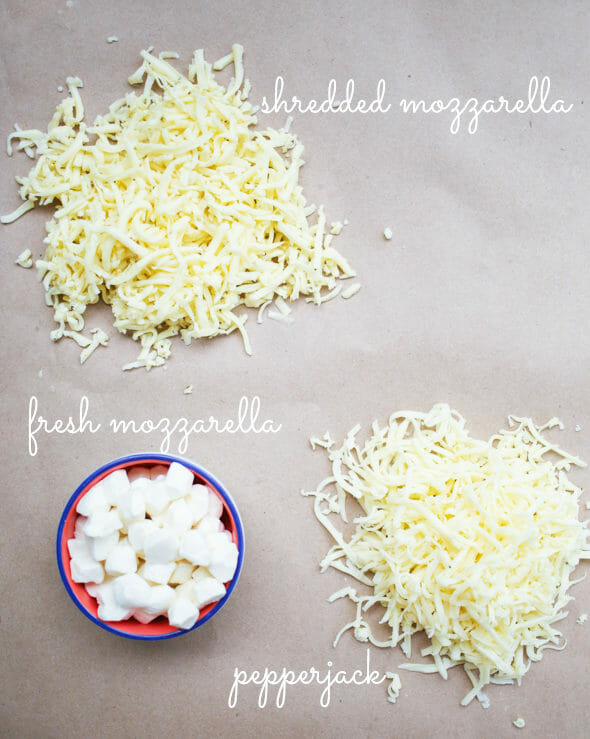
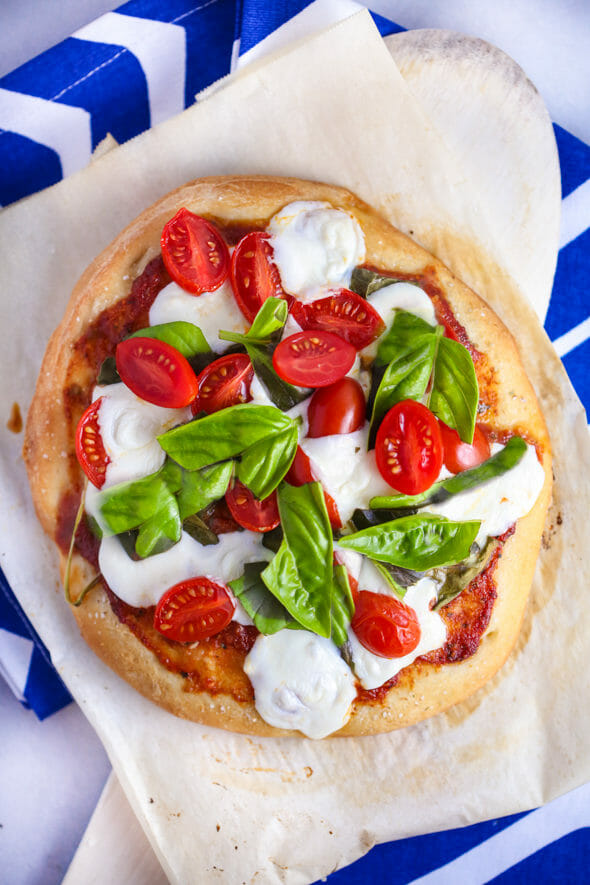
Remove from oven and top with desired toppings. Here are a few of our favorites!
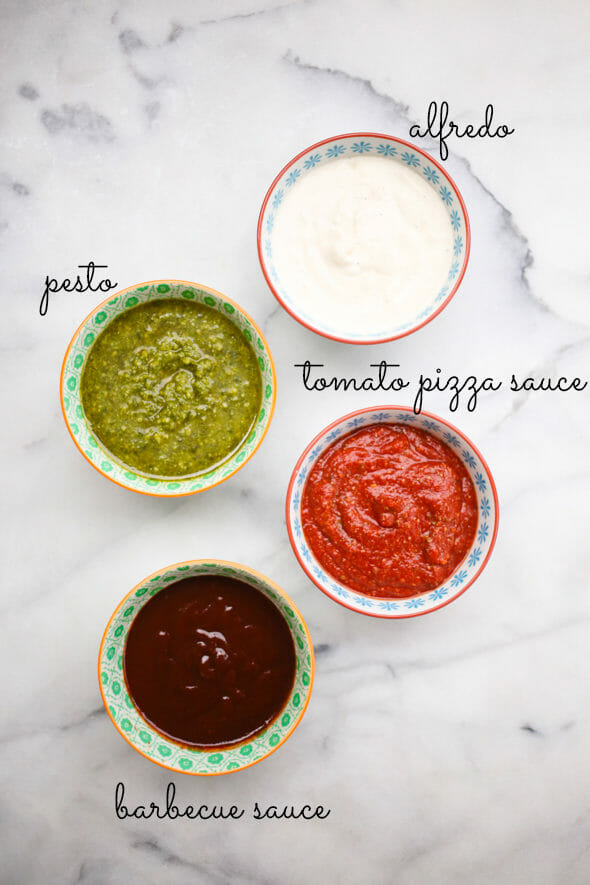 Pesto
Pesto
Alfredo
BBQ
Tomato Pizza Sauce


These don’t even begin to cover it–I have a more comprehensive list here…
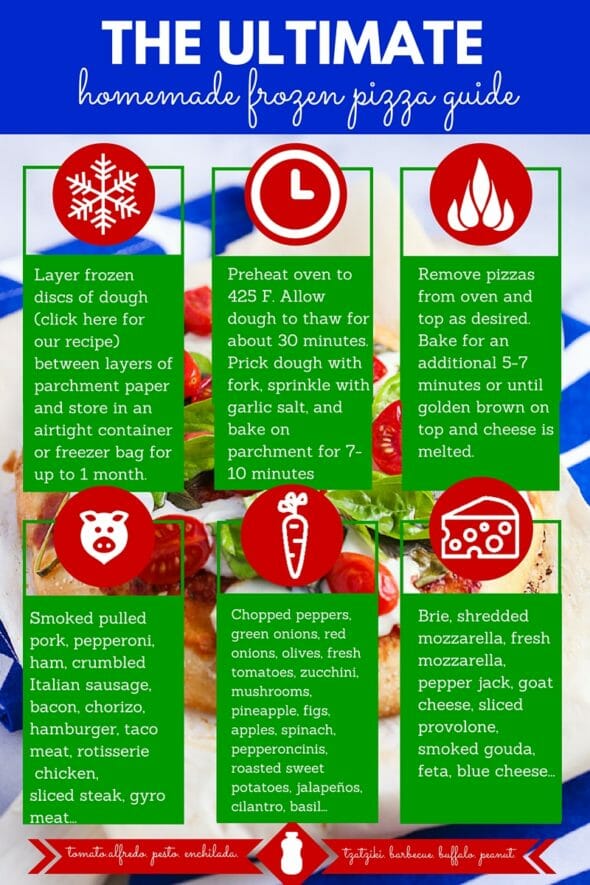
If you want to print out a full-size copy, click this link!
(and even this doesn’t include everything, but it’s a great little cheat sheet!)
After you’ve topped your pizzas, return them to the oven and bake for 5-7 more minutes or until the crust is golden and the cheese is bubbly. Remove from oven and allow to stand for 3-5 minutes before serving.
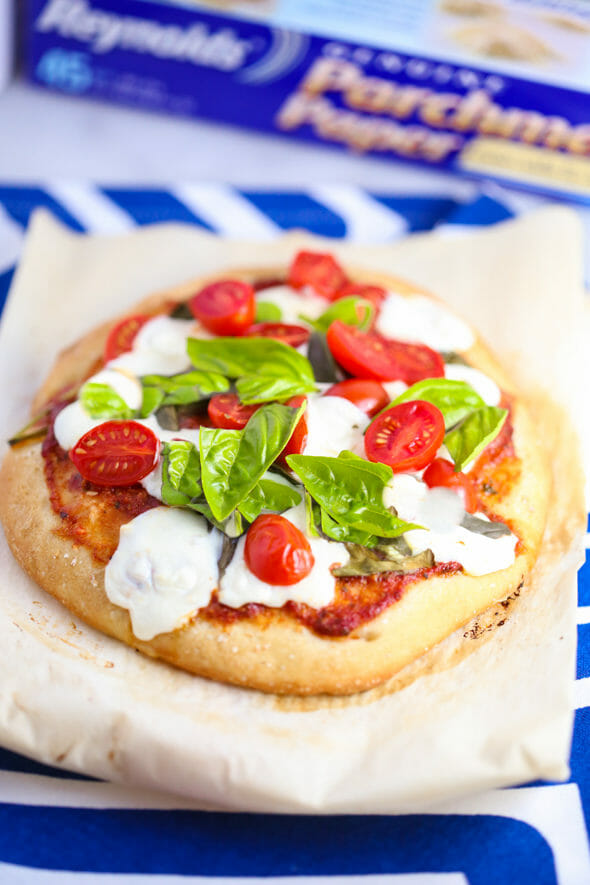
The parchment protects the dough in the freezer and really helps make the crust crispy while baking!
SO. EASY.

Freezer Pizza Crust
Description
The hardest part of making homemade pizza is making the crust! Just use this recipe to make lots of individual pizza crusts ahead of time and then store them in the freezer so making homemade pizza is a breeze ANYTIME!
Ingredients
- CRUST
- 1 1/2 cups warm (105–115 F) water
- 1 tablespoon sugar
- 1 tablespoon dry active yeast
- 2 tablespoons extra-virgin olive oil
- 3/4 teaspoon kosher salt
- 3 1/2–4 1/2 cups all-purpose flour
- FOR BAKING
- Extra-virgin olive oil
- Garlic salt
- Desired toppings
Instructions
- Whisk the sugar and yeast into the warm water and allow to stand for 10 minutes or until the mixture is frothy and has risen up considerably.
- While the yeast is proofing, whisk the salt into the flour in the bowl of a stand mixer. Right before adding the yeast mixture, add the olive oil (and then add the yeast/water mixture). Add 1 cup of flour and mix with a heavy-duty mixer until combined. Continue adding flour, 1/2 cup at a time, until the dough pulls away from the bowl and forms a ball and when you touch it, the dough barely sticks to your finger.
- Allow the dough to rise about 45 minutes or until doubled. While the dough is rising, use parchment paper from a roll to make 8 squares and brush the squares with olive oil and set aside. Spray a large parchment sheet with non-stick cooking spray. When the dough is done, transfer it to the large, sprayed parchment sheet and divide it into 8 portions (I actually weigh it first then divide it by 8 and aim roughly for that number). Flatten a portion of dough lightly with your palm and then, starting in the center and working outward, use your fingers to press the dough into a thin circle (or other shape; just get it as thin as you can without tearing the dough) on an oiled parchment sheet. Place on a baking sheet or plate (just something you won’t mind missing for a few hours while the dough freezes.) Repeat with remaining dough, stacking the dough circles on top of each other.
- When done, top with another sheet of parchment and freeze for 2-3 hours or until completely frozen. Transfer to a freezer bag or freezer-safe container and store for up to 1 month.
- When ready to bake, take desired number of dough discs from the freezer and allow to thaw for 30-45 minutes. Preheat oven to 425 (if you’re using a pizza stone, place that in the oven before preheating.)
- When the dough has thawed, prick with a fork, brush with olive oil, and sprinkle lightly with garlic salt, all the way to the edges. Bake for 7-10 minutes or until very lightly golden on top. Remove from oven and top with desired toppings (see our handy-dandy guide on this post for some idea!) Return to oven and bake for 5-7 more minutes or until the crust is golden and the cheese is bubbly. Remove from oven and allow to stand for 3-5 minutes before serving.
Notes
- You can easily double (or even triple) this recipe, just as long as your mixer can handle it! You can also use this method if you’d rather cook your pizza on the grill.
Nutrition
- Serving Size: 8
This post was sponsored by Reynolds Kitchens, but all opinions and ideas are our own.


Questions & Reviews
My parents just bought a propane-fired pizza oven that has a rotating stone and bakes at 550 degrees (or higher). You use a peel to slide the topped pizza dough onto the stone and then it bakes in minutes. It’s pretty awesome.
Do you have to pre-bake the crust in this recipe before adding ingredients and then baking again? What would be the difference if you just thaw, top & bake?
If you add ingredients and then freeze it, I would recommend pre-baking the crust, letting them cool, adding the toppings, then wrapping them and baking them (you can actually bake them from frozen if you want! 425 for 15-20 minutes in my oven, but keep an eye on things; mine is notoriously way off, haha!)
Would it work to freeze the dough, thaw, top, and then bake? I’m just wondering if you can eliminate the par-baking step without a reduction in the quality of the final product.
Yes, it would work fine to thaw and top and bake w/o par baking. I do it all the time on my stone in a preheated oven (525 degrees). 🙂
I will have to try this, thanks. I have the best results baking pizzas at 550°, no par-baking. I bake on the parchment, on a preheated stone, for 2 minutes, then remove the parchment (slides right out with tongs), and finish baking. Helps the crust get nice and crispy.
I love the idea of freezing this in personal size pizzas. I like making heart shaped pizzas for valentine’s day but we have been so busy the last few years I haven’t done it. This will be a perfect solution. Thanks for all the great tips!
Also, I love your picture of the meats, fruits, & veggies. Well done!
Thank you, friend!! ??
That’s interesting. I’ve been adding 2 T oil to your pizza crust recipe (Breadstick recipe from first cookbook) for a couple of years now. I preferred how it turned out with the oil. Never have tried to freeze it, but it seems like the best idea. I’m going to do it for sure.
Can you make them with Whole Wheat flour and splenda, I don’t eat white flour and try to stay away from sugar, I was just wondering if it will freeze the same?
I use a similar recipe to this one with whole wheat flour and honey all the time. Haven’t tried splenda, but I know honey works great.
Great thanks I’m going to try that!!
I always thought that sugar/honey is essential for yeast grow. Using sweetener in pizza dough doesn’t make sense for me.
This is so weird, I responded earlier but it didn’t show up! Anyway, yes, you need some kind of sugar because that’s what feeds the yeast. But you can totally use honey. As far as the wheat flour goes, sometimes the dough can be a little heavy. You can try 1/2 wheat 1/2 white or if you really don’t want to use white flour, you can use all wheat flour. If it’s too heavy, I would try adding some vital wheat gluten, which should help it along.
Hope that helps!
Kate
Regarding ‘splenda’ question; Sugar is not necessary AT ALL for yeast dough; the carbs in the flour feed the yeast just fine. So Consequently the sugar does not need to be replaced, it is optional. Only put sweetener in if you want a slight sweetness to the crust. I put dissolved yeast & water right in the dough. “Proving” yeast literally means proving it’s alive; so sugar water lets you see that it does bubble; it’s alive. If you know your yeast is good there’s no need to Prove it. In my experience It doesn’t change the dough at all
Okay, this is basically the best post ever. So helpful, and, your pictures! They’re seriously so pretty! And so helpful to yeast bread newbies. I totally used to be so scared of yeast breads, and your tip for how hot the water should be has always been so helpful to me. I tell anyone who’s learning how to work with yeast that exact thing. Anyway, thanks for this post…I always want homemade pizza until I think of making dough whilst my 3 kids hang on my legs screaming for food. And in order to avoid that I’ve been buying pre-made ballls of dough at Winco. This is the perfect solution. (Long winded much??)
You’re the best, Carly Dude!