
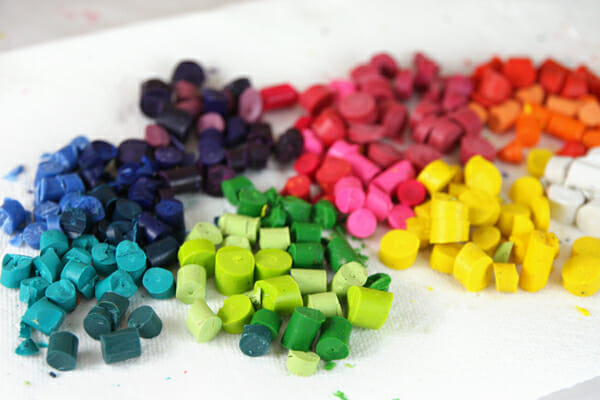
Rummage through your big bucket of crayons and pull out all of the misfits: broken, paperless, etc. Remove all the paper wrappers. For some reason, there’s always a few wrappers that seem to be attached with super glue. (Edit: Love this tip from a reader: for hard to remove papers, place crayons in a bowl of hot water for a few minutes and they slide right off!) Divide them by color if you are like me and obsessed with organizing things by color.
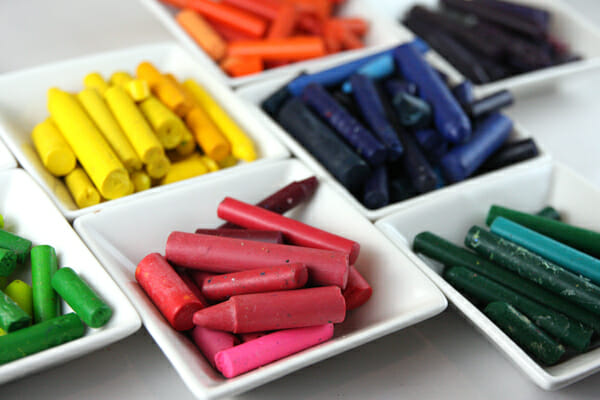
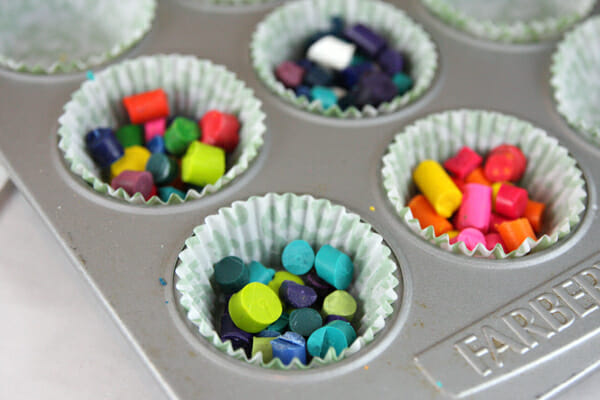
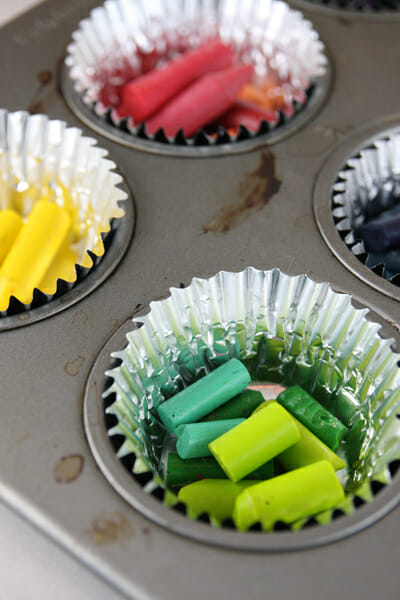
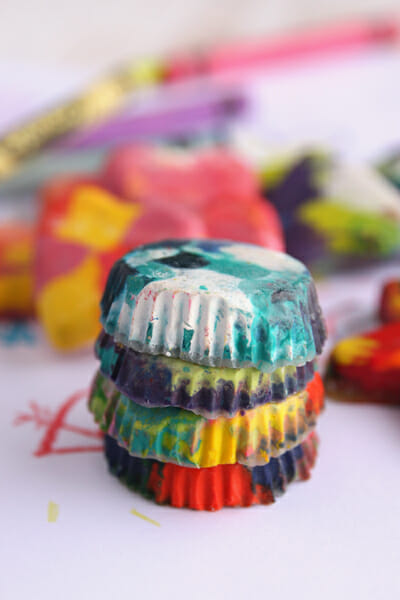
There’s a few different ways to do these, so I’ll tell you my opinions. You can pop these crayon bits right into a muffin tin (I prefer a mini muffin pan; it’s a good size for little hands to hold onto). If you have a nice non-stick pan, the crayons actually pop right out cleanly-in my experience, without a paper liner or anything. Pans without a non-stick finish might leave some waxy residue, but spraying it with a little non-stick spray helps. Regardless of what kind of pan you use, you might want to use paper cupcake liners just to protect your pan if you’re worried about it. I have a few older pans I use for projects like this just so I don’t ruin my good ones in case anything happens. Using paper or foil liners gives the crayons a slightly more matte finish, whereas putting them straight in a pan usually yields a shinier crayon.
You can make solid color crayons or mix up the colors for multi-colored ones. Just nestle little piles of crayon bits into your muffin tin.
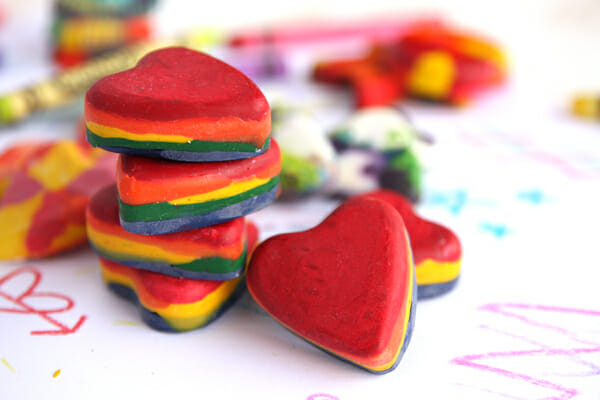
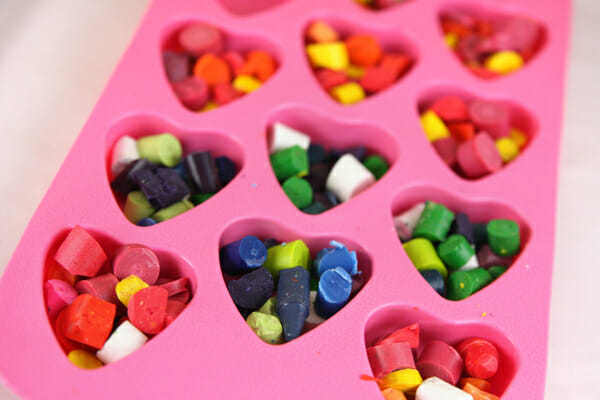
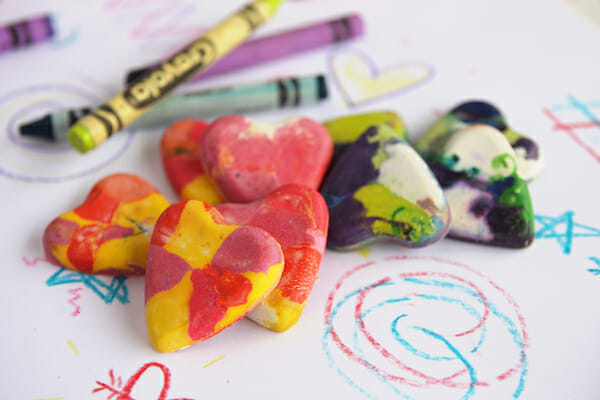
Or, try silicone molds for fun shapes. Be aware that the crayons will leave a residue on silicone, so use ones you don’t mind dedicating to crafts. And make sure to place your silicone molds on top of a foil lined cookie sheet when you put them in the oven; this is important!
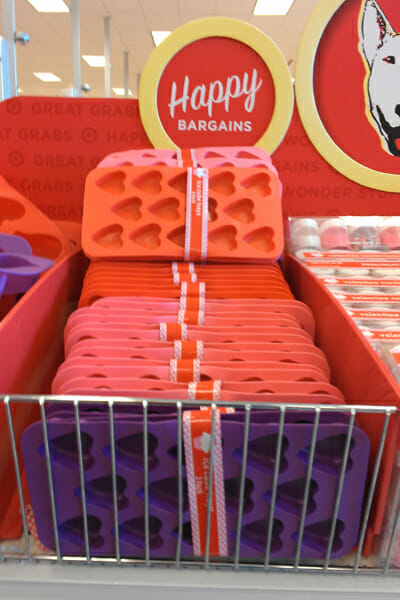
I bought these little heart shaped ones from the Target dollar section last year and I just saw them there again the other day. $2.50 for two! Now- they’re labeled as ice cube trays, and a couple of people have commented that there’s didn’t work well in the oven, but I’ve used these several times and they’ve worked great. If you’re worried, you can always lower your oven temperature and just take longer to bake the crayons. OR, instead of baking, use the microwave method of melt-and-pour that I talk about later in this post. Like I said, I use these all the time in the oven and I’ve never had any problems. I’ve also used my heart-shaped ice trays from Ikea in the oven and they work too!
After your tins are full, just place the pan in the oven. Let them bake until the top layer is mostly melted and smooth. It can take anywhere from 10-20 minutes at about 250 so just keep an eye on it. Baking time depends on how full they are, and the brand of crayons, and more. Carefully remove the pan and let the crayons cool completely, overnight is best, before removing them. Placing the pan in the fridge or freezer helps. After they’re cooled, pop them out of the molds.
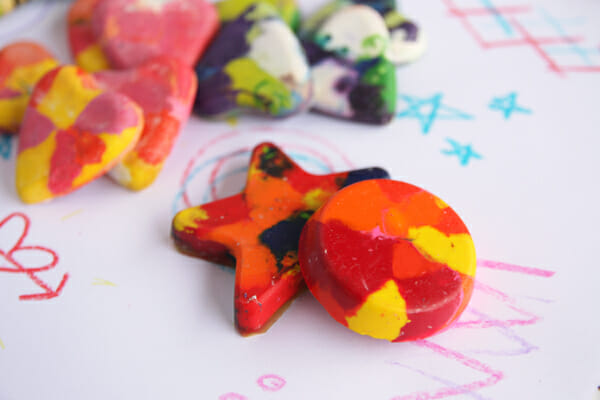
It’s always fun popping them out of the pan and seeing which ones turned out the coolest.
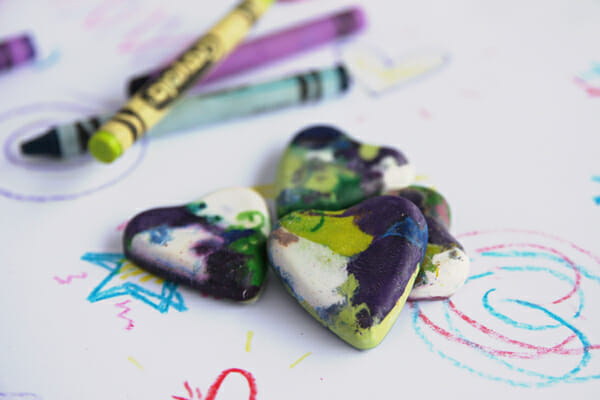
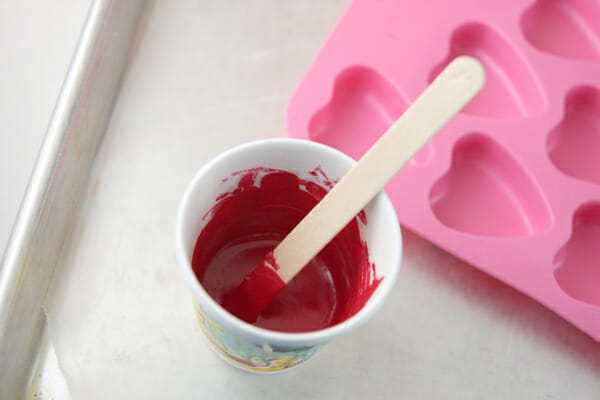
Another method you can do is placing crayons in a double (or triple!) layer of paper cups, or glass baby food jars work great, and heating them in the microwave until melted and smooth. Some people put them in tin cans in the oven, or in a pan of simmering water, but I honestly think the microwave is the easiest.
Pin It
Pin It
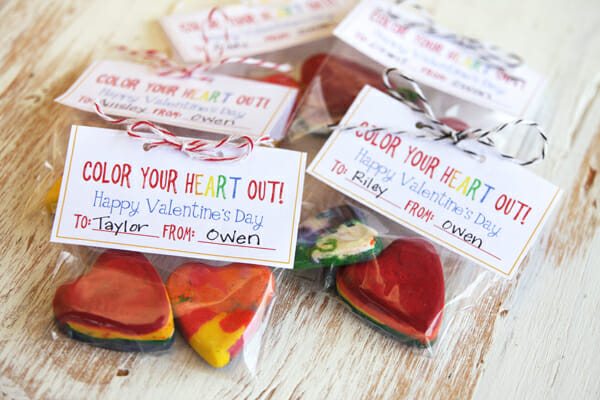
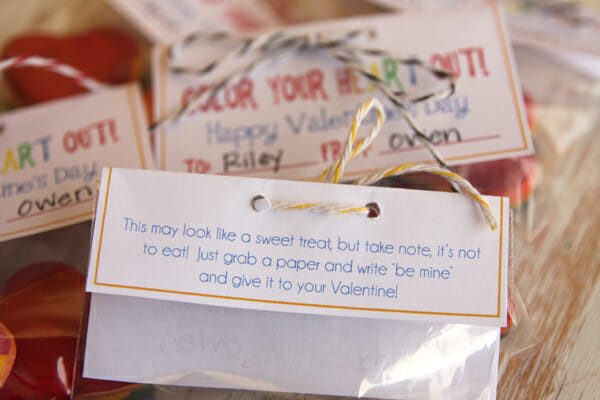
And since every time we post anything like this there are obnoxious (oops, did I just write that out loud?) concerned parents who say things like, “Um, hate to be a downer but you’re a horrible mother because this will just teach kids to eat crayons because they’ll think they’re candy.” I made a special little poem on the back just for you 🙂
Secondly, most kids are smart enough to realize they are crayons, if not by the adorable labels, then by the fact that they smell like crayola. And lastly, crayons are non-toxic; babies eat them all the time, so you’re good. Just embrace the fun!
Pin It
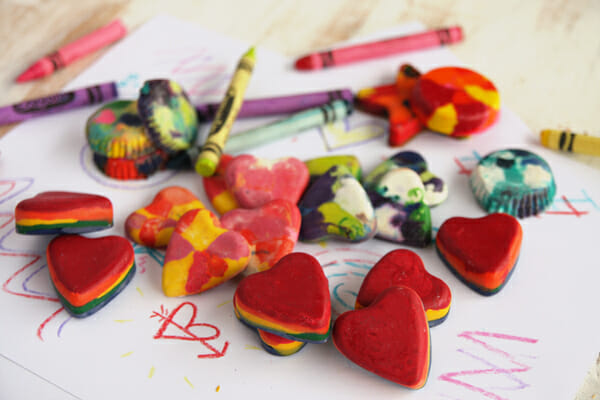
Click here for the fold-over Printable Labels (shown in photos)
Click here for small rectangle cut-out labels
(Just use a small hole punch on one end and tie onto baggie with ribbon or string)


Questions & Reviews
Ooh, perfect! I was just wondering what to do for my students and this is perfect 🙂 Thanks!
GREAT TIP FOR PEELING THOSE BUCKETS OF CRAYONS: We LOVE melting crayons at our house but my kids don’t love peeling them. We descovered that if you put the crayons in some hot tap water and let them sit for a few minutes the wrappers slide right off!!! IT IS AMAZING. Peeling the crayons has become my four year olds favorite part of the project
Thse are GREAT! Wish my 2 grandsons where closer
We’d have Gpa helping!
Thanks
I had already been planning on doing these for my daughter’s valentines, but the molds I found were way more expensive. I make a trip to target just to check theirs out, but alas, my target didn’t carry them. 🙁 Oh well. The others will work, despite their price. In fact, they’re in the oven now.
I have those ice cube molds! I was thinking I should have not bought them (really, will my kids – all boys – care about heart shaped ice cubes?). Now I have something fun to do with them! I went to TOFW and you girlys did awesome. I am a new fan – just found your website AND bought the cookbook after the event! 🙂
I love everything about this! It’s a great way to recycle those bits of crayons, it’s a craft project and a cute little gift all in one. I really like the label too – nice touch. Thanks for a great tutorial!
I kind of have to laugh because it seems like these muffin tin crayons are all the rage now and I actually made them all the time with my brothers and sisters when we were kids. We always did the stovetop method and actually used candy molds to get the fun shapes we wanted. This was such a fun craft that we all loved! Thanks for sharing the labels. I think turning these handmade crayons into heart shaped for Valentine’s is brilliant!
I really wanted to make some crayon valentines this year but I’m running out of time! These are super cute!
i love this fun idea! thanks for sharing!!
I don’t ever remember getting candy, or cupcakes for birthdays, or anything like that at school when I was a kid. We did cheap paper valentines for everyone, but that was it.
I love this idea. I get so tired of passing a bunch of candy out to kids what seems like every two weeks. Halloween, Christmas, Valentines, Easter….Too much candy ruins to deliciousness. I don’t remember getting this much candy when I was a kid. Am I alone?
My girlfriend brought over her Crayola Crayon Maker which essentially does the exact same thing as this. This looks even cuter!
No, definitely not alone! And you know what else? I think the candy has gotten cheaper too, especially for Halloween. Seems like everyone passes out tootsie rolls these days, what happened to the Butterfingers?! lol
What a cute and creative gift idea!
Love your tutorial for these crayons. I tried it the other day and had really good luck with Heart Shaped Whoopie Pie pans. Happened to see them at JoAnn Fabric and bought the tray on sale. Also, I tried the Target trays and left them in the oven too long and they melted everywhere, glad you had better luck. Love the poem and tags you made!!
Did your actual trays melt?? That’s weird- mine have worked great for this!
Yes- what a mess! I had last year’s version from Target so maybe they were made out of a different material. I smelled it first then realized they had dripped all over the oven. Yours are adorable. Thanks again!
Love the poem on the back! My daughter and I made heart crayons in kindergarten for her Valentine’s and one of the kids took a bite out of it before he realized it was a crayon, lol!!
My favorites are the layered ones. So cute! My daughter (the one you signed the book for, not the one you met) made these and has a muffin tin dedicated to crayon-melting, just as you suggested. I am babysitting a little five-year old “friend” this morning. Maybe we should go on a broken crayon hunting spree while she’s here just to do this for an activity!
Great directions! I was just thinking about making these and wondering about using nonstick cooking spray. Also wondered if the silicon ice cube trays could go into the oven. Thanks for answering all my questions!
I sincerely legitimately want to go but crayons just to do this….which clearly defeats te purpose haha
So cute I’m going to hold on to this idea and all our broken crayons for awhile!
These are crazy cute! I’m making your Christmas lanterns ala Valentine’s this weekend so I guess I just added to my craft list. Thanks for another do-able idea!
Adorable!
Oh my gosh – I was so excited to see this! My oldest and I made crayons last weekend to give her preschool friends and just this morning I ran to Michaels to get little baggies for them – – thank you so much for the printable – – it’s exactly what I wanted, but never would have taken the time to create! You’re awesome!!!
Yeah ! For this post!
Thanks Sara!
I just bought some of those heart shapes trays at Target but didn’t know if I could use them in the oven since they’re labeled as ice cube trays. But I was hoping I could, so if you’ve done it, I think I’ll try it!
Yep, mine worked just fine- the oven temp is so low that even if they weren’t silicone, it wouldn’t heat them enough to do anything weird.
I used the same trays last year in the oven and they started to smell funky before the crayons had melted all the way. It scared me because all I could think about was scraping melted silicone and wax off my heating element! 🙂
Did you out yours in a cookie sheet too?
There is certainly a difference between the melted quality of the Crayola brand vs the dollar store ones.
I just asked my kindergartener if he wanted to make these for his class and he said, “well, how do they taste?”
He’d rather take candy. But they look fun to make!
I have made these before, and they are always a hit. And, I love that you have been blogging so long that you try to always cover all bases when it comes to comments that you might receive. 🙂 Happy Friday!!
Hooray! Thanks for the printable. I just finished making 72 heart shaped crayons last night since my kids aren’t allowed to take candy to school. My job for today is to make a label and you have just made it WAY easier! Thanks you!
Oh, perfect!!
& dogs, don’t forget dogs eat crayons like they were made w/ beef fat or lard… The dollar tree usually has some fun silicon holiday themed ide trays too!
So cute and fun!
These are so cute and when you think about all of the molds out there, it gets me excited about all of the different shaped crayons you can make.
Fantastic! I think a trip to Target is in order.
What a great idea and there so cute!