I’ve loved making homemade pizza for years, but one thing has always eluded me. I’ve dreamed of having an expensive built-in authentic Italian wood fire pizza oven to get that perfectly dreamy crust that only comes out of those ovens. Do you know what I’m talking about? If you’ve eaten at places like Flatbread and Mod and Blaze, where your personalized pizza cooks in just a couple minutes and it’s like pizza heaven in ever chewy bite? The crust is thin, but plumps around the edges, and while it’s tender and airy on the inside, it’s got that irresistible chew and a little bit of char around the edges. It’s not “bready” its just so….GOOD. I didn’t think you could accomplish that at home but news flash: YOU CAN and you will.

So here’s the deal, there’s definitely some tricks when it comes to cooking it, but the real secret is in the dough. It’s the easiest dough you’ll ever make. We’re talking 4 ingredients and no mixer easy. While lots of yeast doughs are enriched with fats like eggs, butter or oil, and milk, this dough is just bread flour, yeast, water, and salt.
You don’t even want to beat and knead it, just mix it up gently with your hands until it comes to a ball and that’s it. This literally takes like 3 minutes to make.
Now the real secret ingredient here is this: TIME. You can’t use this right away, be patient! That ball you just made needs to sit out on the counter for 8-12 hours. I mix this together at night and then continue in the morning. Or make it in the morning, and continue at night.
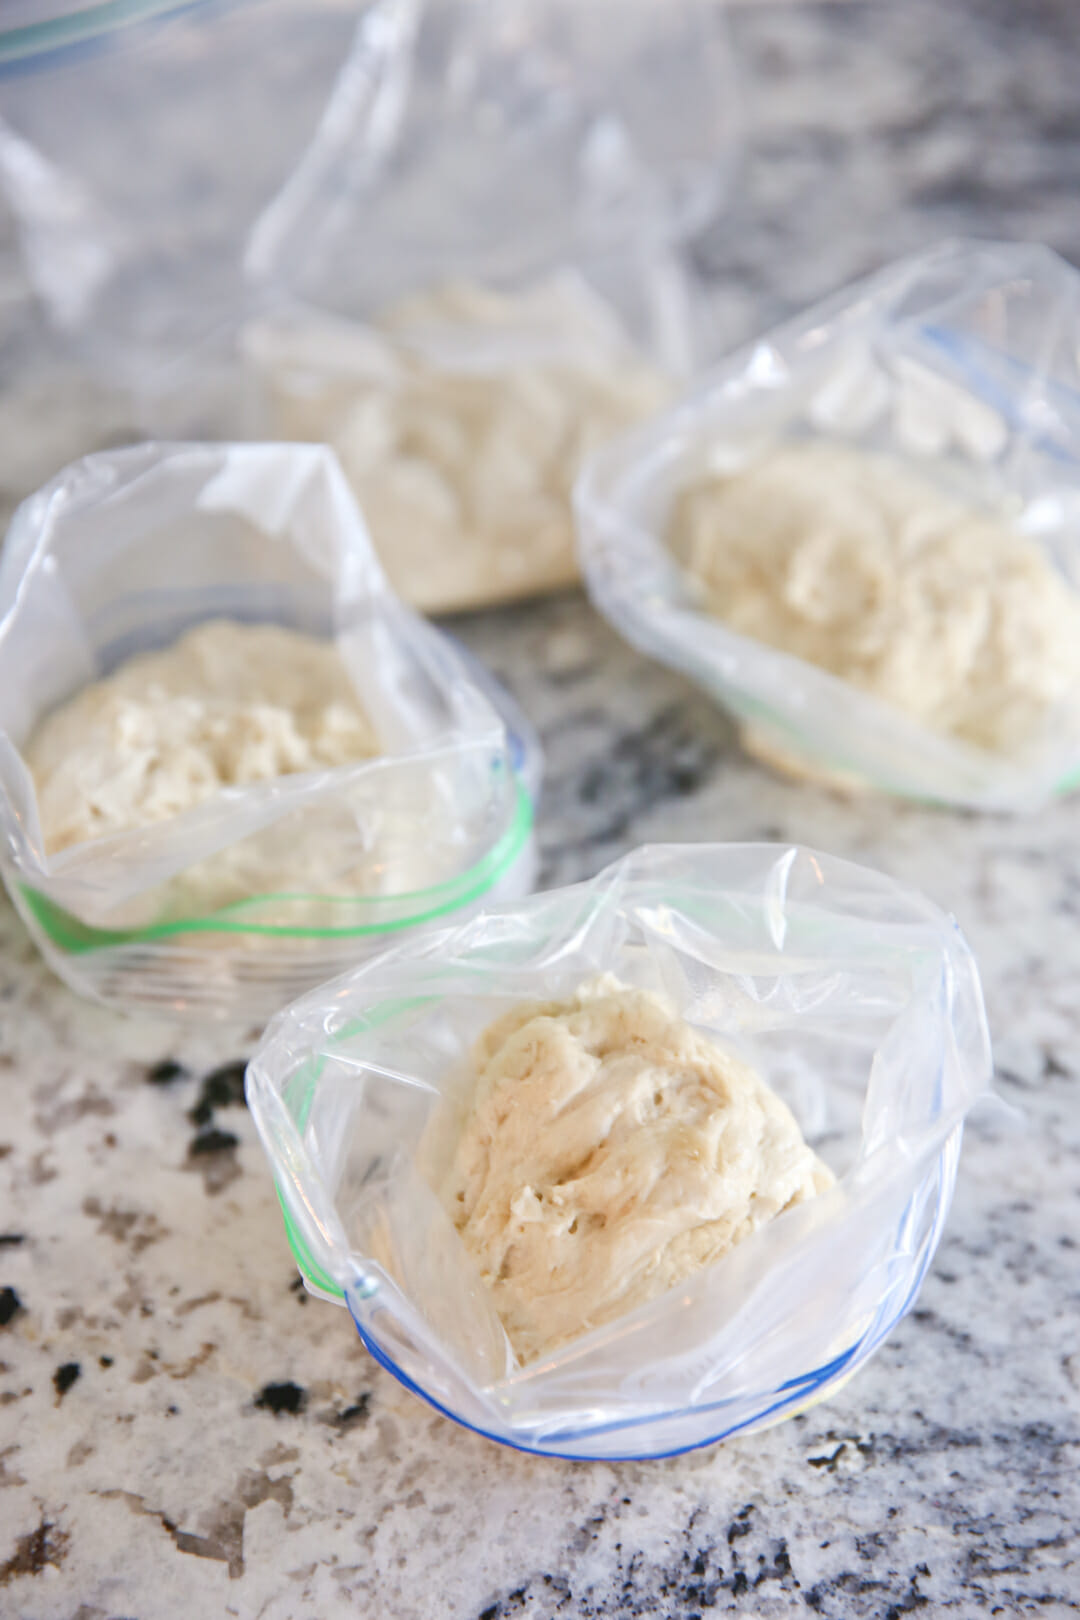
After it sits, it then gets cut into 4 pieces and you’ll pop each into a ziplock bag and toss it in the fridge where it will sit for 2-4 days. Yep, days. The slow rise in the fridge is important for the development of the dough here so just leave it in there and forget about it for a few days. If you don’t have a few days, I’ve made this overnight and it worked beautifully as well. I mixed it up before I went to bed, formed it into a few balls mid morning, let it rise for 2 hours and then cooked it up for lunch.
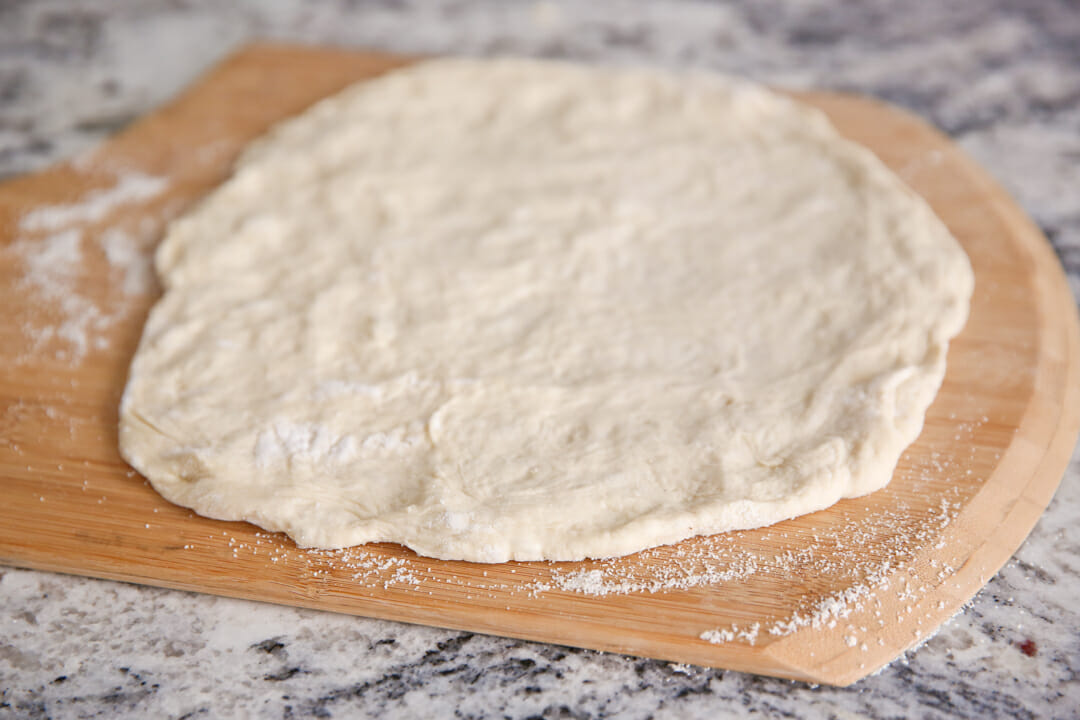
When pizza day arrives, grab the dough and let it sit out on the counter for a couple hours before you’re ready to make it. Then you’ll stretch it out with your hands. These dough balls will make 4 pizzas that are about 8-10 inches in diameter, which is really the size you want for this type of pizza. It’s conveniently the perfect size for my pizza peel. You’ll want at least a couple pizzas to feed a family, and maybe all 4. Because these cook so fast you can whip them out back to back. If you don’t have a pizza peel, it makes homemade pizza so much easier. You just sprinkle the peel liberally with cornmeal and then place your dough over it. When it’s time to transfer it to your hot cooking surface, it just rolls right off.
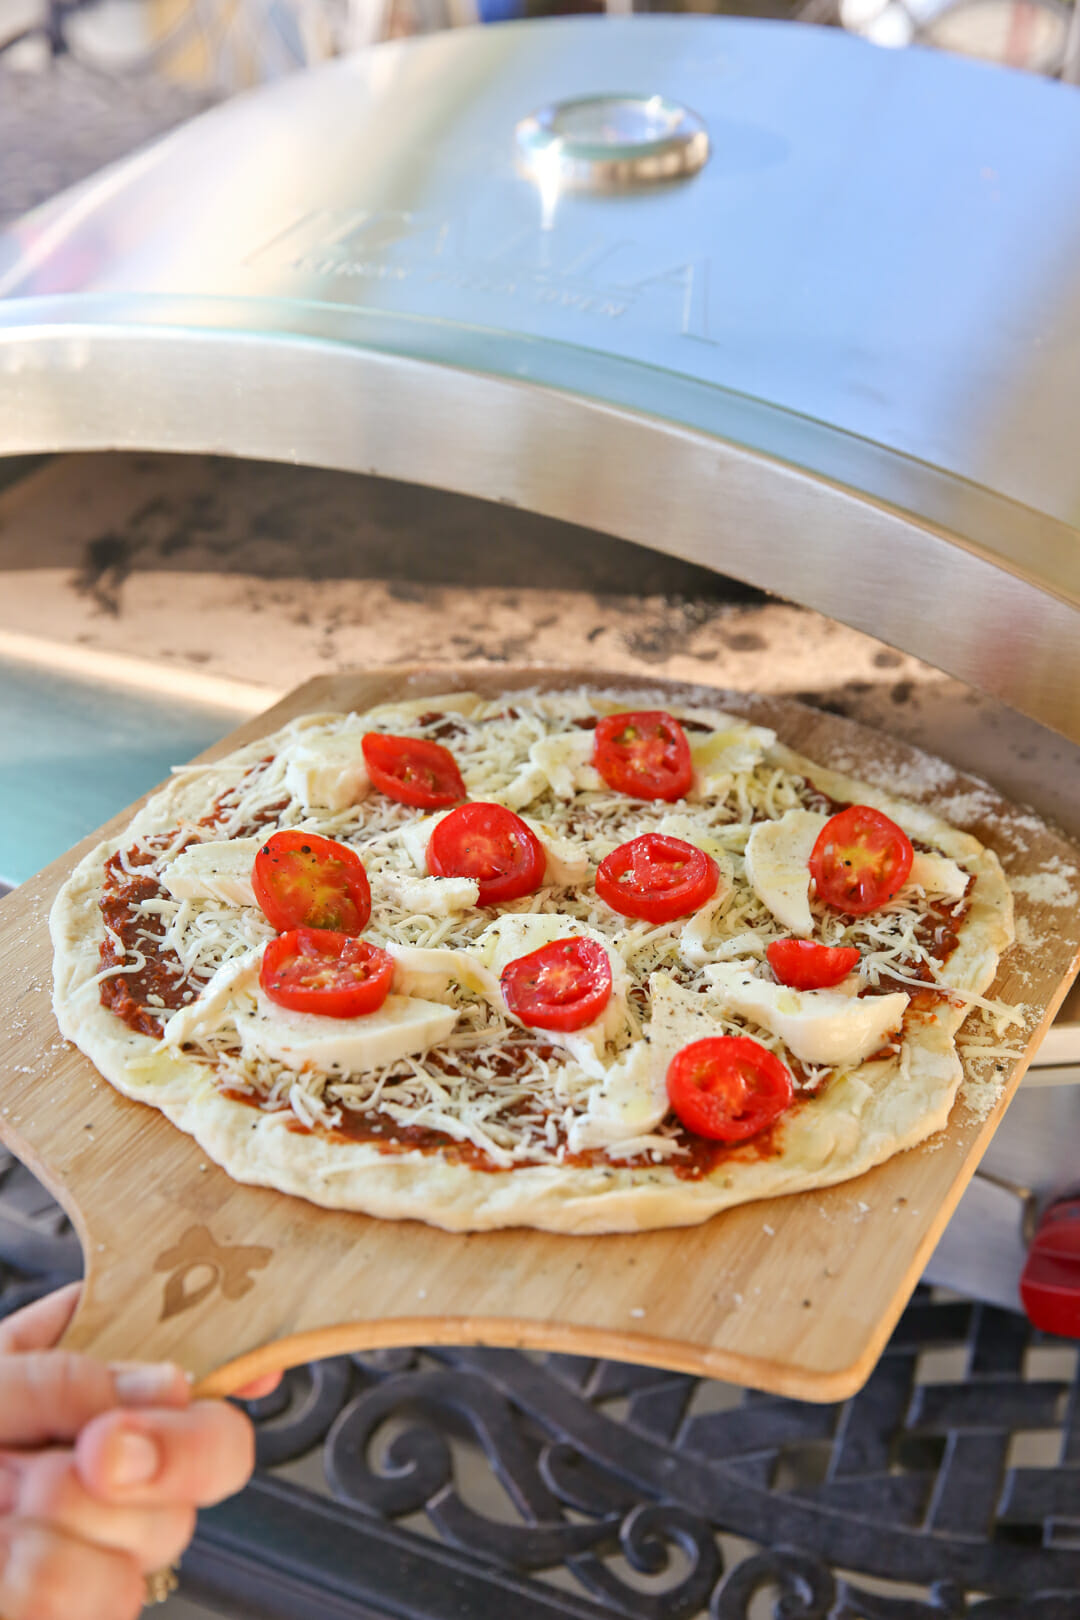
I have 2 great cooking methods I use. One is with my little pizza oven. I may not have an authentic brick oven from Italy but I swear this is the next best thing! This pizza oven is by Camp Chef and I really love it. It’s portable and runs off a little mini propane tank so you can move it around, set it on a back porch table, or even take it with you somewhere if you need to. It gets incredibly hot (a hallmark of authentic pizza ovens), like over 700 degrees and cooks up these pizzas in just a couple minutes. You can check it out on Amazon, here. I also have an Ooni Oven and it is fantastic as well.
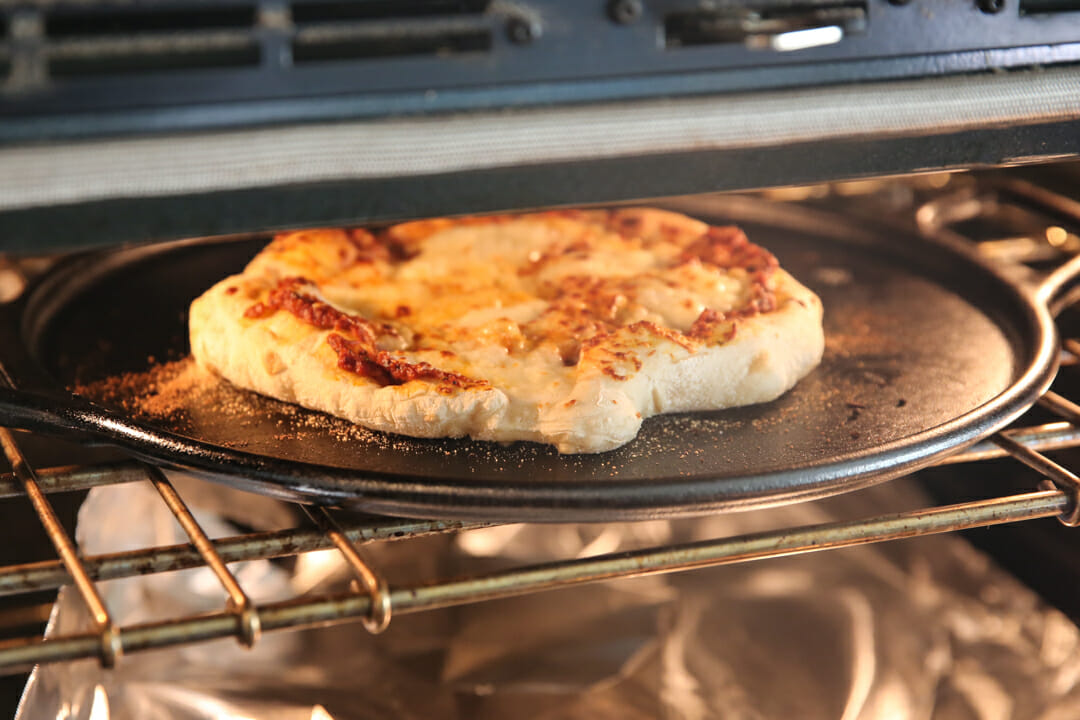
I’ve also had just as great success with this dough in my home oven. The secret in an oven is to do everything you can to mimic a pizza oven.
1. Preheat to the highest possible temperature your oven will go.
2. Place your pizza stone in the oven to preheat along with it. If you don’t have a pizza stone, I love this cast iron pizza pan. If all else fails, use a regular metal baking sheet.
3. Place your rack on the very top. The pizza stone or cast iron pan will take care of getting the bottom side super hot, and placing it on the very top of the oven will give you reflective heat from the top.
Again, see my note above about using an inexpensive pizza peel to transfer your dough to the hot hot pan.
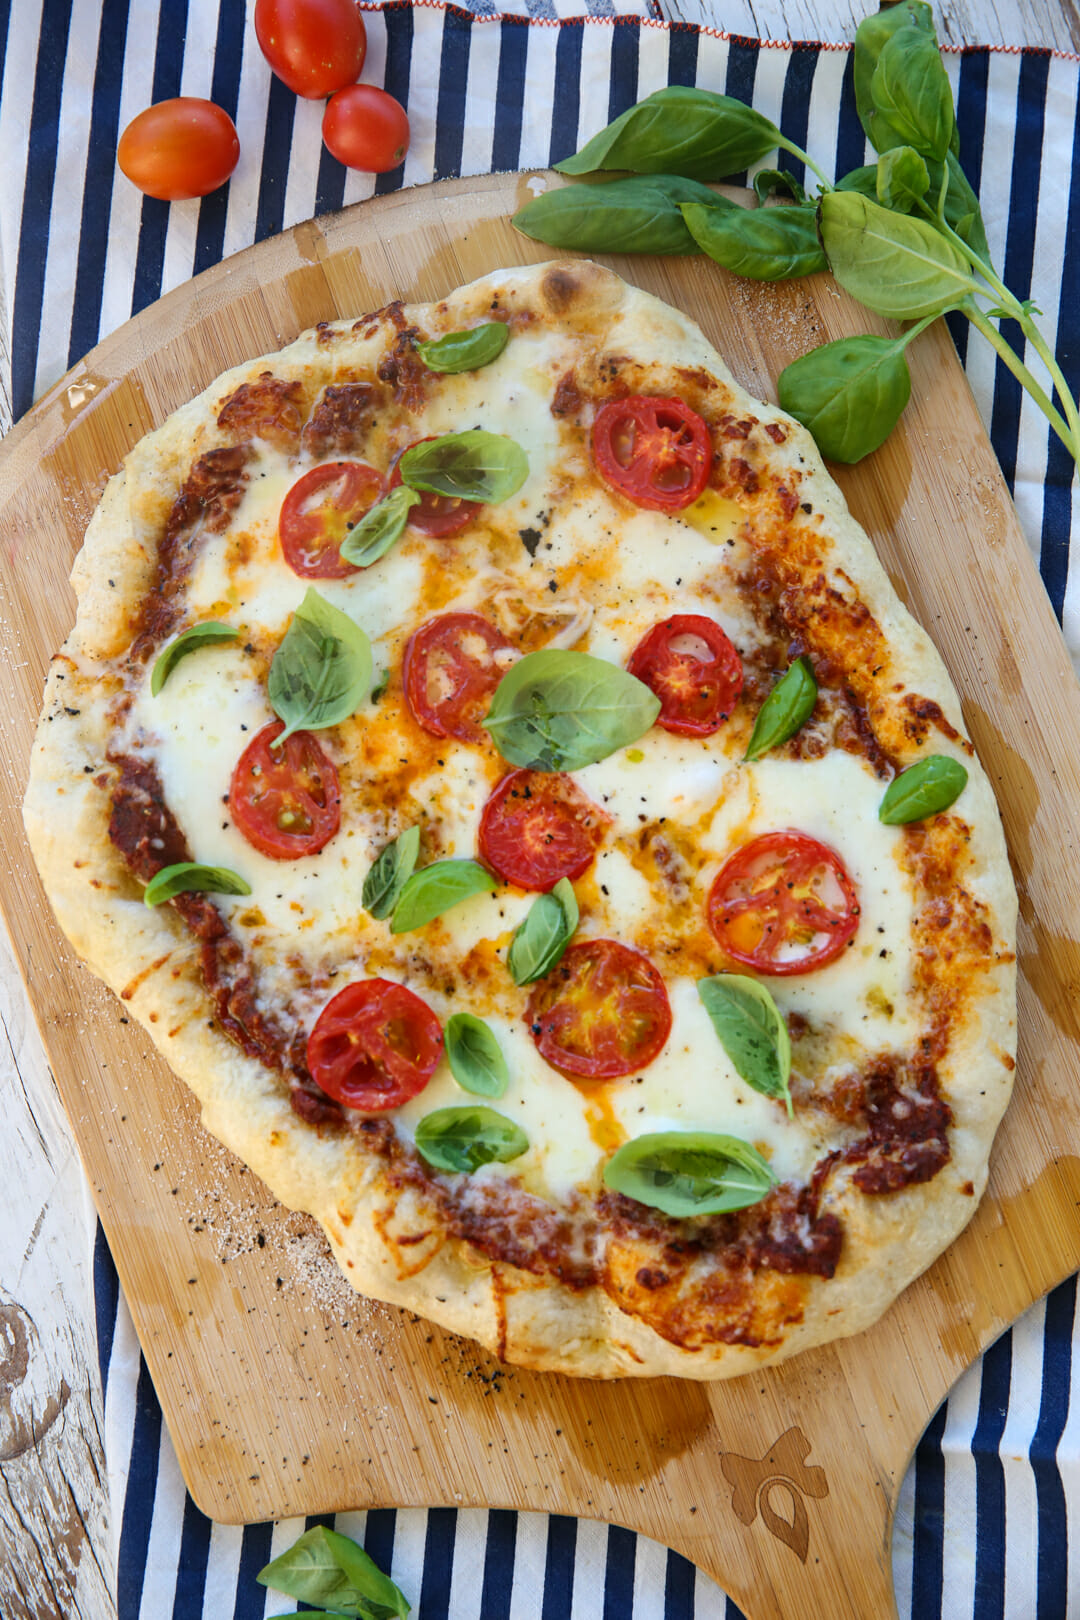
Remember that with this style of pizza LESS is more when it comes to toppings. use a good cheese, like fresh mozzarella, and just a few flavoring agents. On this one pictured I used a really thin layer of my Neapolitan Style Pizza Sauce and topped with fresh mozzarella, garden tomatoes, and fresh basil. I always always drizzle my homemade pizzas with a good olive oil and some fresh cracked pepper, too.
Heaven, I tell ya!
Mix up this dough today and you’ll be eating pizza soon. I have some amaaazing flavor combinations for toppings that I’ll show you in my next few blog posts!
Print
Neapolitan Style Pizza Dough
Description
A restaurant-quality crust perfect for at-home pizza! Pair with the perfect Neapolitan Style Sauce.
Ingredients
- 20 ounces (about 4 cups) 00 Flour, or bread flour.
- 2 teaspoons kosher salt
- 2 1/4 teaspoons instant yeast (1 standard packet)
- 13 ounces water (13oz by weight or volume, it’s the same in this case)
Instructions
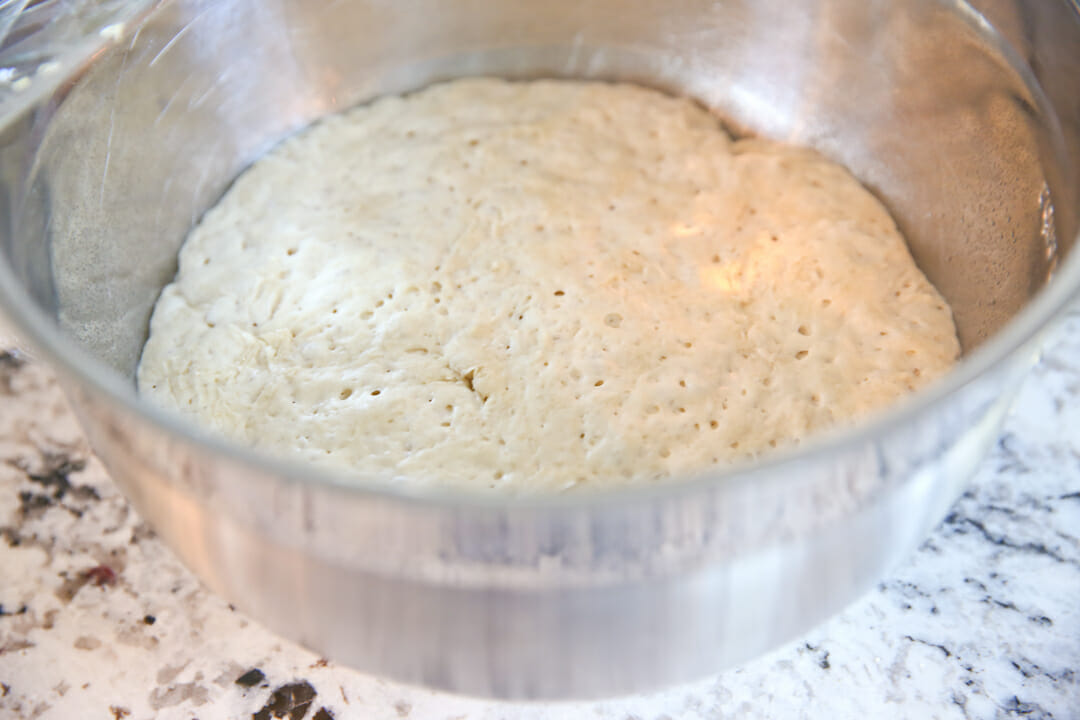
- Combine flour, salt, and yeast in a large bowl and whisk until homogenous. Add water and incorporate into flour using hands until no dry flour remains on bottom of bowl. Cover bowl tightly with plastic wrap and allow to rise at room temperature for 8 to 12 hours.
- Turn dough out onto lightly floured surface and divide into four even balls. Place each in a covered quart-sized deli container or in a zipper-lock freezer bag. Place in refrigerator and allow to rise at least 2 more days, and up to 4.
- Remove from refrigerator, shape into balls, and allow to rest at room temperature for at least 2 hours before baking.
- When ready to bake, place oven rack on highest setting and place a pizza stone, cast iron pizza pan, or baking sheet on it. Preheat oven to highest possible temperature (with pizza stone, etc. in it). Spread cornmeal and/or a little flour on a pizza peel and stretch out dough by hand into an 8-10 inch circle. You should be able to shake the peel and have the crust shimmy back and forth completely loose. If it’s stuck to the peel, fix this problem before proceeding!Top as desired (remember with this style dough, LESS is more when it comes to toppings.) and bake for a few minutes until cheese is melted and dough is bubbly and golden brown on the edges.


Questions & Reviews
Forgot to rate in my first comment! Delicious!!
This was really good. It didn’t turn out like your pictures but I only had a cookie sheet & 550 oven. I will definitely try it again after I get a pizza stone!
Perfect flavor and texture! Thank you so much for ending my ten year search for the perfect crust recipe.
Would this dough be good for calzones? Thx!
It would definitely work, but it’s not soft and pillowy (if that’s what you’re looking for), it’s more soft and chewy, if that makes sense 🙂 .
Very good pizza crust! Didn’t change a thing….easy to make.
These were amazing! The flavor was delicious and I LOVED making the crust ahead of time! I’ll definitely be making this again and again!
YAY! So glad!
Is there a reason for dividing the dough in the fridge or could it be left in one large ball? I so want to try this!! Thanks for another great recipe!
Well it just makes sense to divide it into the size you’ll actually be using, and 1/4 of the dough is a good size for a pizza of this style. If for some reason you want to leave it all together you certainly could.
I’m so excited to try this!! I’d given up on the perfect pizza crust since I don’t have a pizza oven. I’ve made dough 24 hours in advance, but never days. And putting the rack with my stone on the top of the oven? Genius! I’m making the dough now so it will be ready for Friday night. I’ll report back!
Hoping your results were as great as mine! Good luck!
I am excited to try this. We make homemade pizza nearly every Friday and yet I still haven’t found the “perfect” crust.
I do have one question:
What is the purpose of dividing the dough and letting it sit in individual portions? Have you tried allowing it to rest for those 2-4 days in one large batch and then dividing it? I would prefer to rest it in one large batch, but not at the sacrifice of flavor or texture.
This looks yummy! I have been experimenting with getting the perfect thin crust and have been using a hot oven with a pre-heated stone too. I’ll have to try the top rack trick. Have a fun trip.
Looks great! Do you think this recipe would work with whole wheat flour?
Can we use all-purpose flour instead of bread flour?
This pizza looks amazing! Totally trying this soon!
Can this dough be frozen after the 2-4 days in the fridge? Or can I halve the recipe with the same results? I want to try this but there’s just two of us and that’s a lot of dough to use in just a few days. :o) Thanks!