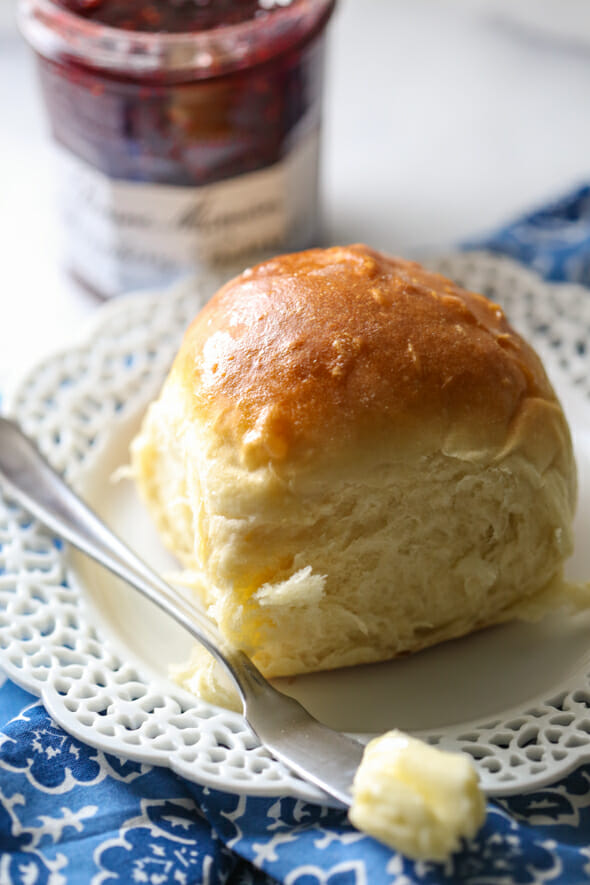
Is there anything better than warm bread smeared with melty butter? Thousands of people across the country have fallen in love with these dinner rolls, and for good reason- they truly are THE BEST! They are beginner friendly, so if you’re nervous about working with yeast, don’t be. This recipe makes two full pans of rolls and will definitely fill a standard Kitchenaid mixer to the absolute brim, so feel free to cut it in half if you are feeding a smaller crowd.
Ingredient Notes
- Milk – Whole milk is best. You can use 2% in a pinch, but avoid 1% or skim.
- Yeast – This recipe calls for active dry yeast. I have not tried using rapid rise yeast, where the first rise is replaced by a 10 minute rest of the dough. If you feel like experimenting feel free to give it a try, just know it hasn’t been tested for this particular recipe. If you’re nervous about working with yeast, check out this post on tips for working with yeast dough.
- Eggs – You’ll notice the recipe calls for beaten eggs. Why should you beat your eggs first? Same reason you should combine your dry ingredients before adding them to moist ingredients when making cookies and cakes–it ensures everything is well-mixed and can be evenly-distributed through your dough or batter. If you add the whole eggs, your dough may not be as consistent.
How to Make the World’s Best Dinner Rolls
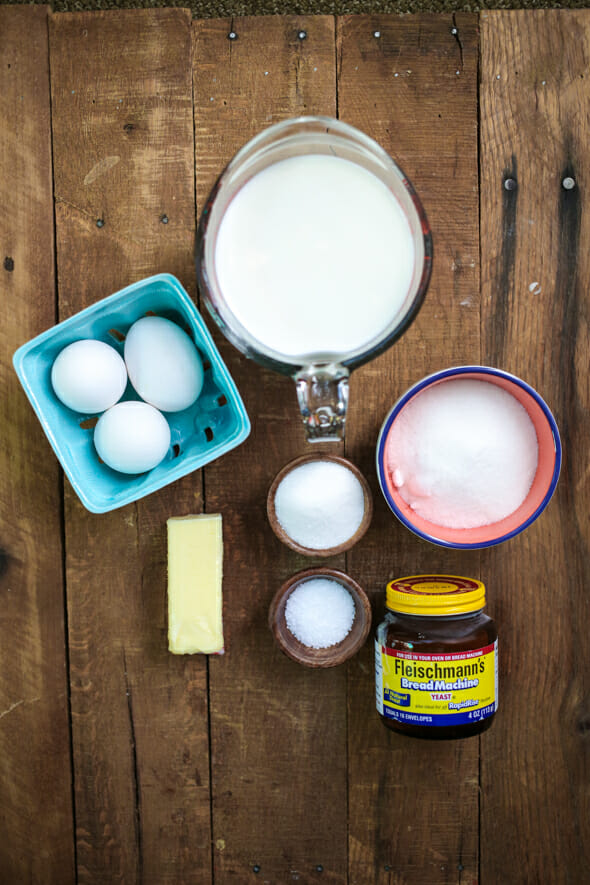
Ready? Awesome. You’ll need whole milk, all-purpose flour, yeast, sugar, salt, butter, and eggs. Nothing fancy.
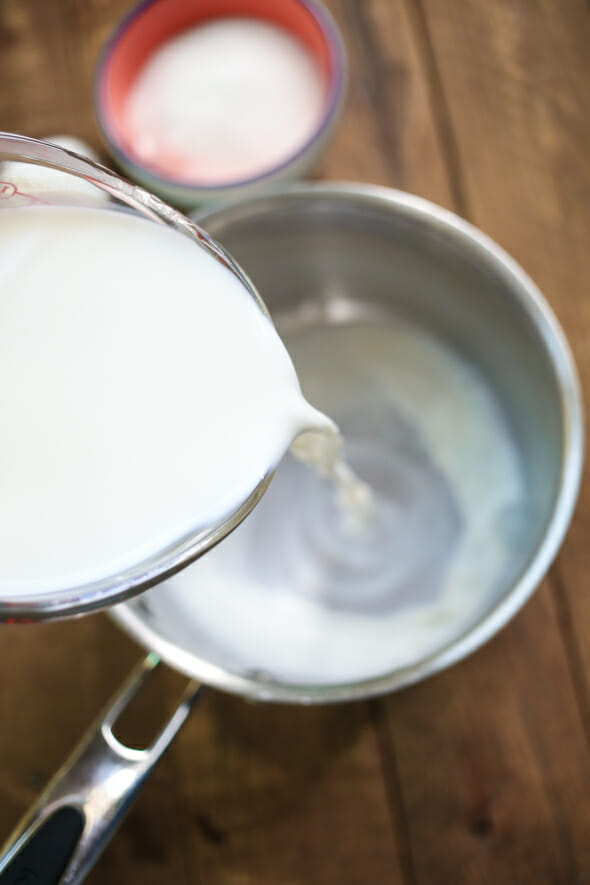
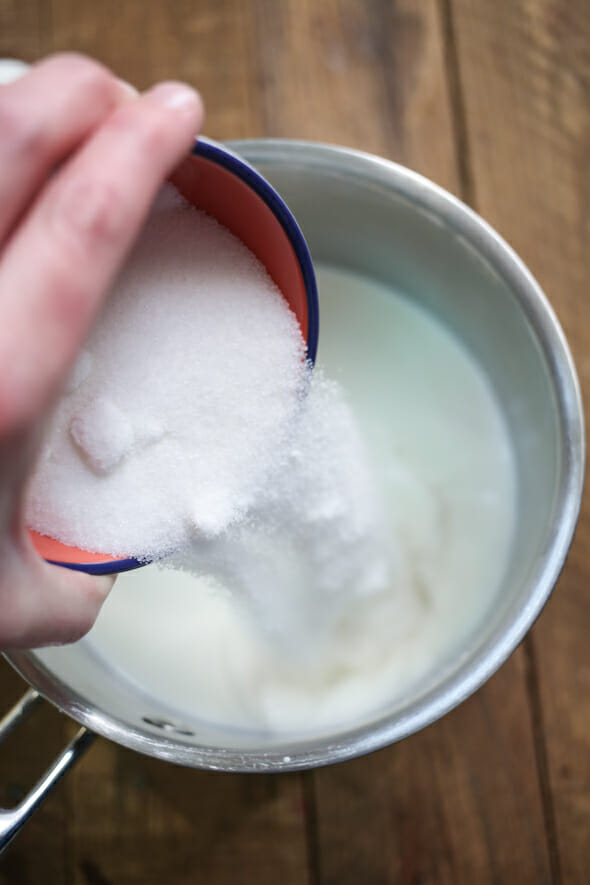
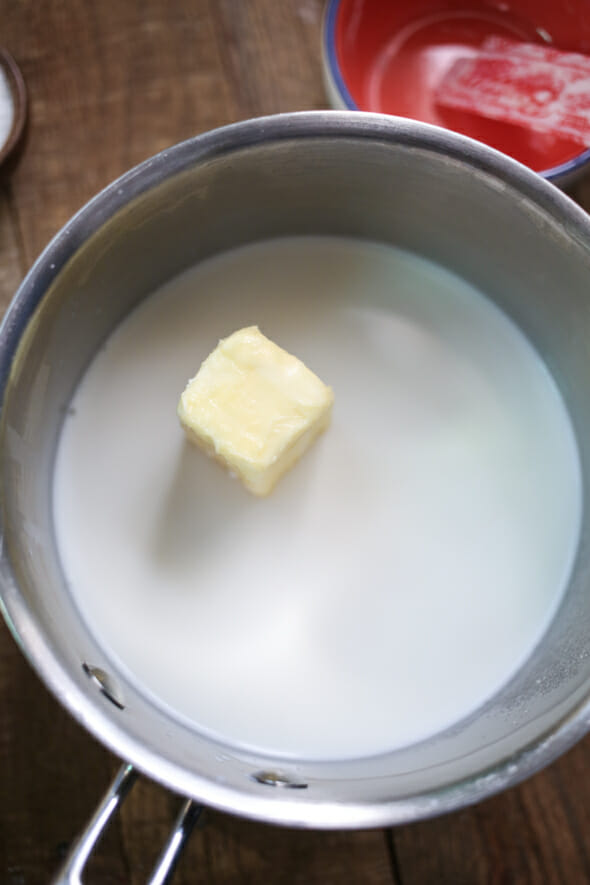
- Combine milk, sugar, butter, and salt in a medium saucepan. Heat over medium heat until butter melts. It’s salty. It’s sweet. Yum.
sugar butter and salt in a medium saucepan. Heat over medium heat until butter melts. It’s salty. It’s sweet. Yum.
butter and salt in a medium saucepan. Heat over medium heat until butter melts. It’s salty. It’s sweet. Yum.
and salt in a medium saucepan. Heat over medium heat until butter melts.
2. Remove from heat. Allow to cool to lukewarm. I usually rub some ice cubes along the sides of the pan or pop the entire pan in a sink full of ice cubes to cool the mixture down because this step can take forever. This step is really important because if the mixture is too hot, it will kill the yeast.
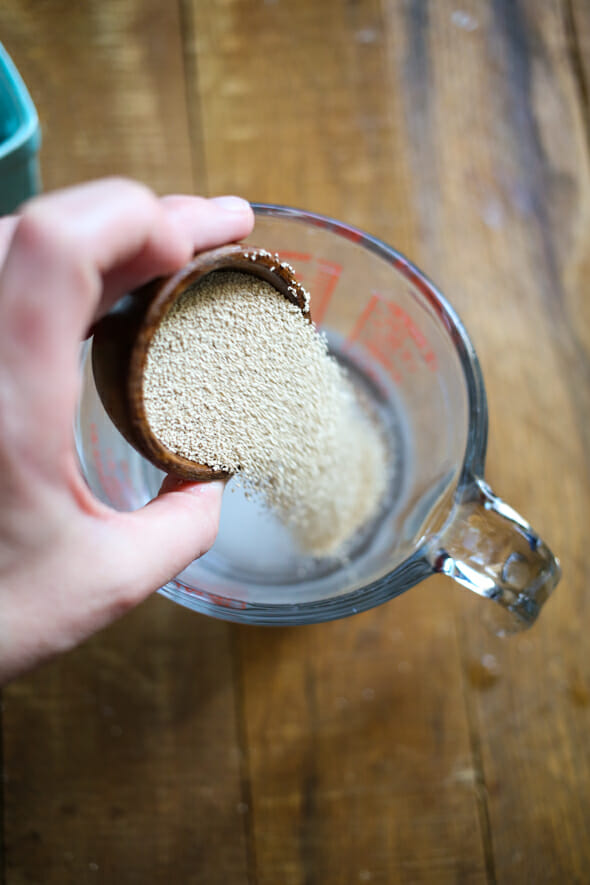
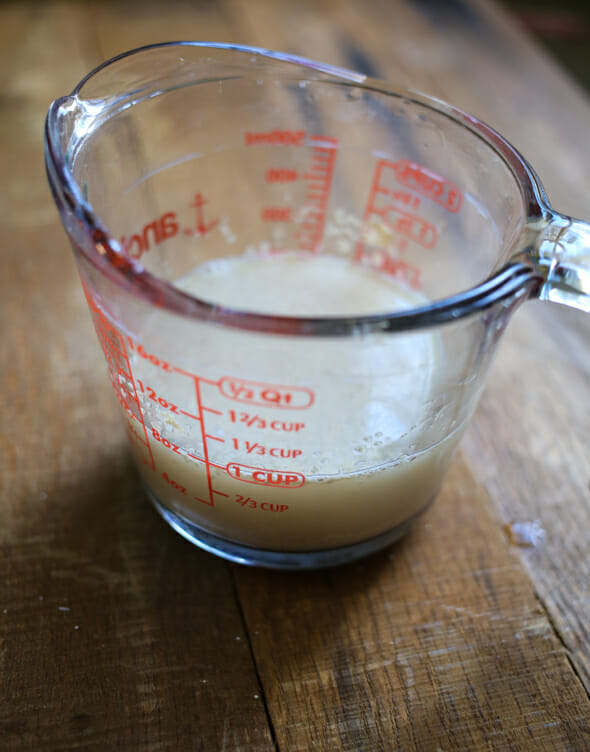
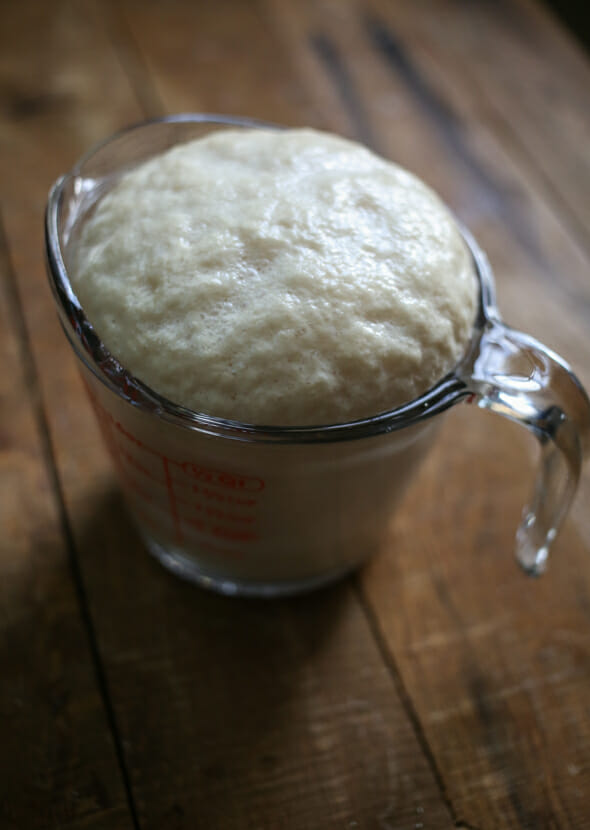
3. While the milk mixture is cooling, dissolve the yeast and sugar in warm water. Let stand about 10 minutes or until the yeast is very bubbly and the mixture has risen significantly.
Before:
10 minutes later:
If the yeast hasn’t bubbled, you’ll need to repeat this step–moving on with yeast that hasn’t been activated properly will only end in heartache.
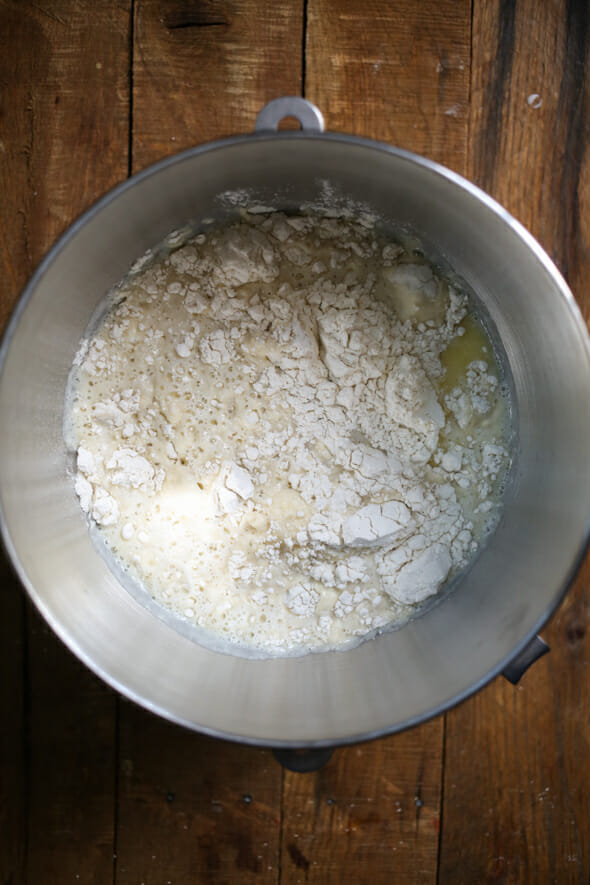
4. In a large mixing bowl, combine 3 cups of flour and milk mixture.
Beat on low for 30 seconds, scraping sides of bowl constantly. Add yeast mixture and beat on high for 3 minutes.
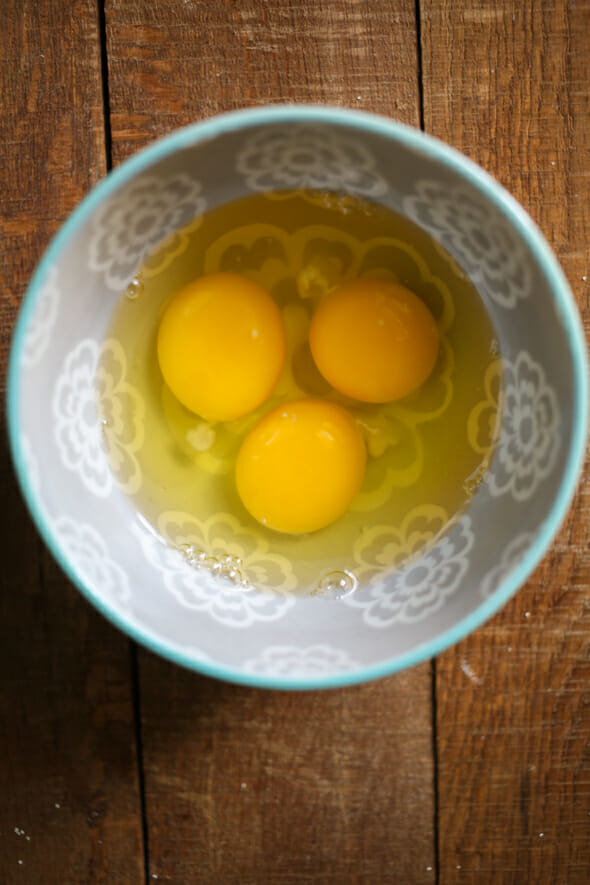
5. Crack your eggs and give them a good whisking (this little heart whisk is one of my favorite tools for jobs like this). Add to dough mixture and mix until well combined.
6. Stir in as much remaining flour as needed to make a soft dough.
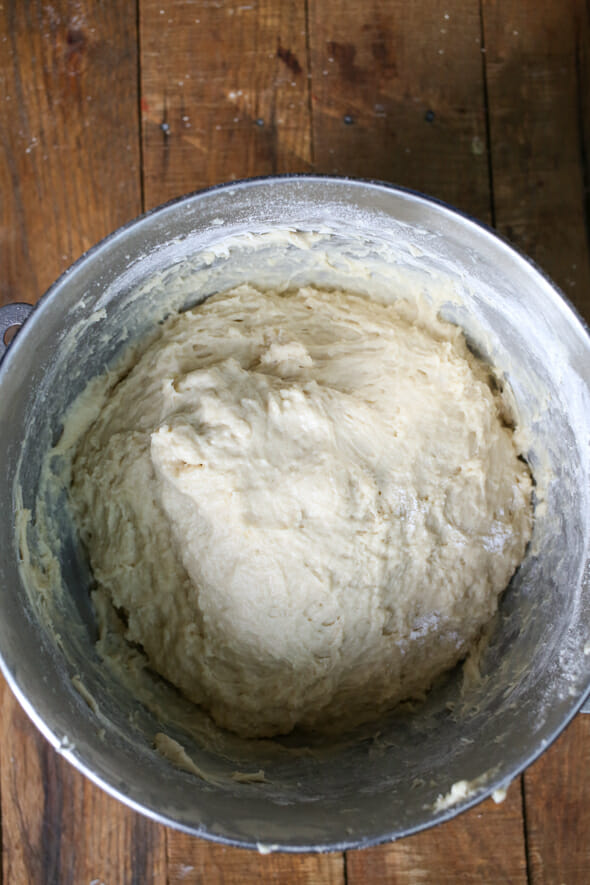
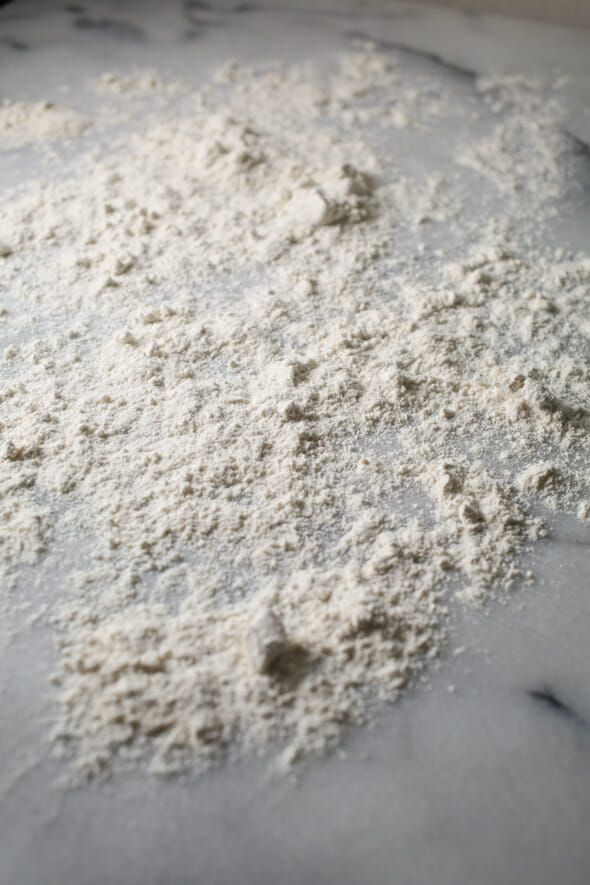
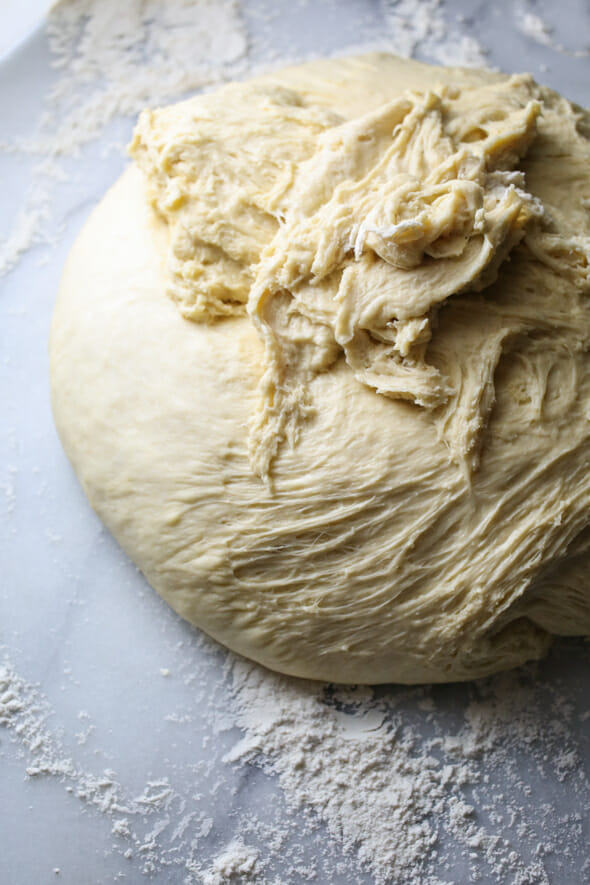
8. Punch down dough. Lightly flour your work surface
and turn dough out onto surface.
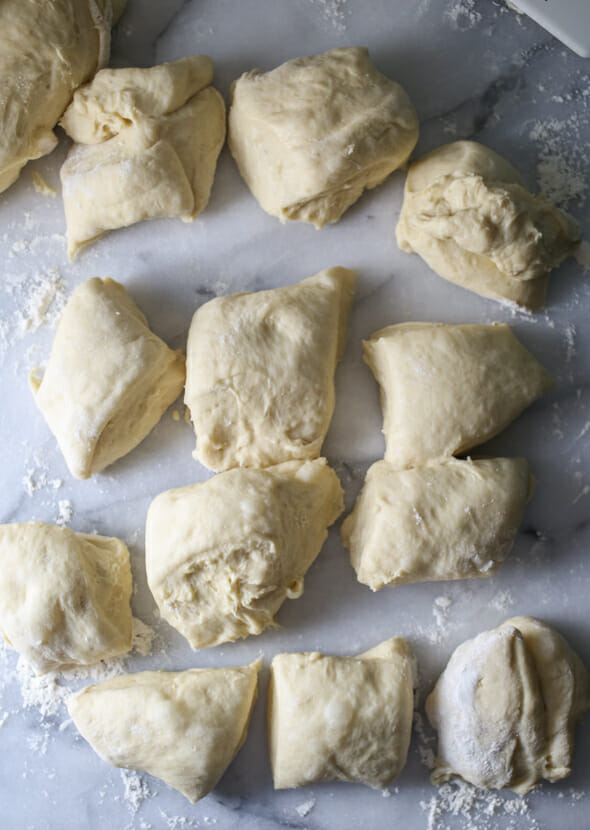
Divide in half.
9. Spray 2 9×13 glass pans with cooking spray. Roll first portion of dough into a rectangle and then cut it into 12 equal-sized pieces.
I like to use a pizza cutter because it has a blade on each side (a plastic bowl scraper is also fantastic), so it cuts right through dough without sticking to the blade. This dough should be very easy to work with, almost like playdough. Shape each piece into a ball and place in prepared pan. Repeat with remaining dough in the second pan.
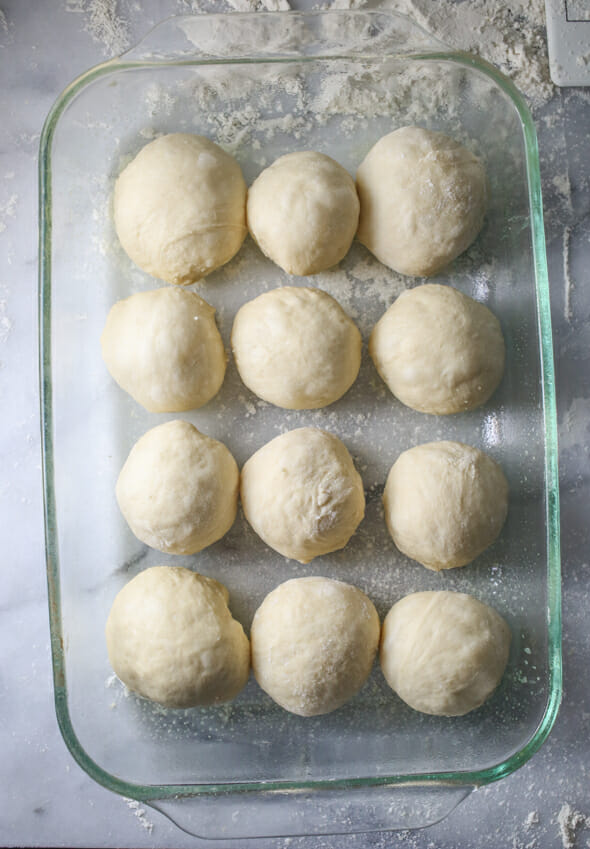
Cover with a clean cloth and allow to rise in a warm place for about 30 minutes. When dough has about 15-20 minutes to go (depending on your oven), preheat oven to 375.
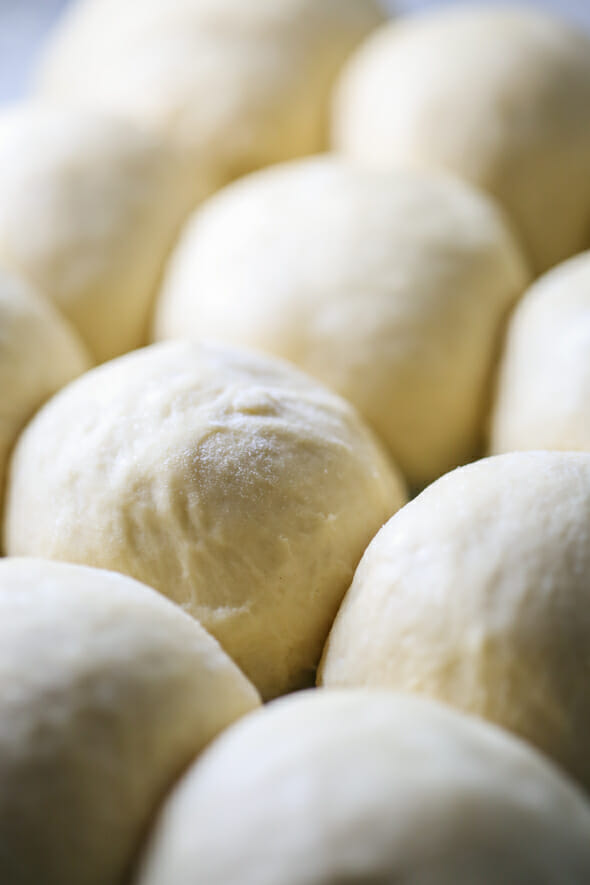
10. Bake for 15-18 minutes or until golden-brown.
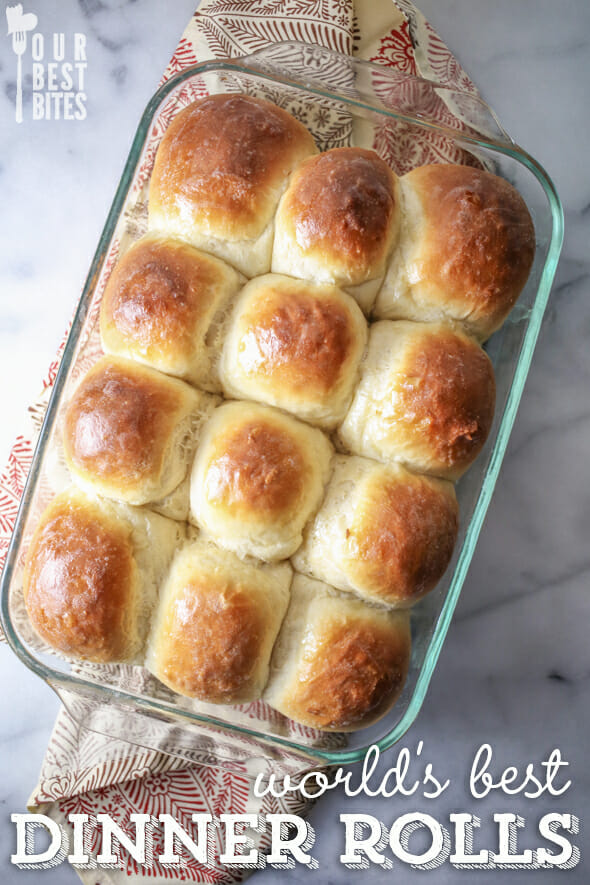
When done, remove from oven. Rub a stick of cold butter over the tops of the rolls. You must now eat one. Now. While it’s hot. Then pop the rest into a bowl and no one will ever know that you cheated.
P.S. Using this cinnamon roll filling or these cinnamon or orange roll fillings, this dough makes fabulous cinnamon or orange rolls. Just bake at 375 for 15-20 minutes or until golden brown.
Related Recipes
Short on time? These One-Hour Dinner Rolls are on the table in a flash.
These French Rolls or this Easy No Knead Overnight Artisan Bread are other great alternatives to traditional rolls.
For Sweet rolls, check out these Overnight Cinnamon Rolls or Everyday Cinnamon Rolls.
FAQs
- Can I make these ahead and freeze? While I do think rolls are best fresh and hot the day you make them, you can in fact prepare these ahead of time. Make dough through the roll-shaping step. Place your shaped rolls on parchment paper in a single layer and place in freezer. Once frozen solid you can place them in a bag together. When ready to cook, leave at room temperature, lightly covered with a piece of plastic wrap sprayed with non-stick spray. They will need to defrost and then also have time to rise (think store-bought rhodes rolls) so you will want to leave plenty of time for that (I’m guessing 3-5 hours). You can also cook the rolls, cool completely, and then freeze immediately.
Did You Make This?
I’d love to hear from you! Snap a picture and tag me on Instagram, and then come back and give this recipe a rating!
Print
World’s Best Dinner Rolls
- Total Time: 2 1/2 hours
- Yield: 24 rolls
Description
These reader favorite dinner rolls are soft and fluffy. Perfect for holiday dinners!
Ingredients
- 2 cups whole milk (if you’re in a pinch, you can use 2%, but whole is best. Don’t use 1% or skim)
- ½ cup + 1 tablespoon sugar, divided
- 1/3 cup (5 1/3 tablespoons) butter
- 2 teaspoons kosher salt
- 2 packages active dry yeast (or 4 1/2 tsp.)
- 2/3 cup warm (105-115-degree) water
- 8–9 cups all-purpose flour
- 3 beaten eggs
Instructions
- Combine milk, 1/2 cup sugar, butter, and salt in a medium saucepan. Heat over medium heat until butter melts. Remove from heat. Allow to cool to lukewarm. I usually rub some ice cubes along the sides of the pan or pop the entire pan in a sink full of ice cubes to cool the mixture down because this step can take forever. This step is really important because if the mixture is too hot, it will kill the yeast.
- While the milk mixture is cooling, dissolve the yeast and 1 tablespoon sugar in warm water. Let stand about 10 minutes. If the yeast hasn’t bubbled, you’ll need to repeat this step–moving on with yeast that hasn’t been activated properly will only end in heartache.
- In a large mixing bowl, combine 3 cups flour and milk mixture. Beat on low for 30 seconds, scraping sides of bowl constantly. Add yeast mixture and beat on high for 3 minutes.
- Add beaten eggs.
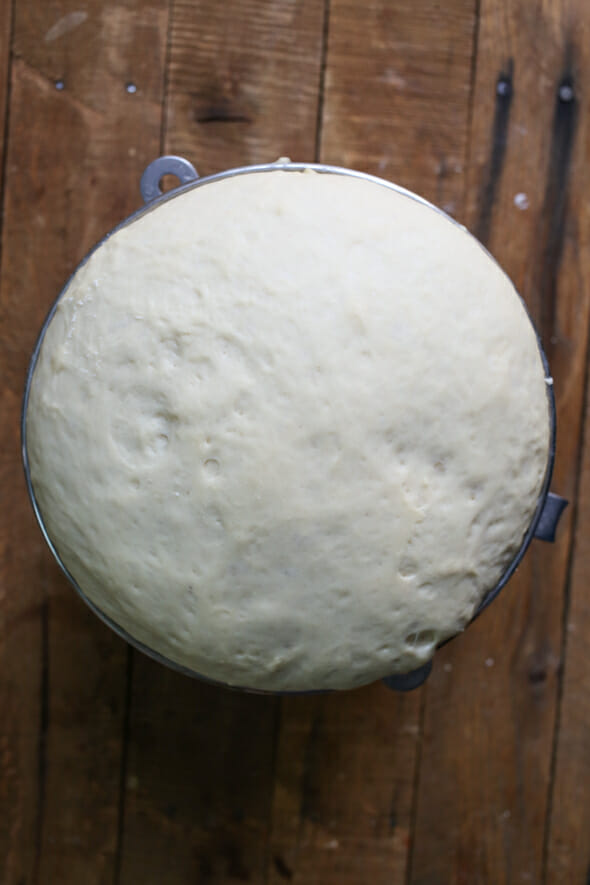
- Stir in as much remaining flour as needed to make a soft dough. This dough should be very soft–it will be coming away from the sides of the bowl, but it will still stick to your finger when you touch it. Don’t worry, it will firm up during the rising process. Part of what makes these rolls so good is that they’re so soft and light; if you add too much flour, they will be heavy and dense. Place the bowl in a warm place and cover with a clean towel; allow to rise 1 hour.
- Punch down dough. Lightly flour your work surface and turn dough out onto surface. Divide in half.
- Spray 2 9×13 glass pans with cooking spray. Roll first portion of dough into a rectangle and then cut it into 12 equal-sized pieces. I like to use a pizza cutter because it has a blade on each side, so it cuts right through dough without sticking to the blade. This dough should be very easy to work with, almost like playdough. Shape each piece into a ball and place in prepared pan. Repeat with remaining dough in the second pan.
- Cover with a clean cloth and allow to rise in a warm place for about 30 minutes. When dough has about 15-20 minutes to go (depending on your oven), preheat oven to 375.
- Bake for 15-18 minutes or until golden-brown.
- When done, remove from oven. Rub a stick of cold butter over the tops of the rolls.
Notes
- MAKING AHEAD: We have received tons of comments and emails asking about making these rolls ahead, or freezing the dough, etc. Note that we have never before tried any of these methods so we can’t give you an answer for sure. You can try freezing the dough after they have been shaped (but before the second rise) and you can certainly try cooking and cooling completely and then freezing. Just keep in mind we only make these fresh and eat them hot from the pan so that’s all the info we can give you.
- Prep Time: about 2 hours
- Cook Time: 15-18 minutes


Questions & Reviews
These are best made and baked the same day. I tried making a batch and letting them sit cold over night after I draped them then finish 2nd rise the next day and bake. Needless to say they did not turn out as yummy they tasted a bit too “yeasty” like beer bread. So if you have to make them ahead bake them and then warm them the next day. Also we love this recipe my Daughter calls them “her rolls” because she is the one that googled worlds best rolls and found this recipe not because she makes them.. And we follow the directions and they turn out perfect every time. Just not the time we tried do mix them a day a head.
Can the recipe be successfully halved-don’t need 24 rolls for upcoming Easter dinner ?
Sure! Try one whole egg and an egg yolk when dividing the eggs. 🙂
I made these for Thanksgiving and everyone loved them! Very easy to make in the KitchenAid. I will be making these again!
I just made a batch of these, they’re amazing! Just for anyone wondering, they made an amazing loaf of bread and sub rolls as well! Thanks for the recipe! Pretty much fool proof!
Just a head’s up on making these ahead of time. I’ve used this method a couple times and it works great to cut down on prep time the day you actually need them. Once I shape the dough and put it in the pan, I cover with saran wrap and place in the fridge. They will rise a bit overnight, but I still do a full second rise when I’m ready to bake them. I turn on the oven for about 1 minute to get a little warmth in there, then turn it off, remove the plastic wrap from the pans and place them in the oven to rise for 20 minutes. I take them out around the 20 minute mark so that I can start preheating the oven while they complete the last 10 minutes of rising.
This has been a lifesaver to be able to prep everything the day before, during my son’s naptime, and not have to stress about making rolls in the morning for a gathering at lunchtime!
Thanks for this tip! Totally doing this this week!
So, let me tell you about these rolls. They really are the World’s Best Dinner Rolls. It is a very forgiving recipe too. I was making them yesterday and someone was talking to me. Obviously, I can’t talk and cook at the same time because I forgot to put the salt in! Oh, what to do. I got the dough back out of the bowl it was rising in and worked in the salt. I had no idea whether that would work or not, but I didn’t want to give up on them just yet. Also, I had to substitute the whole milk as I didn’t have any. They turned out so very perfect and delicious despite all I had to do to them. That’s why I say it is a very forgiving recipe. I think I need to add I’ve made these rolls for several years and they are always perfect.
These were very delicious, thanks! I did actually use 1% milk, because that’s all I had, and they still turned out lovely! What exactly would have been the difference?
Can these be baked in anything other that a glass baking dish?
You can bake them in anything you like 🙂
can these be baked in anything other than a glass baking dish?
Yep!! I baked 4 dozen in disposable aluminum pans and they came out beautifully!
Made these tonight (1/2’d the recipe). I’ve made rolls maybe twice before in my entire life. These turned out soooo good!! This recipe is a keeper!
I made these today, and they were amazing!!! Thanks, and Happy Thanksgiving!! 🙂
Has anyone tried to use this dough to make loaf bread? If so how long would you bake it?
These look great – going to try them for Thanksgiving this year!
I just made your dinner rolls as a practice run before Thanksgiving. I’ve never made any kind of bread or rolls by hand before . I started with the three cups of flour then added 1 quarter cup at a time until I got the dough to what look like the same as in your picture. I ended up with a total of 7 and a half cups of flour . When I went to punch down the dough, the dough completely stuck to my hands. And when I tried to turn it out it was completely stuck to the bowl. What did I do wrong?
Sounds like you need more flour–I usually need between 8-9 cups of flour total. When you touch it, it should just barely stick to your finger and it should be pulling away from the sides of the bowl if you grab a chunk of it. Hope that helps!
Does it need to be a glass pan?
No, but if you use metal, make sure it’s not a dark pan–they’ll brown on bottom before the insides can cook. 🙂
Can these be made using a bread machine?
I’ve never tried it (I got rid of my bread machine when we moved to Louisiana, which was pre-OBB), but people have said that they’ve done it and it’s been successful! 🙂
Would coconut milk work?
I’ve never tried it and my first instinct is that I wouldn’t do it. But. If you really can’t eat dairy, you could always give it a shot.
I think you’ve finally convinced me to go out and buy some whole milk!
I’ve had no success with making dinner rolls, until I stumbled on this recipe. I used active/dry yeast. I had a time with the rising part, but decided to let them rise much longer than the recipe called for to see what would happen. Once they started rising-look out! they turned out great, and tasted light and fluffy. My husband was even impressed! Thanks for a great recipe. I’ll be making these again very soon.
These rose beautifully…best roll recipe I have tried to date!
These rolls are really the worlds best. I have made them a few times and get compliments everytime. My mom actually asked me to make rolls for thanksgiving again this year since she said I make good rolls.Thank you for the amazing recipe. This has become my go to roll recipe.
My daughter makes your dinner rolls all the time and her family loves them! I’m going to make them this weekend and was wondering if you use the beater or dough hook while mixing the ingredients.
I got your cookbook for my birthday and I love it! We had grilled taco chicken and homemade flour tortillas for dinner tonight. Yummy! Our favorite is the guiltless alfredo. That’s what I usually fix to take to people after their surgeries or having babies. I’m always asked for the recipe too. Yes,I could go on and on 🙂
Thanks ladies,
Diane Combs
I’ve made this recipe 2 times. One time as dinner rolls & once as cinnamon rolls. I love the recipe but does anyone else find that the dough is too much for a classic Kitchen Aid stand mixer? The dough goes the whole way to the top of the mixer and makes a mess around the attachment area – YUCK!
Thank you! They turned out amazing. My kids love them
When you use the mixer, do you use the bread hook the entire time?
I’ve tried freezing the dough after the 1st rise…trust me it doesnt work. I’ve tried a few other somewhat easier & less time consuming recipes and I keep going back to this one. This is by far the best recipe ever….its a labor of love!
Made these for Christmas dinner yesterday and they were amazing! Thanks!
My nieces call these “Donut rolls” and I am asked to make them for all family gatherings. I have my handy cookbook out, ready…but have decided to wait until Christmas eve to make them, as there just won’t be enough time on Christmas day to make them.
Hi there — thanks so much for this recipe — It was my first time ever making dinner rolls, and these were a huge hit at Thanksgiving dinner! Just one question — the only adjustment I’d like to make next time would be to reduce the sugar for a bit less sweetness — do you know if that should be ok, without disrupting the chemistry of the recipe? Thanks a lot!
Yana – it shouldn’t be a problem at all! I adjust roll recipes’ sugar content depending on if I am using them as dinner rolls or cinnamon rolls. Don’t adjust how much you put with the yeast, but maybe do a tablespoon or 2 less when you make the milk mixture.
Tried these today for Thanksgiving, and they were perfect!! Thanks for the recipe! Instead of using the stove (because it’s Thanksgiving, and all the other pots were being used, I melted the butter in the microwave, and added it to the milk/sugar/salt. Worked like a charm! You gals are great!