Is there anything better than warm bread smeared with melty butter? Thousands of people across the country have fallen in love with these dinner rolls, and for good reason- they truly are THE BEST! They are beginner friendly, so if you’re nervous about working with yeast, don’t be. This recipe makes two full pans of rolls and will definitely fill a standard Kitchenaid mixer to the absolute brim, so feel free to cut it in half if you are feeding a smaller crowd.
Ingredient Notes
- Milk – Whole milk is best. You can use 2% in a pinch, but avoid 1% or skim.
- Yeast – This recipe calls for active dry yeast. I have not tried using rapid rise yeast, where the first rise is replaced by a 10 minute rest of the dough. If you feel like experimenting feel free to give it a try, just know it hasn’t been tested for this particular recipe. If you’re nervous about working with yeast, check out this post on tips for working with yeast dough.
- Eggs – You’ll notice the recipe calls for beaten eggs. Why should you beat your eggs first? Same reason you should combine your dry ingredients before adding them to moist ingredients when making cookies and cakes–it ensures everything is well-mixed and can be evenly-distributed through your dough or batter. If you add the whole eggs, your dough may not be as consistent.
How to Make the World’s Best Dinner Rolls
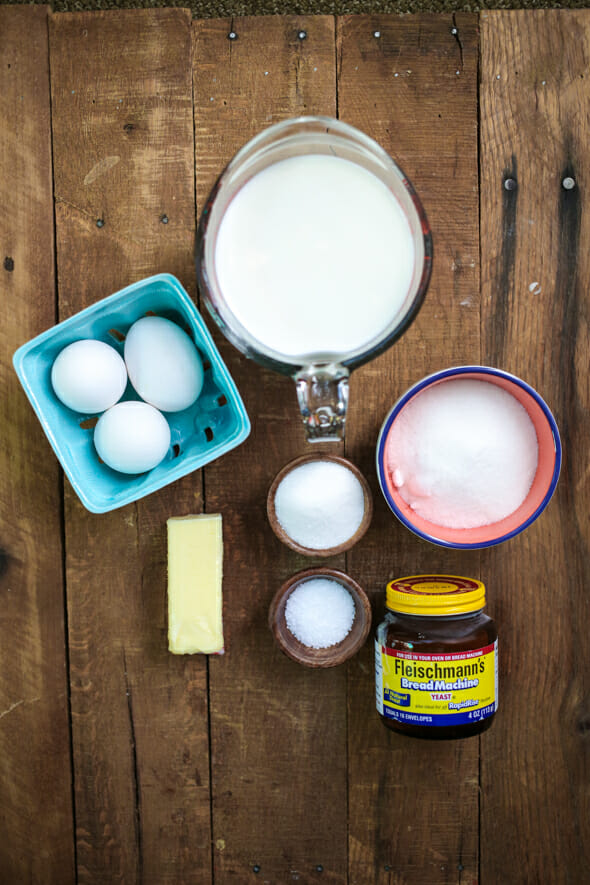
Ready? Awesome. You’ll need whole milk, all-purpose flour, yeast, sugar, salt, butter, and eggs. Nothing fancy.
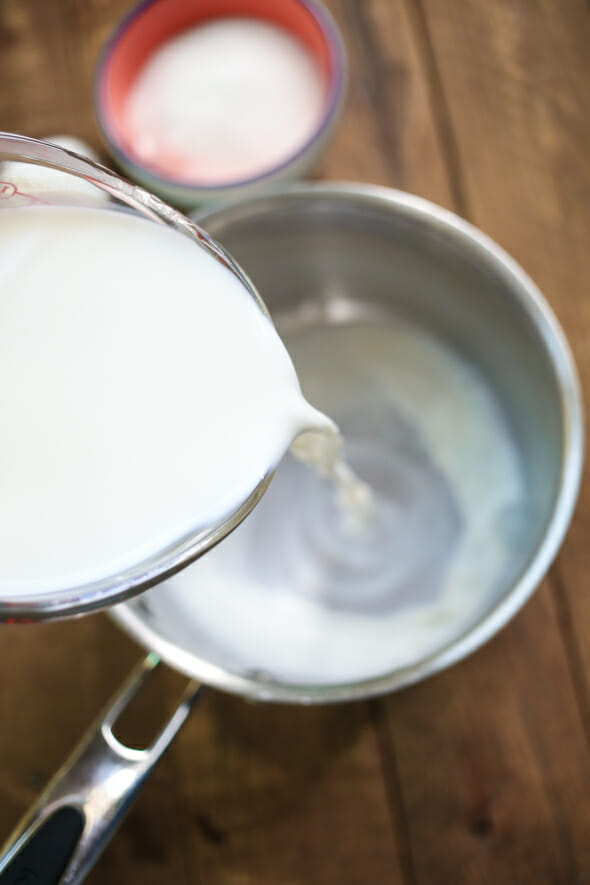
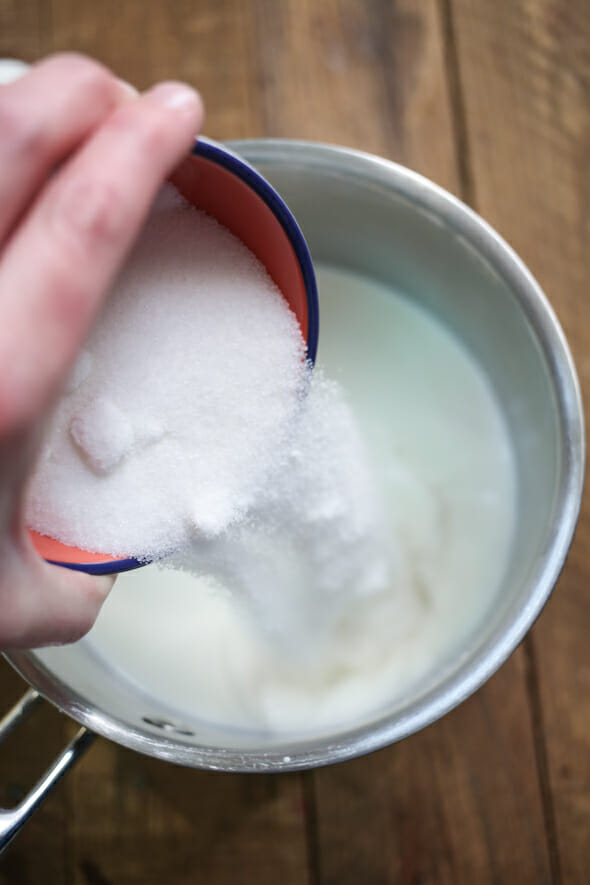
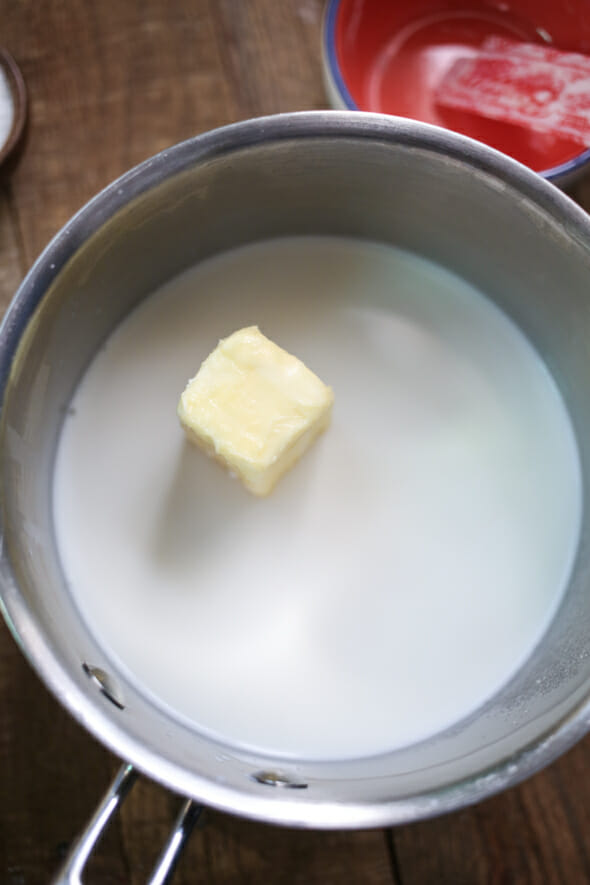
- Combine milk, sugar, butter, and salt in a medium saucepan. Heat over medium heat until butter melts. It’s salty. It’s sweet. Yum.
sugar butter and salt in a medium saucepan. Heat over medium heat until butter melts. It’s salty. It’s sweet. Yum.
butter and salt in a medium saucepan. Heat over medium heat until butter melts. It’s salty. It’s sweet. Yum.
and salt in a medium saucepan. Heat over medium heat until butter melts.
2. Remove from heat. Allow to cool to lukewarm. I usually rub some ice cubes along the sides of the pan or pop the entire pan in a sink full of ice cubes to cool the mixture down because this step can take forever. This step is really important because if the mixture is too hot, it will kill the yeast.
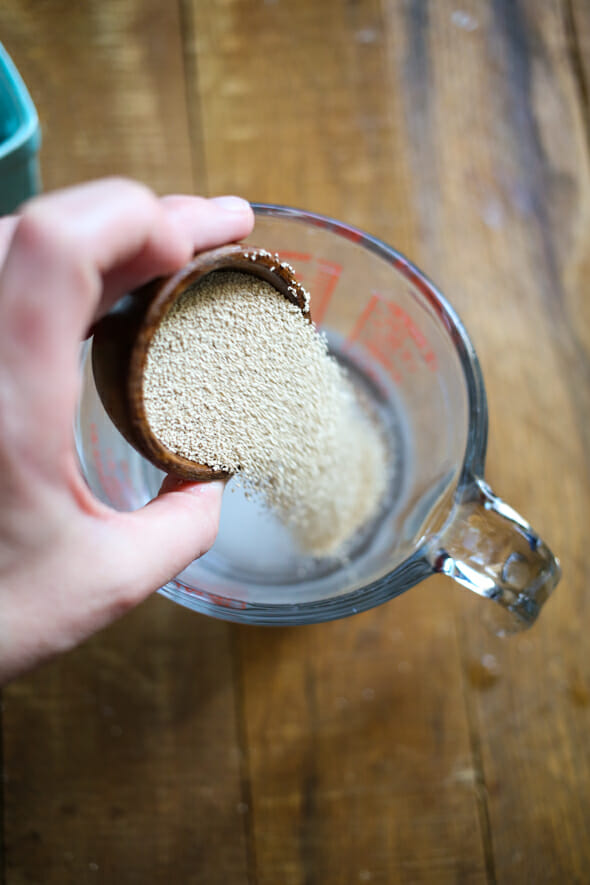
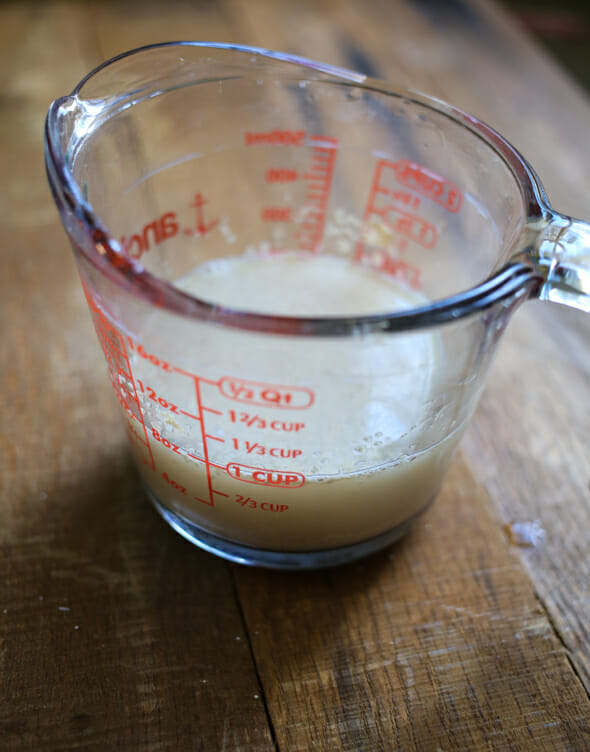
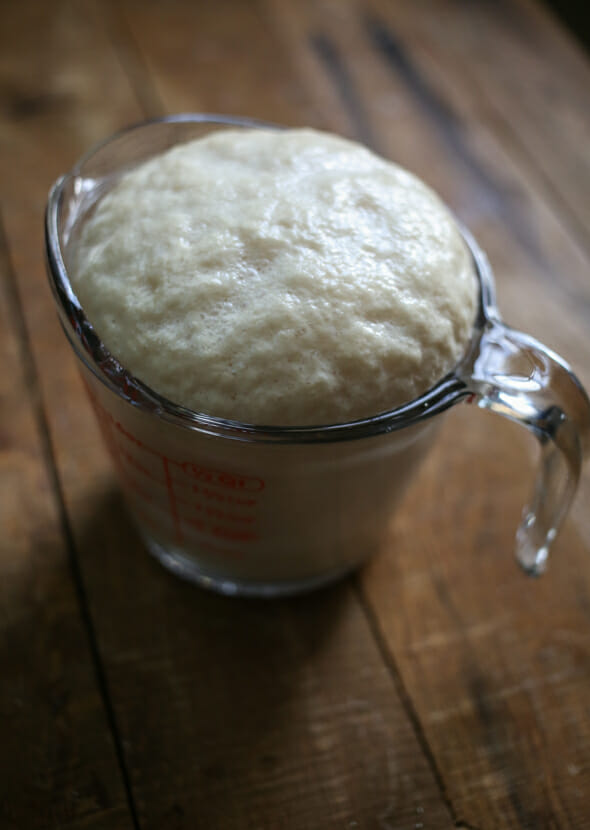
3. While the milk mixture is cooling, dissolve the yeast and sugar in warm water. Let stand about 10 minutes or until the yeast is very bubbly and the mixture has risen significantly.
Before:
10 minutes later:
If the yeast hasn’t bubbled, you’ll need to repeat this step–moving on with yeast that hasn’t been activated properly will only end in heartache.
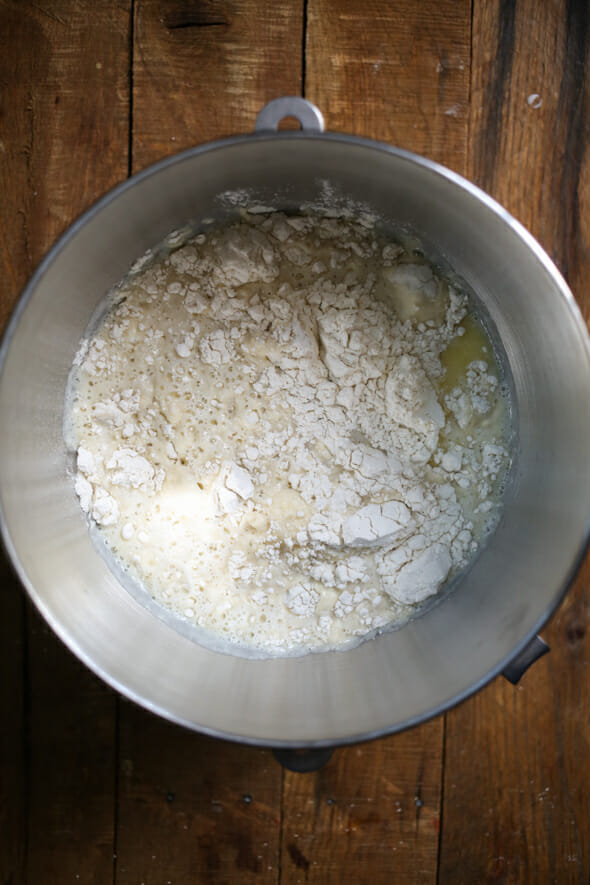
4. In a large mixing bowl, combine 3 cups of flour and milk mixture.
Beat on low for 30 seconds, scraping sides of bowl constantly. Add yeast mixture and beat on high for 3 minutes.
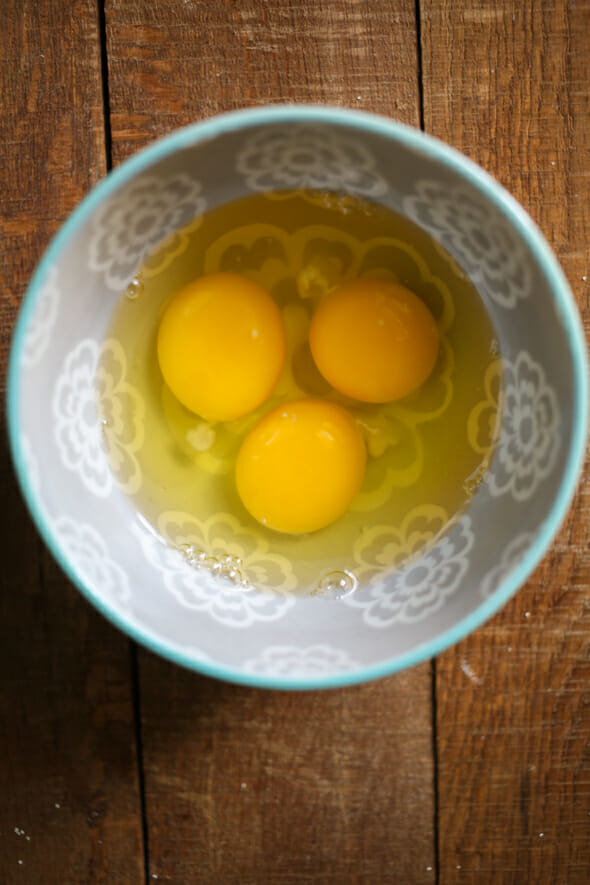
5. Crack your eggs and give them a good whisking (this little heart whisk is one of my favorite tools for jobs like this). Add to dough mixture and mix until well combined.
6. Stir in as much remaining flour as needed to make a soft dough.
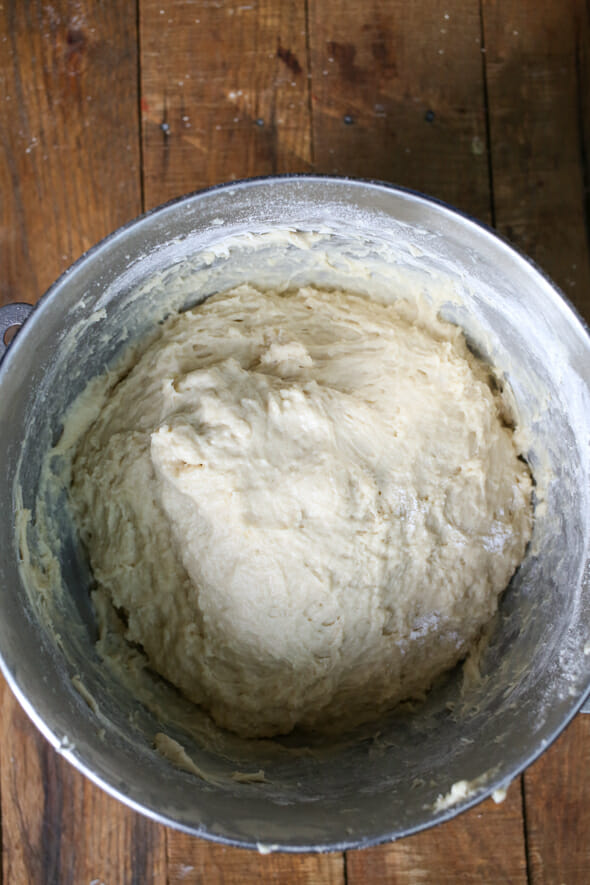
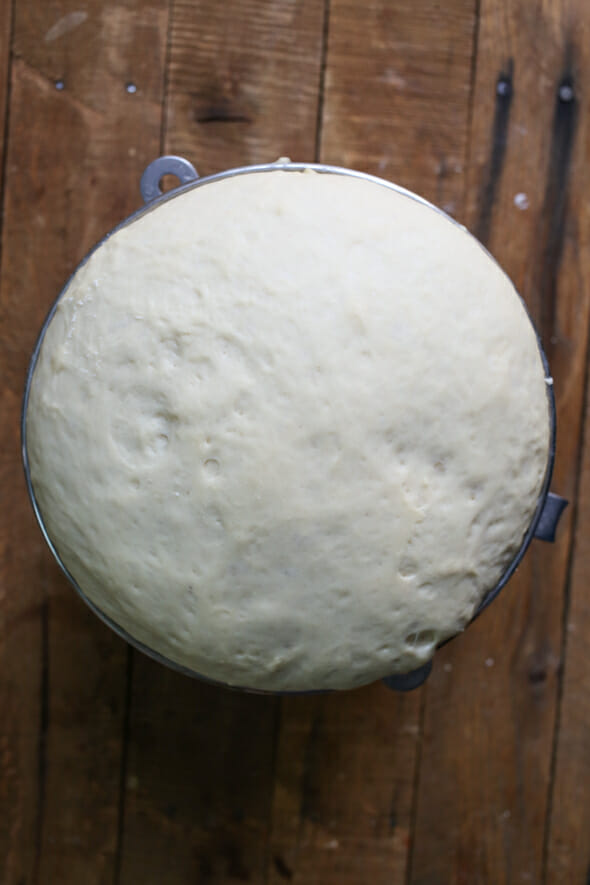
8. Punch down dough. Lightly flour your work surface
and turn dough out onto surface.
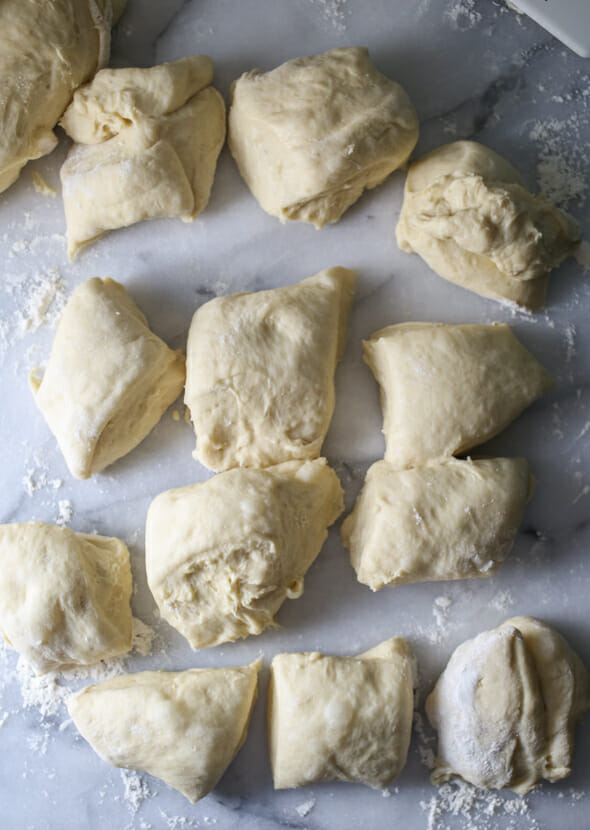
Divide in half.
9. Spray 2 9×13 glass pans with cooking spray. Roll first portion of dough into a rectangle and then cut it into 12 equal-sized pieces.
I like to use a pizza cutter because it has a blade on each side (a plastic bowl scraper is also fantastic), so it cuts right through dough without sticking to the blade. This dough should be very easy to work with, almost like playdough. Shape each piece into a ball and place in prepared pan. Repeat with remaining dough in the second pan.
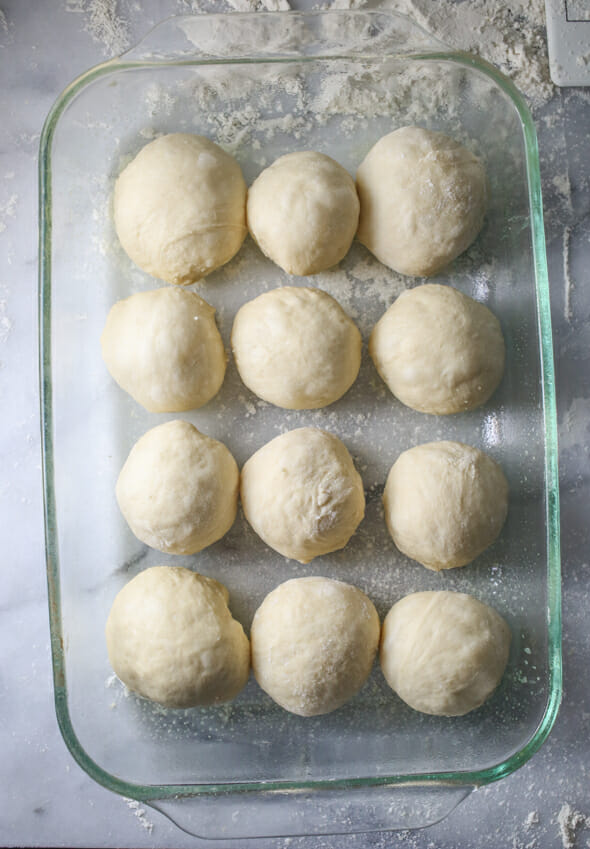
Cover with a clean cloth and allow to rise in a warm place for about 30 minutes. When dough has about 15-20 minutes to go (depending on your oven), preheat oven to 375.
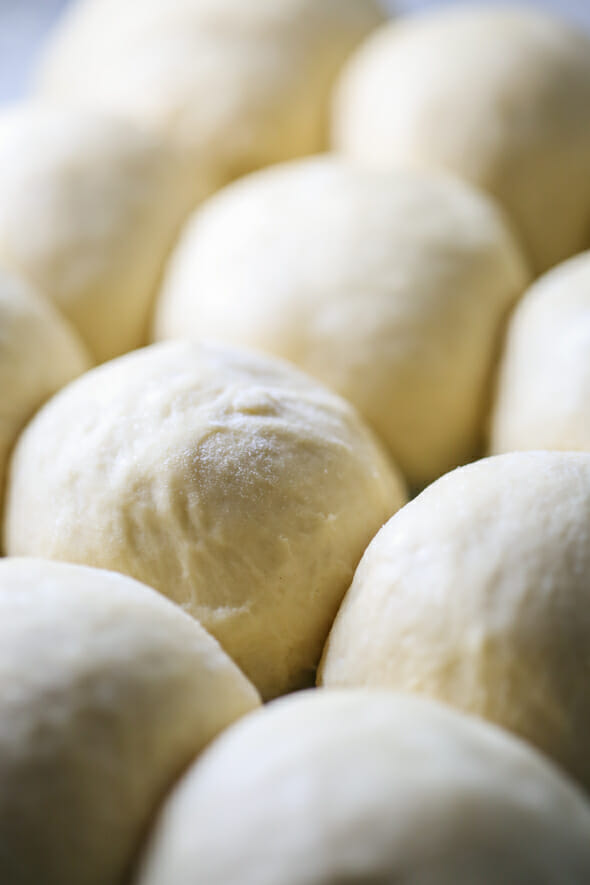
10. Bake for 15-18 minutes or until golden-brown.
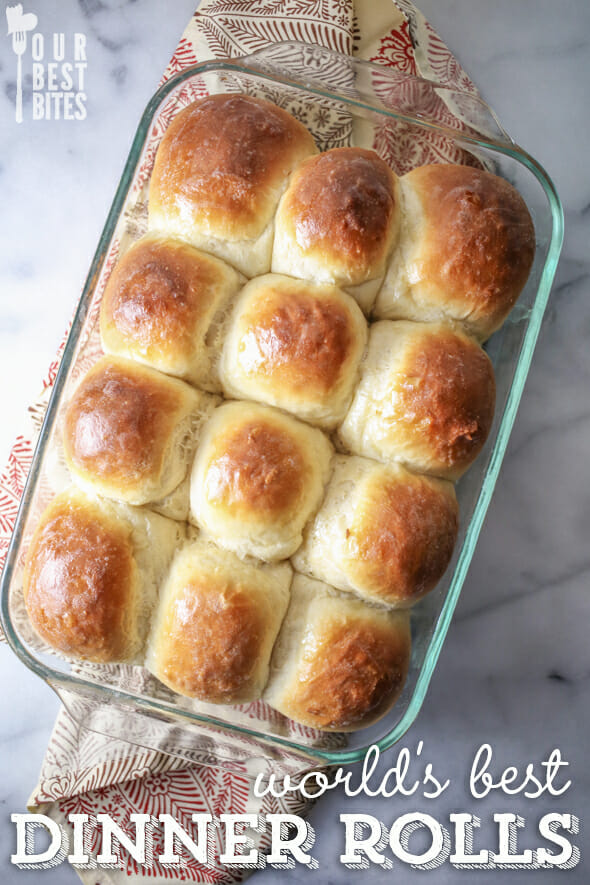
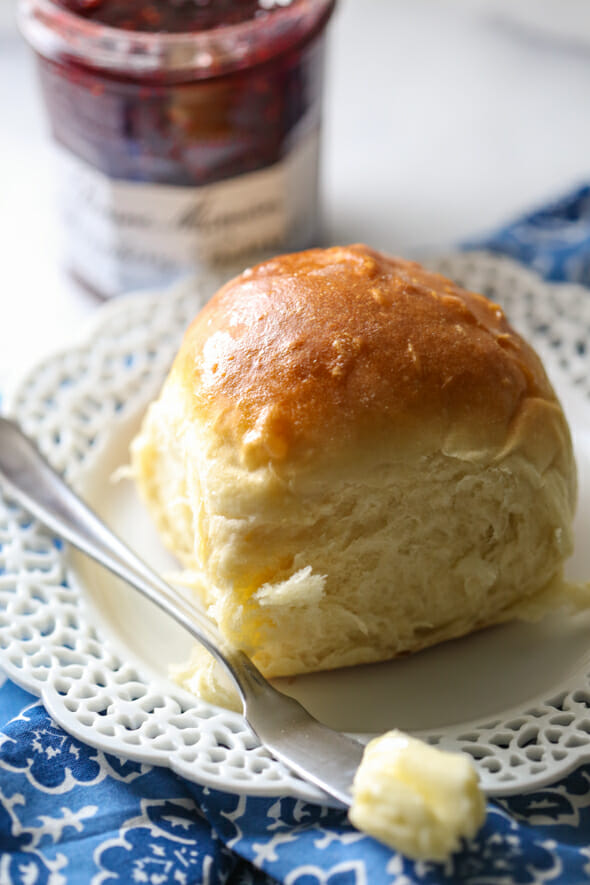
When done, remove from oven. Rub a stick of cold butter over the tops of the rolls. You must now eat one. Now. While it’s hot. Then pop the rest into a bowl and no one will ever know that you cheated.
P.S. Using this cinnamon roll filling or these cinnamon or orange roll fillings, this dough makes fabulous cinnamon or orange rolls. Just bake at 375 for 15-20 minutes or until golden brown.
Related Recipes
Short on time? These One-Hour Dinner Rolls are on the table in a flash.
These French Rolls or this Easy No Knead Overnight Artisan Bread are other great alternatives to traditional rolls.
For Sweet rolls, check out these Overnight Cinnamon Rolls or Everyday Cinnamon Rolls.
FAQs
- Can I make these ahead and freeze? While I do think rolls are best fresh and hot the day you make them, you can in fact prepare these ahead of time. Make dough through the roll-shaping step. Place your shaped rolls on parchment paper in a single layer and place in freezer. Once frozen solid you can place them in a bag together. When ready to cook, leave at room temperature, lightly covered with a piece of plastic wrap sprayed with non-stick spray. They will need to defrost and then also have time to rise (think store-bought rhodes rolls) so you will want to leave plenty of time for that (I’m guessing 3-5 hours). You can also cook the rolls, cool completely, and then freeze immediately.
Did You Make This?
I’d love to hear from you! Snap a picture and tag me on Instagram, and then come back and give this recipe a rating!
Print
World’s Best Dinner Rolls
- Total Time: 2 1/2 hours
- Yield: 24 rolls
Description
These reader favorite dinner rolls are soft and fluffy. Perfect for holiday dinners!
Ingredients
- 2 cups whole milk (if you’re in a pinch, you can use 2%, but whole is best. Don’t use 1% or skim)
- ½ cup + 1 tablespoon sugar, divided
- 1/3 cup (5 1/3 tablespoons) butter
- 2 teaspoons kosher salt
- 2 packages active dry yeast (or 4 1/2 tsp.)
- 2/3 cup warm (105-115-degree) water
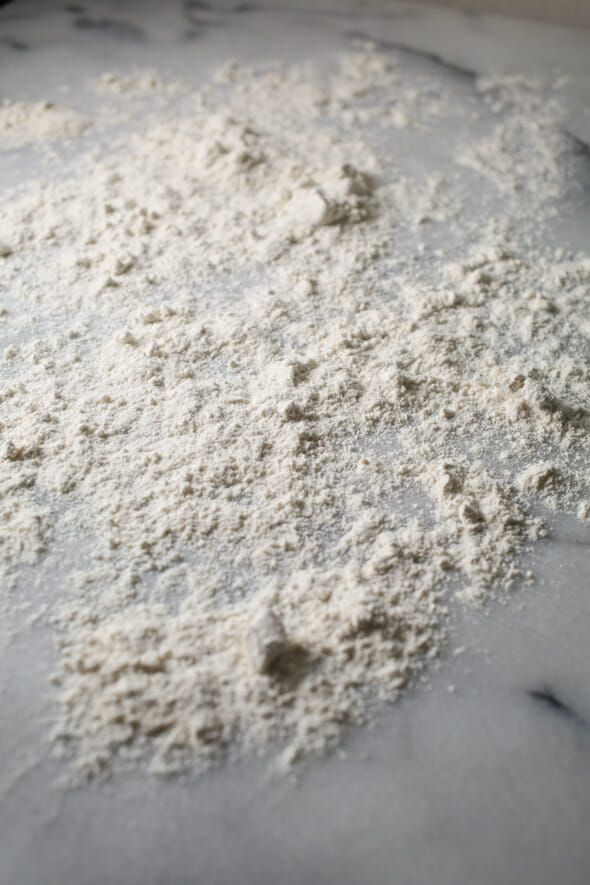
- 8–9 cups all-purpose flour
- 3 beaten eggs
Instructions
- Combine milk, 1/2 cup sugar, butter, and salt in a medium saucepan. Heat over medium heat until butter melts. Remove from heat. Allow to cool to lukewarm. I usually rub some ice cubes along the sides of the pan or pop the entire pan in a sink full of ice cubes to cool the mixture down because this step can take forever. This step is really important because if the mixture is too hot, it will kill the yeast.
- While the milk mixture is cooling, dissolve the yeast and 1 tablespoon sugar in warm water. Let stand about 10 minutes. If the yeast hasn’t bubbled, you’ll need to repeat this step–moving on with yeast that hasn’t been activated properly will only end in heartache.
- In a large mixing bowl, combine 3 cups flour and milk mixture. Beat on low for 30 seconds, scraping sides of bowl constantly. Add yeast mixture and beat on high for 3 minutes.
- Add beaten eggs.
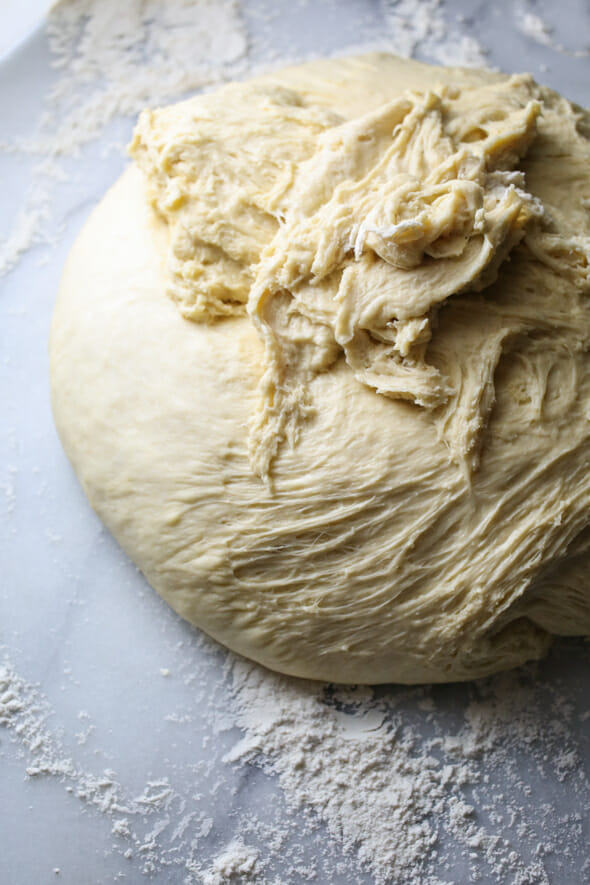
- Stir in as much remaining flour as needed to make a soft dough. This dough should be very soft–it will be coming away from the sides of the bowl, but it will still stick to your finger when you touch it. Don’t worry, it will firm up during the rising process. Part of what makes these rolls so good is that they’re so soft and light; if you add too much flour, they will be heavy and dense. Place the bowl in a warm place and cover with a clean towel; allow to rise 1 hour.
- Punch down dough. Lightly flour your work surface and turn dough out onto surface. Divide in half.
- Spray 2 9×13 glass pans with cooking spray. Roll first portion of dough into a rectangle and then cut it into 12 equal-sized pieces. I like to use a pizza cutter because it has a blade on each side, so it cuts right through dough without sticking to the blade. This dough should be very easy to work with, almost like playdough. Shape each piece into a ball and place in prepared pan. Repeat with remaining dough in the second pan.
- Cover with a clean cloth and allow to rise in a warm place for about 30 minutes. When dough has about 15-20 minutes to go (depending on your oven), preheat oven to 375.
- Bake for 15-18 minutes or until golden-brown.
- When done, remove from oven. Rub a stick of cold butter over the tops of the rolls.
Notes
- MAKING AHEAD: We have received tons of comments and emails asking about making these rolls ahead, or freezing the dough, etc. Note that we have never before tried any of these methods so we can’t give you an answer for sure. You can try freezing the dough after they have been shaped (but before the second rise) and you can certainly try cooking and cooling completely and then freezing. Just keep in mind we only make these fresh and eat them hot from the pan so that’s all the info we can give you.
- Prep Time: about 2 hours
- Cook Time: 15-18 minutes


Questions & Reviews
So I used 6 cups white flour and 2 cups wheat flour and the mixture before I let it rise was already too dense, not sticky at all. Is there anything to do to fix the dough at this point? Next time I’ll cut back to 7 cups total flour. Wondering if using wheat flour, makes that much of a difference.
Unfortunately, no. 🙁 As far as wheat goes, it’s just a completely different beast–it mixes differently, rises differently, etc. However, as long as you’re not trying to go 100% whole wheat, 2 cups of wheat flour shouldn’t make a big difference. However, I wouldn’t necessarily lock yourself into 7 cups of flour; one of the trickiest elements of bread baking is that the amount of flour you’ll need can vary just from day to day, so I’d start low and then just keep adding until you reach the right consistency.
Kate, you are a GENIOUS! I have never tried to make a yeast bread and for the longest I wanted to. I didn’t even think twice about making these (made with the Sunday Beef stew) and they are delicious and easy!!! I love it. You have opened new doors for me! My dough rose just like it was supposed to and the rolls are light and fluffy! You just made me have a happy husband :).
Can I use honey in place of sugar? I dont work with yeast much and I am not sure if it will feed the yeast the same way. Will me make the rolls turn out differently?
Hi, Jenna! You know, I’ve never tried it and I can’t say for sure. I’ve made challah with honey before and I know it can impact the texture. I think they would probably be delicious, but maybe a little more heavy and I think it would probably impact the flavor (in a good way, as long as you like honey). Anyway, if you try it out, let us know how it goes!
Something went wrong…I followed the directions to the letter and the rolls kept rising…when I baked them…I found that the bottoms were not browned and it was doughy in the inside. Please explain..if you can…I live in S. Florida.
I honestly don’t know what wrong. It sounds like your oven might be a tiny bit off–it might be baking a little cool. At the very least, you might want to bake them just a little longer. If the tops are getting too brown, you could cover the pan with some aluminum foil to prevent them from getting too dark. Also, if the rolls keep rising, just pop ’em in the oven as soon as they’ve doubled.
I’m excited to make these rolls today. I wanted to add a pointer about the cooling process: when you combine the milk, butter, sugar and salt only add half the milk…once the butter has melted and the sugar and salt have dissolved add the rest of the milk to help cool it down faster. I do this with most of my bread recipes because the cooling down process does take awhile and I have killed my yeast before from impatience. Thx for the recipe!
Do you know if there are any adjustments for high altitude — like 4400 ft?
Yep, it’s hard to say with yeast breads because it can vary from day to day, but you may need to add a little more flour. However, I originally developed that recipe when I was living at a very high altitude, so it should be okay.
I made these for the first time this afternoon. Success! Thank you for the easy to follow instructions. Next up, these rolls and your cinnamon filling/glaze.
Very much worth all the time and dirty dishes invested in this recipe. I did have a strange experience with the yeast mixutre, it got so big it bubbled out of the 1 cup dish I had it in so be sure to grow the yeast in a big enough dish. I just put another dish under it so I didn’t lose any of it and added it all at once. These rolls were truly amazing!!!!
Awesome. I am new to making rolls. I tried another recipe 3 times that had rave reviews and they flattened each time. I try this and I get awesome rolls. Thanks for a wonderful recipe.
Thank you for making me look like a ROCK STAR!!! I made these for my cousin who just had a baby and they were AWESOME! I followed the recipe exactly and they were easy & soooo bad for my diet…haha!
I made these for dinner tonight, SO delicious and SO easy. These are my new rolls! Thanks
I made these rolls today for the first time. I wanted to try them out before the holidays. This was my first time baking anything that required yeast. I am so pleased with how easy they were to make! They turned out delicious!! I will definitely make them for the holidays.
can you make these rolls into a loaf of bread or what is your best homemade traditional white bread recipe?
I’ve never tried it, so I can’t say. I’m inclined to think it might not work because I’m not sure the center will get done by the time the outside is done, but you could always give it a shot!
This was the worst bread I have ever tasted…then I realized I put 2 TABLESPOONS of salt in the dough! Der! The second time around, and only two TEASPOONS of salt later, these are the best rolls ever!
How about a picture of this “bubbly yeast”? Pleeeeease.
Neva’ you mind… My yeast hath bubbleth over my coffee mug 🙂
Thank you! Thank you! Thank you! I have been searching for the perfect roll recipe – mildly sweet, melts in your mouth. My family was all smiles as we devoured the “world’s best” rolls with Sunday Beef Stew.
Im making these right now!! 🙂 the dough smells scrumptious, I can’t wait! Although, im afraid it isnt rising very much.
I was kind of skeptical with all the stuff with the milk and the eggs and everything, but I wanted a good fluffy dinner roll. Usually when I make them they turn out a little too dense for my liking. I also wasn’t sure about that dough before the first rise because it was pretty sticky, but I stuck with it and followed the directions to the letter. These were SOOOOOO delicious. Perfect and fluffy and soft. I can’t wait to try these as orange or cinnamon rolls.
I have been told I make excellent bread and rolls ( doing so for 30 yrs …but want to try these especially after seeing the rave reviews…read one where someone commented on a sweet potato casserole that is on here but searched and couldn’t find ..is it possible that she was confused with anoter site?
Do you use your pizza cutter on your silpat Baking mat? Or does that ruin it???
These rolls are delicious!!! I used half for rolls and the other half on your cinnamon rolls. They both were magnificent. This was the first time I had cinnamon rolls turn out!! Thank you
CAN SOMEONE PLEASE TELL ME HOW MUCH FLOUR YOU USED AND HOW MUCH WATER TO PUT IN THE YEAST?
HELP!!!
Can the dough be prepared in a bread machine using the dough cycle? If so, do I need to make any changes to the recipe? Thanks!
I attempted a half-batch this morning and they didn’t rise. When I cooled the milk mixture, it cooled to cool and not lukewarm. My yeast bubbled, so I don’t think I killed it, but could the cool milk mixture have prevented the dough to rise? The dough was also very sticky, but it had pulled away from the bowl (not 100% but at least from the sides). Should I have added more flour? I plan on trying them again, but did I do something blatantly wrong?
Hmmm…that’s tricky. I can’t say for sure, but it’s possible that the cooler milk mixture might have made an environment not as conducive for growth. It sounds like you might have needed a little more flour too. This is seriously the trickiest part, especially when trying to give instructions online rather than in person because the amount of flour can vary day to day in ONE location, and it will be a little different for everyone depending on their location. So it should still be sticky, but not very sticky; it shouldn’t still look wet. My rule of thumb is that it should stick a little to your finger.
Hope that helps! Wish I could help you in person, haha! 🙂
Thanks for your comment! I baked the rolls anyway, and they seemed to rise while baking and they were actually pretty good (they didn’t last more than a day)–a successful failure, I’d say. I will definitely try these again. Thanks for your suggestions and the amazing blog! My husband thanks you both, too. :c)
I’ll admit, I was skeptical about these. “Rolls are rolls,” I thought to myself. But I gave them a try and WOW! I was so wrong! These are so delicious! I just pulled them out of the oven and I’ve already had two. (My first excuse was that the recipe TOLD me to eat one, but now I just can’t stop!) Thanks so much!
THANK YOU!! And yes, I meant to shout it! I have never in 10 years of marriage, been able to successfully make yeast rolls. Edible, yes. But, successful, no. Until yesterday that is. I followed your recipe to a T. They were beautiful and fluffy and yummy. I could go on. I was so excited! The dough was soft and smooth. I made rolls and cinnamon rolls and my family devoured them. This will be the only roll recipe I use from now on! No more failures for me!
I just made these yesterday and used half whole wheat flour. They turned out fabulous!
Please send me a printable version
Please post a printable version. I love the hints but can not print with out the pictures and ads.
I bake bread at least once a week and always on weekends when my grandchildren come. These sound very good. I plan to make them this weekend for a family 80th birthday celebration.
Thanks
Sorry if this is a dumb question….I am just wondering why you can’t 1% milk?
Thanks.
You *can*, they’re just not nearly as delicious.
made these rolls last night with the Chicken Tortilla soup. Both recipes are delicious!!
Maybe I’m just computer illiterate, but I wish all of your recipes were in a printable format. When I go to “file” and reprint them, the script is so light and small I can barely read it and it’s eye straining and frustrating and I’m not even cooking yet! Would it create that much more work for you? I love your recipes but would use more if they were in printable format.
Thanks,
You’re the Best!
Kathy Konold