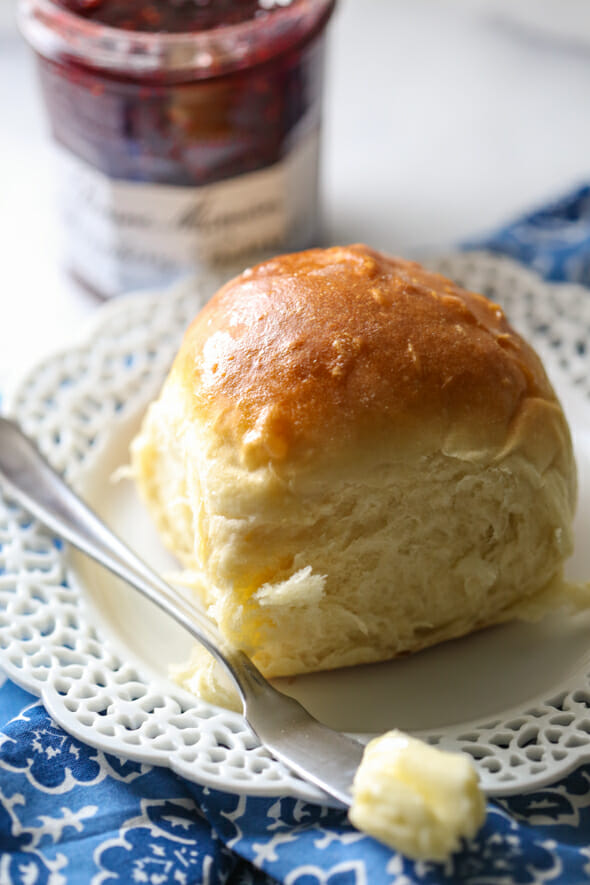
Is there anything better than warm bread smeared with melty butter? Thousands of people across the country have fallen in love with these dinner rolls, and for good reason- they truly are THE BEST! They are beginner friendly, so if you’re nervous about working with yeast, don’t be. This recipe makes two full pans of rolls and will definitely fill a standard Kitchenaid mixer to the absolute brim, so feel free to cut it in half if you are feeding a smaller crowd.
Ingredient Notes
- Milk – Whole milk is best. You can use 2% in a pinch, but avoid 1% or skim.
- Yeast – This recipe calls for active dry yeast. I have not tried using rapid rise yeast, where the first rise is replaced by a 10 minute rest of the dough. If you feel like experimenting feel free to give it a try, just know it hasn’t been tested for this particular recipe. If you’re nervous about working with yeast, check out this post on tips for working with yeast dough.
- Eggs – You’ll notice the recipe calls for beaten eggs. Why should you beat your eggs first? Same reason you should combine your dry ingredients before adding them to moist ingredients when making cookies and cakes–it ensures everything is well-mixed and can be evenly-distributed through your dough or batter. If you add the whole eggs, your dough may not be as consistent.
How to Make the World’s Best Dinner Rolls
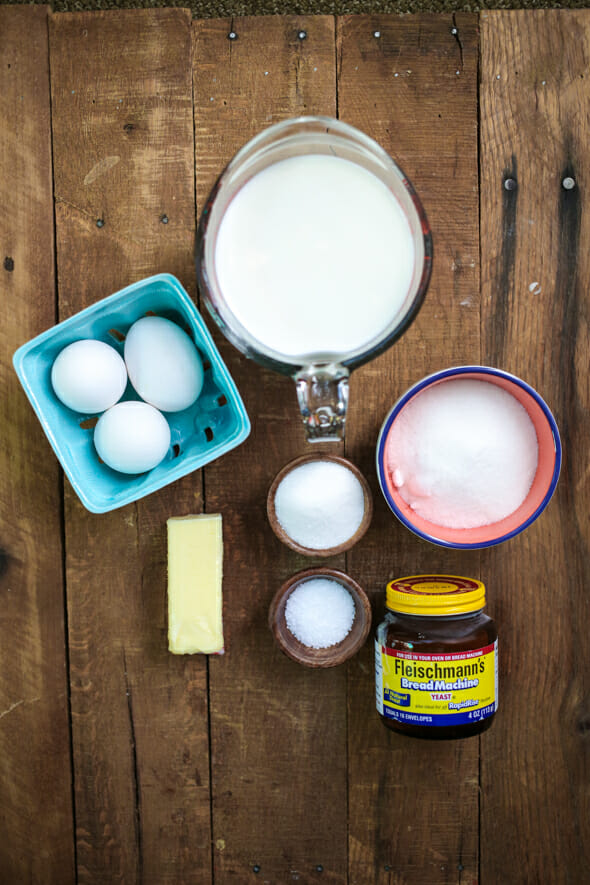
Ready? Awesome. You’ll need whole milk, all-purpose flour, yeast, sugar, salt, butter, and eggs. Nothing fancy.
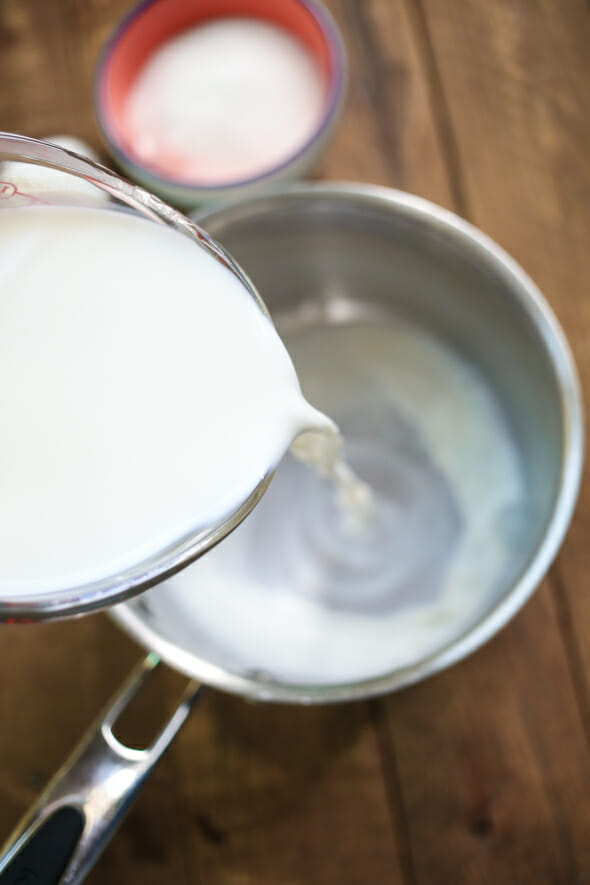
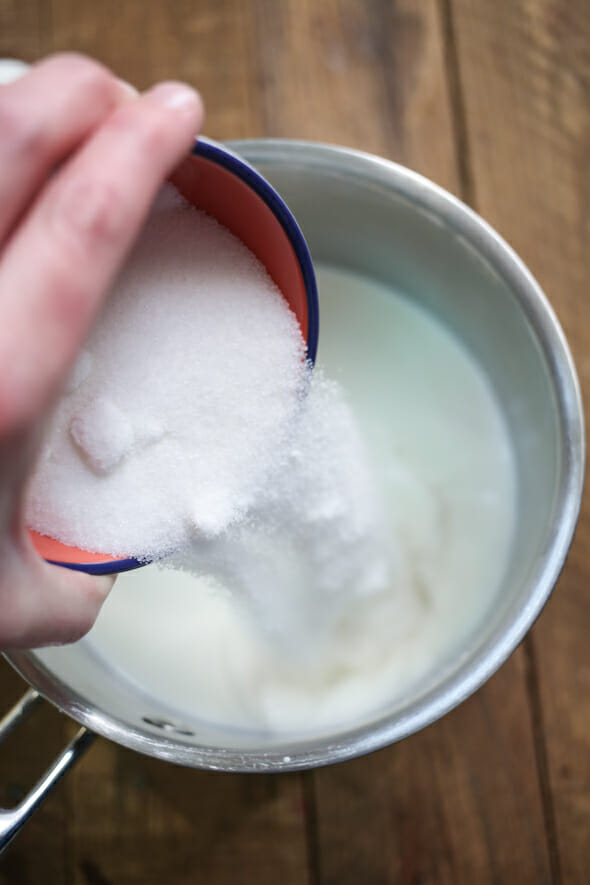
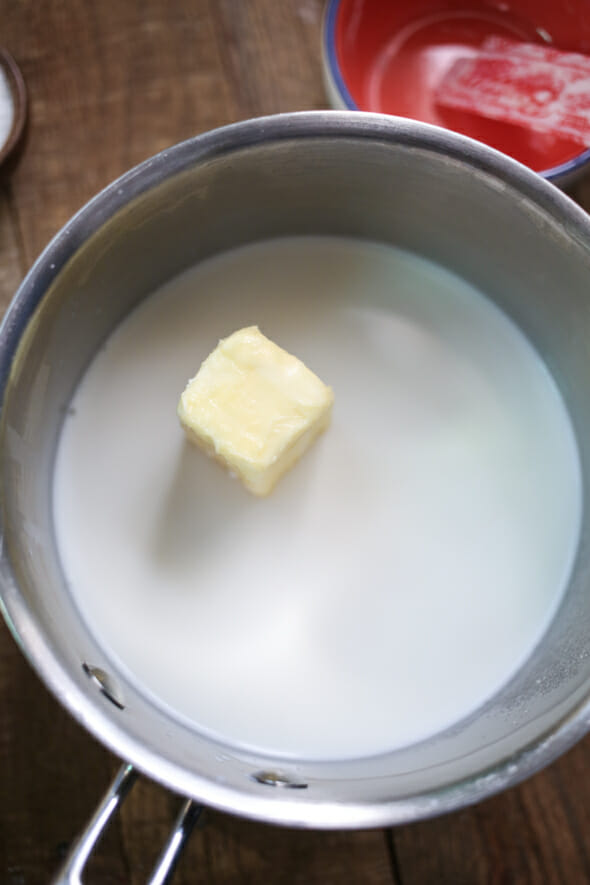
- Combine milk, sugar, butter, and salt in a medium saucepan. Heat over medium heat until butter melts. It’s salty. It’s sweet. Yum.
sugar butter and salt in a medium saucepan. Heat over medium heat until butter melts. It’s salty. It’s sweet. Yum.
butter and salt in a medium saucepan. Heat over medium heat until butter melts. It’s salty. It’s sweet. Yum.
and salt in a medium saucepan. Heat over medium heat until butter melts.
2. Remove from heat. Allow to cool to lukewarm. I usually rub some ice cubes along the sides of the pan or pop the entire pan in a sink full of ice cubes to cool the mixture down because this step can take forever. This step is really important because if the mixture is too hot, it will kill the yeast.
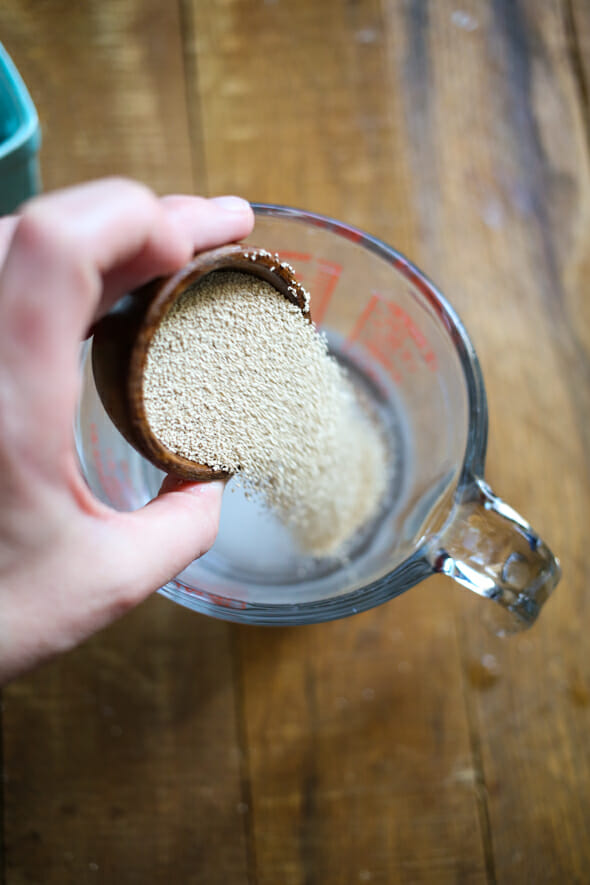
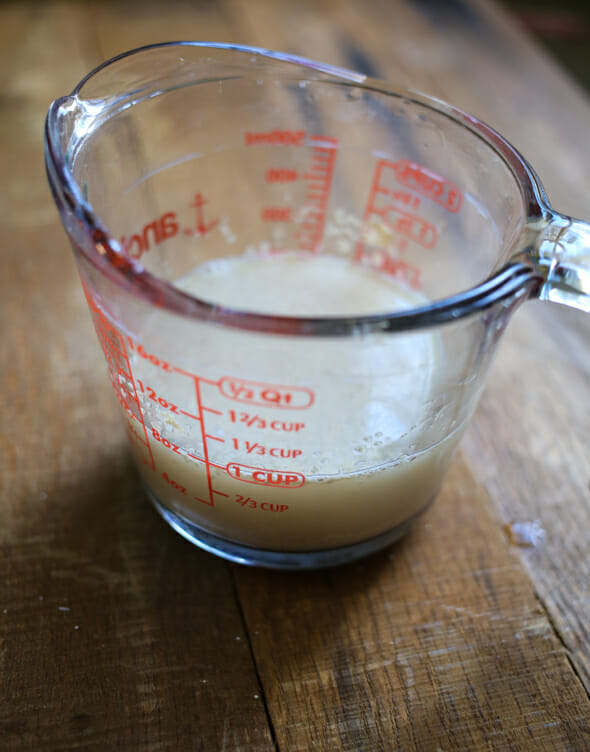
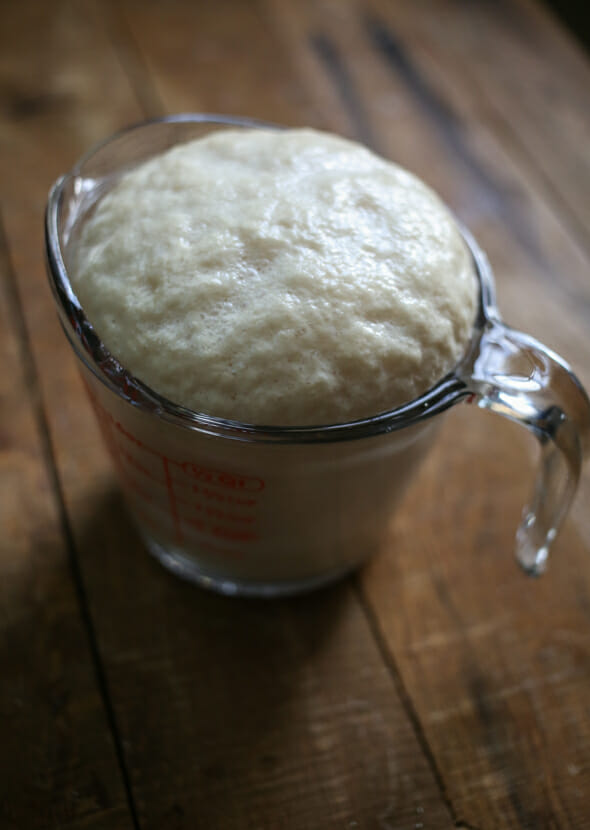
3. While the milk mixture is cooling, dissolve the yeast and sugar in warm water. Let stand about 10 minutes or until the yeast is very bubbly and the mixture has risen significantly.
Before:
10 minutes later:
If the yeast hasn’t bubbled, you’ll need to repeat this step–moving on with yeast that hasn’t been activated properly will only end in heartache.
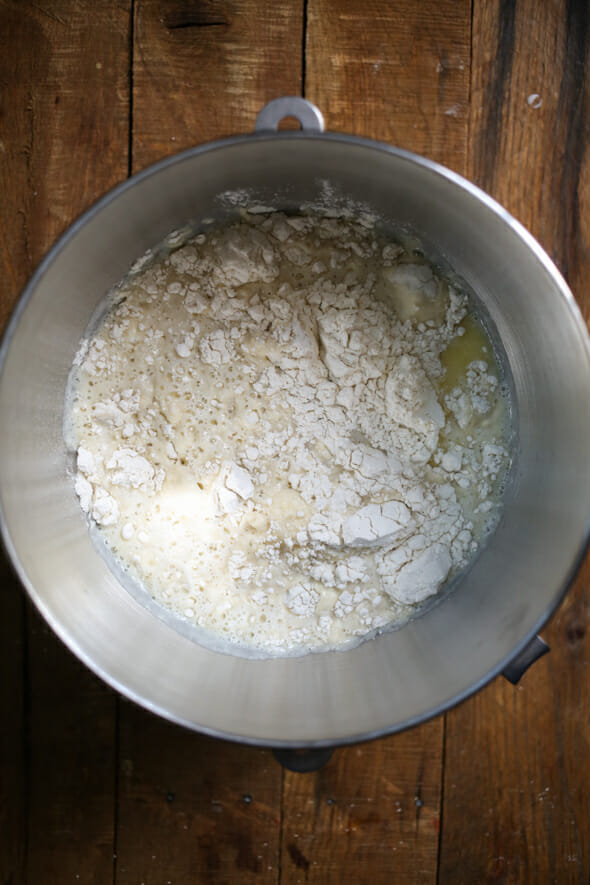
4. In a large mixing bowl, combine 3 cups of flour and milk mixture.
Beat on low for 30 seconds, scraping sides of bowl constantly. Add yeast mixture and beat on high for 3 minutes.
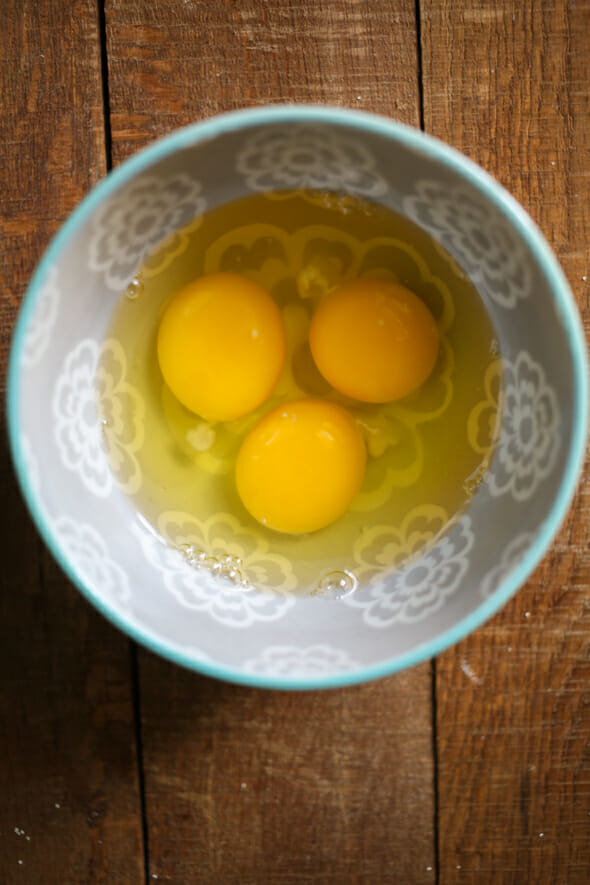
5. Crack your eggs and give them a good whisking (this little heart whisk is one of my favorite tools for jobs like this). Add to dough mixture and mix until well combined.
6. Stir in as much remaining flour as needed to make a soft dough.
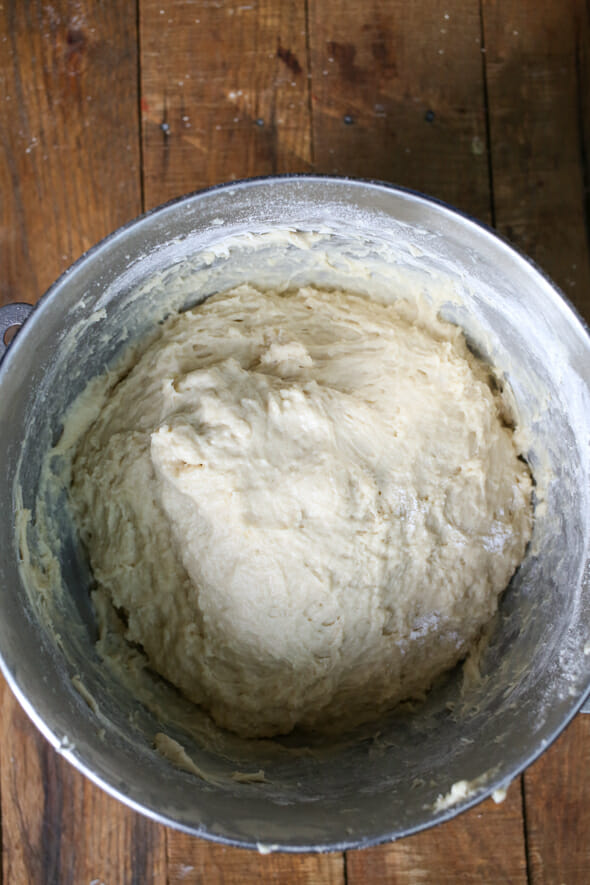
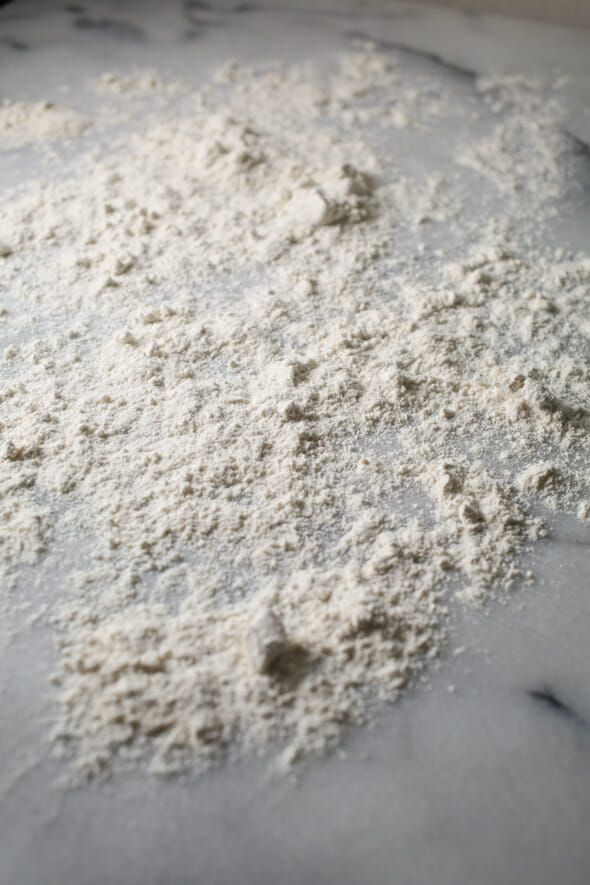
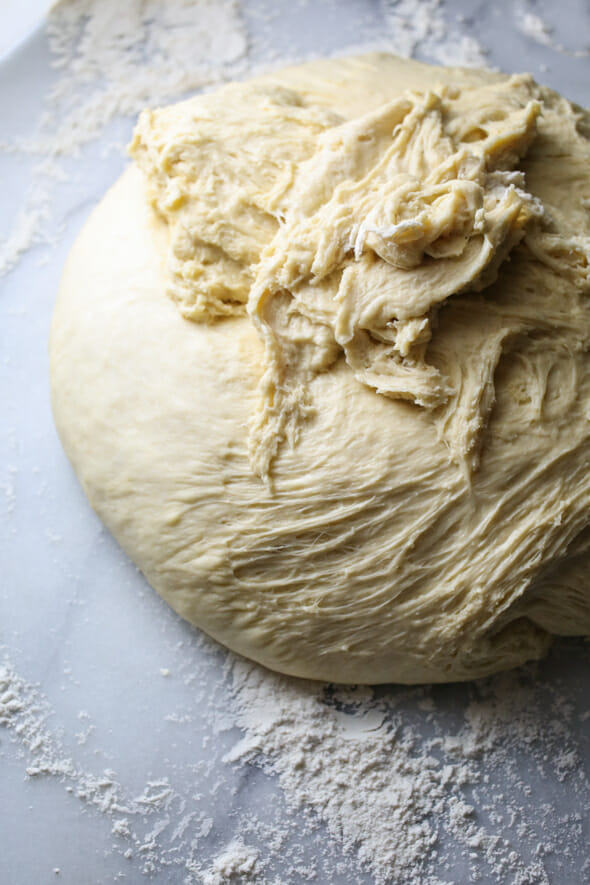
8. Punch down dough. Lightly flour your work surface
and turn dough out onto surface.
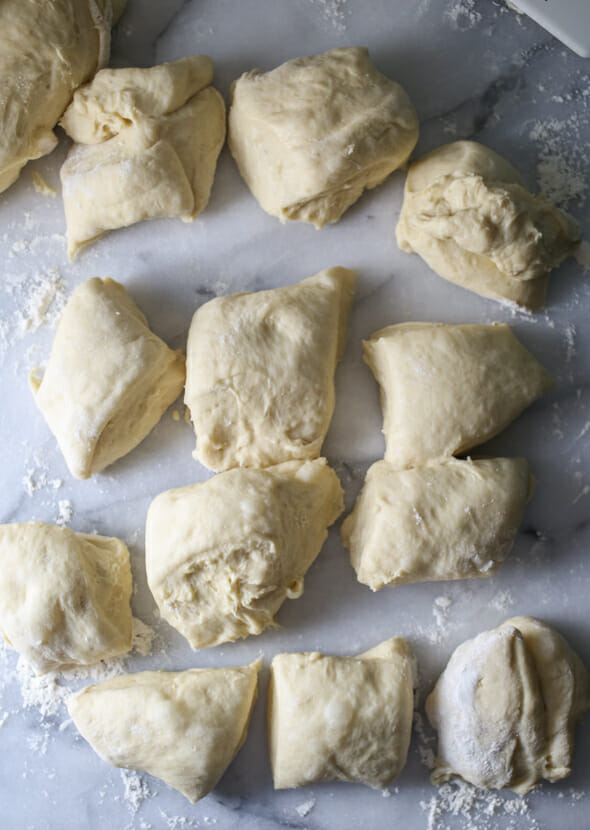
Divide in half.
9. Spray 2 9×13 glass pans with cooking spray. Roll first portion of dough into a rectangle and then cut it into 12 equal-sized pieces.
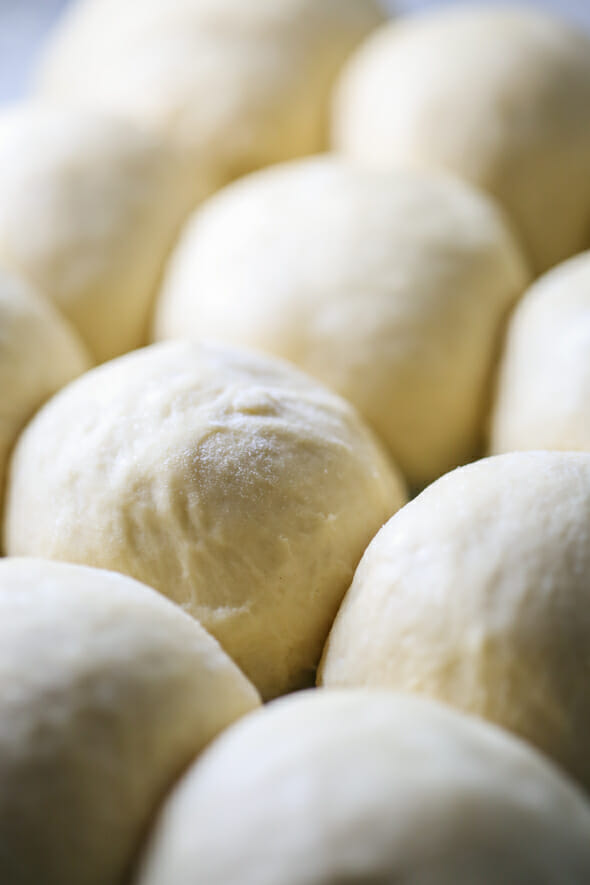
I like to use a pizza cutter because it has a blade on each side (a plastic bowl scraper is also fantastic), so it cuts right through dough without sticking to the blade. This dough should be very easy to work with, almost like playdough. Shape each piece into a ball and place in prepared pan. Repeat with remaining dough in the second pan.
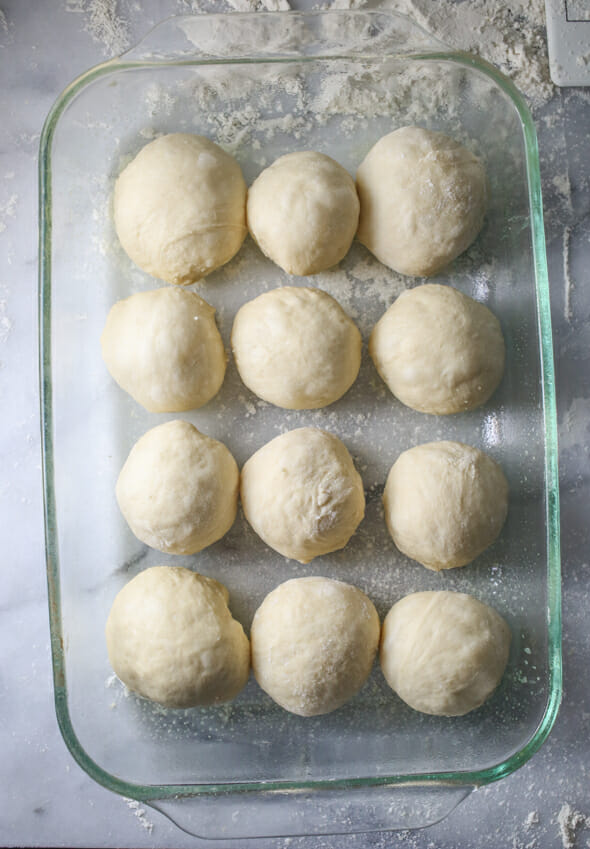
Cover with a clean cloth and allow to rise in a warm place for about 30 minutes. When dough has about 15-20 minutes to go (depending on your oven), preheat oven to 375.
10. Bake for 15-18 minutes or until golden-brown.
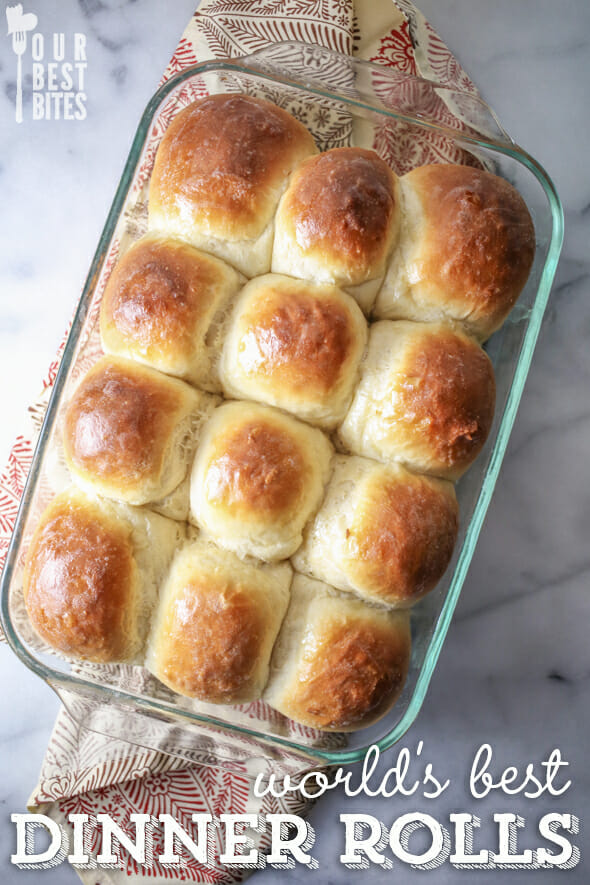
When done, remove from oven. Rub a stick of cold butter over the tops of the rolls. You must now eat one. Now. While it’s hot. Then pop the rest into a bowl and no one will ever know that you cheated.
P.S. Using this cinnamon roll filling or these cinnamon or orange roll fillings, this dough makes fabulous cinnamon or orange rolls. Just bake at 375 for 15-20 minutes or until golden brown.
Related Recipes
Short on time? These One-Hour Dinner Rolls are on the table in a flash.
These French Rolls or this Easy No Knead Overnight Artisan Bread are other great alternatives to traditional rolls.
For Sweet rolls, check out these Overnight Cinnamon Rolls or Everyday Cinnamon Rolls.
FAQs
- Can I make these ahead and freeze? While I do think rolls are best fresh and hot the day you make them, you can in fact prepare these ahead of time. Make dough through the roll-shaping step. Place your shaped rolls on parchment paper in a single layer and place in freezer. Once frozen solid you can place them in a bag together. When ready to cook, leave at room temperature, lightly covered with a piece of plastic wrap sprayed with non-stick spray. They will need to defrost and then also have time to rise (think store-bought rhodes rolls) so you will want to leave plenty of time for that (I’m guessing 3-5 hours). You can also cook the rolls, cool completely, and then freeze immediately.
Did You Make This?
I’d love to hear from you! Snap a picture and tag me on Instagram, and then come back and give this recipe a rating!
Print
World’s Best Dinner Rolls
- Total Time: 2 1/2 hours
- Yield: 24 rolls
Description
These reader favorite dinner rolls are soft and fluffy. Perfect for holiday dinners!
Ingredients
- 2 cups whole milk (if you’re in a pinch, you can use 2%, but whole is best. Don’t use 1% or skim)
- ½ cup + 1 tablespoon sugar, divided
- 1/3 cup (5 1/3 tablespoons) butter
- 2 teaspoons kosher salt
- 2 packages active dry yeast (or 4 1/2 tsp.)
- 2/3 cup warm (105-115-degree) water
- 8–9 cups all-purpose flour
- 3 beaten eggs
Instructions
- Combine milk, 1/2 cup sugar, butter, and salt in a medium saucepan. Heat over medium heat until butter melts. Remove from heat. Allow to cool to lukewarm. I usually rub some ice cubes along the sides of the pan or pop the entire pan in a sink full of ice cubes to cool the mixture down because this step can take forever. This step is really important because if the mixture is too hot, it will kill the yeast.
- While the milk mixture is cooling, dissolve the yeast and 1 tablespoon sugar in warm water. Let stand about 10 minutes. If the yeast hasn’t bubbled, you’ll need to repeat this step–moving on with yeast that hasn’t been activated properly will only end in heartache.
- In a large mixing bowl, combine 3 cups flour and milk mixture. Beat on low for 30 seconds, scraping sides of bowl constantly. Add yeast mixture and beat on high for 3 minutes.
- Add beaten eggs.
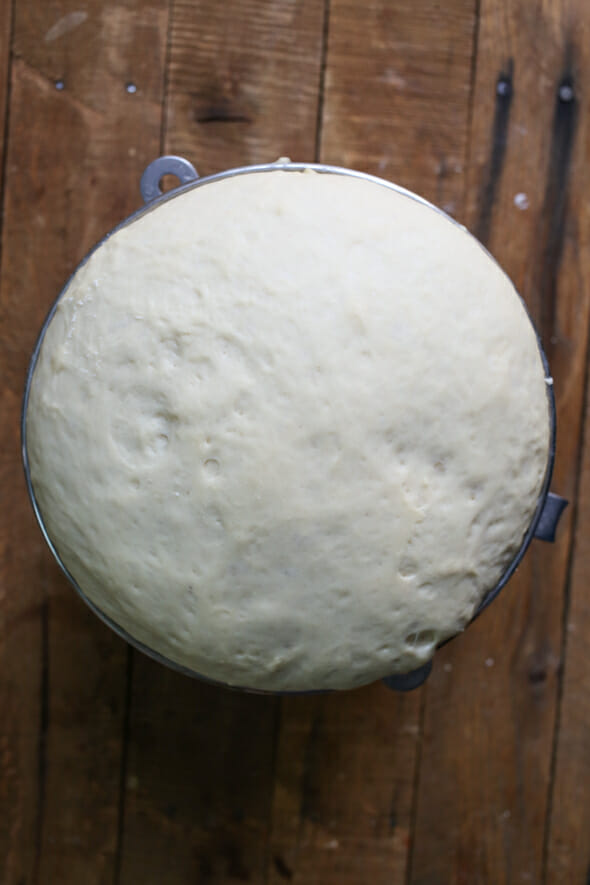
- Stir in as much remaining flour as needed to make a soft dough. This dough should be very soft–it will be coming away from the sides of the bowl, but it will still stick to your finger when you touch it. Don’t worry, it will firm up during the rising process. Part of what makes these rolls so good is that they’re so soft and light; if you add too much flour, they will be heavy and dense. Place the bowl in a warm place and cover with a clean towel; allow to rise 1 hour.
- Punch down dough. Lightly flour your work surface and turn dough out onto surface. Divide in half.
- Spray 2 9×13 glass pans with cooking spray. Roll first portion of dough into a rectangle and then cut it into 12 equal-sized pieces. I like to use a pizza cutter because it has a blade on each side, so it cuts right through dough without sticking to the blade. This dough should be very easy to work with, almost like playdough. Shape each piece into a ball and place in prepared pan. Repeat with remaining dough in the second pan.
- Cover with a clean cloth and allow to rise in a warm place for about 30 minutes. When dough has about 15-20 minutes to go (depending on your oven), preheat oven to 375.
- Bake for 15-18 minutes or until golden-brown.
- When done, remove from oven. Rub a stick of cold butter over the tops of the rolls.
Notes
- MAKING AHEAD: We have received tons of comments and emails asking about making these rolls ahead, or freezing the dough, etc. Note that we have never before tried any of these methods so we can’t give you an answer for sure. You can try freezing the dough after they have been shaped (but before the second rise) and you can certainly try cooking and cooling completely and then freezing. Just keep in mind we only make these fresh and eat them hot from the pan so that’s all the info we can give you.
- Prep Time: about 2 hours
- Cook Time: 15-18 minutes


Questions & Reviews
Wonderful rolls as advertised, but definitely not enough salt. I used unsalted since it didn’t indicate what butter to use; either adding more salt or specifying salted butter would make all the difference!
I have skimmed through the comments above and still have a question about the yeast. I went out and bought what I thought was the right yeast (it says bread machine yeast on the front) but according to the tips on the back it says not to add to liquid but insteasd to add to the dry ingredients and to only let it rest for 10 minutes (that replaces the first rise) shape and then let double. Now I am really confused! It is Fleischmann’s Bread Machine Yeast and says ideal for all RapidRise recipes. Is this the right stuff to use??
I used bread machine yeast that said ok for rapid rise recipes, and I proofed it in cooler water than called for. Rolls came out gigantic. Plenty of yeast as specified. I don’t use “active dry” because it’s a pain.
I made these for the first time this afternoon. The taste is good, but I used 6 cups of flour and when the rolls came out of the oven, the tops were hard. Also, I used a ceramic pan, and, not glass. The rolls stuck to the bottom. I think I can tinker this recipe and make them nearly as good as my own recipe. Definitely a lot quicker than my “2-day” process, but time will tell.
I have a yeast roll recipe that is a 2 day process and I can’t think they would taste any better than mine, but I do want to try these and I will report back!!! I am looking at finding a bread recipe that is a little quicker.
This is an amazing recipe!! my family enjoyed the rolls this recipe is a keeper. Will be baking these for Christmas, thanks for the recipe
These were great! I baked them all together on one large cookie sheet and they turned out wonderful! Thanks for sharing!
I actually made this yesterday for our feast! They were amazing and everyone loved them, thanks for the recipe!!! You ladies are wonderful!!
These came out great! They were still pretty sticky when I put them in the pan and I was worried that I did something wrong. They were beautiful when I took them out of the oven and tasted awesome. I made your honey butter to go with them. Yum!
Made these for Thanksgiving and they were perfect!! Everyone loved them!
I was a little nervous after reading the warning about making these rolls. I made two batches for Thanksgiving. I forgot the salt and the Tbsp. of sugar in the first batch, but they still turned out yummy! Second batch had everything and were equally yummy! A great recipe! One I will definitely make again!
Great rolls.
I used buttermilk instead of whole milk and crowded the rolls into glass pie dishes. They came out extremely light, fluffy and flavorful.
These are so awesome. It’s like someone pulled a cloud down and baked it. Thank you so much for the step by step instructions too!
Hi ladies. Would you be willing to post a picture of when the dough is done mixing and “pulling away from the sides” I’m never sure what this looks like. Or a picture of how sticky the dough should or shouldn’t be. Thanks so much!
We might have to do a video some day- it’s difficult to show in pictures!
THANK YOU FOR THIS RECIPE!!!!!! TOMORROW IS TURKEY DAY!!!!!
OH. MY. GOD. THANK. YOU, @OURBESTBITES. I. LOVE. YOU
I got your recipe for dinner rolls from a friend, but would love also to try them as orange rolls. I’ve searched your site, but no luck. Could you send that alternate recipe. Thanks.
Help! I made these last night and they just came out just OK. A little on the dense side (I used 9 cups and live inland CA-not much elevation). I used bread flour instead of flour–would that have made a difference? Also, I used my kitchen Aid (w/out the hook–just the normal spatula attachment). I only mixed the flour in until it was combined. It didn’t say to kneed it. Could that have been the problem? Any idea’s?
Thank you, i just had to let u know that i have recently trief 4 different receipes, and by far this is the best ever! You made it simple n walk me through the steps. Also, adding the extra about yeast n how it works helped me so much. I followed ur directions and i had success on the rolls. Now im doing them for the holidays! Everyone, look no further the best rolls receipe ever!! Thanks again, Roslyn B.
I made theses yesterday for a trial run for Thanksgiving AND my first time making yeast bread, they are AMAZING!!! Simple to make and super delicious. I grew a bit worried when after an hour the dough had not risen at all, but then I moved to bowl to a warmer spot (I turned the oven on and put the bowl on top of the oven) and it rose perfectly within another hour. These will definately be a staple in my household!
I don’t see anywhere that tells how many rolls this will make. It appears to make 12, but that seems crazy with 8-9 cups of flour. Is 12 rolls what I should plan for? I’m making rolls for Thanksgiving, 20 people. Should I do two batches? Thanks!
It makes 24. It’s in there, but it’s a little tricky to see! 🙂
Hi, I’m lost. Is there no kneading involved in this recipe?
I took it a little further, I whipped up an egg and brushed it on top then sprinkled some sugar on top, then baked them for 5 more minutes, they came out awsome
i foundthis recipe back last summer and lost it .thanks i have it again. this
dough works wonderfully.the rolls are very tasty and tender. i have baked since i was 9 years my first bread and still do as bake alot today. it is so much better to bake. thanks for recipe i won’t lose it this time,.
I have never made homemade rolls. My husband found you link. I tried them today and WOW, they turned out beautiful, light and fluffy. I will have to say that they are the best one’s I have every eaten.I am going to be making them for Thanksgiving this year. Thank you for the recipe.