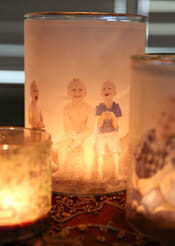
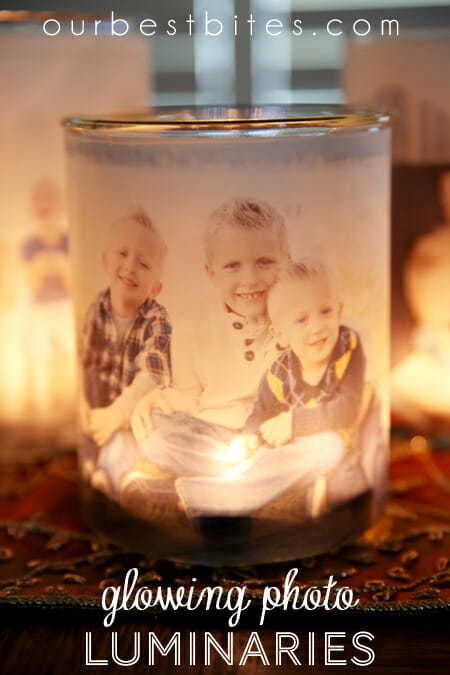
Recently I was cleaning my garage and came across a big pack of vellum from my drafting days in college. I was showing my kids how fun it was to color on it and how when held up to the window, it became translucent and let the light through. That’s the moment I had the idea for this project, and I love how they turned out. This is such a fun, easy, and inexpensive way to create a personalized decor piece that’s perfect for a centerpiece during a special family meal, or just to enjoy at home. These would make darling gifts, too!
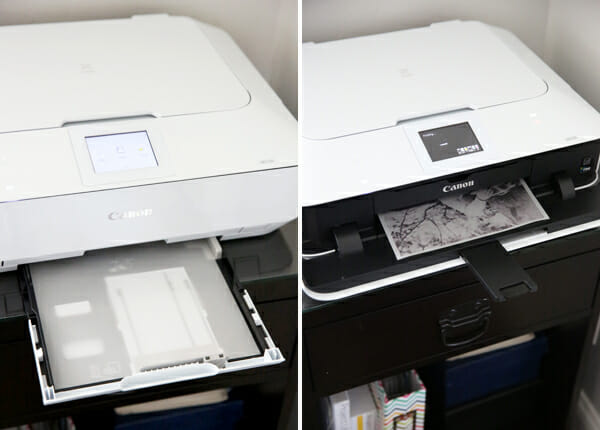
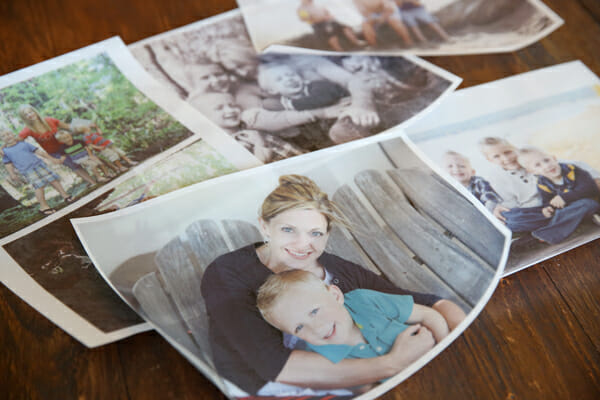
To make these, I used my photo printer to print some of my favorite family photos onto vellum. You might have to experiment with your own printer to make sure it can print onto vellum, but most inkjet printers should work. I’m using a Canon PIXMA photo printer and it worked beautifully. I even used the coordinating PIXMA Printing Solutions iPhone app and printed some shots straight from my phone.
So just print out a variety of photos. If you’re using these as table centerpieces for a holiday meal, try highlighting your favorite moments from throughout the year. Horizontal photos will work best since you’ll need the width to wrap around your luminary.
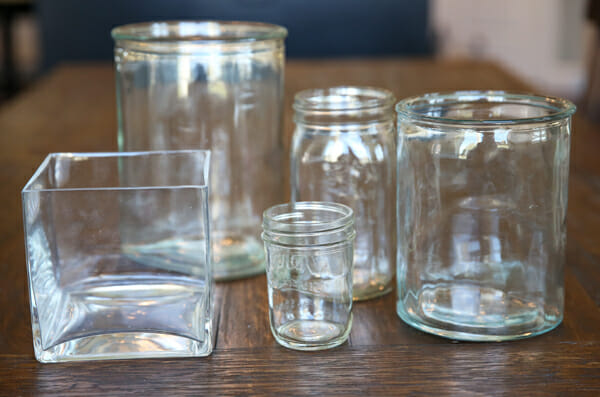
Next you’ll need some glass jars or vases. Since nothing happening here has to be permanent, you can do what I did and poke around your house to see what you can round up. Glass mason jars, flower vases, and hurricanes work great. Try however, to avoid irregular shapes. Squares will work, but the very best is smooth cylindrical shaped glass.
Trim your photos to the proper height of your glass.
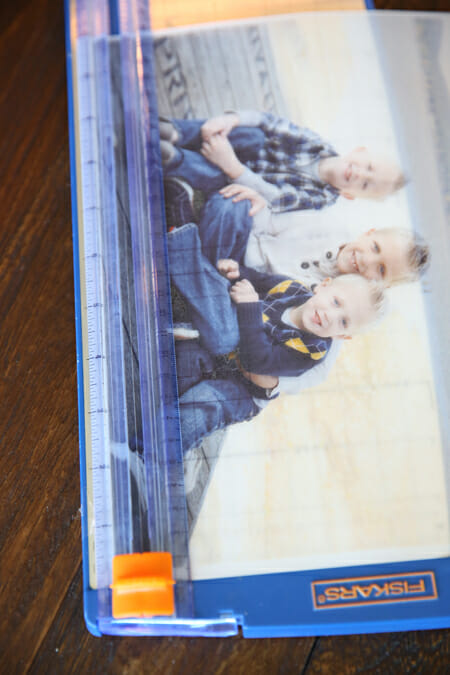
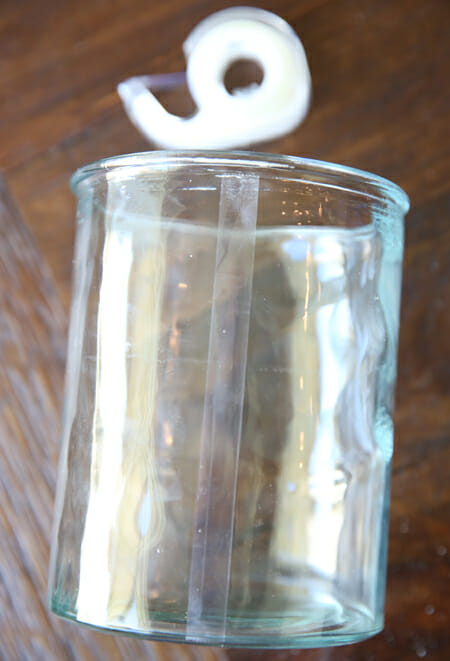
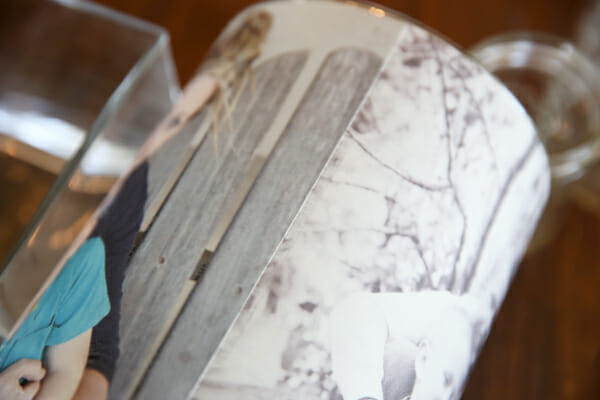
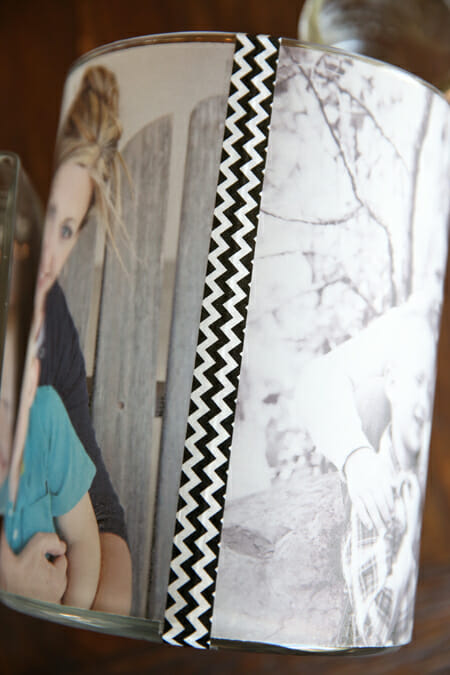
Simply attach your photo to the tape. For larger containers, you’ll need more than one photo to cover all of the sides. Just have them meet right up in the middle of the tape for a seamless look.
And if you want, you can even attach a piece of washi tape for decoration.
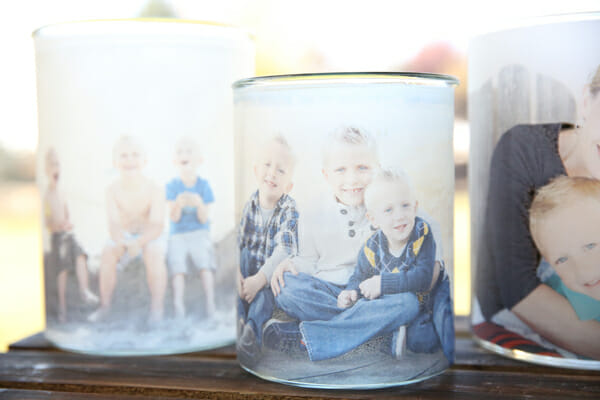
The fun part is that these little luminaries look beautiful in broad daylight. Set on a windowsill, the light pours through them and naturally makes them glow!
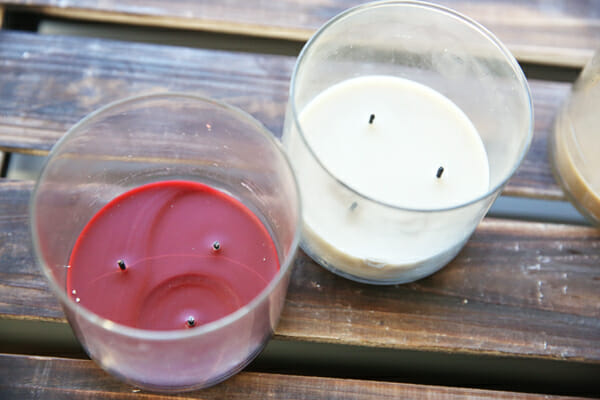
And if you’re like Kate and me, and have a crazy obsession with scented candles, these little glass jars work beautifully for this project. The lower the candle wax, the better, so if you’ve got some almost-empty ones, they’ll work perfectly!
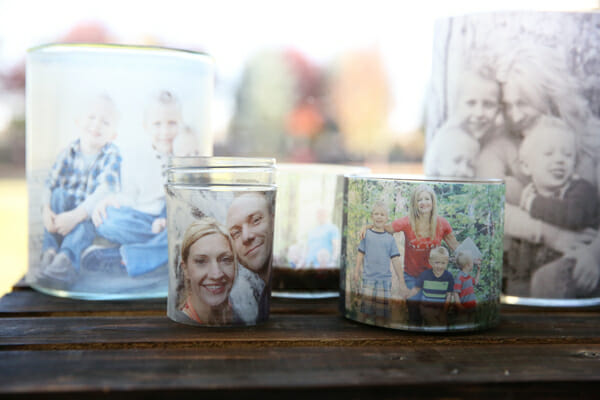
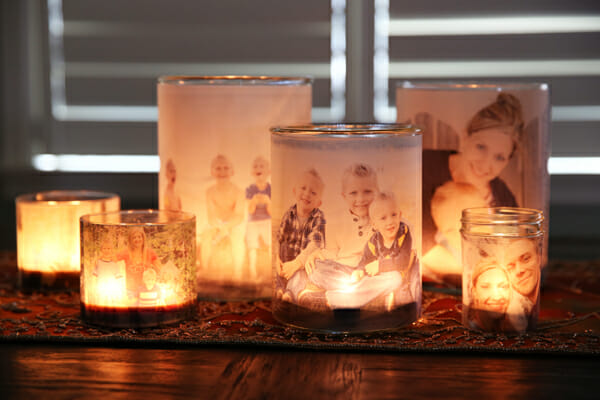
Play around with a variety of sizes and group them together for a fun display.
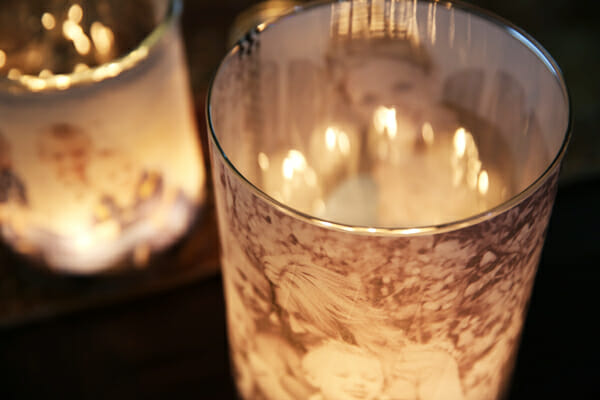
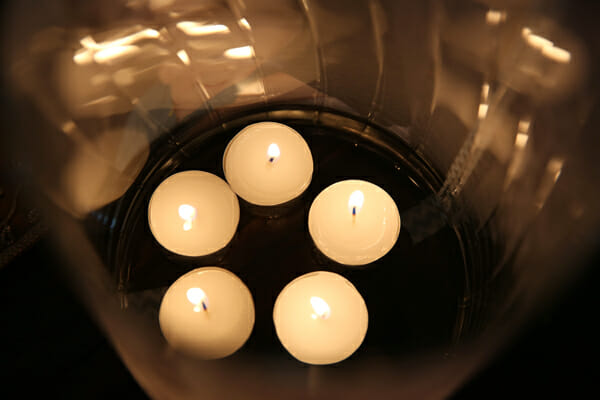
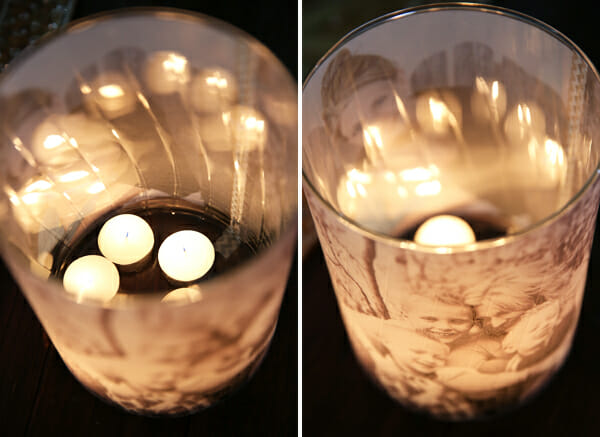
The real magic happens when the lights go dim, and the candles start burning. Place a few tea lights in your glass containers (I put several in my really jumbo ones!)
And everything will come alive with a flickering glow.
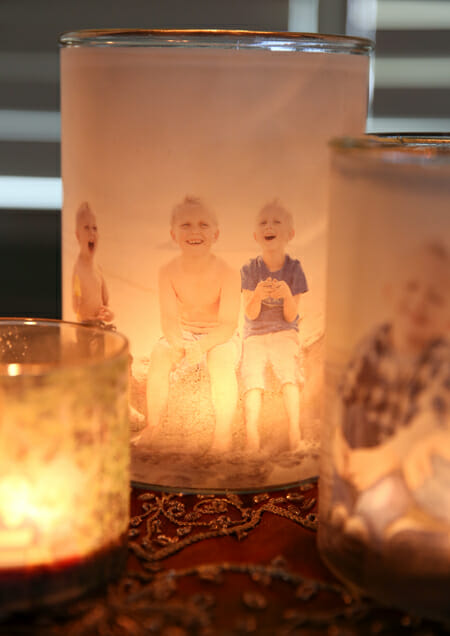
The soft light pours through the vellum and illuminates the photos, creating a beautiful work of art!
I used these at a dinner and they were the topic of conversation. People couldn’t stop looking at them, and wondered how on earth I made them, and my kids especially loved seeing their pictures on there. The best part was hearing them say things like, “Hey, I remember that! That’s from our trip to the beach! Remember when….”
It’s such a fun conversation starter. I could see these being so beautiful for a wedding celebration as well. Can you imagine photos of the bride and groom all lit up? You can also use a battery-powered tea light and use these for night lights! I let my boys put on in their room and they loved it.
Start thinking about your own family memories you could light up! (Hover your mouse over the image below, to Pin it!)
Glowing Photo Luminaries
Tutorial by Our Best Bites
Supplies Needed
blank sheets of vellum (available at craft stores)
photo printer (I used a Canon PIXMA)
double sided tape
round glass hurricanes, mason jars, etc.
tea lights or battery powered candles
Instructions
Use photo printer to print a variety of photos onto vellum. Cut images to fit dimensions of your glass jars. Use double stick tape to secure photos onto glass. Place tea lights inside containers and light candles to make images glow.
Presented by Canon PIXMA Wireless All-in-One Printers. PIXMA Printing Solutions (PPS) lets you print photos or documents directly from select popular online Cloud services.


Questions & Reviews
Hi, I also have the same question as a lady above, and don’t believe I saw an answer. She wondered about using regular drinking glasses, or would the heat be too hot from the candle? I saw a lot of heavy glasses at the Goodwill store, but didn’t buy them because I thought I probably had to use mason jars? Also more ideas on making it permanent? Glues that hold up to heat? Thanks for the great ideas though, will try them, but hope someone can answer these questions before I start.
I can only show you what I did, if you want to experiment with other forms of glass containers or glues, you’d have to experiment!
Have not tried this yet, but I have another question (probably a very dumb question): Does the picture go on the inside of the jar, or the outside?? I read all of the comments that were showing on your site and did not find that particular question, which shows that everyone else is smarter than me!!!!! (I did look closely at your pictures in the tutorial and it looks, to me, like the pictures are on the outside of the jar, but I just want to be sure. Again, thanks for your time. kdm
Outside 🙂
Just found your tutorial for the Photo Luminaries, and I have a question. Just a beginner in projects such as this, I am not familiar with “vellum”. I looked online at Hobby Lobby and found packs of Vellum listed as being clear. Is that what you are talking about?? Also, do you use just regular snapshot photos and copy in the same way you would on regular copy paper?? My printer/copier is a Canon PIXMA MG3122 and does a good job coping with regular copy paper, but I am not sure about how to use the Vellum. Any help you can give me will be greatly appreciated. I love the project!! Thanks for your time. kdm
Kay, you’re not making copies, you’re actually printing the photo onto the vellum. And the vellum is transparent. Not clear, but sort of like the same transparency as tissue paper (only thicker.) If you’re confused, I would recommend asking someone at the store. Hope that helps.
I believe the word is TRANSLUCENT.
Sara: I tried the luminaries with photos printed on vellum and put on glass; however, the double stick tape did NOT work at all and the pictures fell off within a minute. What did you do to get the vellum to stick on the tape? I was looking forward to making these for gifts, but it isn’t working. Please help. I saw on another page to use mod podge, but that didn’t work too well either. Thanks for you help.
I just used regular scotch brand doublestick tape and they’re still stuck on there like the day I did them!
I have made theses also and I use the candles that I sell. If I use a taller candle I do mostly scenery pics.
Awesome idea I love it.
Annie
Thank you your great idea will help me to my Valentine gifts.
I printed mine on translucent velium that has metallic confetti in the paper. I printed a black and white plus colored photo of the same pic on 1 pg. Had no problem with the paper or printing, altho, when it came out it did try to curl up. I laid it flat and let the ink dry on the paper for about 1 hr. Was wondering about using reverse collage glue? I
For your printing you can take your digital file to OfficeMax with your vellum and they will print it for you. It is $ .10 for b/w and $ .49 per page. Not a bad price and it is laser print which holds up better. They also look awesome. Don’t smear when when water hits. I send all my prints there. Just bring your own paper or they charge a little more. They will print on just about anything.
Try doin laminating the pic then taping it. And Im going to try using TRACING PAPER, its a lil cheaper and goes through the printer better. And the Eeamination will increase the photo details!!! Wish me luck!
I love these and bought all the supplies but I am having a problem when I use my cannon printer to print the picture on the vellum sheet…does anyone have any helpful hints.
Thanks
I tried this Thanks! but i had a hard time with vellum meeting up equally in the back? Am I doing something wrong? they are round candle jars? nothing fancy about them. and it almost looked like a V,one side always wanted to pull upwards? any suggestions? I’ve searched internet and I get nothing! or are these suppose to be wrapped lightly not snug?
exactly the same thing happened to me I can not get my vellum to meet up properly. Any ideas anyone ?
has anyone tried placing the vellum inside the glass? depending on the shape of the glass & thickness of the vellum you might not need any adhesive and with battery tea lights there would be no fire risk, right?
Did you try putting the vellum inside the glass and using battery tea lights? That was my thought, too. =^..^=
I made these for our Thanksgiving table and they were beautiful – they are still part of our Christmas decorations. Everyone thought they had been professionally made – thank you for sharing this project.
That was the idea i need for the 80th birtsday from my father in law. Thank you and many greetings from germany
Dumb question but from the pictures you posted, it looks almost like you blew up the pictures first and that they printed out the size of the 8/12 x 11 sheet of paper. Am I wrong on this? Hard to tell from the picture what size the pictures turned out to be. i.e did you blow the pictures up first and then print on vellum – so that you could cover a bigger sized jar? It’s probably an optical illusion and I have a feeling you just used a 4 x 6 photo that when printed onto 8.5 x 11 vellum, it stayed at a 4 x 6 size which means you could typically copy 2 pictures onto one sheet of vellum I’m assuming. I too would like to work it with Mod Podge to make more permanent and I bet there are heavier stocks of vellum that could take the wetness of the Mod Podge. I also have a spray adhesive – it doesn’t hurt to experiment I suppose. Great gifts, thanks for posting!
I simply printed out photos to match the size of my project. For the large containers, I printed them at 8.5×11 to use up the whole sheet.
Does anybody have suggestions on how to make this more permanent? I am wondering if there is a type of glue I could use to secure the photos to the glass that would not mess up the effect– any suggestions?
I was wondering if these could be. Decopaged to make them more durable? That way they could be wiped clean and stay pretty longer.
Hey there. I was just curious if I am able to use regular drinking glasses for this project. Would the heat from tea light crack it? Just wondering.
Great project, already planning to do this as a gift for a dear friend.
We made these as our wedding centrepieces, and had tonnes of compliments on them. For my first try I used double sided tape, but when I burned a real candle in them, it released the glue. So, second try was spray adhesive. It didn’t work perfect, but it was pretty good. They held up for the entire reception, but they didn’t look really great at the end of the night, as the heat from the candles had wrinkled the vellum. If I had a ‘do over’ I would have used battery operated candles. Good luck everyone!
I LOVE My family pictures, especially since I have my own Lil family, and I LOVE candles and cannot wait to try this!!! 🙂
I haven’t made these but I think I would suggest only one piece of tape and bring the ends of the photo together there. I “THINK” (LOL) that if you do take in more than one spot, it will show through the vellum. Also, when you go to the craft store, ask for help around the Modge Podge. There may be one that is permanent (not all are) and will withstand the heat from the candle. GREAT DIY.
inspiring
Do you think this would work for black and white pictures? I love this idea and thinking of doing it for my baby shower but using copies of my sonogram pics of the baby
Should work beaytifully in b&w – great idea yours
This is great for my in-laws, they’re in their 90’s and hard to buy for.
They are lovely. Thanks for sharing the idea. 🙂
will it work if I decopage the pictures on to the glass?
Thank you so much for the wonderful how-to, and the gorgeous photos, and the amazing idea in the first place! They turned out BEAUTIFULLY!!! May I suggest a tip? If your glasses are not perfectly straight sided (mine were angled out at an imperceptible degree) wrap your glass in regular typing paper (hold or tape to keep it from moving), and trace around the top and bottom edge. You will have a perfect pattern that, when placed behind your vellum print, makes centering your photo a breeze. Also, I took a string, wrapped it around my glass, then measured it to get the length I needed for print (my small votive holder was 2 1/2″ tall by a shocking 7″ around!). Hope this helps.
Something I’ve seen lately as well is doing this same thing but using E-6000 to glue four picture frames together in a square, then putting the vellum down on the picture frame before the glass. You use an electronic tea light to prevent burning. I think it could make such a beautiful gift for many reasons. In fact, after spending seven years in our current home, our landlord needs to liquidate. I’m going to use Facebook pictures she’s posted and make this as a going away gift of sorts … just to say thank you. She’s the first landlord I ever had that was actually GOOD. She took care of every problem we ever had, and then some.
Going to try this tonight WITH the modge podge. Hope it works! Up against it for inlaw presents. Will post a note on how it goes. Have printed on vellum for scrapbooking, don’t know why that worked, maybe the printer? Hoping this works with the modge podge.
Ok. Modge podge did NOT work for me. Wrinkled the vellum, and that didn’t look good on the faces. Will have to be plain. If they get splashed, printing a new one won’t be that big of a deal I suppose.
Oh wow, I went out and bought everything you said because I feel in love with this project… its now 3 days before Christmas and I cant get it to work.. I also have a canon pixma photo printer but I just cant get the vellum to print at all, I even stuck another piece of paper behind it so that I could trick the printer, but nothing… I am very sad, these are just gorgeous!!!! Any ideas for me???
Ha ha hodgepodge 🙂