It’s here it’s here, it’s finally here! Fall weather has officially arrived in my city and I couldn’t be happier. I broke out my fall decorations a little later than usual this year but things are finally coming together. I posted a bunch of pictures on The Scoop today, so click here if you want to check it out. (And see the end of this post for an explanation of what “The Scoop” is!) For all of you craft-haters, go browse this section today and find something delicious!
You all should know by now that I need a wreath for every occasion. I keep a wreath hanger on the inside of my front door, so I like to switch it out all the time. I have a fantastic feather wreath that I love for fall, but I wanted something just for Halloween that wasn’t too goofy/juvenile/corny/etc. I saw this black ribbon wreath and fell in love, but when I went to look for ribbon I quickly realized that was going to turn into one pricy little wreath! But then I noticed the giant spools of tulle for half price so I grabbed a bunch of black and decided to do something similar. I love how it turned out, and you could really do a lot of fun variations of this same style, but I’ll show you what I did for Halloween. The bonus is, you don’t have to be crafty at ALL to pull this one off. If you can tie a knot, you’re set! This would be super cute and fun to do with a kids group even, with little mini wreaths!
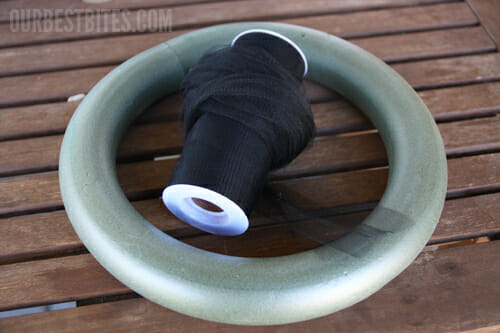
There are a few optional supplies, but really the only things you have to have is a styrofoam wreath form and some tulle. Normally I use 12-18″ wreath forms, but for this you’ll want a small 8 inch one. It looks tiny, but in the end it will appear much larger, so it’s better to start out with something small! I had 2 spools of tulle that were 50 yards each and I used almost all of it. That sounds like a lot, but tulle is pretty cheap and it comes with a ton! I also double layered it, so if you don’t do that it might stretch a little farther. Find tulle at craft or fabric stores, or even at Walmart with the Wilton cake decorating/wedding supplies. I actually love the texture of the Wilton brand tulle.
Start by cutting strips of tulle. I will tell you, it’s easier to try out a few and then determine a length you like. Cut them all the same length and then you’ll have less trimming to do later, and your wreath will be nice and even. I wanted a little more coverage, and found that it worked well to do a double layer of tulle for each tie.
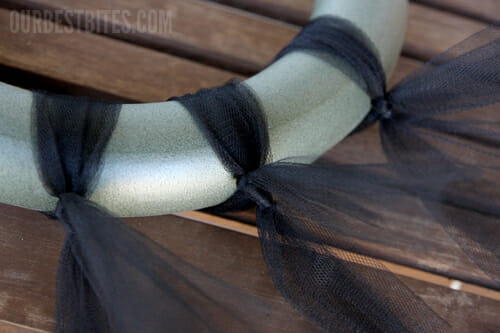
Just start to tie the pieces right around your wreath. Easy peasy. Messy knot, square knot, whatever. I did this while watching TV (how happy am I that fall tv is starting up again?! So happy.) This is a great tv project.
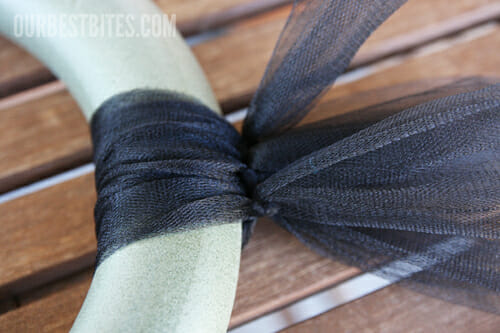
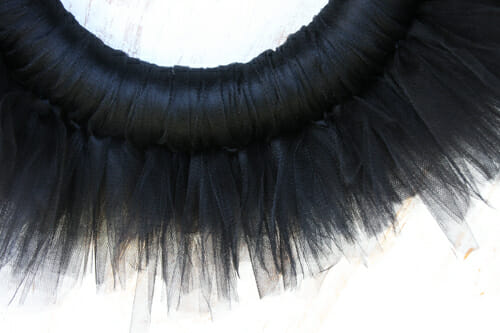
Then as you finish ties, you’ll push them all together. You can make this really full and tight, or a little looser. Obviously the tighter you push the ties together, the more tulle you’ll need. I found I liked mine pretty tight.
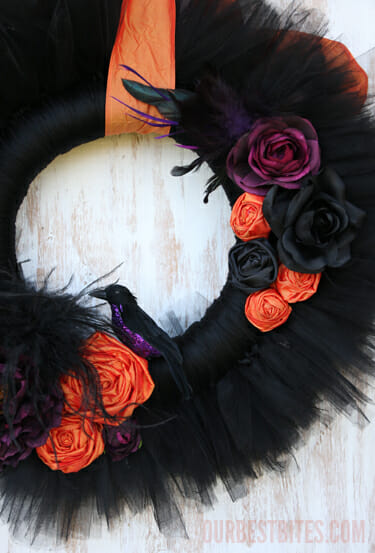
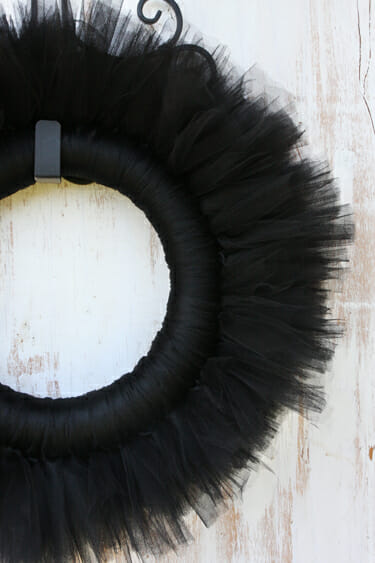
This is why you start with a tiny wreath form; the tulle adds about 3-5 inches all the way around. Look how awesome it looks when it’s all full:
You could definitely leave it at this point; it would be super cute tied up with a big orange bow. Or I think it would look awesome in a little girls room with a bright pink bow and a pink flower or something. Sort of like an edgy tutu.
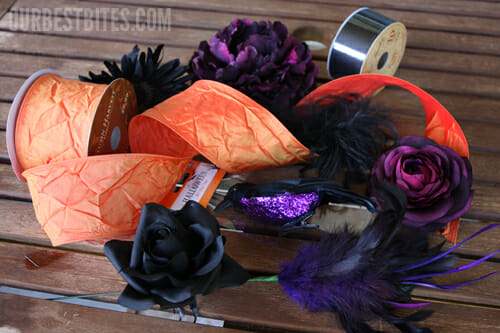
But you know I have a slightly problematic addiction to accessorizing. So I can’t leave it like that. I went to the craft store and grabbed a bunch of random things in the color palette I was working in: Black, orange, and purple. I think gray would look good in there too; and even green and/or teal.
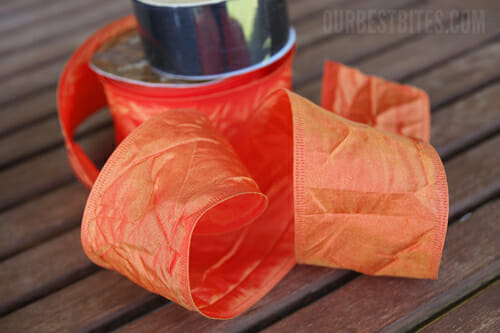
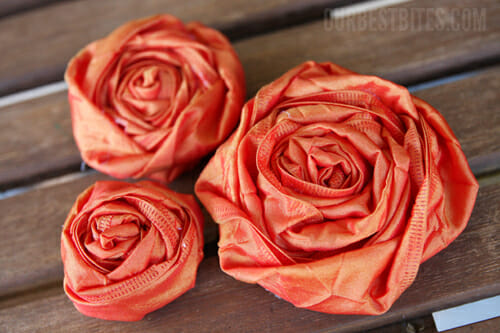
I absolutely love this ribbon. Super wide, wire edged, and shimmery orange and yellow.
So I whipped up some quick ribbon flowers using this tutorial. As I was doing that I was imagining a Rosette Wreath covered in just these orange flowers and tied with a black ribbon- that would be so gorgeous!
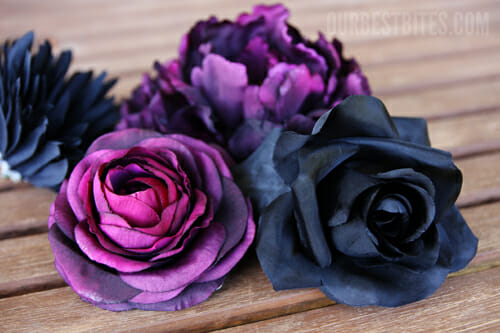
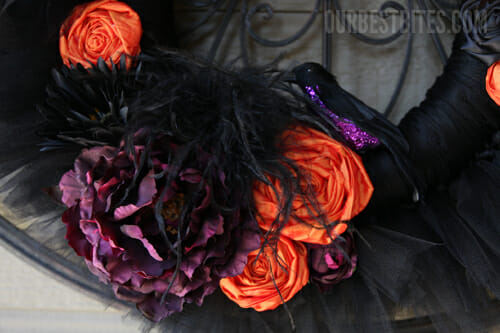
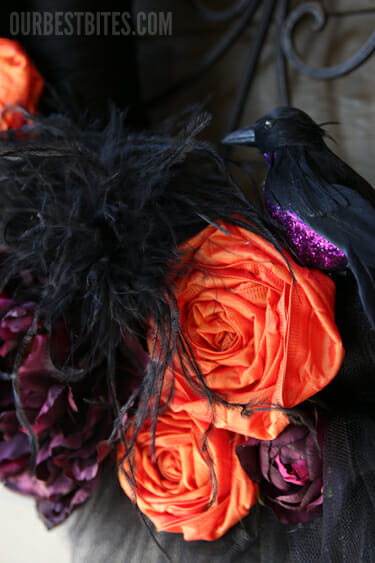
I think the trick when doing a project like this is to mix a lot of different textures and materials for visual interest. Silk flowers, for example, can go from stunning to tacky in a heart beat. But these gorgeous purple ones look awesome when placed among ribbon and feathers and all sorts of other things. You can usually find black roses around this time of year too; I’m loving those for this project!
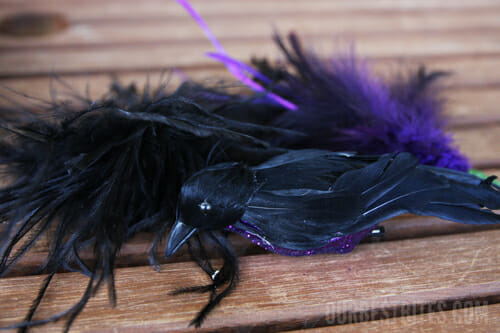
I knew I definitely wanted feathers, so I was really happy to find a purple and black feathery thing (check the floral section of the craft store), and doesn’t the black thing on the left look like a hairy spider?? Guess where I found that? In the hair accessory department. Totally serious. Little fake birds with real feathers are sort of creepy and sort of cute all at the same time so I grabbed a couple of those. How I could I turn down one that had a purple glitter tummy?? (Also, as a side note, the photo below looks like the little creepy cute bird just witnessed the demise of his creepy cute parents, doesn’t it?)
From there, just start playing around with things and place them on your wreath. Definitely place before gluing!
When you’re sure where things are going, then grab a hot glue gun and have at it.
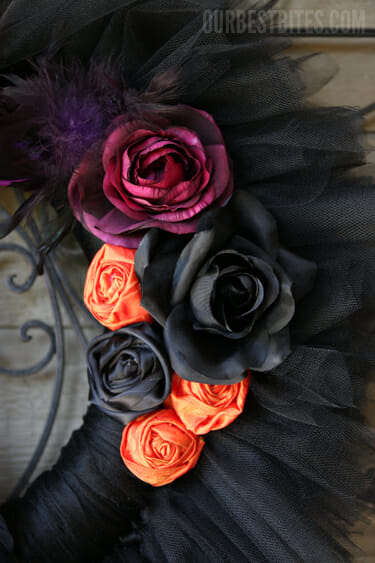
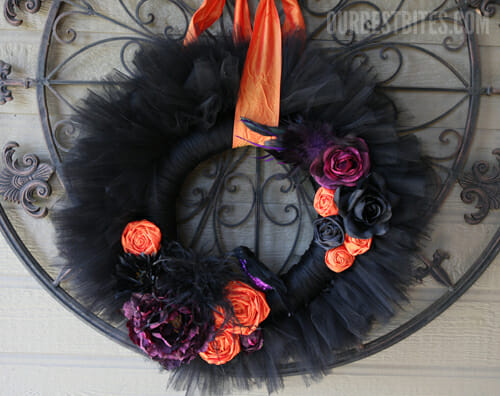
And hopefully you’ll end up with something that’s sort of frilly and fun, yet edgy and classy at the same time. Like Gwen Stefani.
I totally love mine!
And the tulle is super easy to trim up if you get all finished and realize one side is totally longer than the other. Like mine.
Happy Crafting!


Questions & Reviews
Thank you so much for posting this!
Hmmm!!!! this is looking a real gorgeous halloween dress with perfect matching color combination and doesn’t sound bad at all.
Thanks so much! My wreath turned out awesome and I get so many people asking where I bought it! hee hee hee
This is great. Thanks for sharing. I love this idea.
Just curious–how many rolls of tulle does it take & what size wreath did you use?
I was actually pinning something else, got sidetracked–but so glad I did. Hobby Lobby here I come!
I have finished my own, thanks soooo much for sharing your talents.
Just wanted to let you know that I made my own version of your Halloween Wreath. I’m not normally a crafty person, but the wreath looked so cute and easy. I’m glad I decided to make it, turned out great! Thanks!
I totally fell in love with this wreath when I saw it! So I had to make my own version! Thanks so much for the inspiration, love your blog.
http://nv-craftenvy.blogspot.com/2012/10/a-spooky-halloween-wreath.html
hi love the wreath idea. how long did you cut your tulle?
ok, I see now = hot glue !
Thanks! Can’t wait to make this!
What is the best way to attach the roses, bird, feathers etc?
Gorgeous!
Have all my things and can’t wait to try this. It is so FAB. Thank you for such great instructions.
Love this wreath, have all the tulle, hope it comes as nice…got colors for a fall wreath!! Thanks for the instructions
Cant wait to do this! I am going to do an Easter version, with a very similar layout! Your language and directions are so clear and read so naturally! Fabulous. Thank you.
OMG! I just finished my wreath and it is Uh-Mazing!!!!! Thanks for the amazing idea!!!
Thank you for the idea, I made one with blue and white tulle and put a football on the bottom with BYU letters. My husband thinks it is cool!
Nice decorative idea. I bet this is also a great idea for Christmas, just change the color and accessories though. I am excited to try this out!
This is so cute!! I’m pinning it and I’m your newest follower!
I made a Christmas wreath inspired by this one. Yours is beautiful. I just changed the tulle to red and white and used green ribbon to make flowers. It turned out great! Thanks for the inspiration!
I found your tutorial on Pinterest and used it to make a Christmas wreath! Come take a look! http://jamesandleighann.blogspot.com/2011/12/christmas-wreath.html
I had a question about when you are tying the tulle: You said you liked it fuller and did a double layer of tulle. Does this mean you put two pieces together and then tied them togeher, or tied 2 different ones on top of each other? thank you for this, it is a beautiful wreath!
I loved your wreath so much that I made one. The neighbors loved it and now I want to make another one for Christmas, maybe in burgandy I loved making it.
Thanks for the beautiful idea
Thank you so much! I just finished one in light pink, light purple, and white for my niece who’s due Nov 1. I am so in love with it! I couldn’t find spools of tulle at my local stores so I had to buy it off the bolt and cut it down into strips (UGH! and I’m kicking myself for not finding papermart.com sooner). Cutting into lengths for tying are easy, though. I cut a piece of cardboard to the length I wanted, wrapped the tulle strips around it, and cut it on the ends. It was like making a pom-pom but cutting both ends instead of just one. The next one will be in black for my own daughter’s room, which is decorated in black-and-white damask and yellow. Awesome!
OMGoodness! This is gorgeous, been thinking of a Halloween wreath…just have a fall leaf one. I am gonna have to replicate this ASAP.
Thank you so much for this post! I made two wreaths to decorate my apartment and absolutely love them. I never thought I was a crafty person but it appears that I can do okay when I have great directions. Thanks again!
Oh, dear. You guys are going to get me in trouble again!! I love this project! It could be adapted for ANY holiday!