Before I started a professional career in food and my husband entered the medical field, we were college students studying soil compositions in chem labs, memorizing hundreds of latin terms for plant ID class, and learning how to propagate rare plant species. We met because we were both finishing up undergraduate degrees in horticulture science and had almost all of our classes together one semester. People who know us now, and the fields we’re in, think it’s super random that we studied plants, but I always say it must have been to meet each other, and it’s an awesome thing to have in common because now it’s a great (and useful) hobby, and one we’re teaching our 3 sons about. I’m a huge supporter of getting kids involved in fruit and vegetable gardening in particular. In a world of pre-packaged everything, forming a sense of partnership with the earth and a responsibility for the food we eat is educational in so many ways. Besides that, there is something absolutely magical about witnessing the whole process of a tiny dry seed turning into a huge food-bearing plant. Kids learn about the actual science of plant growth, but also about how to take care of something, tend it, nurture it, watch it grow, and enjoy the very real fruits of their labors.
Anyone can plant a garden! Here’s some Tips:
Think about size: Edible gardens can really exist in any shape and size. Whether you’re on a farmstead in Montana, or a roof-top apartment in NYC, you can grow some food! There are plenty of plants that do great in pots, so you could easily grow those on a small porch or balcony. If you have a larger space, it’s really easy to go gangbusters in a garden and plant way more than you’ll actually consume. Keep in mind that many plants are going to be ever-bearing, and continue to produce for a large part of the season, so be realistic not only about what you can take care of, but what you can consume!
Think about location: If it’s possible to plant your garden near your kitchen, it’s pretty handy. I’m often in the middle of cooking when I need to grab something from the garden, and it’s much easier when you don’t have to go find shoes and tromp all over the yard. It’s not always possible, but something to think about. I even sometimes do all of my herbs in pots right next to my kitchen door so they’re close when I need them.
Think about light: vegetable gardens do best in full sun, meaning a spot that gets at least 6-8 hours of sunlight each day. If you don’t have a large space in full sun to dedicate to a garden, don’t worry. You can certainly place vegetable plants among your flowers in the yard, or even in pots.
Think about water: those plants will be drinking up water as well, so make sure your garden space is near a good water source so it won’t be inconvenient for you to lug a water-source to it!
Think about Critters: Thanks to a reader comment for reminding me about this one. Definitely think about the animal life in your area and plan accordingly. You might have to get creative, or plant some partner plants to keep things like deer or slugs from eating your goodies!
My Garden
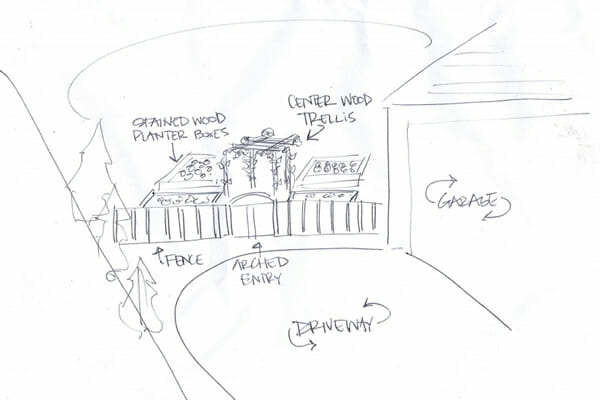
We have a big open canvas on the side of our house in a sunny spot so my husband and I sketched out what we wanted to do. 4 raised garden boxes, 6′ x 10′ each. Since we need a post in the corner of each garden box for stability, we’re using the 4 center ones for an arbor.
If you’re making a larger garden, or want to build raised beds like I am, you’ll want to actually measure things out where you’re going to put them.
It’s easy to estimate and eyeball, but (especially if you’re building structures) it helps to actually see it. What you imagine in your head, and what it actually looks like can be quite different.
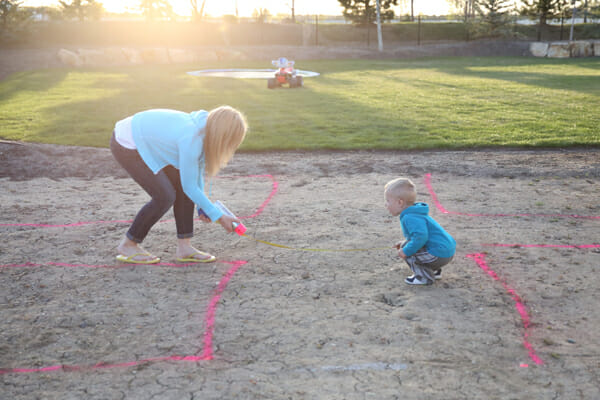
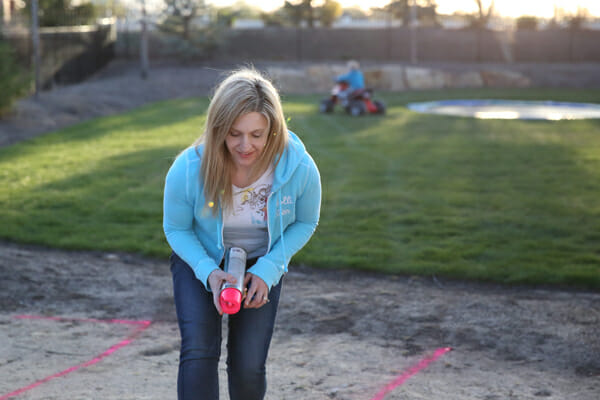
I like to actually paint things out, so we measured exactly how large our raised boxes would be and slapped some paint on the ground so we could walk around it and make sure we had enough room to walk in between, drive our lawnmower through, pass a wheelbarrow, etc.
 Once that was ready, we (and by we I mean my husband) grabbed some wood from Lowe’s. We’re using 10′ x 12″ boards so we can use one full board for the side of our boxes and just cut one board in half to use for the two smaller sizes. I’ll stop using the word “we” at this point, since it’s obvious I had nothing to do with the following steps besides snapping the occasional photo and yelling, “Good job, guys!” My husband and little brother gave the boards a quick cut ( the brother who made it very clear during the process these photos better not end up on my blog. ha. Sorry bro, at least it’s only like, half of the back of your head so no one knows it’s you. Except I just told them all.)
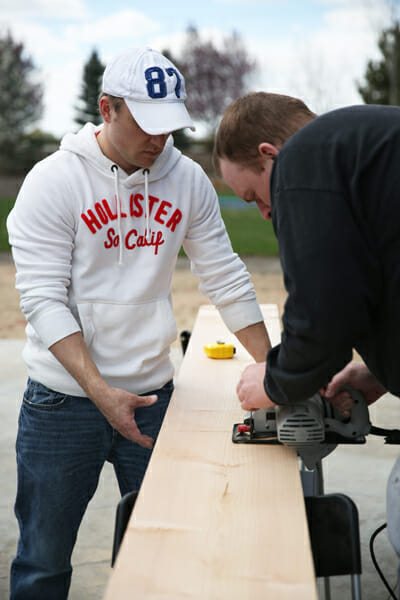 And then connected them with large wood screws. Seriously, assembling these boxes took maybe 3 1/2 minutes, each. You can see we have one smaller board running across the middle of the box- if your box is large like mine, that middle board will stabilize the box and keep it from bowing out once’s it’s filled with dirt and settled. There are tons of tutorials online if you want to get fancy with raised beds; ours are very, very basic (and very, very easy to make!)
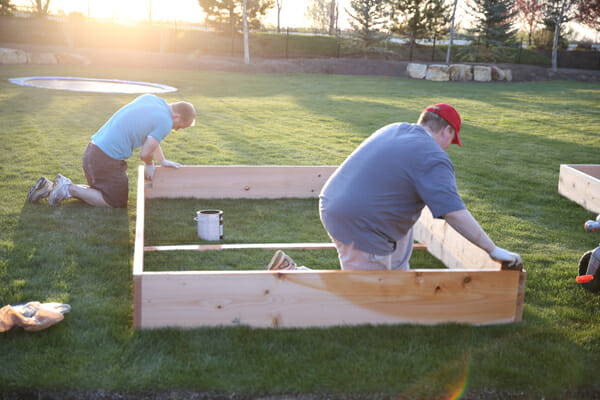
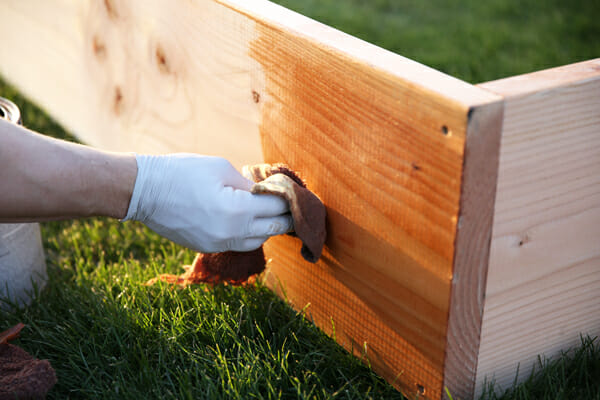
After the boxes were put together, we (no really, I actually helped with this part) gave them a quick coat of stain. The stain not only adds to the aesthetic, but helps seal the wood so it will last longer. You do want to be careful with treating wood that is used to grow food because you don’t want materials (like treated lumber) to leach things into your soil. We used a waterproof stain, and applied it mostly to the outsides of the boxes. With the size of our garden boxes, it shouldn’t be a problem with anything leaching into the soil. To stabilize the boxes even more, you can put metal brackets on those corners.
 Once the garden boxes are assembled, you’ll need to fill them. We used a mix of 3 parts topsoil to 1 part compost. If you already have dirt in your yard, you can just grab a few bags of compost or peat moss (available and garden or home improvement stores) and toss them in there. Compost adds vital nutrients that will help your plants grow faster and stronger. In fact once your garden is planted, grass clippings (as long as your grass hasn’t been treated with chemicals) does wonders sprinkled in around your plants.
Do you notice in the photo below how the dirt is sitting right next to the boxes?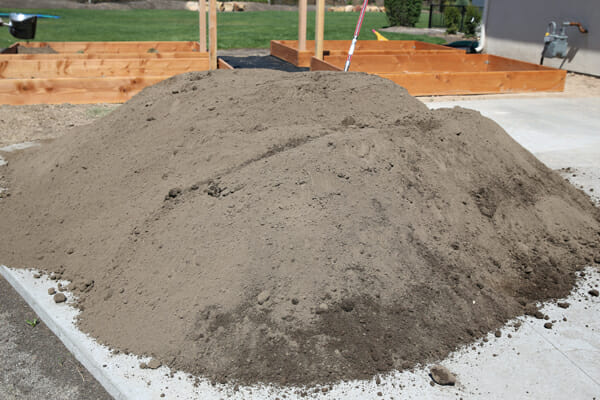
Wouldn’t it have been awesome had we arranged with the dump truck driver to dump the dirt directly into our boxes, since they’re conveniently located just inches from our driveway? And it wouldn’t it totally suck if he showed up 4 hours early when we weren’t home and left it in our driveway to shovel? Yes. Yes it would.
Once the boxes are built, placed, and filled, you’re ready for the very very best part. The plants!
Think about what your family likes to eat, but also think out of the box. One of the very best ways to add flavors to your palate is to grow them yourself.
A lot of people think since I’m a horticulturist, I must have an elaborate sprouting operation going on, growing my own heirloom varieties indoors in the winter. Not so. I never get started till about right now. We grow some things from seed, like zucchini, squash, beans, and melons, because they sprout so quickly and grow fast. However for most other things, I just buy small plants.
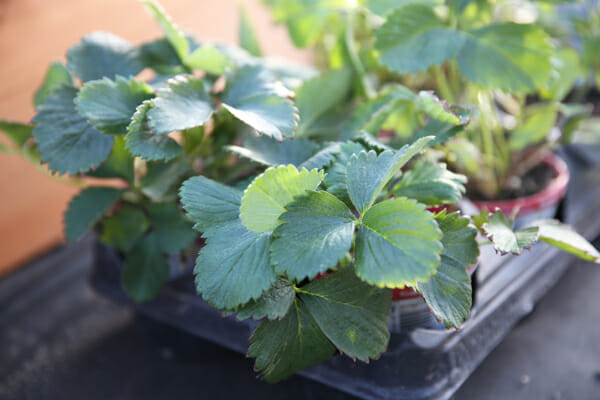 Seeds are obviously much less expensive than plants, and you get quite a few seeds in a single packet, but I usually just spend the 2 bucks and buy a little plant for the head start it gives me in the middle of May. If they come in a little bio-degradable pot, I recommend tearing off at least the top and bottom of the pot (or the entire thing). Even though it says you can put it right in the ground, they often don’t biodegrade until after the growing season, so they can end up sucking water away from your plant and trapping the little roots in there.
 Back to the garden. We’ve experimented with a lot of different plants over the years and now we grow a lot of what we know we like, and then a few wild-cards just for fun. One of my favorites is the herb section. If you grow nothing else, grow a pot of basil. Your pasta will thank you.
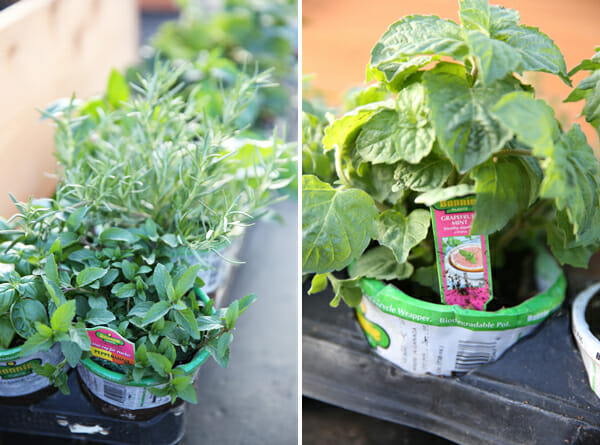 And if you have kids, involve them! I’ve never seen my kids so excited about vegetables than when we were looking at the hundreds of little sprouts and seed packets at the store and they could look at the photos and pick what they wanted to grow.
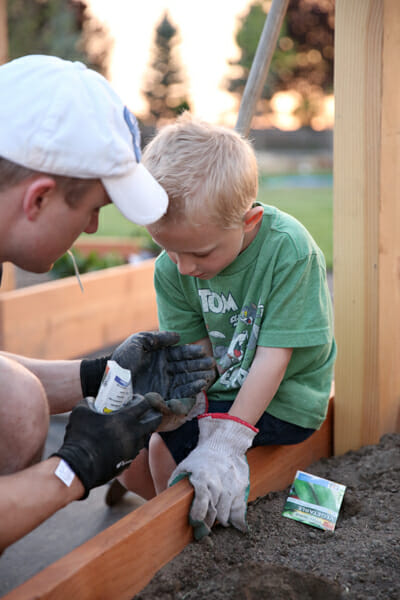 Magical, I tell ya.
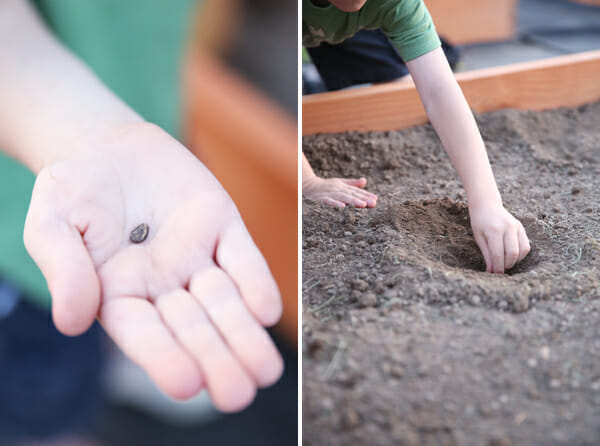
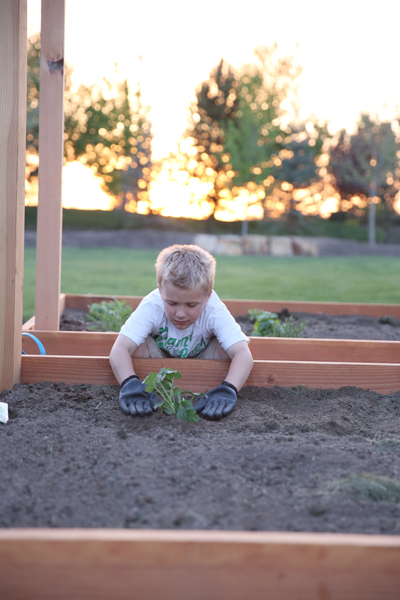
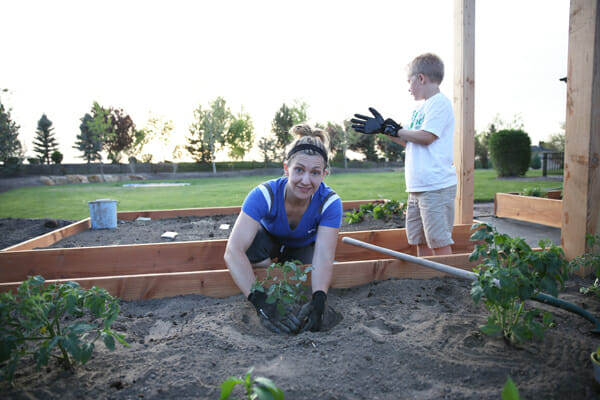
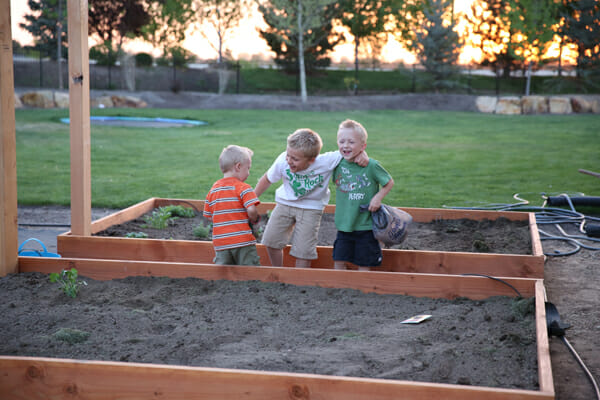
And they will absolutely be more interested in eating something they helped pick out and take care of.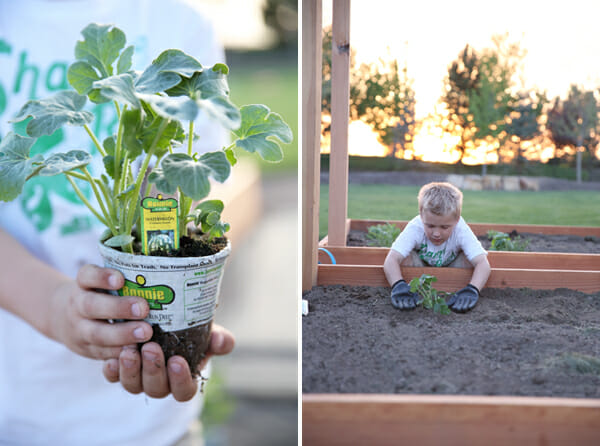 These little guys have already been hard at work and I can’t wait for them to see the fruits of their labors!
Even if you don’t take on something this size, think about planting a tomato plant in a pot on your porch, or a little container of basil and oregano. You’ll be happy on a warm summer night when you’ve got a bowl of pasta in front of you!


Questions & Reviews
Love your garden ideas! I think you mentioned somewhere else that you grow grapes on your arbor. What do I need to know to grow grapes on an arbor, how do I start? maintenance?
Hey Erin! Growing grapes is actually SUPER easy! I would definitely research to find a good *tasting* variety. Some are better for juicing, others for eating, etc. We have a variety. After that, you can plant at the bottom of an arbor and just tie them up as they grow until they can attach to something themselves. They are quick growers and easy to maintain. Have fun!