 Sometimes the easiest meals, are the best ones. This recipe isn’t fussy. It requires just a few fresh staples, and a couple that are in most people’s pantries. I’ve had this idea in my head for months, and a few weeks ago I finally started playing around with it and it didn’t take long to reach perfection. This simple method of cooking is one of my go-to’s. It involves searing some meat (in this case, chicken) adding some liquids and flavors, and then letting the oven do the work. The result is similar to something that’s been in a slow-cooker all day; chicken that is so moist and tender that it just falls apart, and a sauce so flavorful and rich, you’d think it had simmered for hours. But it takes only 60 minutes. This type of dinner is one of my favorites because I can prep and cook a little and then once it goes into the oven I have time to set the table, do the dishes, and get everything cleaned up before we sit down to eat so that after dinner, clean-up is quick and easy.
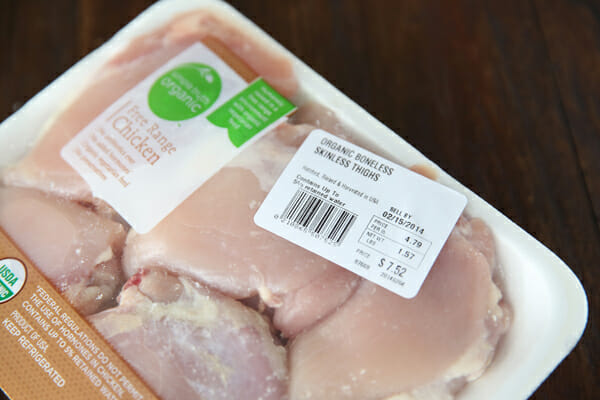
This recipe is specifically for boneless, skinless thighs. Don’t ask me about substitutions, just use the thighs. They are specifically suited for this method of cooking, and the meat adds both flavor and body for the sauce. Most packs of boneless, skinless thighs are between 1.5 and 2 lbs. Shoot for something a little over 1.5 at least, since you’ll trim a little off. I shoot for something between 1.6-1.8 lbs.
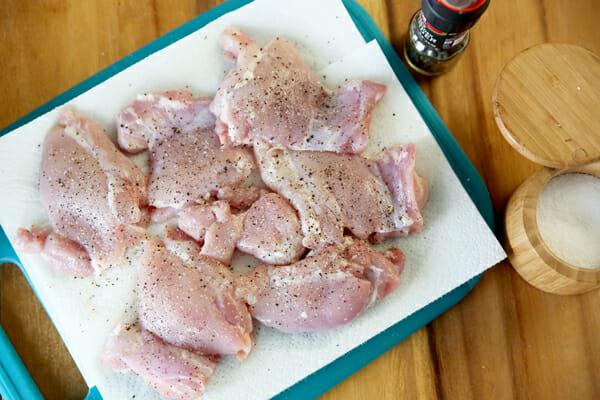
Even boneless, skinless meat sometimes needs to be trimmed up a bit. To prep your meat, grab a pair of kitchen shears, or simply a clean pair of scissors (emphasis on the clean, and put them in the dishwasher when you’re done.) Set up a few layers of paper towels on a plate next to the sink and start running cold water. Rinse each piece under cold water and use the scissors to snip off any remaining largish pieces of fat. After each piece has been rinsed and trimmed, place on paper towels to blot dry. Sprinkle with kosher salt and black pepper.
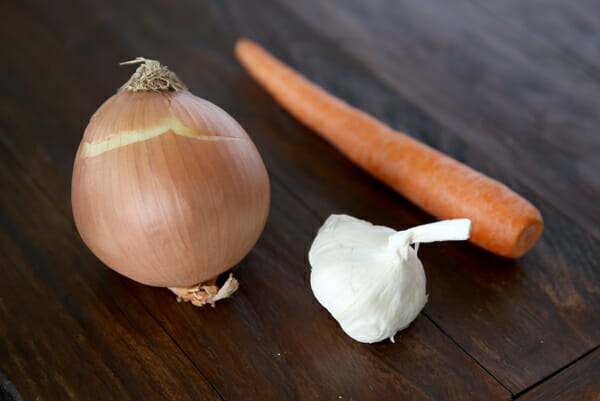
You just need a few basic fresh ingredients here. Even when my cupboards are bare, I usually have garlic, onions, and a carrot (or at least baby carrots for my kids).
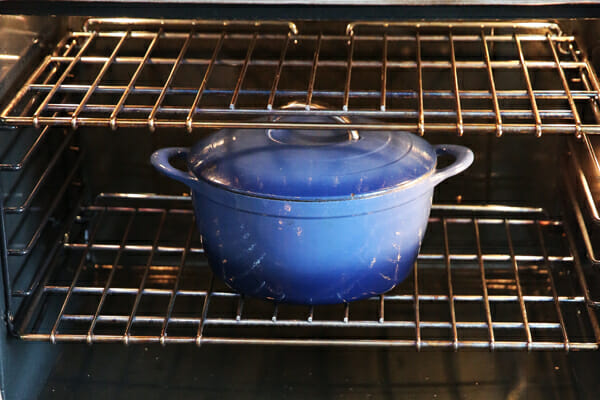
Heat up a large dutch oven on the stove top. Don’t stress out here if you don’t have a giant Le Creuset. They’re beautiful, and high quality, but they also will cost you several hundred dollars. You can find quality enamel coated cookware, that cooks just as well as those expensive brands, for under $100 (my favorite was purchased for $50 at Walmart years ago), which is a great deal. A large pot like this is a great investment for your kitchen; it will last for years and can be quite the workhorse. For half the year I’d say my big 6 qt Dutch Oven gets used more than any other pot in my kitchen. Check out Lodge Brand for a great deal in fun colors. You can also usually find them at stores like Walmart, Target, and even Costco usually has one in stock regularly. I also see them often at stores like TJ Maxx/Home Goods, Marshalls, etc.
One trick, when you’re using any pan to sear meat, is that you must heat up your pan first. It needs to be hot before you add your fat (in this case, oil) and before you add your meat. If you place your meat on cold, not only will it not get a nice brown crust, but it will most likely end up sticking. So once your pot is hot, swirl in some olive oil. Our Extra Virgin Olive oil is a perfect fit here, and our Basil or Garlic is even better.
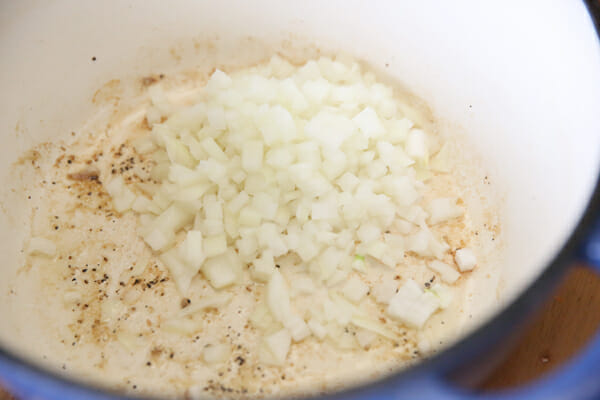
After searing the chicken pieces for a few minutes on each side, remove them and put them on a plate. The chicken will have given off some fat and juice, plenty to cook your onions in.
For sweetness, you’ll also add some shredded carrot. The carrot will just melt right into the sauce and you won’t even notice it- we’re only using it to balance the flavor and add necessary sweetness to the sauce.

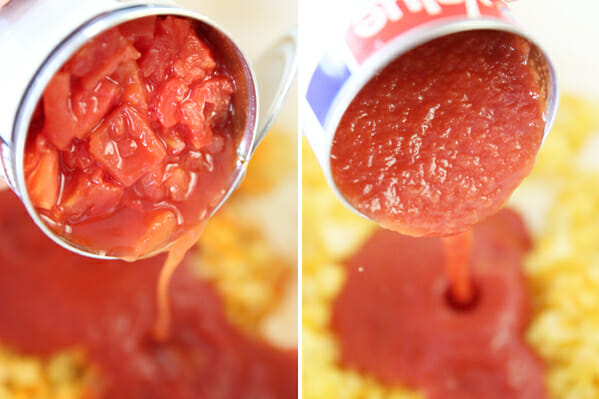
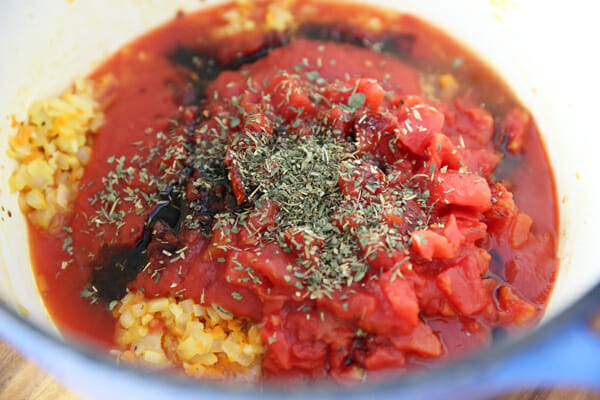
You’ll also add a generous amount of garlic. Once those veggies are softened a bit, dump in a can of diced tomatoes, and a can of tomato sauce.
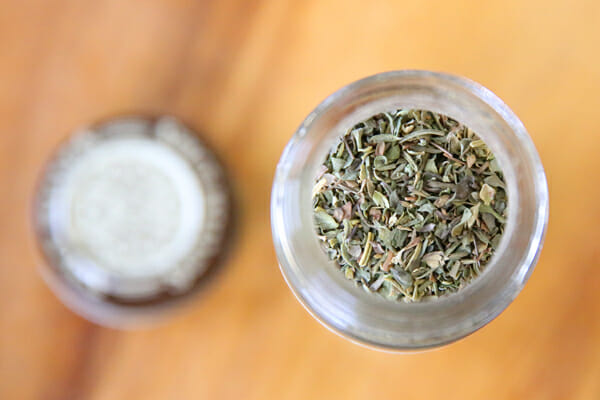
To keep this quick and easy, the only seasoning we’re using is Italian. It already has basil, oregano, rosemary, sage, marjoram, savory and thyme, all in one little bottle.
and also a drizzle of balsamic vinegar. That’s it! It takes less than 10 minutes to cook and dump everything in there.
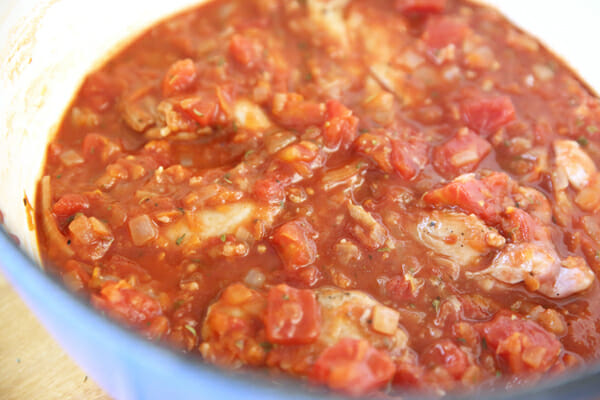
Bring that mix up to a simmer and then add the chicken back in.
Pop a lid on your pot and stick it in the oven for an hour.
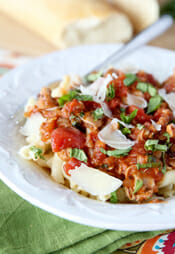
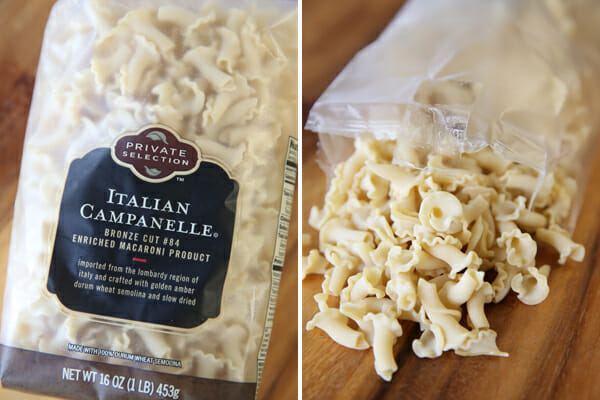
While it’s cooking you can prep anything you want to serve it on. Obviously it’s good on pasta (this is one of my favorite cuts, they look like little roses!) But it’s also good over rice, quinoa, steamed veggies, or on toasted hoagies or slider buns.
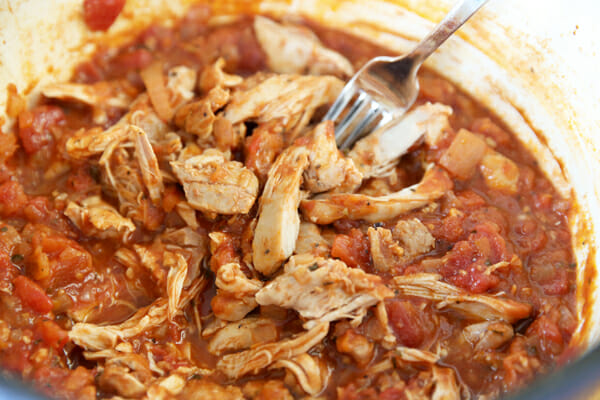
In the oven, the sauce becomes rich and flavorful,

And the chicken is so moist and tender that it falls apart with a fork. I like to break it into large chunks.
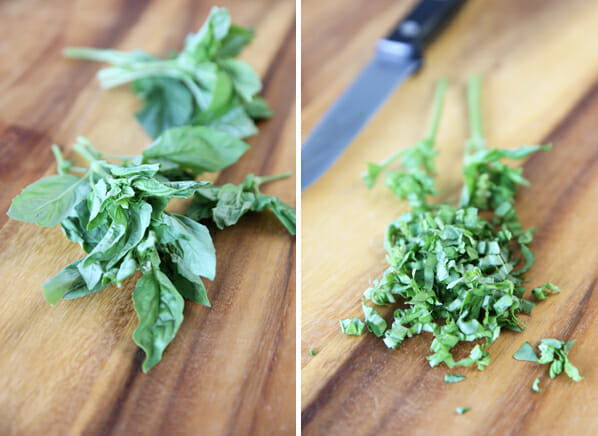
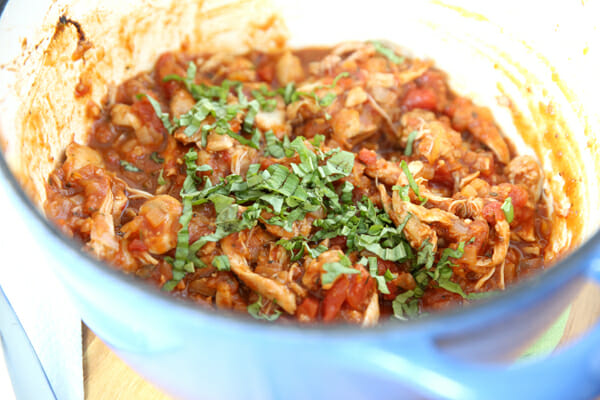
The last thing you’l need is one more drizzle of balsamic vinegar, and a handful of fresh basil.
Stir it all in and you’re done.
Before serving (on noodles, or sandwiches, or anything) give it a sprinkle of fresh Parmesan cheese.
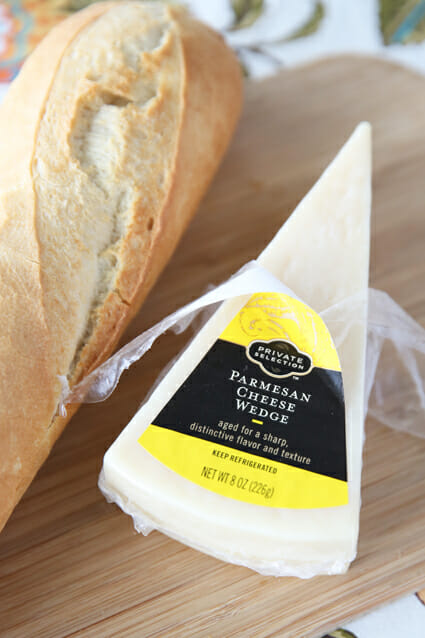
This would be extra yummy with some of Kate’s Make Ahead Garlic Bread!
Hover your mouse over the image below to Pin it!
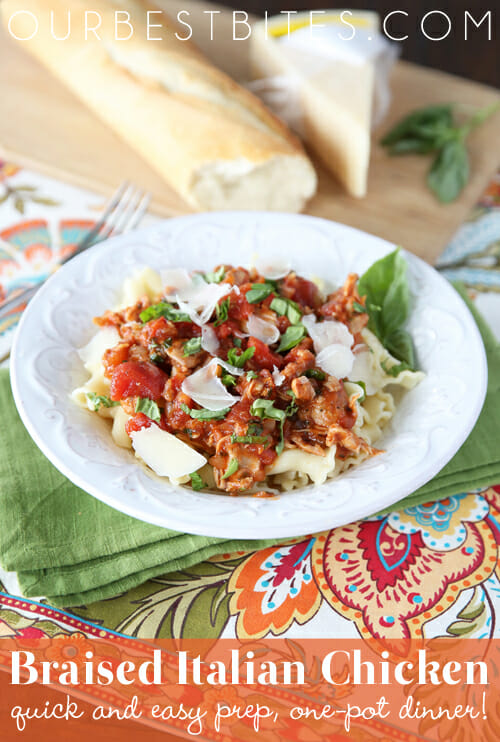
Braised Italian Chicken
Recipe by Our Best Bites
Ingredients
1 1/2-2 lbs boneless, skinless chicken thighs (6-8 thighs)
1/2 teaspoon kosher salt, divided
fresh cracked black pepper
2 teaspoons extra virgin olive oil (our basil or garlic oil is awesome here)
1 cup diced onion
1/4 cup shredded carrot
5-6 cloves garlic, minced
1 14.5 oz can diced tomatoes (not drained)
1 14.5 oz can tomato sauce
2 teaspoons Italian Seasoning
1 tablespoon balsamic vinegar, divided
2-3 tablespoons chopped fresh basil
freshly shaved Parmesan cheese
Instructions
Preheat oven to 350.
To prepare chicken, rinse all pieces in cold water and use a pair of kitchen shears (or clean scissors) to snip off any remaining fat. Blot dry on paper towels. Season one side of chicken with 1/4 teaspoon kosher salt and several cracks of black pepper.
Heat a large Dutch oven to medium heat. When hot, add olive oil and make sure it spreads across bottom of pot. Place chicken salt side down and cook for 2-3 minutes. While it’s cooking, sprinkle remaining 1/4 teaspoon salt plus a few cracks black pepper on other side of chicken. Flip chicken pieces and cook for 2-3 minutes. Remove chicken and place on a plate.
Add onions and carrots to pot and cook for 2-3 minutes, add garlic and cook for an additional 30 seconds, or until fragrant. Add can of diced tomato (with all the juices), tomato sauce, Italian seasoning, and 1/2 tablespoon balsamic vinegar. Stir ingredients and bring to a simmer. Add chicken and all accumulated juices from plate. Cover chicken with sauce and cover pot with lid.
Bake for 1 hour. Remove from oven and remove lid. Use 2 forks to gently shred shred chicken into large chunks. Add remaining 1/2 tablespoon balsamic vinegar and chopped basil. Add additional kosher salt and pepper to taste. Serve over pasta, rice, quinoa, or steamed vegetables, or on french rolls or slider buns and garnish with fresh Parmesan cheese. Serves 6.
Nutritional Info (3/4 cup shredded chicken with sauce, and 1 tablespoon fresh Parmesan):
Calories: 201, Fat: 14g, Protein: 20g, Carbs: 8g, Fiber: 2g


Questions & Reviews
Can I make this ahead of time and freeze it? Then put it frozen in the dutch oven and bake it? Or what would your freezer instructions be? Thanks!
It was so yummy. My husband loved it. Though had used feta instead of parmesan..
I love this recipe. I’ve made it several times already! I’m glad it doesn’t use any diary, since all of a sudden I’m allergic to it!!! You guys are great! Keep up the great work 🙂
Is it really 14.5 ounces of tomato sauce, or should it be the small can?
Do you think you could cut the temperature down to 300 degrees and bake it for 2 or 3 hours? Normally I love quick but Sundays I want to be able to cook it longer;-)
I made this tonight after dealing with chicken thighs for the first time ever – they were more fatty than breasts for sure. I don’t have a Dutch oven but used my electric pressure cooker for browning, sauteeing, and then cooking the chicken. It was delicious! Thanks!
Thank you for sharing this. I tossed everything in the slow cooker and set it on low for 4 hours and it was perfect. Served it over cauliflower rice. Husband loved it. Win! We’re having the leftovers tonight as sandwiches on toasted french rolls. Two super easy dinners – thanks!
With a kitchen as full as mine, I can’t believe I don’t have a Dutch oven. Lame! I’m going to try this out anyways though. I’ve never been let down by your recipes 🙂
Where did you get the fun pasta?!
Made this tonight. SO good! Mmmm.
I’ve been looking for this recipe for years and it’s even better than I could have imagined!! So easy to put together and the flavors are wonderful. Cleanup is a breeze and my costco version Dutch oven worked great 🙂 you girls are simply the Best!! Thanks for sharing!!
this was so good!! i added a splash of cream at the end to make it a little more saucy.
I made this for dinner last night and have two observations. One–it is ridiculously easy! Two–it’s unbelievably good. I couldn’t stop eating it! Even the super picky 7 year old cleaned her plate. This will most definitely be going into the dinner rotation. Thank you!!!
Has anyone made this with chicken breasts instead?
I made it with chicken breasts. I didn’t have any thighs (of the chicken variety). It was awesome.
I made this for dinner last night to rave reviews. I’m not Italian, but it sure tasted delicious to me and mine. Thanks for another winning recipe!
I made this for dinner last night and it was delicious. I had a bunch of celery that needed to be used up, so I chopped it up and tossed it in. That’s pretty much the only change I made – it’s unusual for me to follow a recipe as written!
Turned out great! Even my two year old liked it. Mine needed another 1/2 tsp of salt at the end though! 🙂
Yes, it should need salt at the end, that’s why the recipe tells you to salt to taste before serving 😉 So glad you enjoyed it!
Big hit with my family! Thanks.
I made this last night. The family loved it. Husband barely had any leftover for his lunch today. That’s right–I’ll have to add a little extra ingredients next time I make it, as he really a ‘leftovers for lunch kind of guy’, and my Marine son probably ate half of it.
Love this, what a perfect chicken dinner to make this week 🙂
This looks delicious! Would it work in a crockpot?
I’ve never made it in a crock pot, but you could probably transfer everything to a slow cooker after searing and then cook on low for 4-6 hours (I would guess.)
I made this for dinner tonight and it was delicious! I used bone-in chicken thighs, since that’s all I had, and they were just as tender and moist as could be. I served it with quinoa, which was not a favorite of my husband or daughter, but my gluten-free (and picky!) son did not complain. Thanks for the recipe!!
There are no words to describe my love for this recipe!! So. Stinkin. Yummy. Oh and it works great in a regular non stick pot 😀 Thanks for another hit ladies!!
Good to know it worked in your regular pan. I’m so happy you loved it!
This sounds delicious. Will it totally ruin the sauce if I give the tomatoes 3 seconds in the blender before I pour them in? Smoothing out the tomato chunks just saves a lot of whining from my kids.
Also, I clicked on one of the dutch oven links and discovered your very own personal OBB Amazon store. Is that new? It’s so fun to see what you use and your comments about them.
Yep, you can totally give them a pulse (my Mom always had to blend up cream of mushroom soup so we’d eat in in recipes!) Our Amazon store has been around forever, but it’s been hiding for a long time. We decided to bring it back to life!
This looks like an awesome meal, but the only dutch oven I have is the type you use to cook over the coals outside while we – support my husband’s hobby – I mean…camp 🙂 Does that type work, or do I “need” to go and buy a Le Creuset/similar coated dutch oven. It’s ok if you say I need to 🙂
It’s absolutely positively imperative that you purchase a new dutch oven and for best recipe results it should be in the fun color of your choice. (How’s that? ;))
I’m guessing if I have a regular, not non-stick pot that is oven safe I could use that too, right? It’s for my induction stove and is quite heavy.
Sure, that should work.
(I am seriously struggling to type a comment in. If there are two other unfinished comments that show up, so sorry. Ha! Technical difficulties. 🙂
I can’t wait to try this. I love any reason to use my pretty turquoise Dutch oven. I got mine for a steal from Kohl’s on Black Friday a few years ago. It’s a Food Network brand one. I think it’s regularly $100 and I paid $40. Thanks for the great one pot wonder recipe!
This looks delicious! Can’t wait to try it!
What temperature should the oven be on for the chicken when it is baking?
oops, 350 🙂
I got a Dutch oven for Christmas and haven’t used it yet. What a great recipe to break it in!