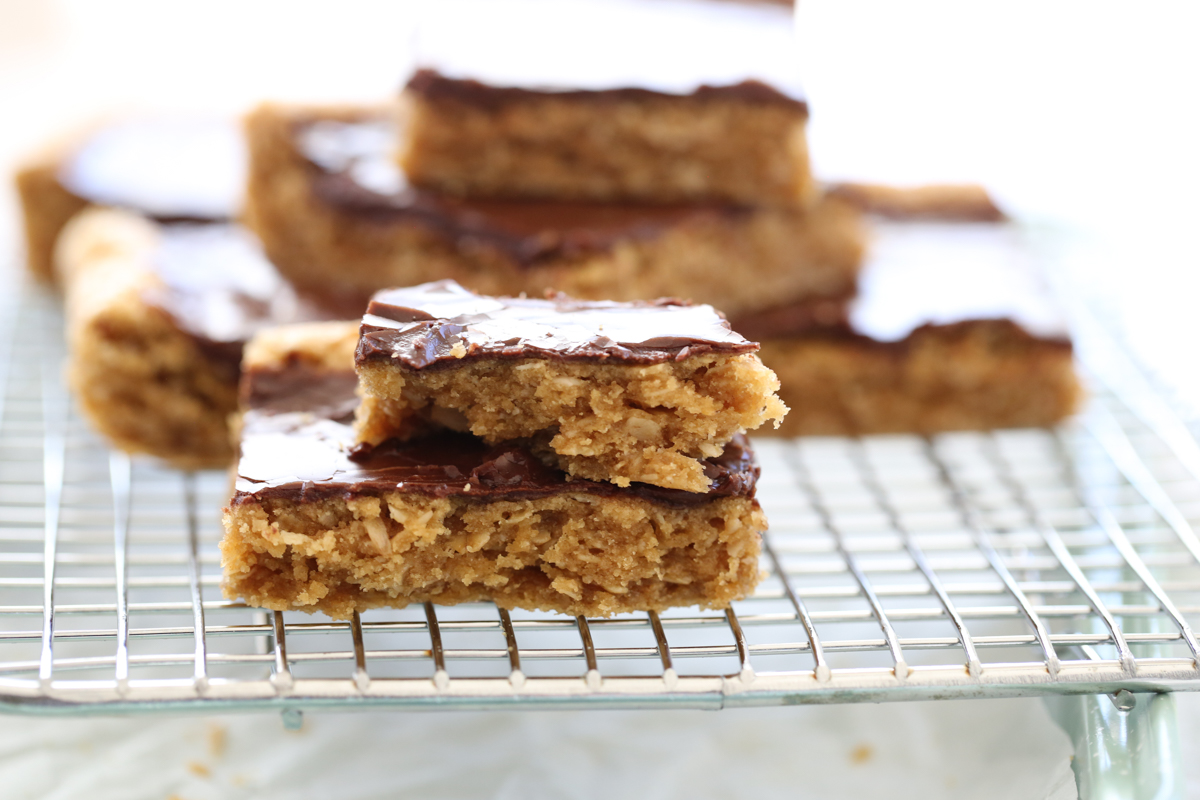
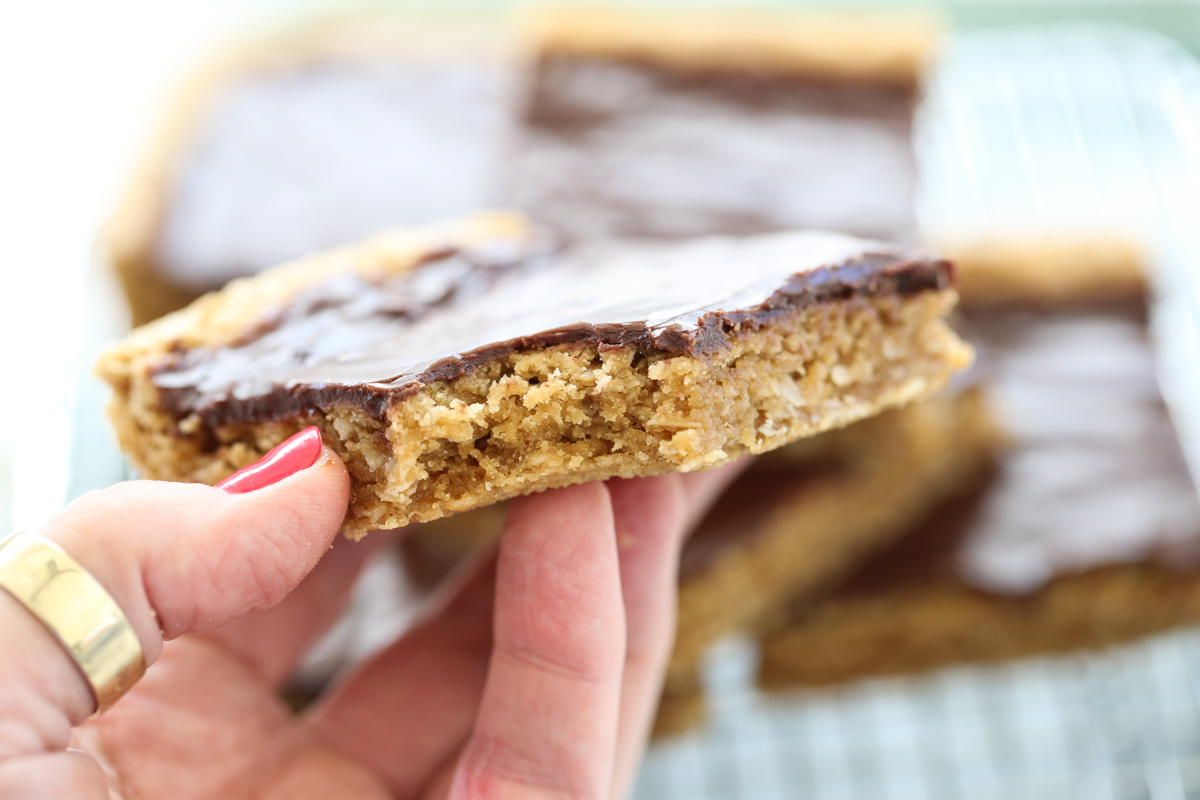
These Peanut Butter Cookie bars are reminiscent of a retro dessert that used to be served at many cafeterias across the US! They’re incredibly soft, rich in peanut butter flavor, with bite from some added oats, and covered in a smooth and rich chocolate icing. My favorite thing about this recipe (besides how good they are) is how many they make. They bake up in a sheet pan, and because they’re rich, you can cut them fairly small, so it’s the perfect dessert to feed a crowd. I often take them to parties and potlucks because of this (as long as I’m sure it’s a function that’s safe for peanut recipes!)
Ingredients and Equipment List
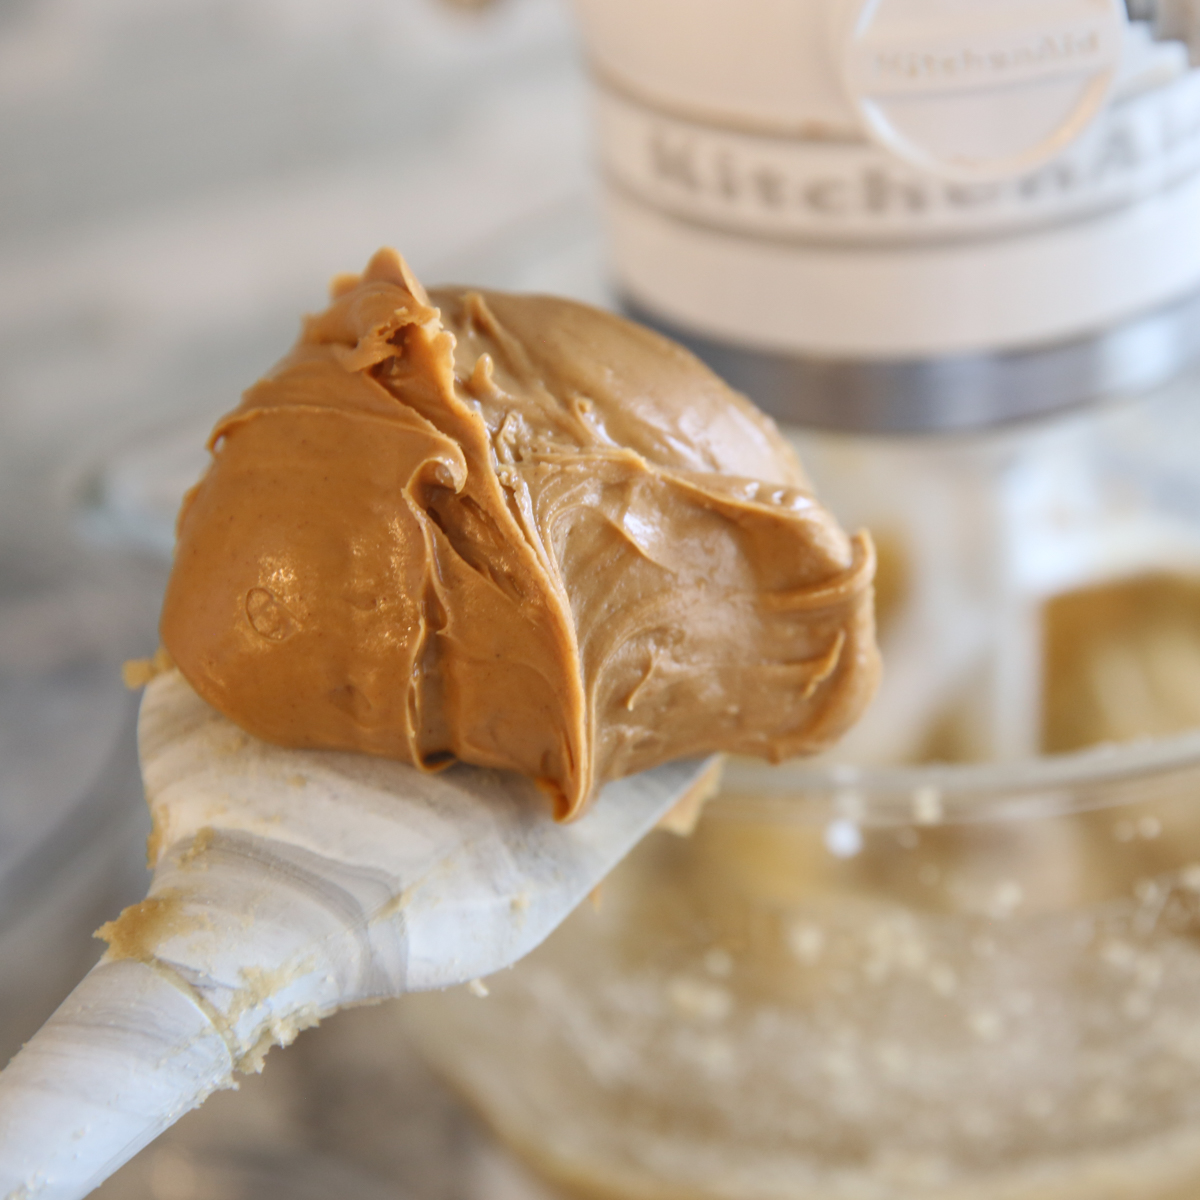
- Peanut Butter – you can use creamy or chunky peanut butter. I’ve never tried this recipe with a natural peanut butter (if you do, let me know!) But standard brands like Skippy and Jiff work great.
- Butter – unless you have an allergy or food intolerance, I recommend real butter (salted).
- Sugars – you’ll use a combination of granulated white sugar and light brown sugar.
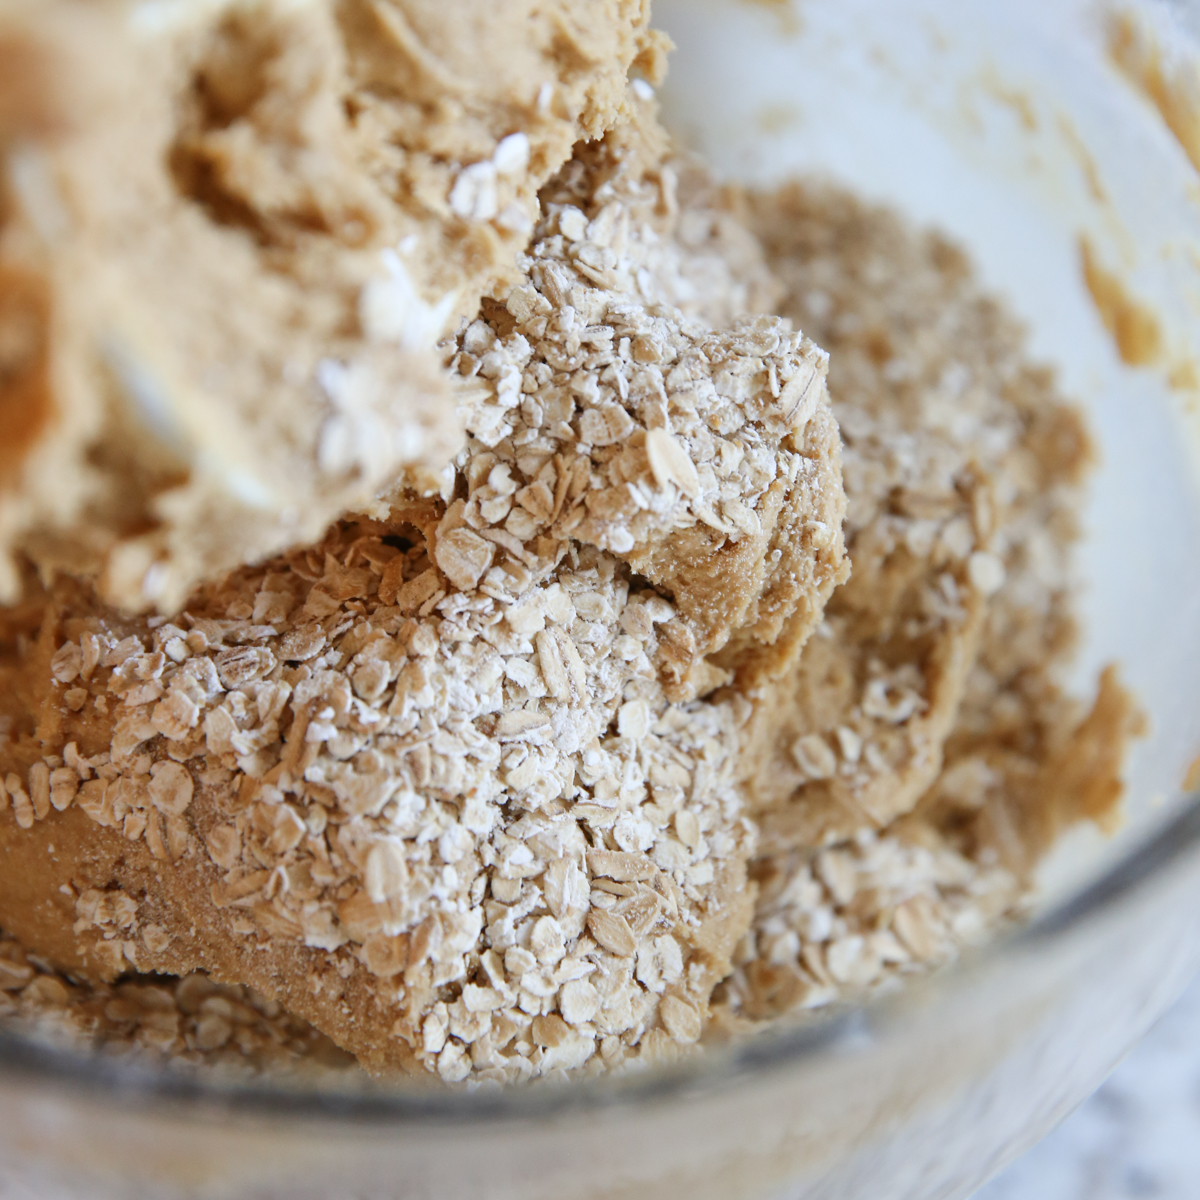
- Oats – quick oats give these bars extra chew. If you don’t have quick oats, I like to pulse my old fashioned oats in the blender a few times to break them up just a bit.
- Cocoa Powder – cocoa powder is used in the icing, and you’ll want to used unsweetened.
Instructions
These cookies are incredibly quick and easy to whip up. It’s simply a basic cookie dough, frosted with the icing while it’s still warm.
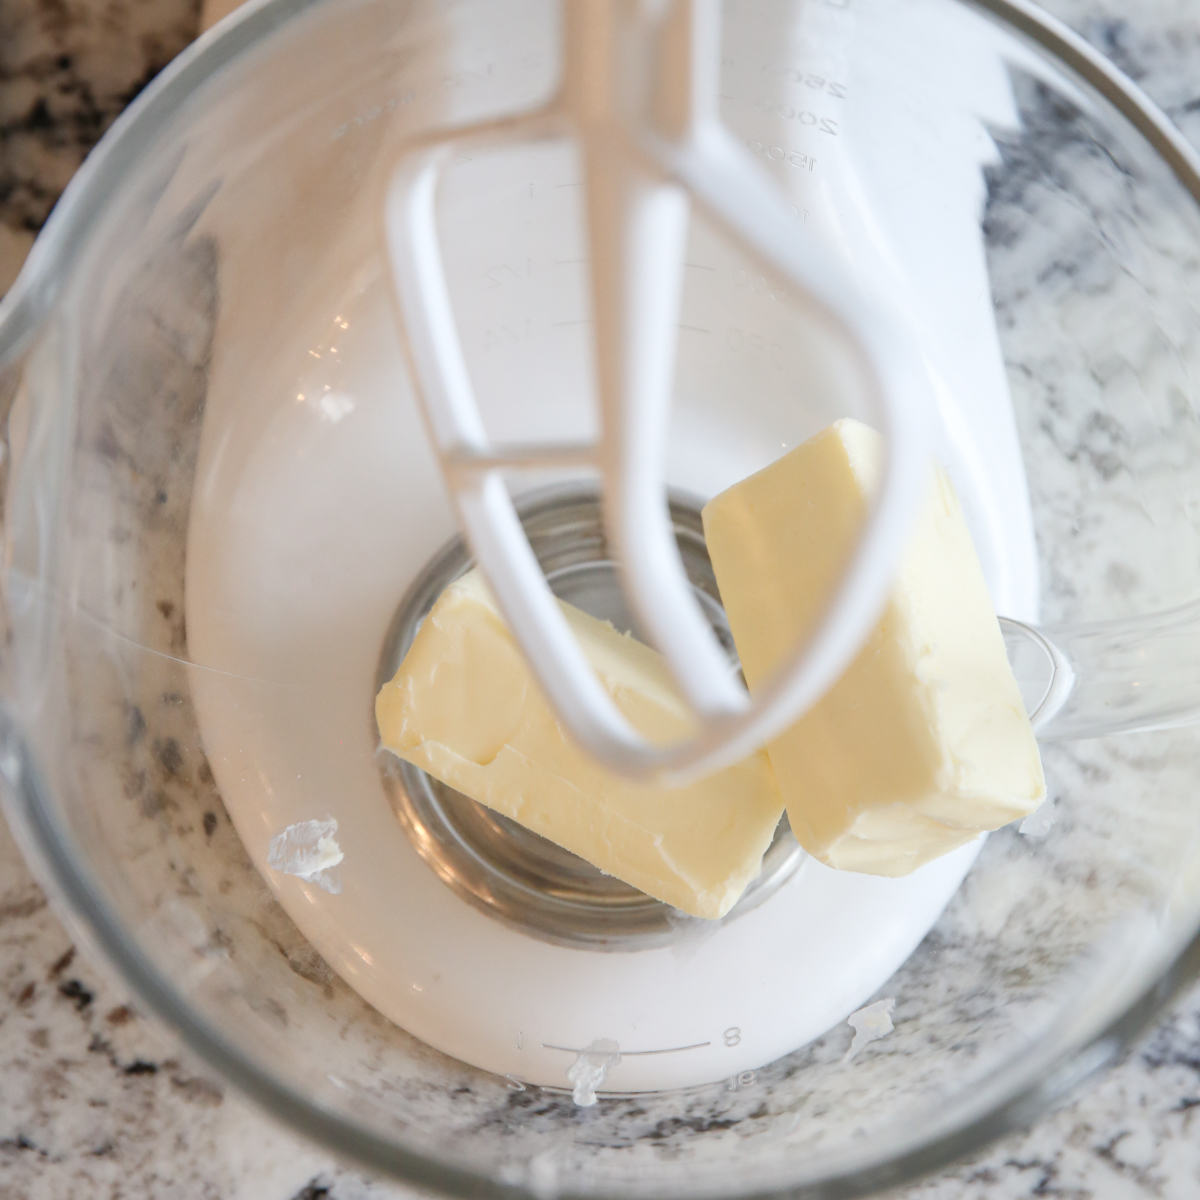
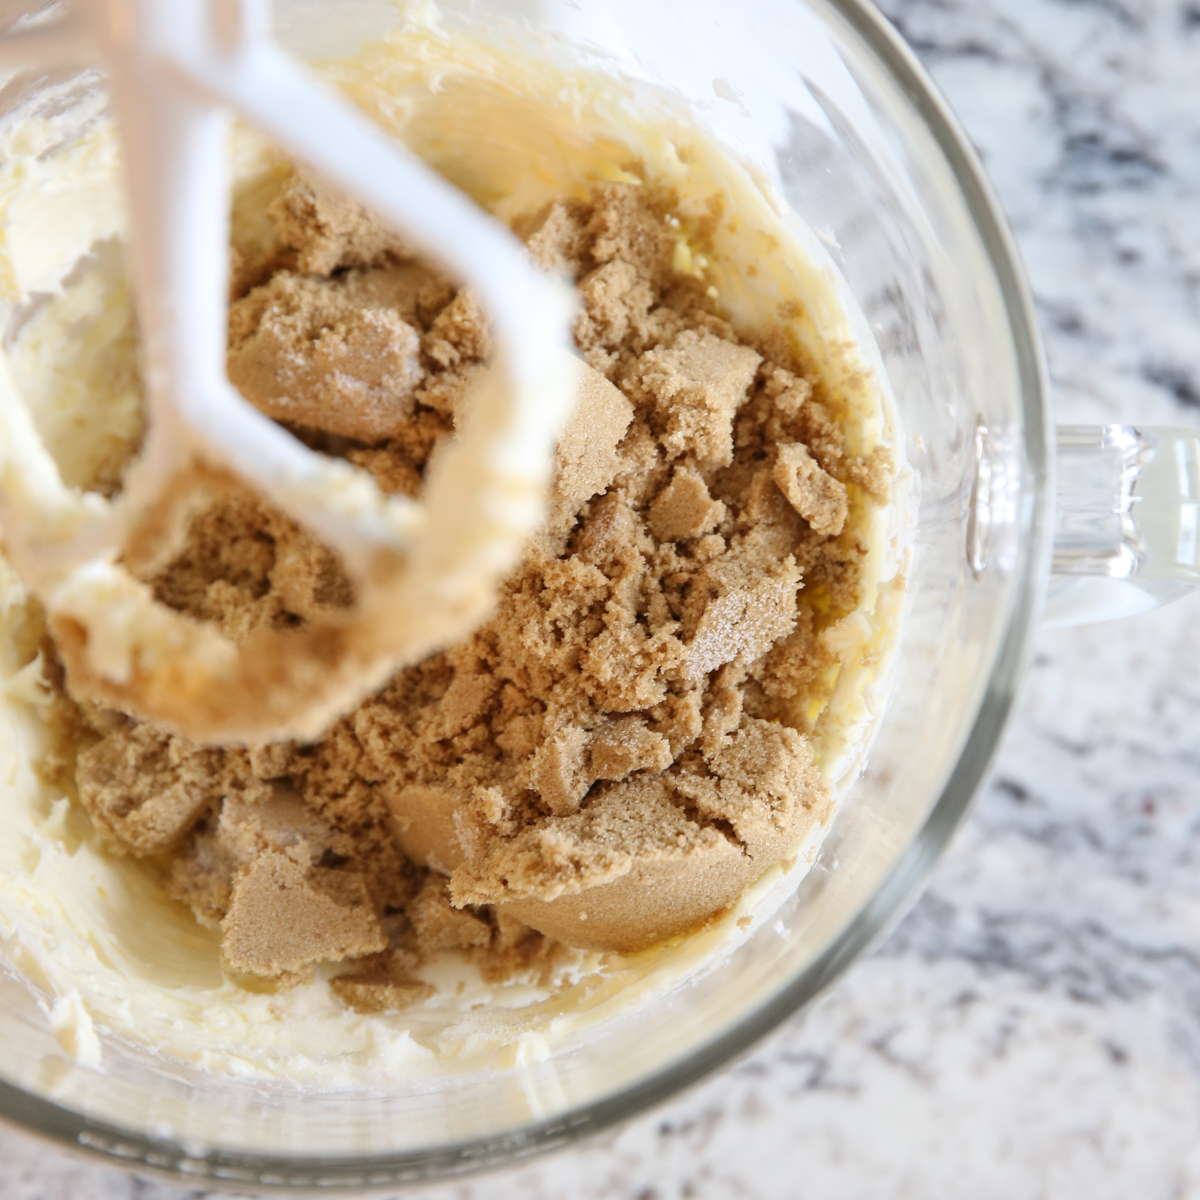
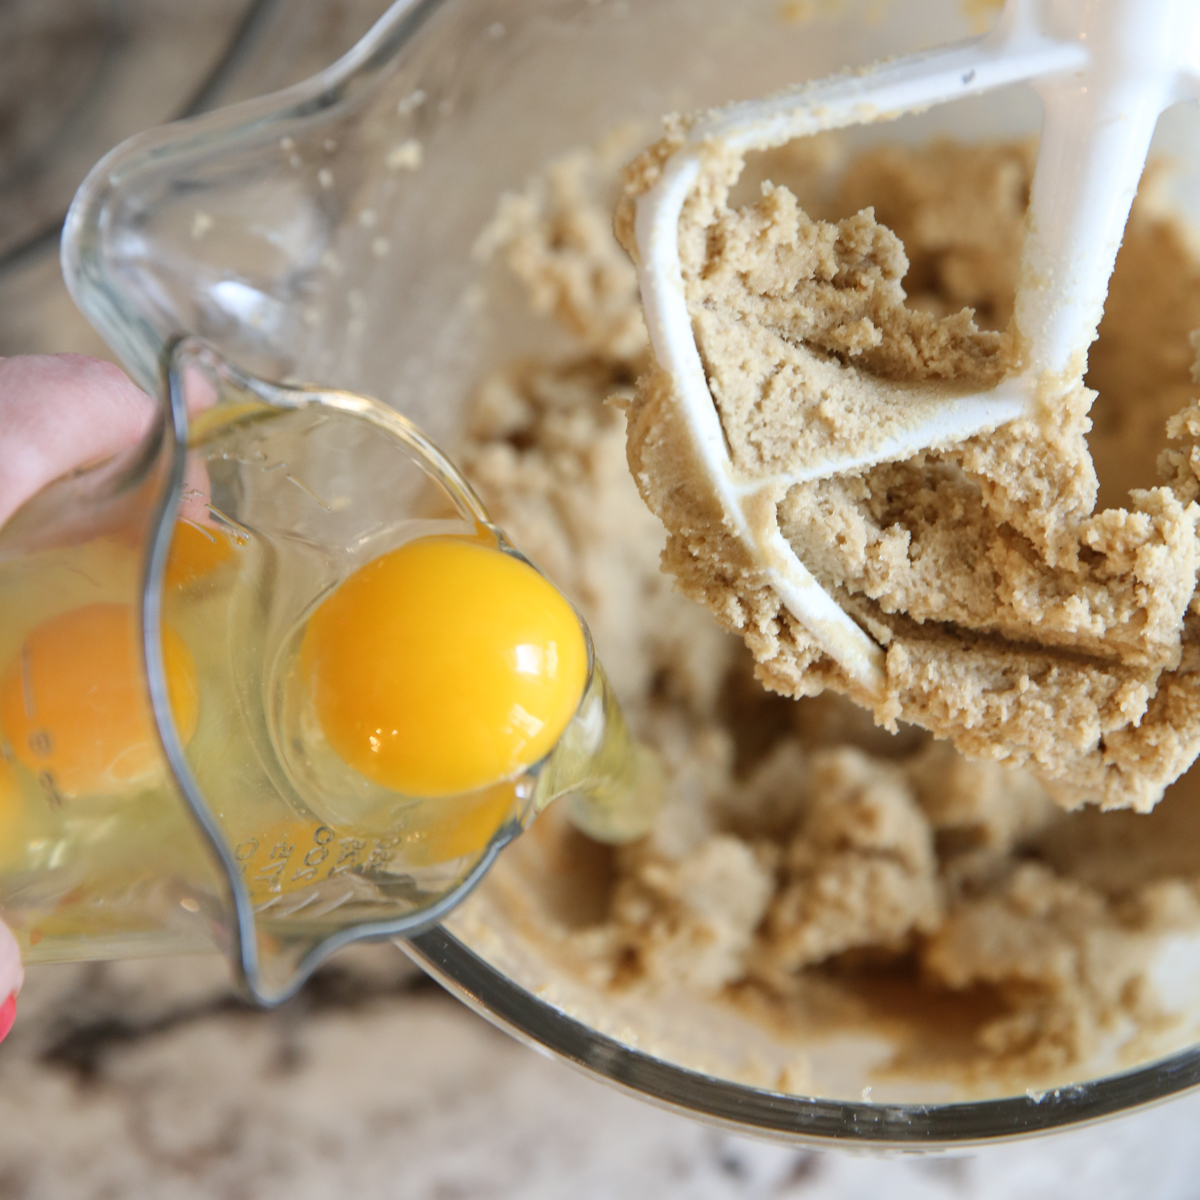
- Make Dough: This is standard cookie making procedure here. You’ll cream together butter and sugar, then add peanut butter, eggs, and vanilla.
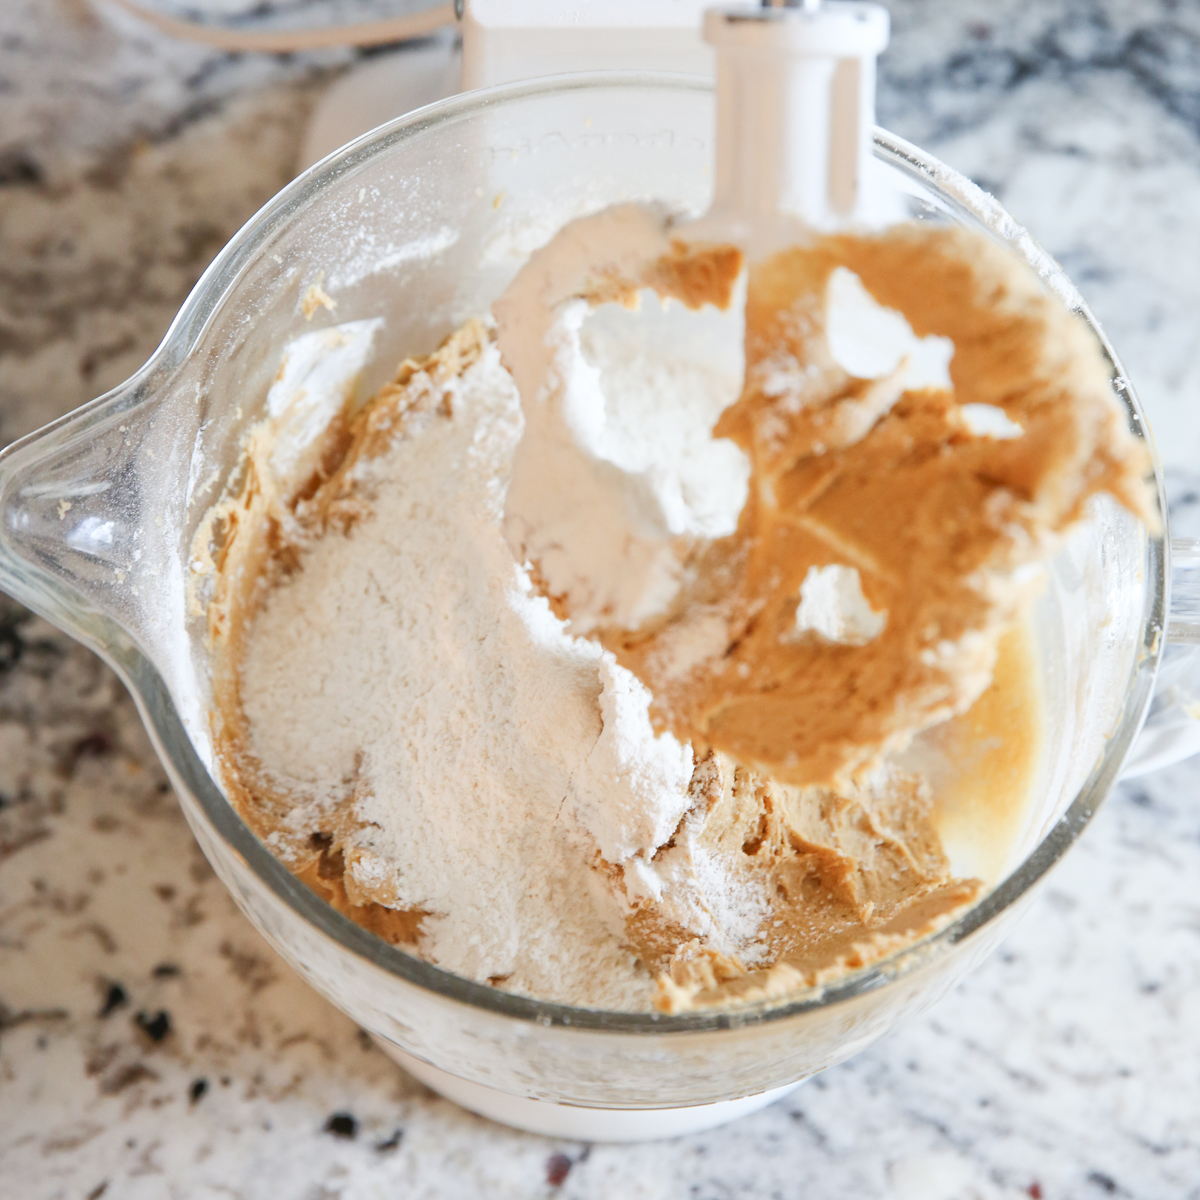
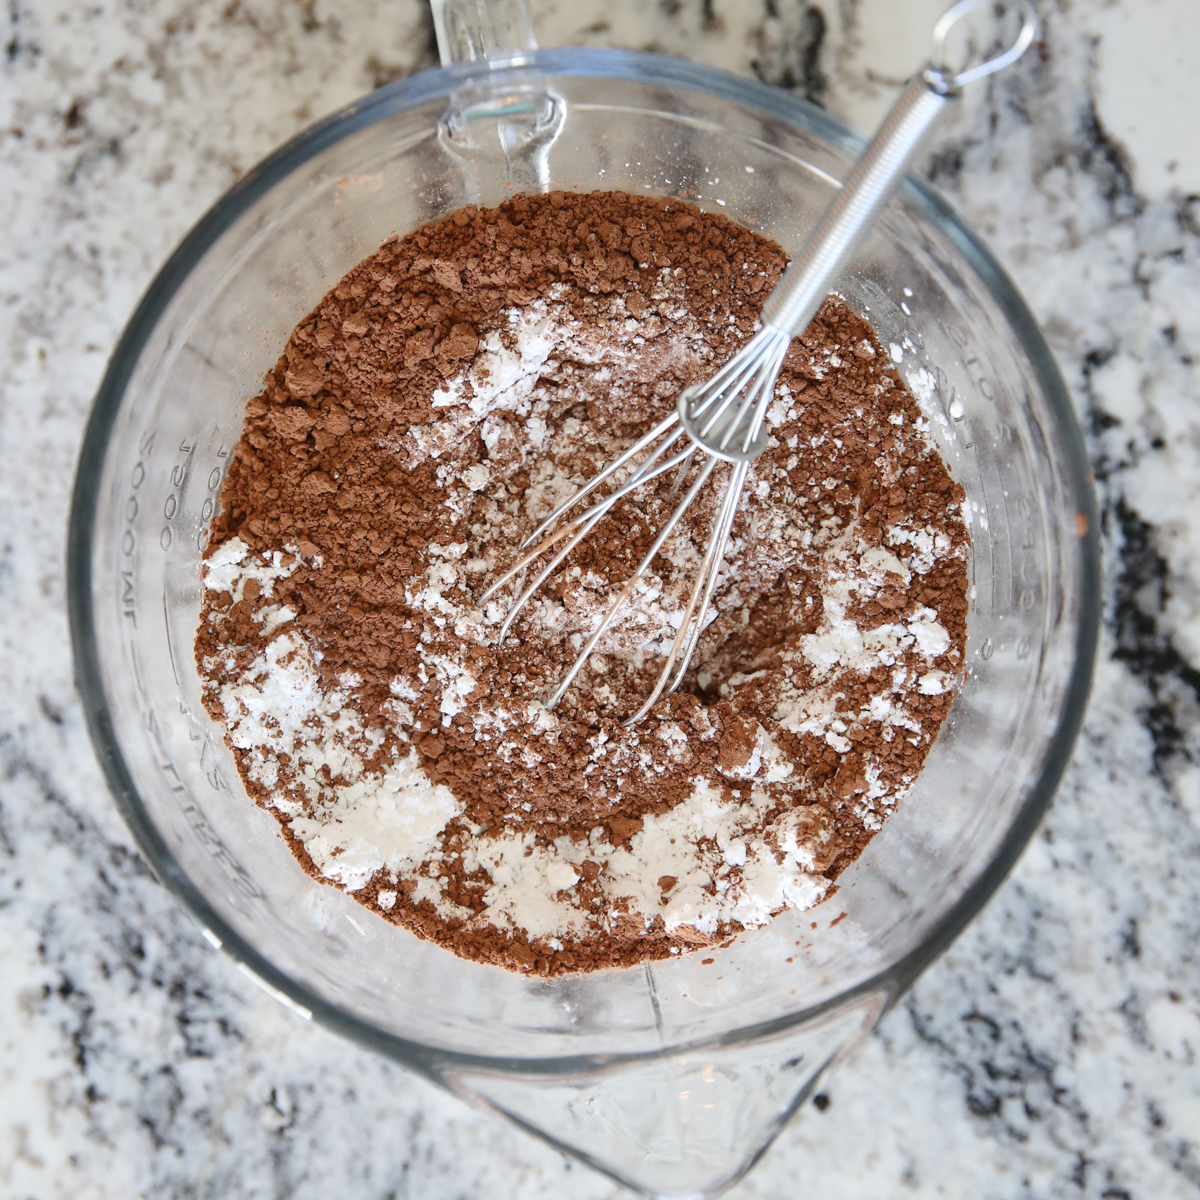
- Whisk together your dry ingredients and add those until combined.
- Stir in the oats.
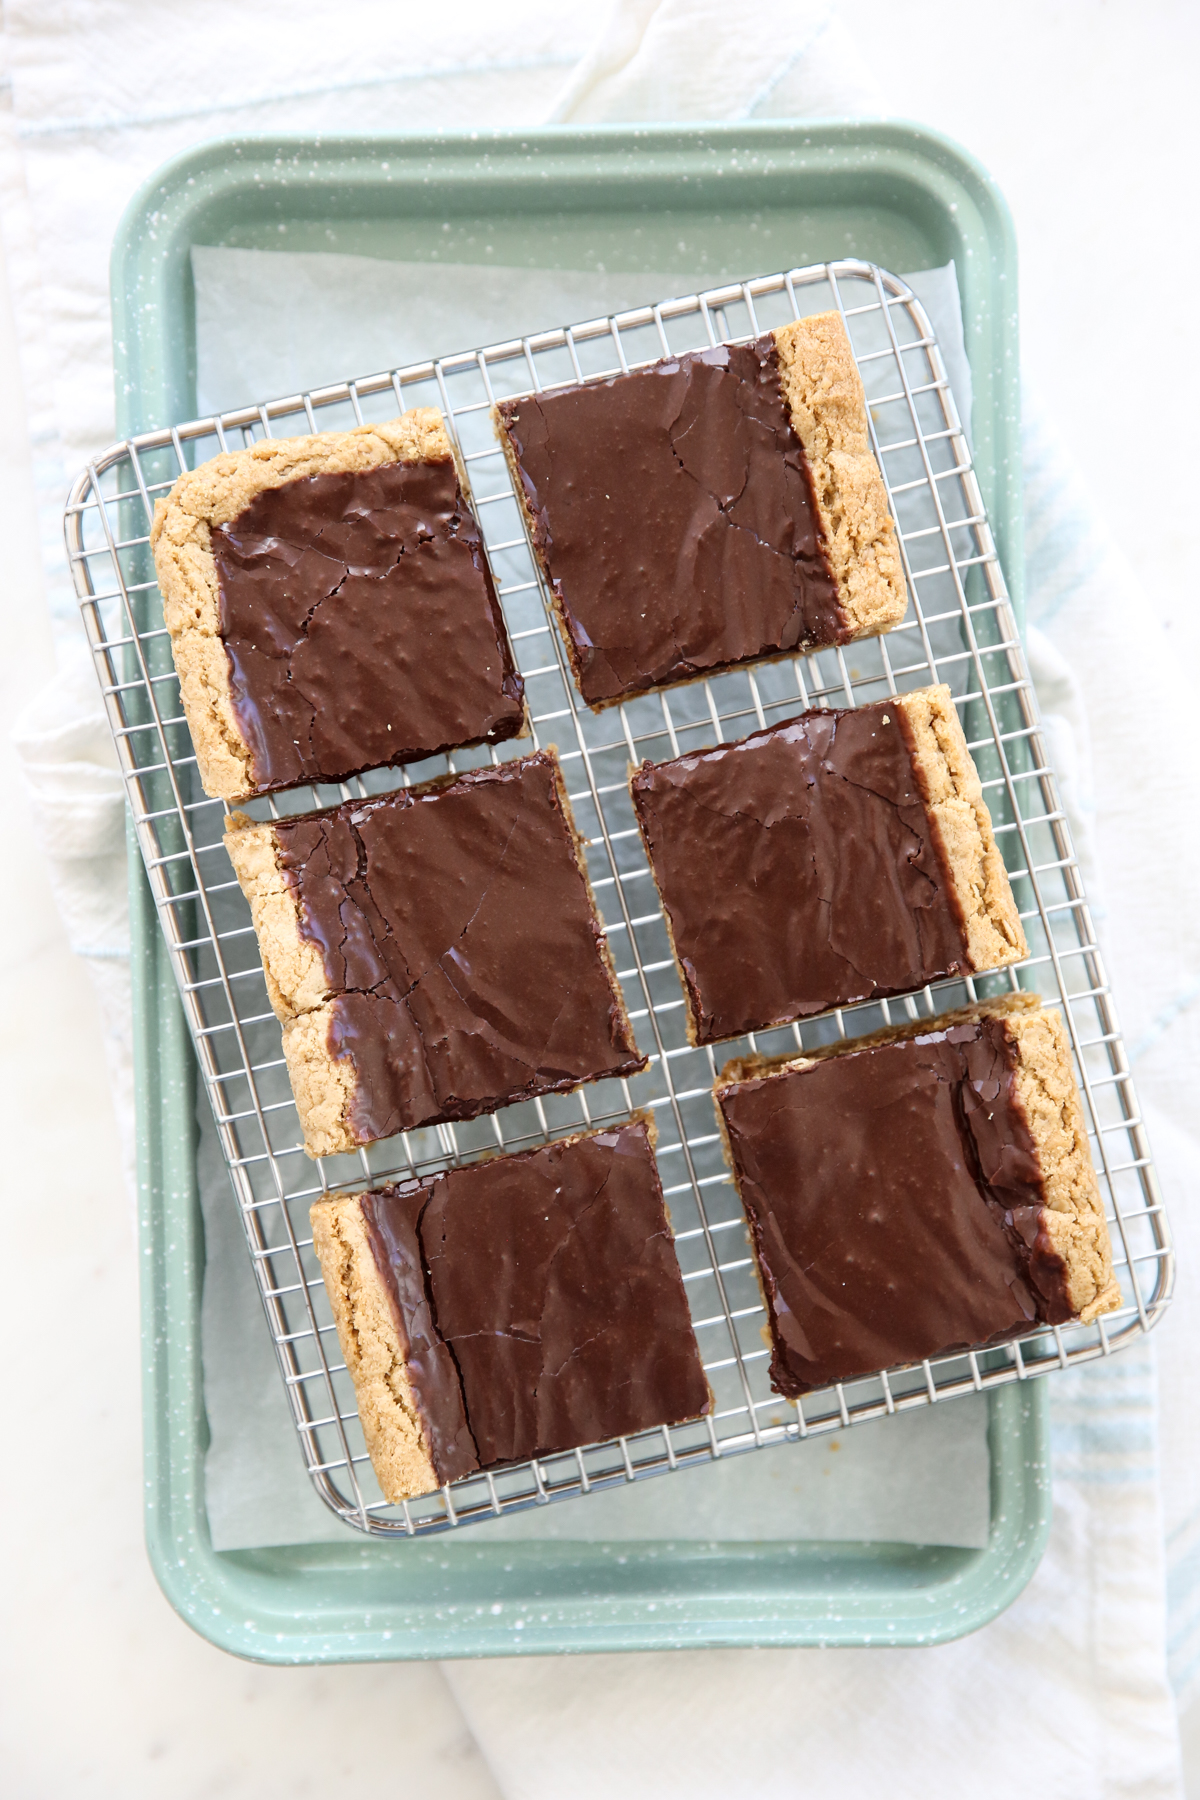
- Press into a parchment-lined baking sheet and bake.
- Now, right here there’s an optional step: If you want to go full send, you can also drizzle on some melted peanut butter on top of the warm bars so there’s a layer of peanut butter underneath the chocolate icing. I used to always make them that way, and it’s deliciously indulgent, but I think they’re equally fantastic (and a little less rich) with out the PB layer so I usually skip that step these days.
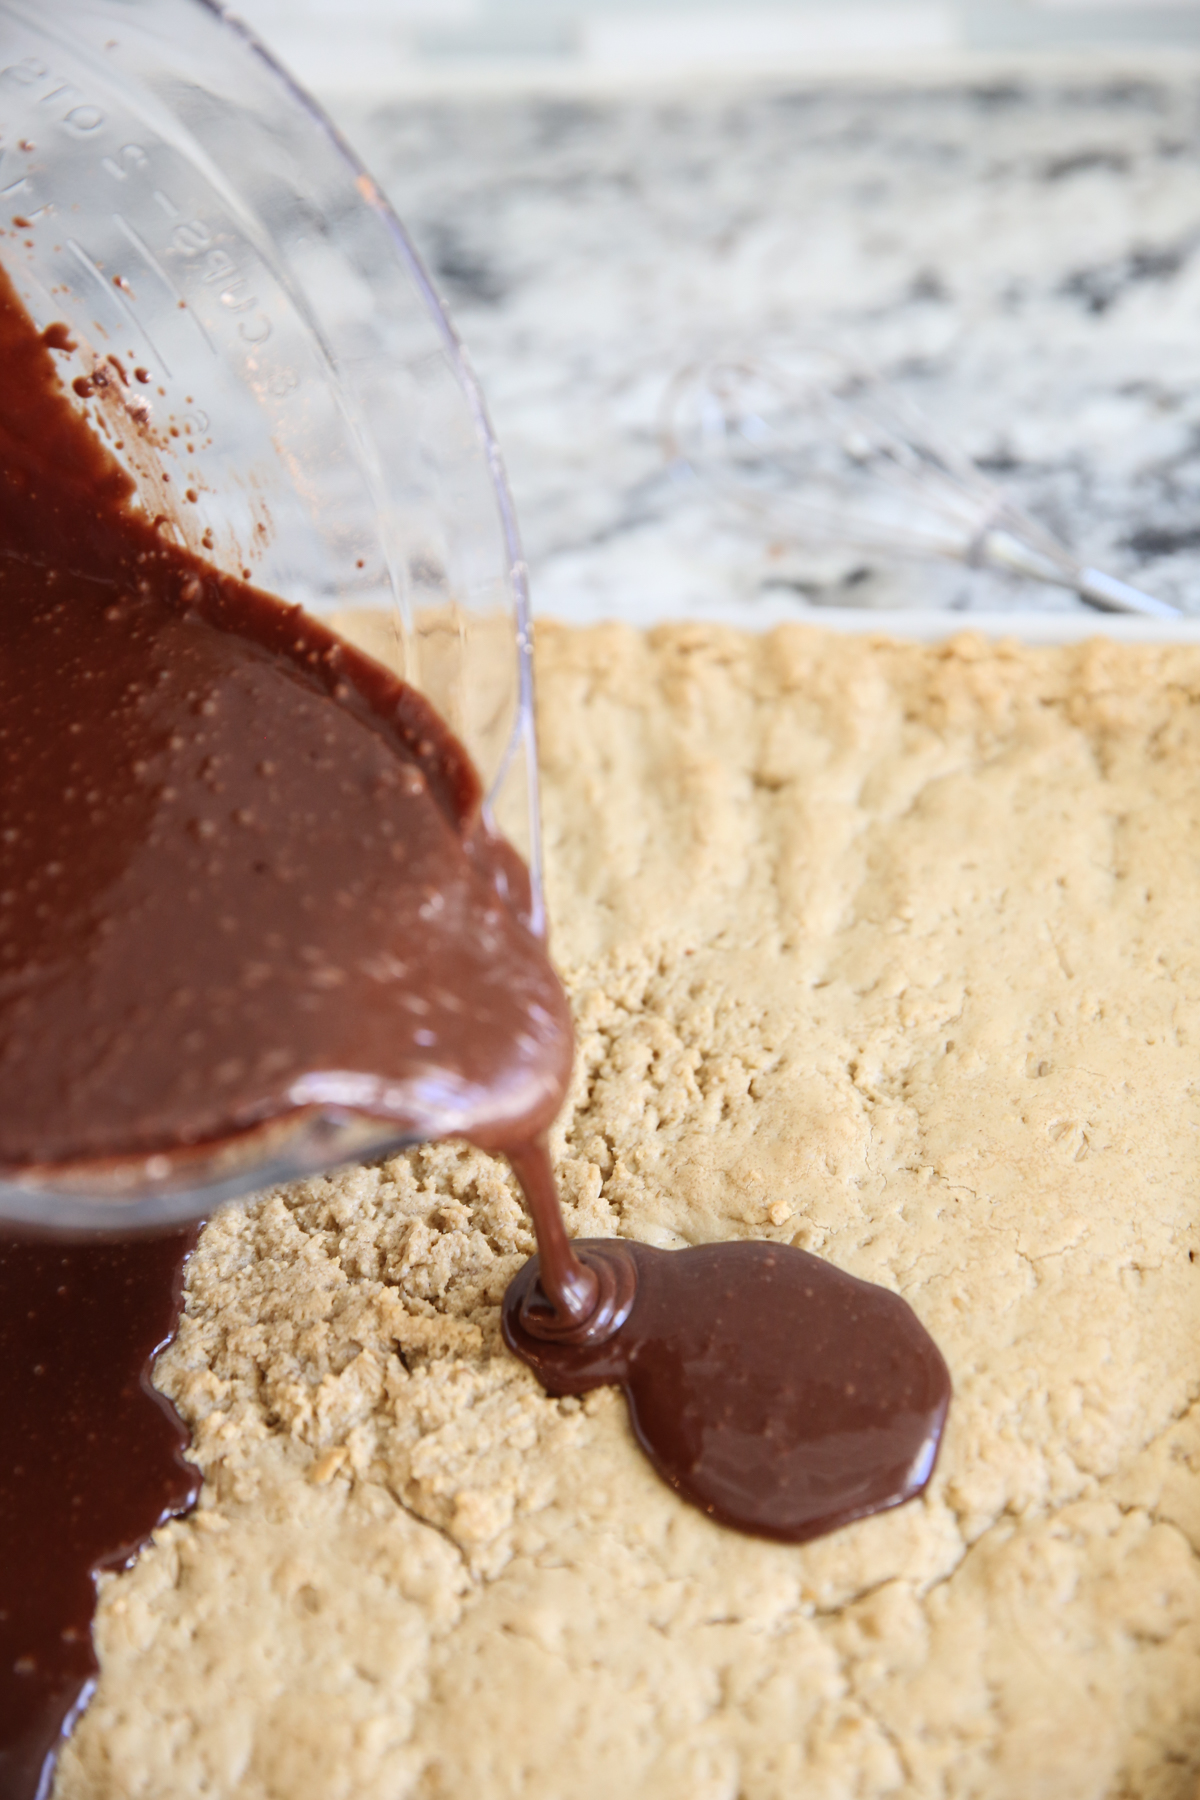
- Mix up your frosting and spread on top of warm bars.
- Wait until they’re cool to slice!
Frequently Asked Questions
- Can these be made ahead of time? YES! They are are actually extra great made ahead of time (dare I say better on day 2?) Since they’re super soft they just seem to get better. You can cover the cooled pan in foil or plastic wrap and cut on day 2, or keep the sliced bars in an airtight container. I would also imagine they freeze well, though I haven’t tried that.
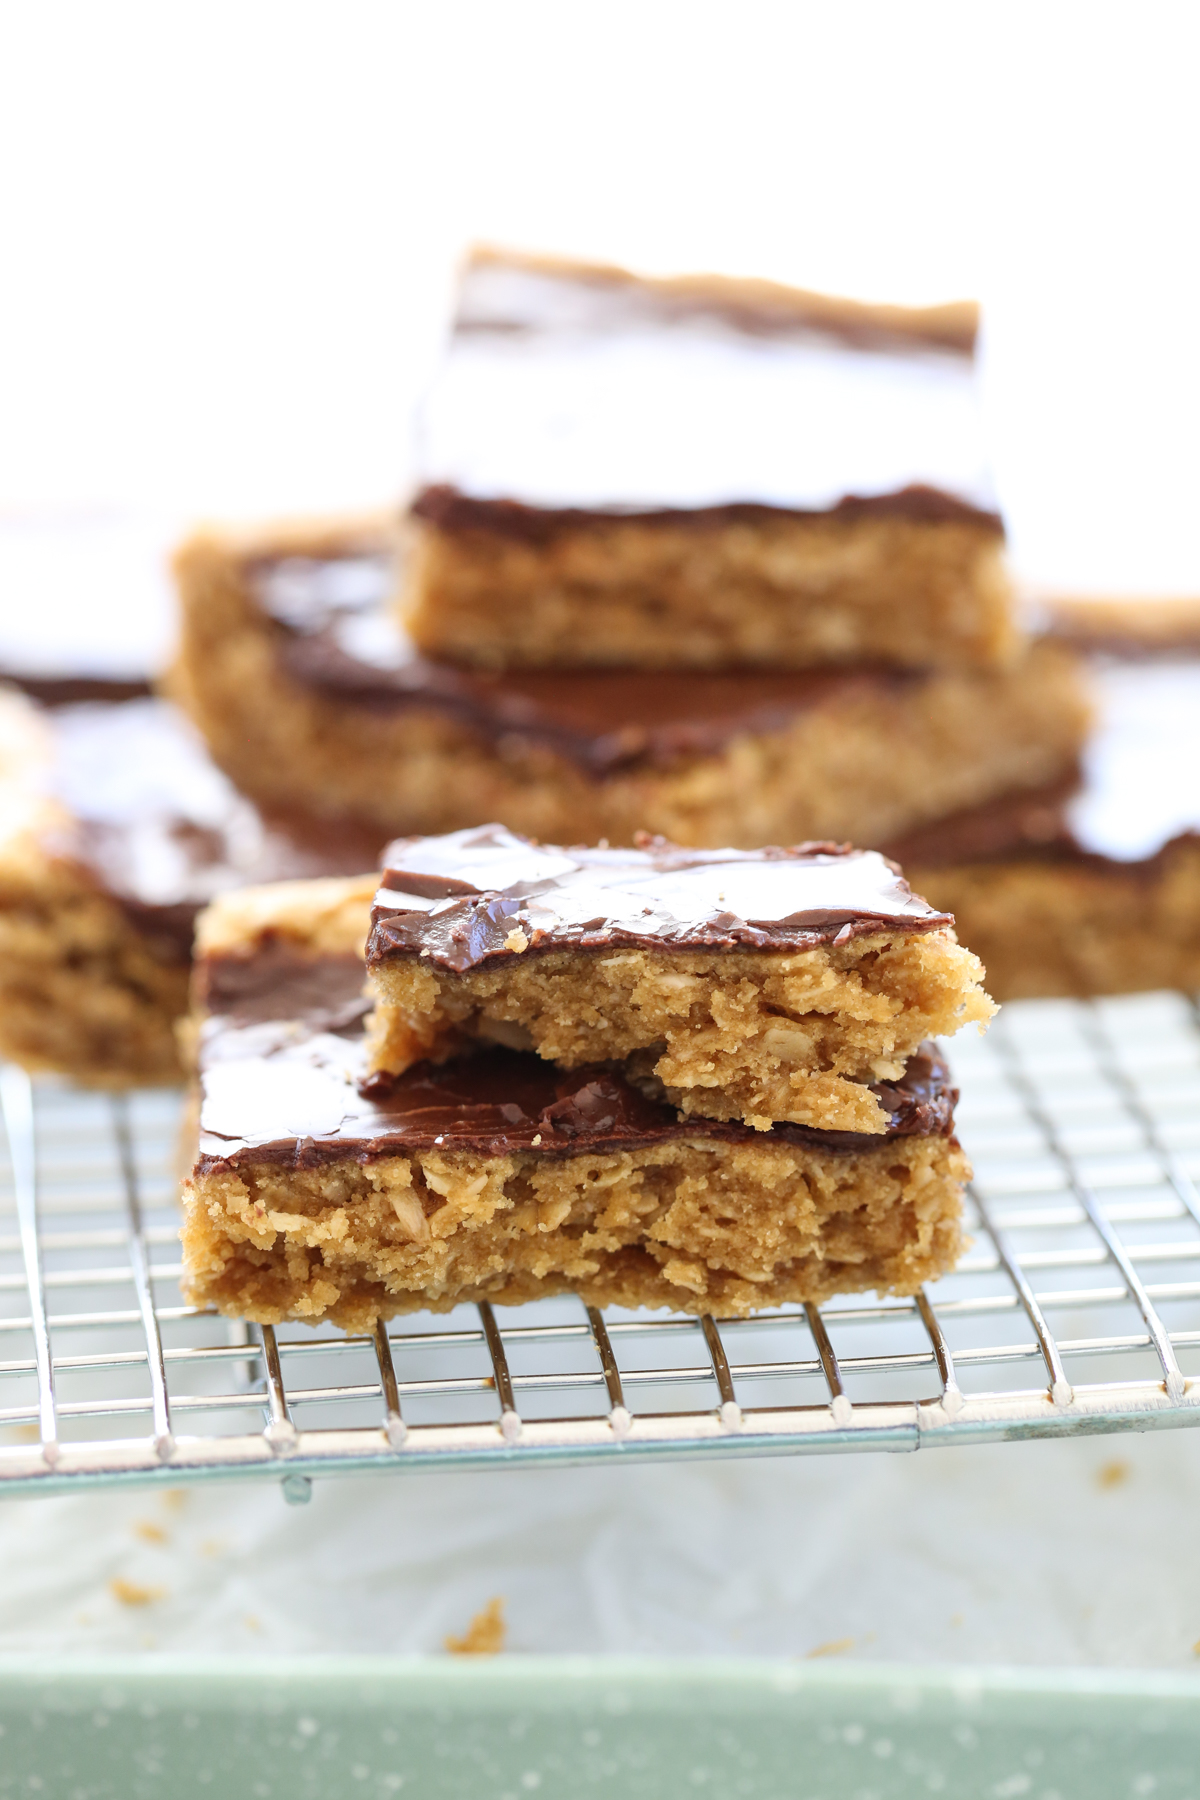

Chocolate-Frosted Peanut Butter Cookie Bars {Aka: School Lunch Peanut Butter Fingers}
Unbelievably soft and chewy peanut butter cookies in bar form, topped with a rich chocolate glaze. Made in a sheet pan for high yield!
Ingredients
- Cookie Base1 cup real butter 2 sticks at room temperature1 cup granulated sugar2 cups brown sugar1 1/2 cups peanut butter, chunky or smooth 3 eggs2 teaspoons vanilla1 1/2 teaspoons baking soda1/2 teaspoons table salt3 cups all purpose flour3 cups quick oatsoptional: an extra 3/4-1 cup peanut butter, see notes in recipe below
- Fudge Frosting4 cups powdered sugar1/2 cup cocoa powder1/4 teaspoon table salt1/3 cup butter softened1/3 cup boiling water1 teaspoon vanilla extract
Instructions
- Preheat oven to 350 degrees. Spray a rimmed cookie sheet (standard half-sheet pan) lightly with non-stick spray, or line with parchment paper, and set aside.
- Cream butter and sugars for 3-4 minutes, until creamy and slightly fluffy. Add peanut butter and vanilla and beat until combined. Add eggs, one at a time and beat between each addition. Combine flour, baking soda, and salt and add mixture to dough. Beat to combine. Add oats and mix until incorporated.
- Press dough into prepared pan into a flat layer. Bake for about 20-30 minutes, until puffed and set, but not browned on the edges. The center should be puffed and set, but still soft. The edges of the cookie bars should be puffed and kind of cracked like a baked cookie looks.
- Optional Step: Some people like to drizzle on a layer of melted peanut butter onto the warm bars so there's a layer of pb under the icing. If you'd like to do that step, I just microwave 3/4-1 cup of pb until it's melted and smooth and can easily be drizzled over the top of the warm bars. You'll want to spread it gently so you don't tear your cookie layer. It's deliciously indulgent with or without this extra pb layer!
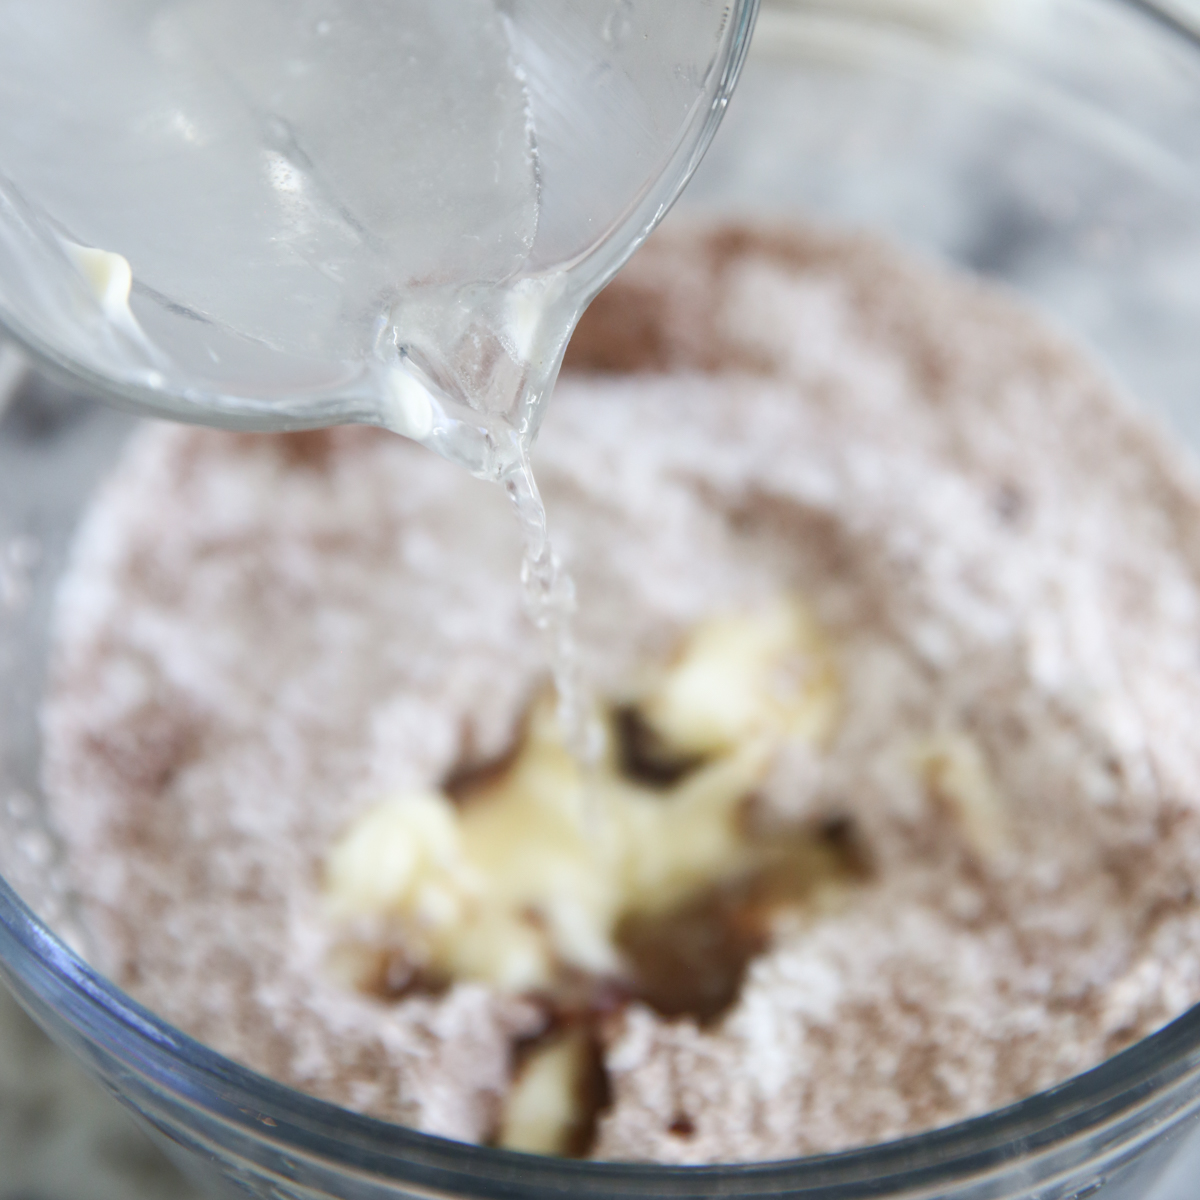
- When cookies are just about done, prepare frosting. Whisk together powdered sugar, cocoa powder and salt. Add butter (make sure it’s really soft, you can microwave it if you need to- even melted is ok!), boiling water, and vanilla. Beat until smooth and glossy.
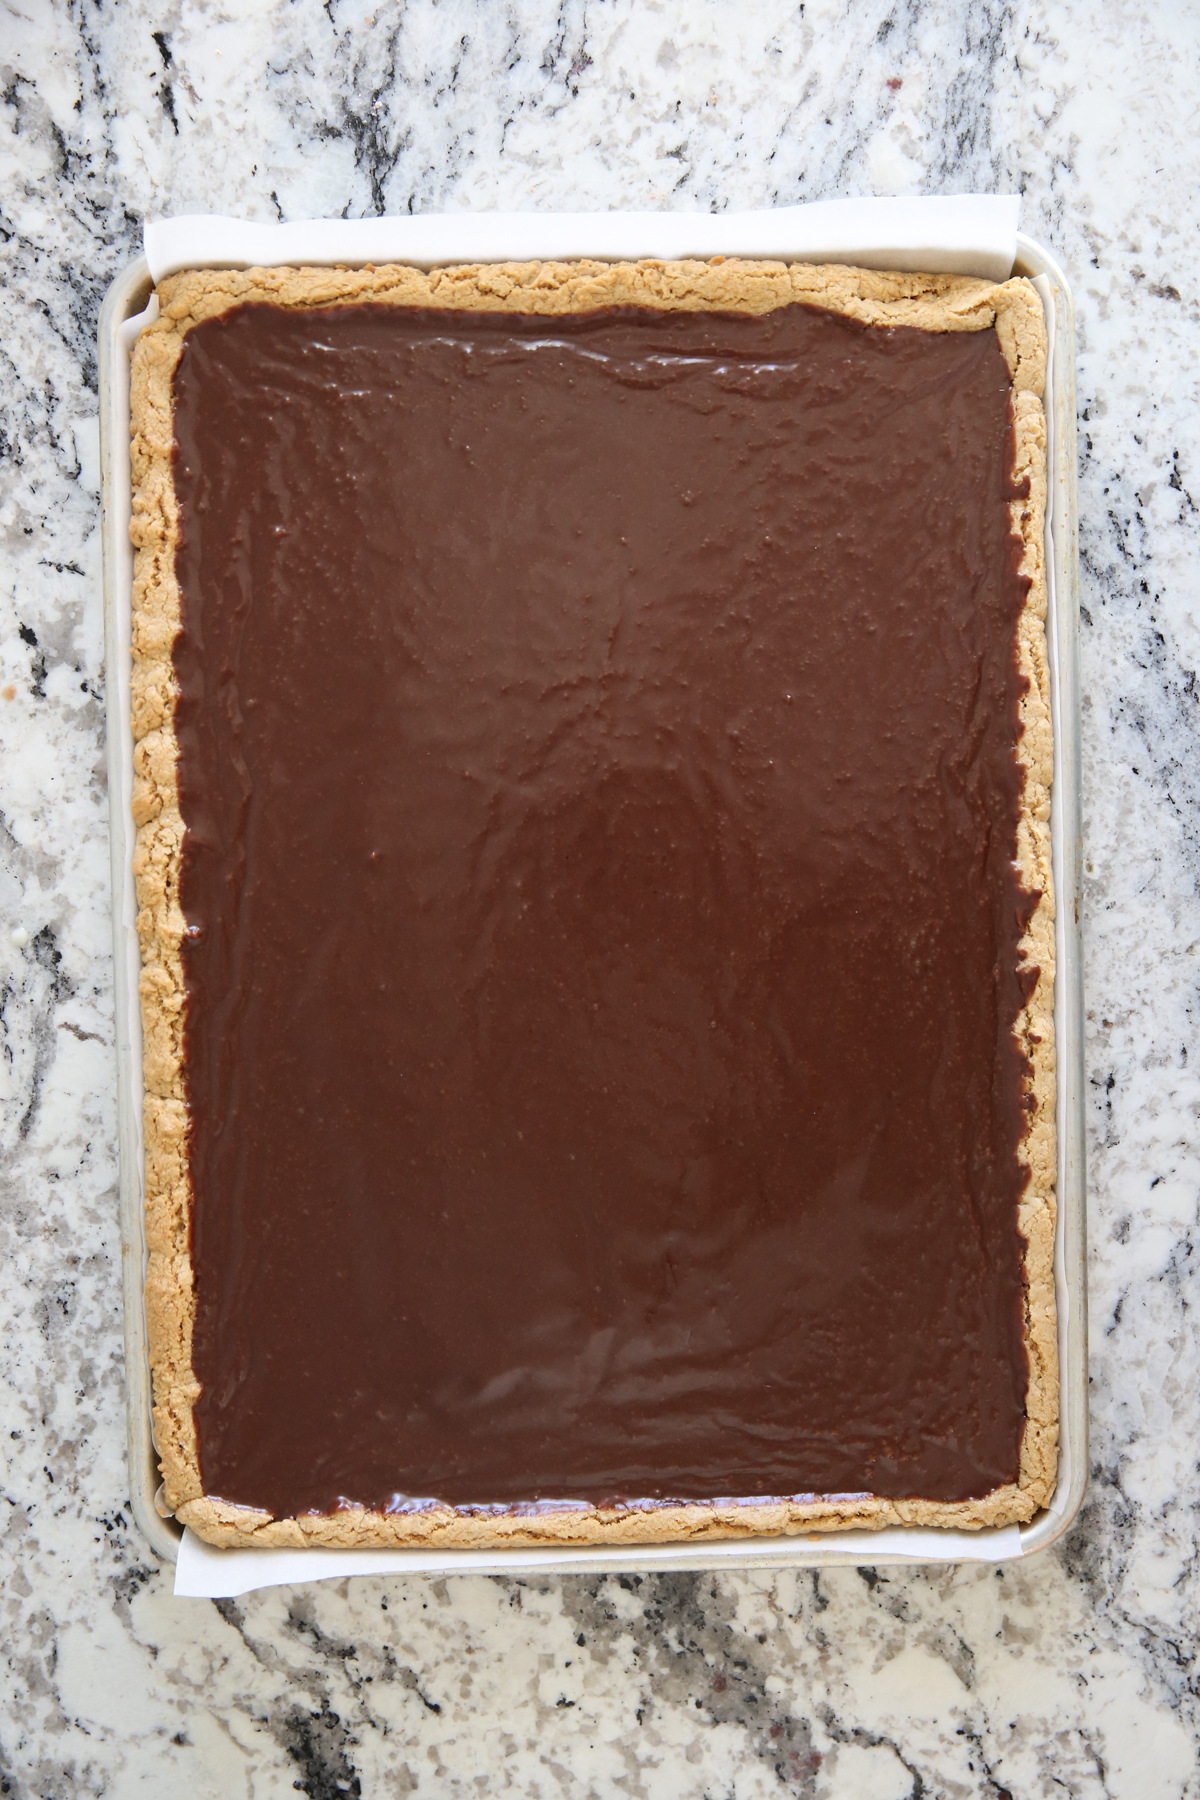
- When cookie crust is done baking, pour warm frosting over the top and spread into an even layer. Let bars cool before cutting in.
Did You Make This Recipe?Snap a picture, and hashtag it #ourbestbites. We love to see your creations on our Instagram @ourbestbites!


Questions & Reviews
I MUST make these.
and eat the ENTIRE pan
by myself
I have a recipe for peanut butter bars that never seem to quite turn out right. And what I always wished was that they would turn out like the ones in school lunch at school…they were the best! Thanks for the recipe, I can’t wait to try it!
These are my go-to bars for campiing. My family loves them.
I made these after your post! I used 1/2 white flour, 1/2 whole wheat flour. It gave them such a hearty taste! Thanks for this recipe. It is a hit!
these. look. YUMMEH.
These are amazing! They are sweet, without being overly so. A perfect salty sweet treat!
The picture of this recipe is to die for. My mouth waters just looking at it.
This is the first time I’ve ever seen these cookies. And, no, I wasn’t homeschooled. But definitely deprived! I will try these soon. I love me some PB!
I too have a child with a peanut allergy…I have used Sunbutter as a substitute for peanut butter in other recipes. He still doesn’t eat Sunbutter but at least we can get our “peanut” craving every now in then. It’s such a great alternative!!!
Um, yum. I totally remember these from school. Sadly, my kids have never had them at school!! Can you believe it?? I have made them in the distant past. I need to make them again. I like the option of adding ice cream and hot fudge!!! Yum-o-licious!
Yet another recipe that I WANT to try so bad, but I just CAN’T. My poor little boy is deathly allergic to nuts, so we won’t be having these at our house! :(. I personally love PB/Chocolate!
Is it easy to cutt this reciepe in half if you don’t want to make the full batch? I would end up freezing them since I only have 2 kids.
Yes Lalani, I halve them quite often. The only thing that’s tricky is the egg. I’m sure you could actually just make them with 1 or 2 eggs, but I use 1 1/2. I just crack an egg and beat it with a fork really well and then only put half of it in the recipe. You can then bake them in a 9×13 pan, works great!
My mom always made these when we went camping. They’re delicious and disappeared quick every time. I love these!
Those look tasty. Love the combo of peanut butter and chocolate.
Mmmm…I have a feeling these will be making an appearance in my kitchen SOON! They look incredible!
Oh My Gosh! Drooling again, as I look at your wonderful tutorial and recipe.
Thanks so much.
Made this with my kids and they were in heaven every step of the way. These have topped their all time favorite chocolate cupcakes. Do you think these freeze well? I want to use them as bribes with the kids for as long as possible.
Oh, NUM! I had those bars at Cherry Hill Elementary in Orem, UT. I will never forget those culinary delights. It makes me feel old, but I’ll go ahead and say it, “they just don’t make school lunches like they used to”. We were blessed, indeed!
I love your blog! We love peanut butter fingers! I have to admit, we use much, much more peanut butter over the cookie part. If I am in a big hurry, I just use store bought chocolate frosting but that is only if I am in a hurry. Love the idea of turning them into a peanut butter finger sundae!
Don’t you love it when your cooking looks just like their pictures? xD
I am (was) a lunch lady and I worked in the bakery dept. We made these before the government jumped all over school lunches to ake them healthier.THATS a whole other story. Anyway, we didn’t use the chocolate frosting on top of the gooey peanut butter topping. Oh No! We dumped about 2 cups of chocolate chips on the hot gooey peanut butter topping while still hot, then spread the whole thing over the “crust”. If anyone wants our school recipe i do share. These are sooooooooo goooooood!
Sorry to highjack, but I have been looking for years to find out what kind of ranch dressing was used. Any idea?
I would love your recipe. I have happy thoughts of them at my school lunch which was many years ago! Thanks
I would love the school recipe for the p-butter bars. Thanks
I would love to have the school lunch recipe too. My school Redlands Senior High School in California, made these with a peanut butter frosting, no chocolate. I don;t remember whether they had any oats in them or not though. Thank you!!!
Ooooh, these look amazing and I totally remember these at school lunches!!! My husband saw this post and is now requesting them. My waistline and diet are hating him right now!
Just tried these (gluten free of course!) I used 3 cups of the bette hagman GF flour mix (6 cups rice flour {brown works better in baking} 2 cups potato starch flour and 1 cup tapioca starch) and Bob’s red mill gluten free oats. They were a big hit, had a good texture and tasted great! I love that I can almost always adapt your great recipes for my family 🙂 Thanks!
I saw this and got up and made it! It was perfect for cub scouts! I used a fluted cookie cutter and cut out cookie sized pieces! Thanks!
The all-time-favorite cookies!
Just made these (instead of a b-day cake for me) and made daughter said I make the best chocolate (frosting) ever. I should probably give the credit to you, but I’m not telling her! Thanks for the best chocolate ever!
I’m making these tonight! Thanks for the awesome recipes!!
You. Are. Killing. Me. I have gestational diabetes and have been lusting after the mississippi mud brownies ever since you posted them. Now I’ve got another thing to add to my list. 3 more weeks!!!
OK, I hope I am not being rude (wait, I know I am but I guess it is worth the risk) but seriously, how do you not weigh 400lbs? I’m just say’n…….and really I want to know because I can’t even have these things in the house without gaining 10lbs.
I work out a lot- just to break even! haha. I always joke that the staff at my gym must wonder how a person can work out as much as I do and not have the body of the super model. Little do they know I go straight from the gym to the kitchen, haha.
I can’t wait to make these, they sound divine!!