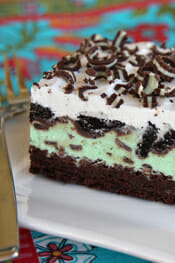
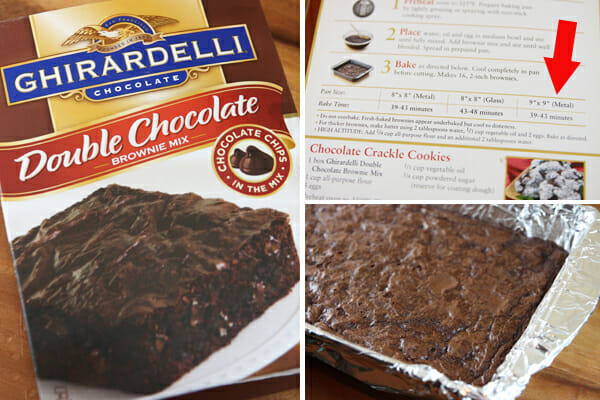
I start with a good boxed brownie mix. For something like this, where there are a lot of flavor and texture components, it’s not worth making a homemade brownie because no one will know the difference! One of the tricks to a great frozen dessert or ice cream cake, is making sure your layers are the right size so they soften at the same rate. You don’t want your brownie layer too thick, so I’ve found that brownie mixes that call for a 9×9 pan as the largest size option are perfect, when you cook them in a 9×13. Really any will work, even if it calls for a 9×13 pan, so don’t stress over that detail, but I especially like the ones pictured. Line a 9×13 inch pan with foil and let the foil extend over the edges of the pan. Bake a few minutes under the instructed baking time. This is important! Having them slightly undercooked will make them nice and fudgy when they’re frozen. Once the brownies are cooked, cool completely and then pop in the freezer until you’re ready for the next step. You can do this all in one day (it’s very doable), or spread the steps out over a few days. If you’re going to spread it out, make sure to wrap your pan well in plastic wrap and/or foil.
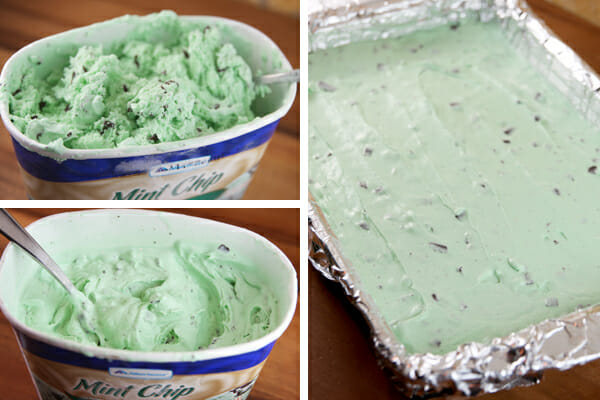
You’ll need a full 1 1/2 quart container of mint-chip ice cream. Let it sit at room temperature until softened, giving it a stir every 10 minutes or so. It will start to melt on the outside first, and as you stir, you’ll have big chunks of frozen ice cream in the middle. Be patient and wait until it’s fully softened, like in the bottom photo below. You should be able to easily stir it with a spoon, like frosting. Gently spread the entire carton over your brownie layer.
If you don’t soften it all the way, you’ll tear up your brownies and we can’t have that! After it’s spread, place in the freezer to set while you prepare the next step.
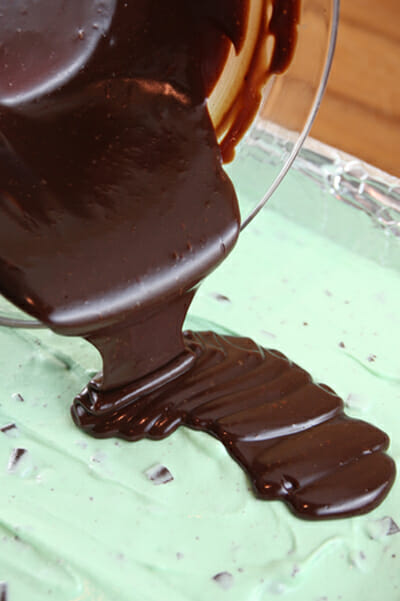
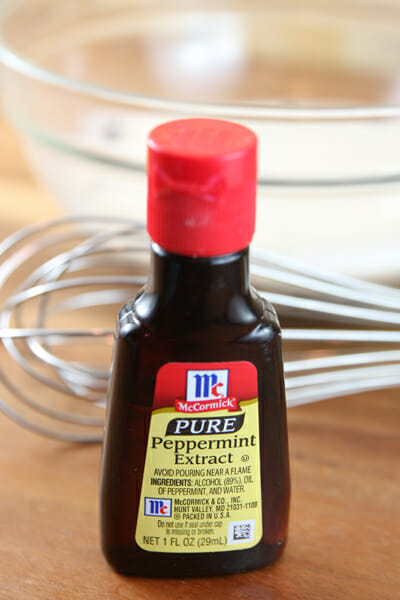
This next layer might be my favorite. Okay it is my favorite. We’re taking some easy short-cuts with boxed brownie mix and store-bought ice cream and whipped topping, but this layer is the little splurge, and it’s so, so worth it. A decadent dark chocolate ganache, spiked with cool peppermint. Use 100% pure peppermint extract so the clean flavor comes through.
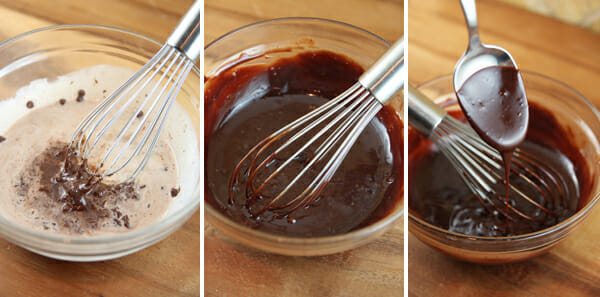
You’ll pour piping hot whipping cream over chocolate and whisk it together with peppermint extract until it’s beautifully smooth. Try not to accidentally drink it. It happens.
Pin It
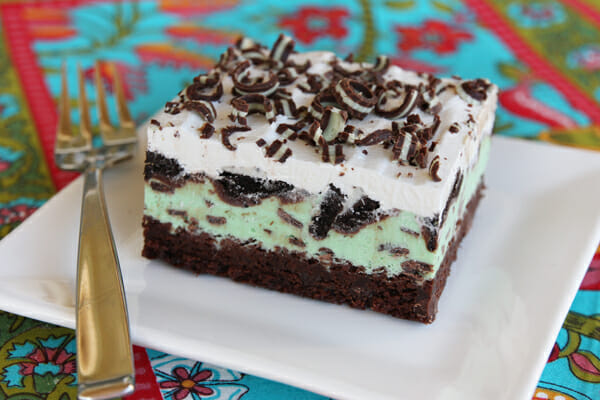
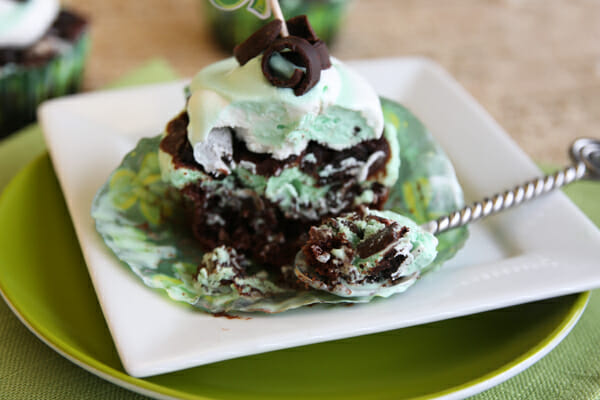
In case you can’t tell, these are a little bit amazing. And they will make you very, very happy.
Pin It
Mint-Chip Brownie Ice Cream Squares
Recipe by ourbestbites.com
Ingredients
1 box brownie mix, baked in 9×13 inch pan (check sizes on back of box)
1 1/2 quart mint chip ice cream
1 cup dark or semisweet chocolate chips
1/2 cup cream (heavy or regular)
1/4-1/2 teaspoon McCormick pure peppermint extract
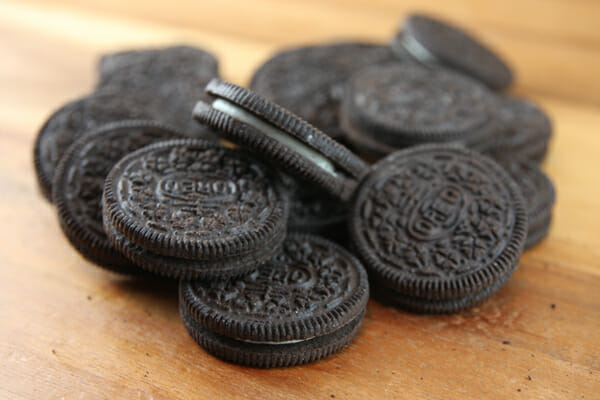
15-20 oreo cookies
1 8-ounce container whipped topping
optional: McCormick green food coloring, shaved or curled chocolate or sprinkles
Instructions
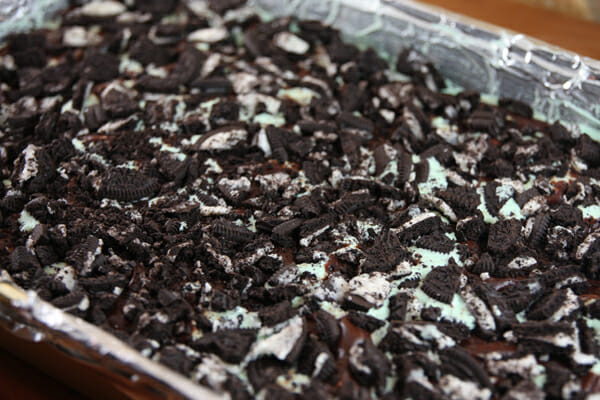
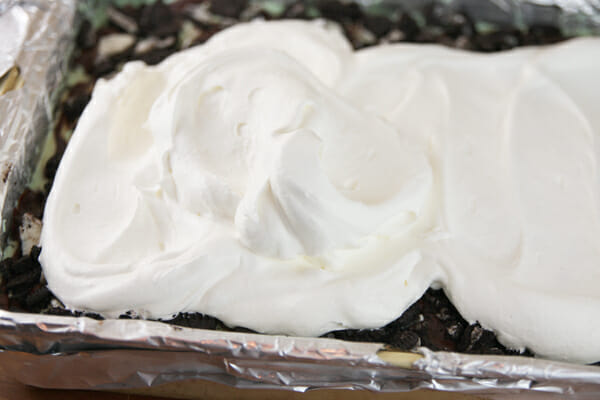
Line a 9×13 inch pan with foil and let foil extend at least 1 inch over edges of pan. Bake brownies according to package instructions. Cool completely and place in freezer to chill. Soften ice cream until you can easily stir it with a spoon. Gently spread in an even layer over brownies. Place pan in freezer to chill. Place chocolate chips in a bowl. Heat cream in microwave until hot and bubbly. Pour over chocolate and cover bowl with plastic wrap. Let sit 5 minutes and then whisk until smooth. Whisk in peppermint extract and let chocolate mixture cool to close to room temperature. Drizzle in an even layer over ice cream layer in pan. Sprinkle crushed cookies evenly over chocolate and lightly press in with your hands. Top with whipped topping and spread out into an even layer. If desired, sprinkle shaved or curled chocolate, or sprinkles on top. Freeze at least several hours (and up to several days, covered), until firm. When ready to serve, let sit at room temperature for about 10-15 minutes to soften. Remove dessert from pan using foil and then cut into squares.
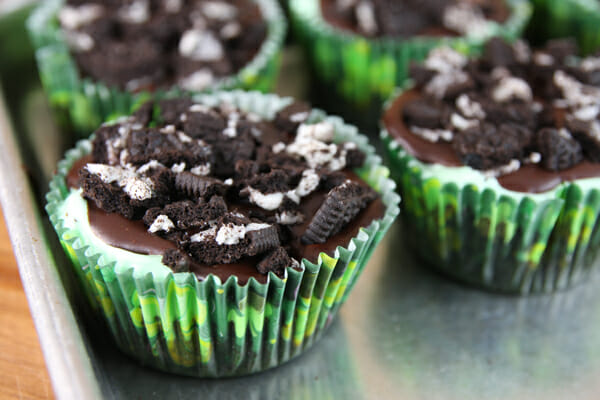
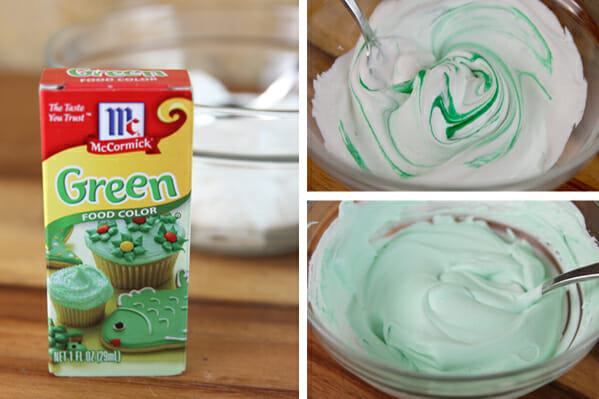
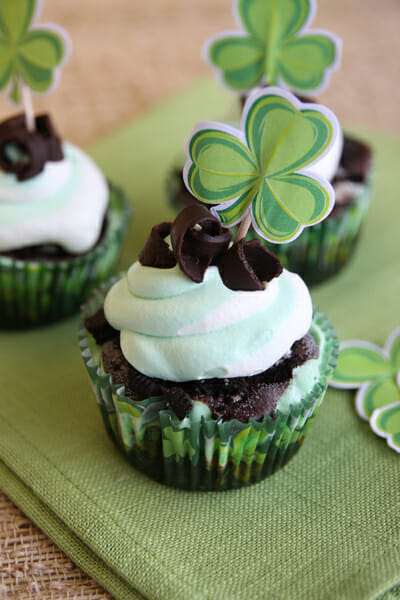
Cupcake Version: If desired, bake 1-2 tablespoons brownie batter in cupcake liners. Once cooled and chilled, layer remaining ingredients on top. Pipe on whipped topping (color with food coloring first, if desired) and freeze until firm.
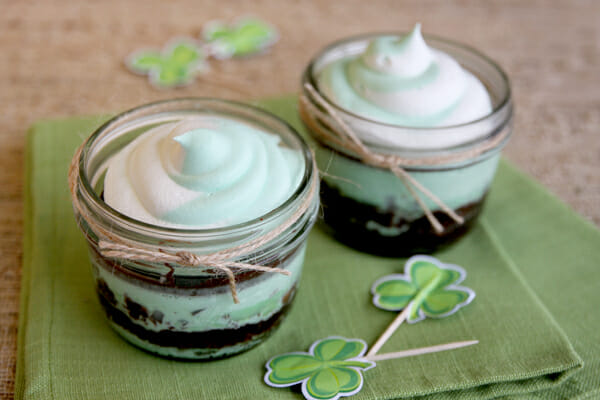
This is an original recipe by Our Best Bites sponsored by McCormick. Kate and I regularly use McCormick products in our kitchens and love them! Keep up with spice and flavor trends, and find great recipes by following McCormick on Facebook. If you’re looking for fun St. Patrick’s Day recipes, check out some really fun ones (pictured below) featured on McCormick.com!


Questions & Reviews
Idiot’s at Albertson’s has just eliminated their incredibly best anywhere mint chocolate ice cream from it’s shelves and replaced it with Safeway’s ice cream. It will be hard to find a comparable ice cream anywhere. I am really angry.
I scour comments posted to your recipes looking for feedback via reviews or at least some value added. I’ve spent hours reading only well wishers’ plans, confessions of cravings, & the like. Why won’t anyone just make the dang dish & THEN comment? Value added….
I guess I’ll have to -athough skeptical since I never see reviews. Period.
I do appreciate the recipe posts.
Oops, nevermind! Now I see where you explain it, sorry! LOVE this blog!
Hi! I got the same box of brownies as you showed in the pic… but just realized that the largest size on the back of the box is 9×9 (that’s what you circled)… but then in the comments section, you mention that it should be a box of brownies intended for 9×13. Please explain!?
Thanks!!!
Thank you for the wonderful recipe of amazingness! It was so good and easy to make. I will being making this again soon…as soon as the other two pans are gone 🙂
I just wanted to say this recipe was amazing!!!! My Husband loved it. I made it as a Valentine’s Day dessert, and when I posted a picture of it to Facebook, it nearly started a war… and that was just the picture. Using the pre-coated non stick foil made it a cinch to cut and serve. Thank you for so much for this post. I was wife of the year for this one…
OUTSTANDING dish! Absolutely miserable time peeling foil from brownie layer. I should have known to grease the foil, but next time (and there WILL be a next time), I’ll use parchment. Thanks for sharing such an awesome recipe!
The easiest dessert EVER!! And the step-by-step plus the added pictures make this the best on-line recipe I have ever used. Share more – And Thanks!
I made this dessert and it tasted wonderful! However I had a problem with the brownie layer getting stuck to the foil. Has anyone else experienced this? I am going to make it again without the foil.
I am going to make these cupcakes for my daughter’s birthday in two days. How do you store the cupcakes in the freezer and keep them from getting smashed but also from getting frosty or freezer burned? Thanks!
These were amazing! I made these for my niece’s 2nd b-day party and they were a HIT! Soooo good! Can’t wait to make them again. I baked the brownines about 20-25 mins(they were a little overdone). I used mint-oreo’s and needed 2 tubs of cool whip (8oz each). I used a potato peeler to curl the andes mints. SOOO Good! Heaven on earth!
oh I also used parchment paper since I’ve wrestled too many foil wrapped dishes, it worked much better than the foil…I also forgot to line the pan, so just cut it to slide it out, rinsed the pan and replaced the brownie…then added the ingredients like I hadn’t forgotten in the first place.
Just made these and LOVE THEM…I split it into thirds to try something…1 section had the mint oreo’s, one had regular and one had the rest of my brownie mix that I cooked up then crumbled (I used a 9×13 mix, but only put halfish in the pan). I have to say the mint oreo’s won hands down. I think that gave it the finishing touch (of course the Andies mints on top helped too), I will forever make it with the mint oreos now.
I am making this for Father’s Day!
I don’t know if I’ll get an answer for this because it was posted back in March, but I’m wondering about the cooking time for the brownies. If the mix’s largest size is a 9×9, how do you adjust the cooking time for a 9×13 since the brownies will be thinner?
Just eyeball them, they take a little less, but not too much!
Made this for Mother’s Day along with a cookies n cream version for the kids in the family that don’t care for mint….. This by FAR is the BEST dessert I have made. Everyone loved it and the cookies n cream version was super yummy as well… Rich but yummy…. 🙂 A keeper!!!