I kind of think these easy homemade breadsticks have actual magical powers. Seriously. These bad boys have helped me make instantaneous friends at church functions when I’m the new girl and made sad people happy. They’re easy to whip up and even easier to customize. Garlic bread seasoning? Yes. Cinnamon sugar twists? Yes. There’s nothing that’s not great on a warm twisty breadstick. This is also fantastic as homemade pizza dough! If you’ve got a backyard pizza oven, you should also check out my Neapolitan Style Crust, which is my go-to for home pizza ovens.
I use this basic recipe for so many things–pocket sandwiches (like Hot Pockets, only not gross), breakfast pocket sandwiches, pizza crust, pizza on the grill, pizza pockets, whatever. One major advantage is that this dough is very, very forgiving. If you’re just getting started, we recommend, checking out these tips on how to work with yeast dough, but this is a great dough to start with if you’re a yeast dough virgin or if you’ve had bad experiences working with yeast in the past.
how to make them
To get started, you’ll need some yeast, sugar, and warm water. The water needs to be about 105-115 degrees F, which you can measure with a thermometer if you want, but I always say water hot enough that would feel like a hot shower but not so hot you wouldn’t want to wash your hair or your face in it. If it’s not warm enough, the yeast won’t activate and if it’s too hot, the yeast will die. The sugar feeds the yeast.
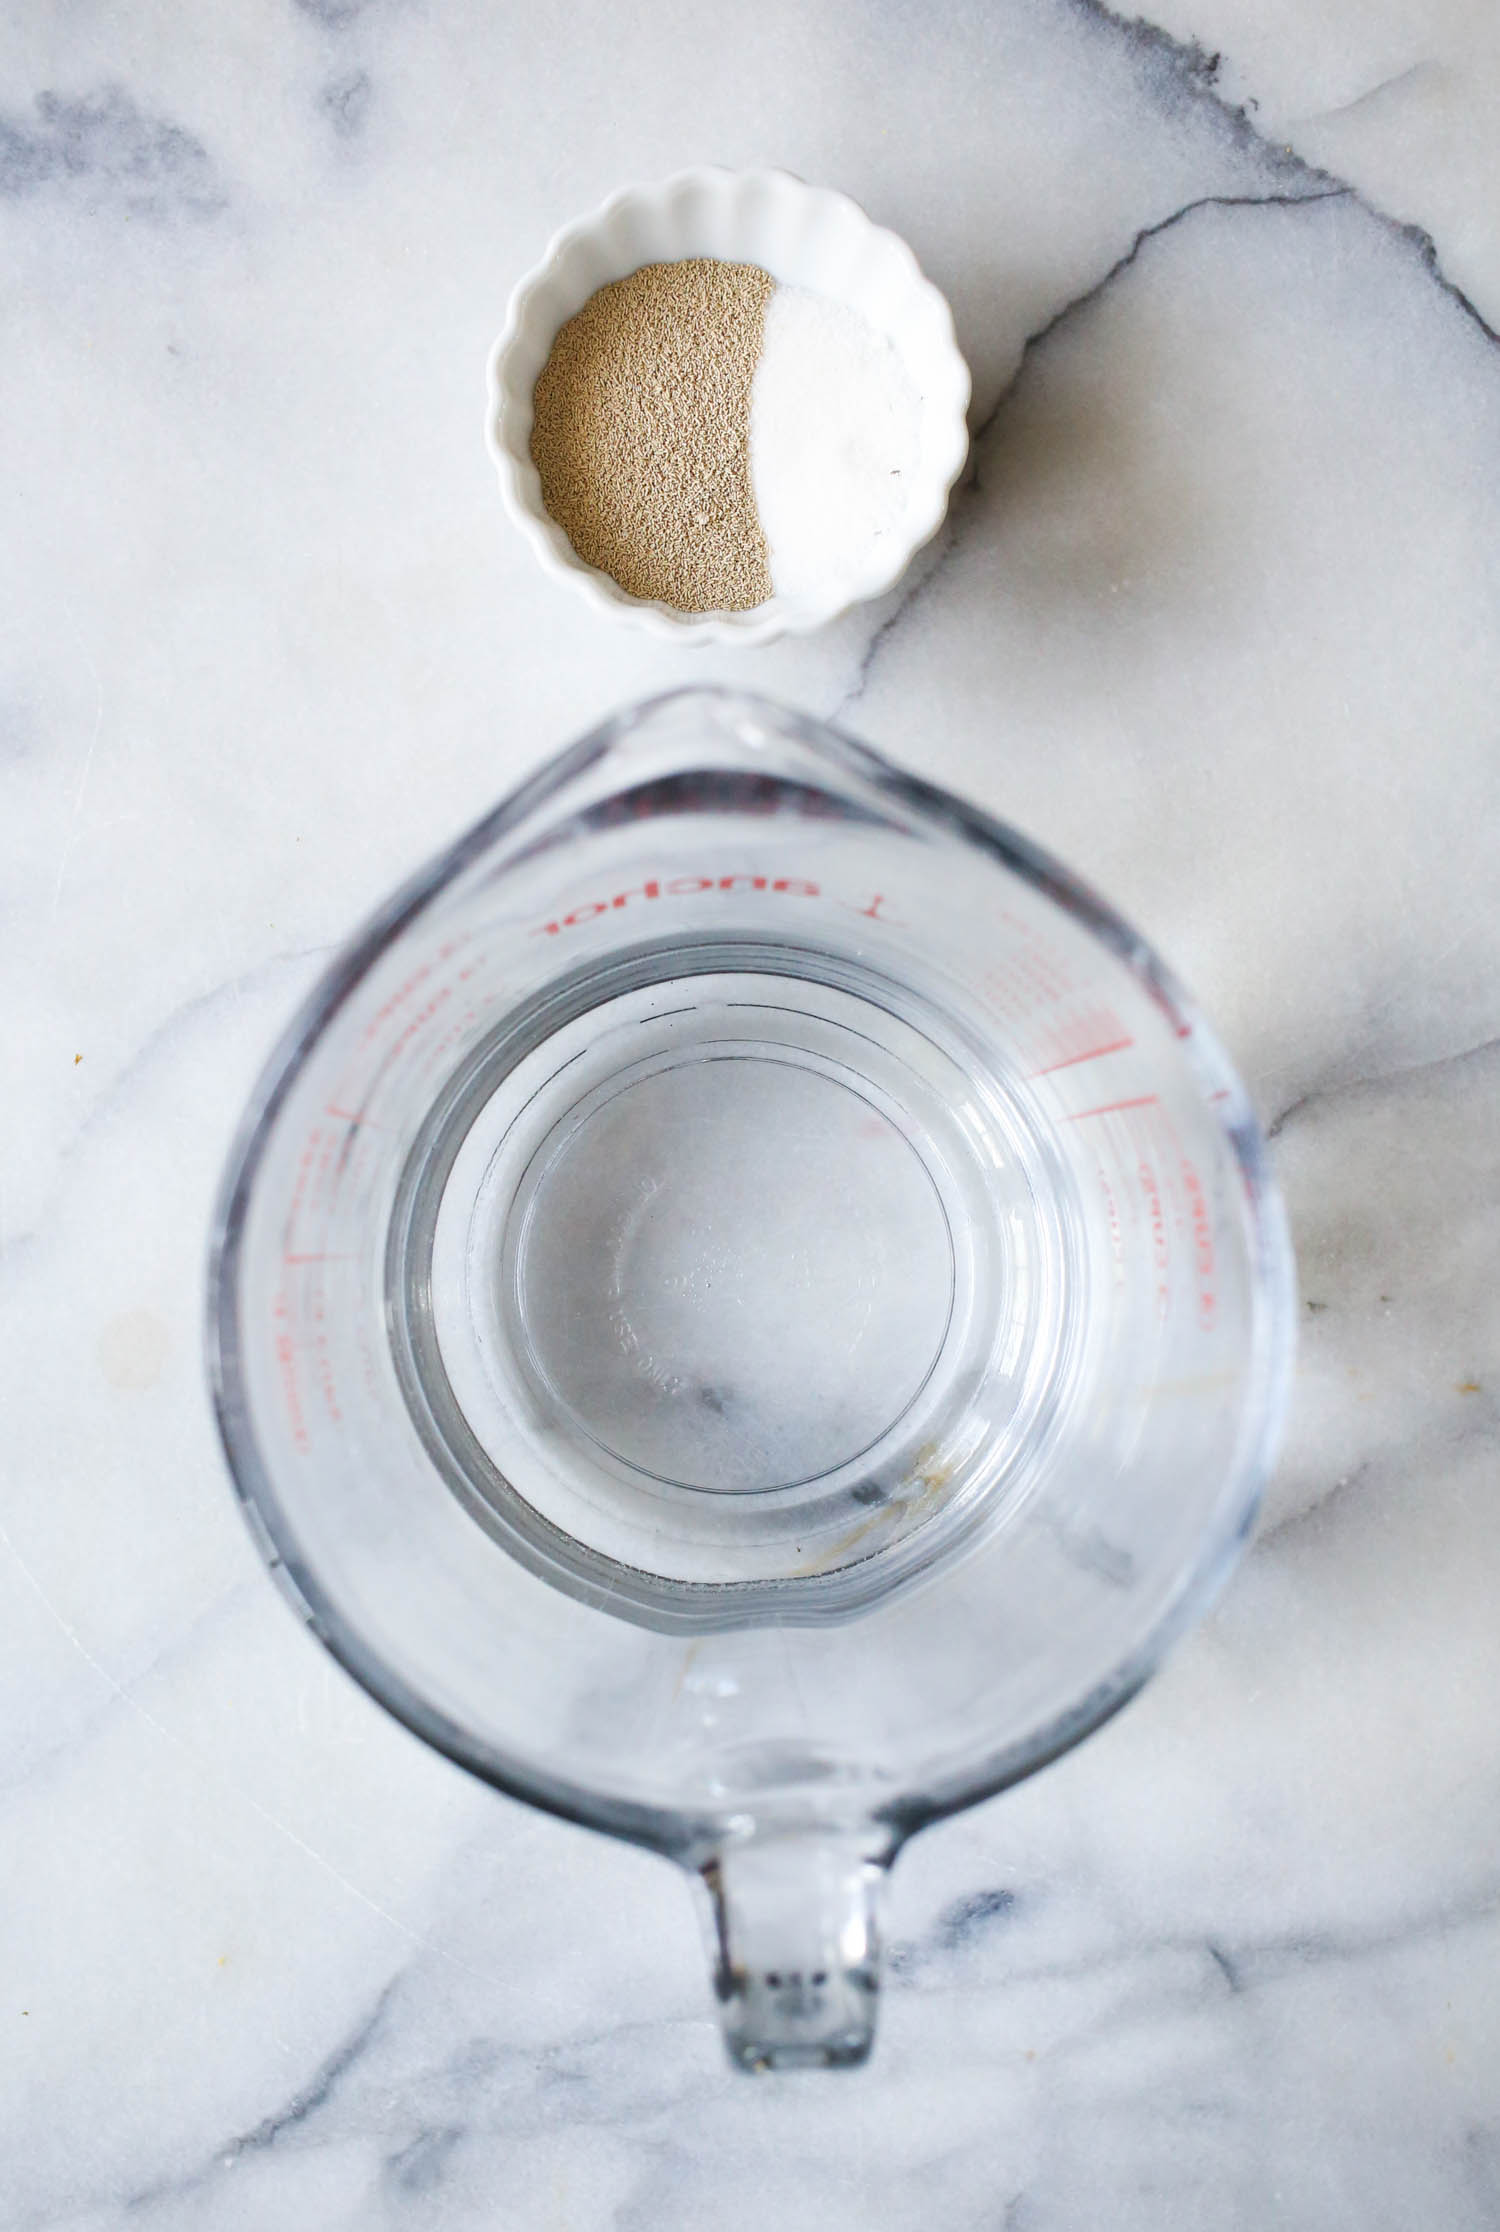
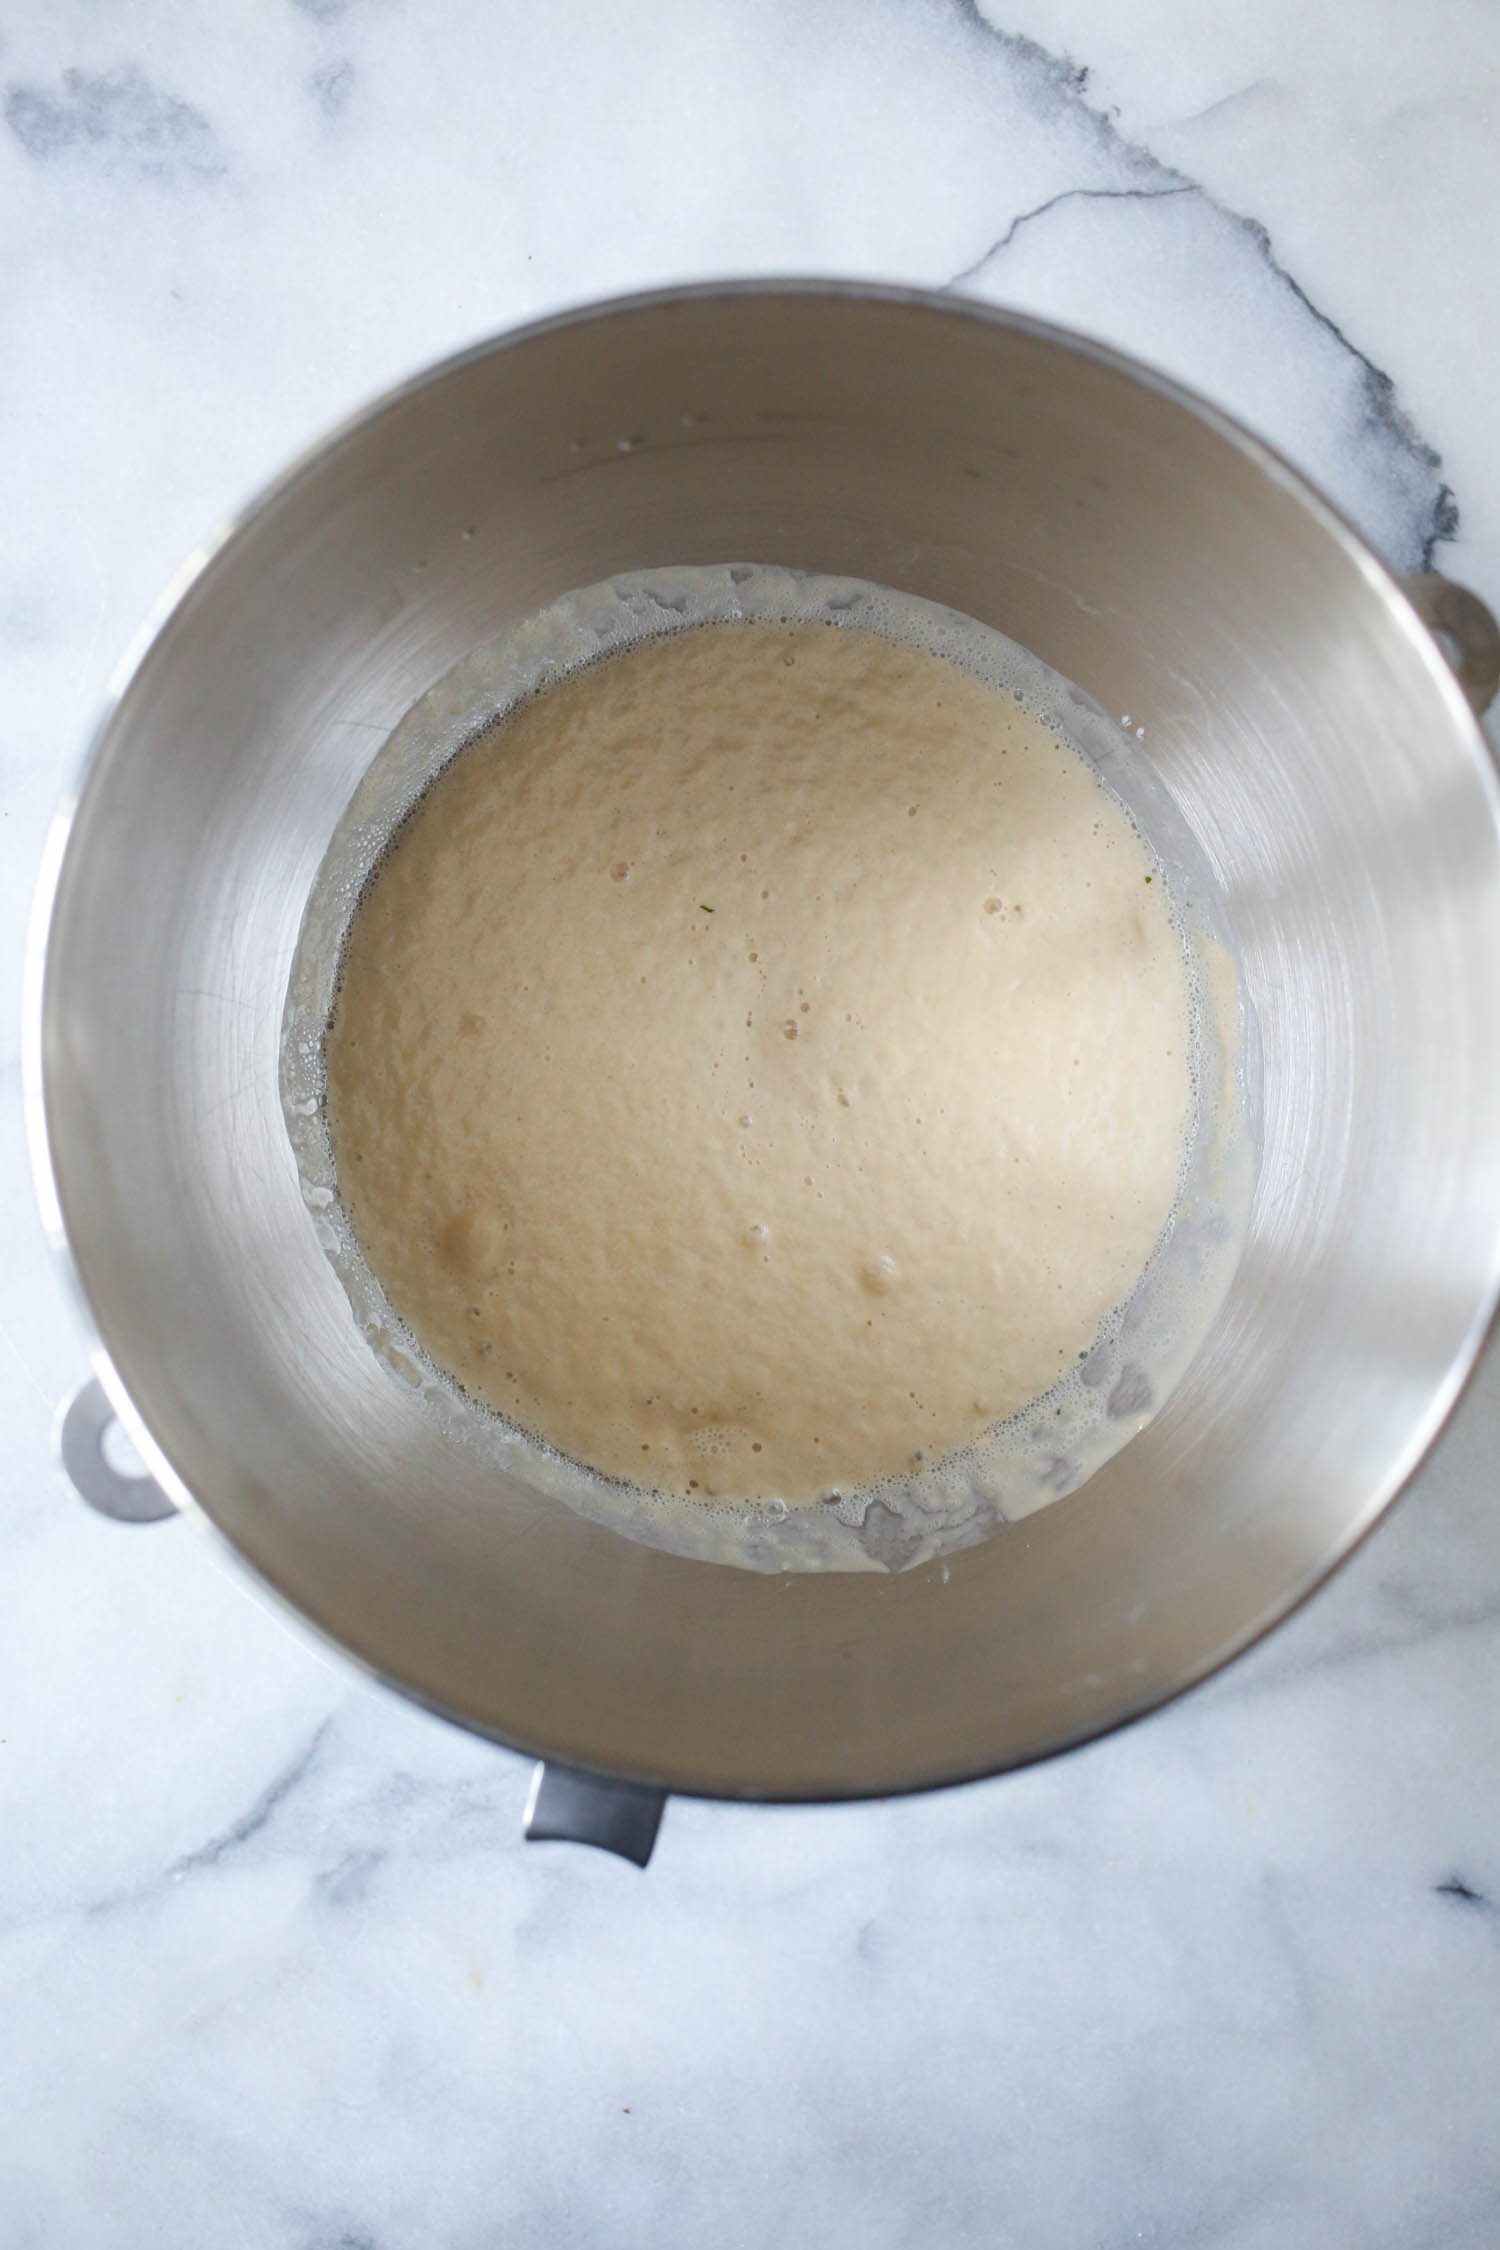
In a large bowl (the bowl of your mixer, if you have one), combine water,
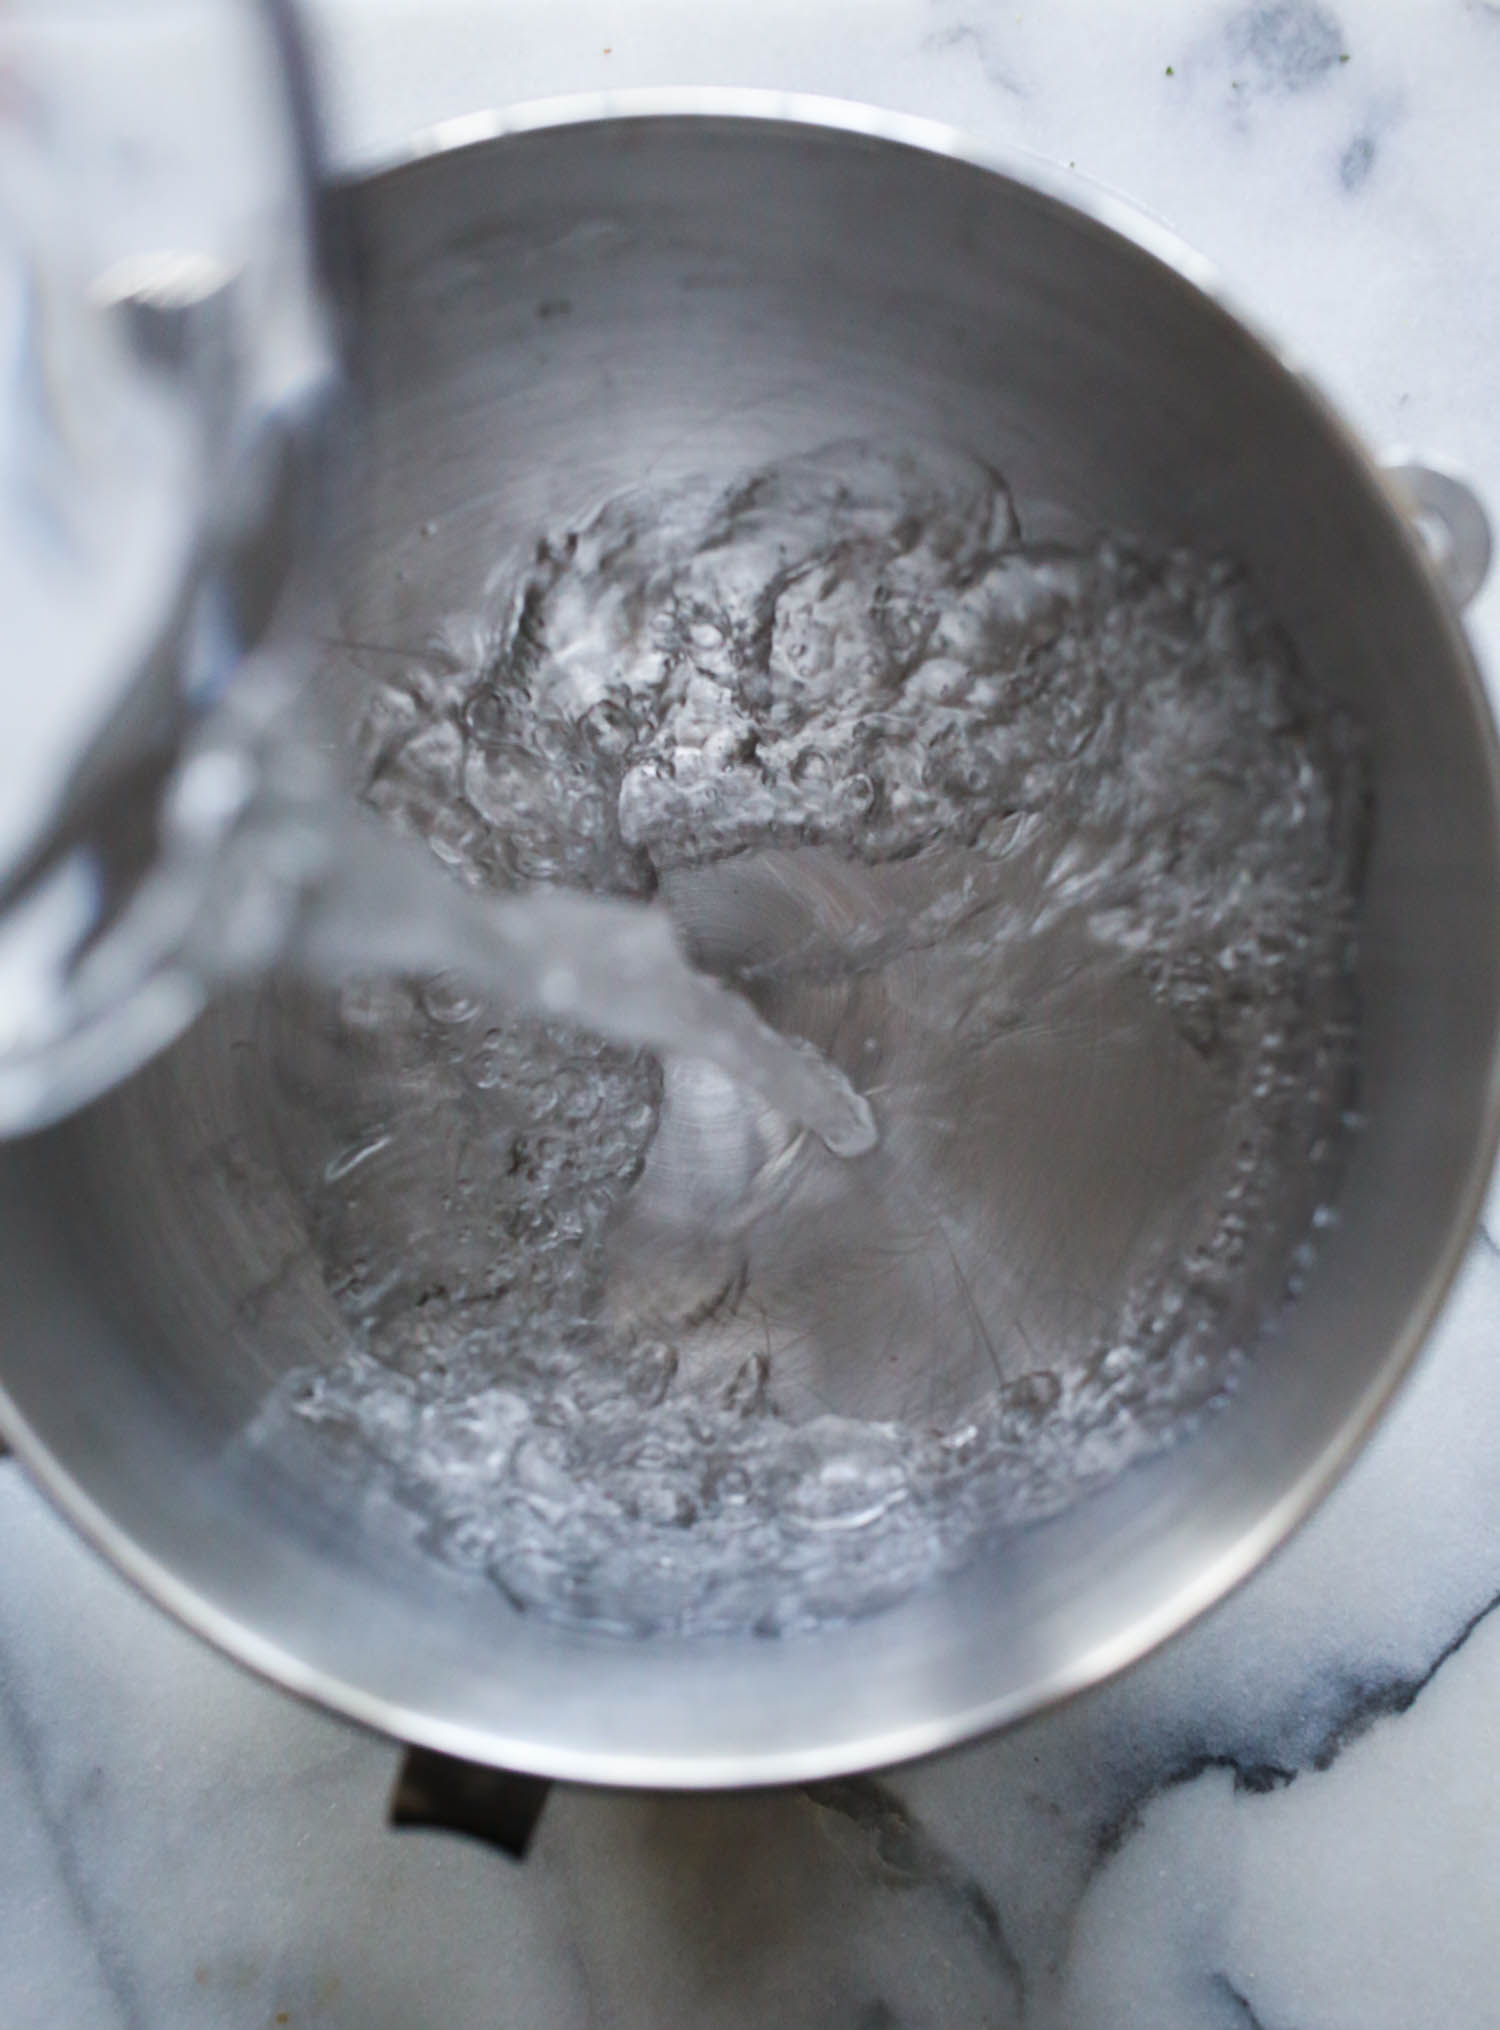
sugar, and yeast.
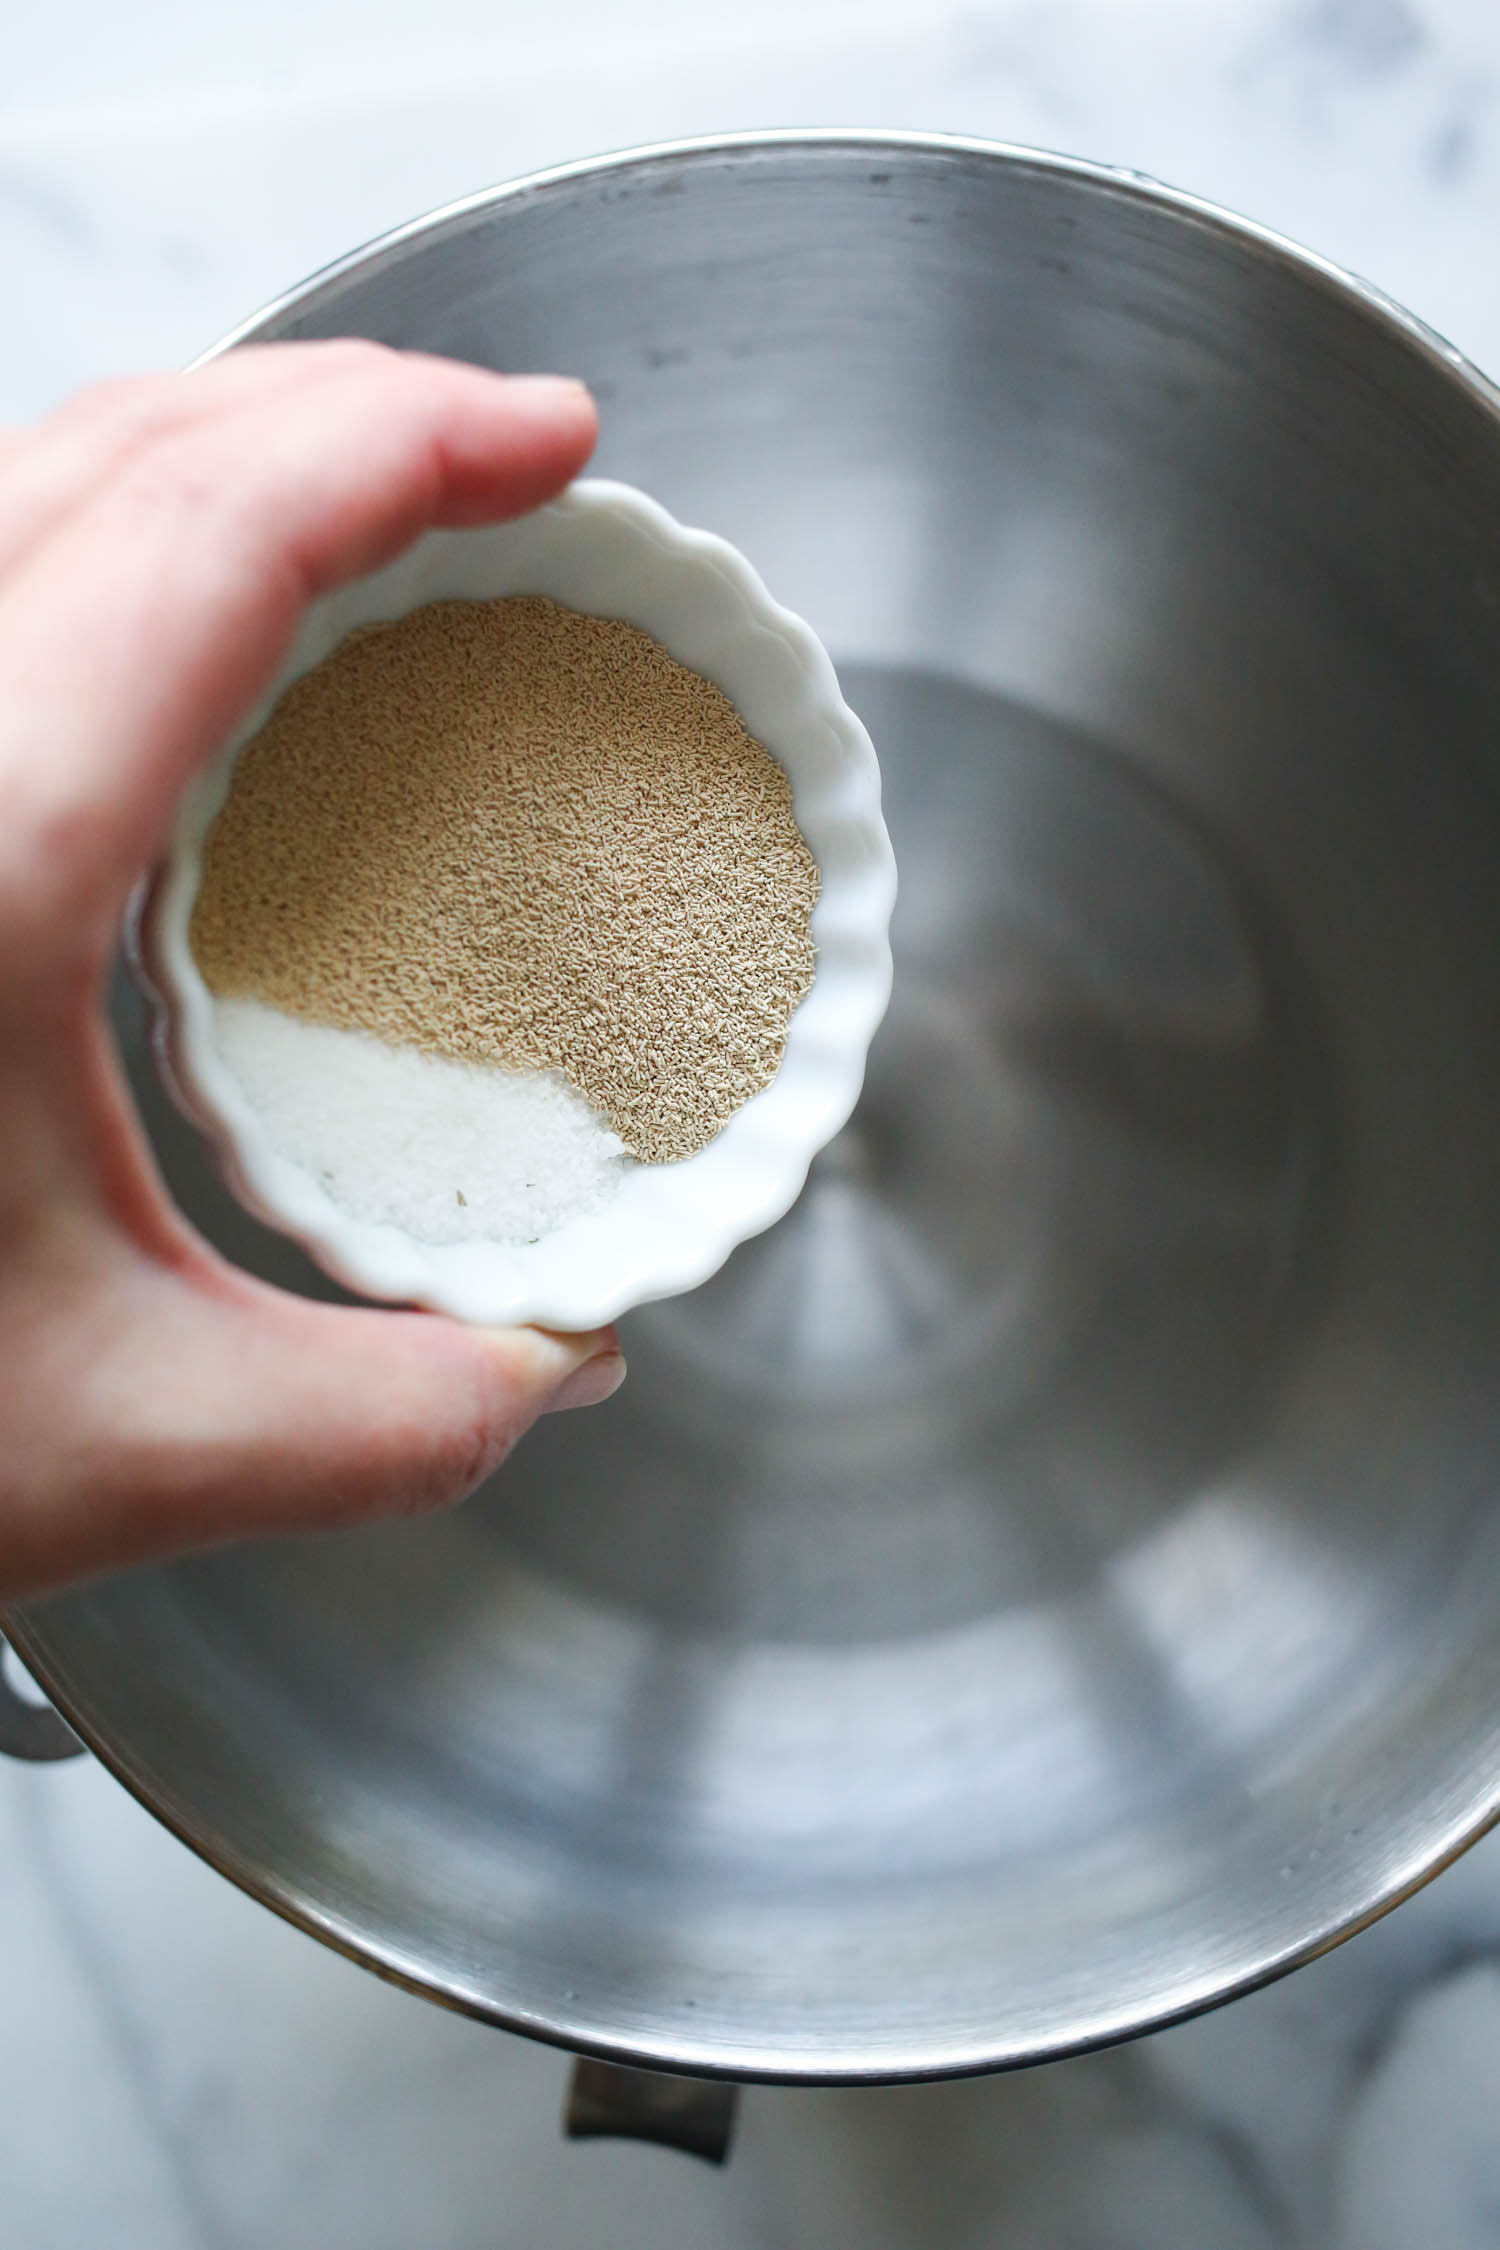
Let stand for 10 minutes or until yeast is bubbly.
Add salt
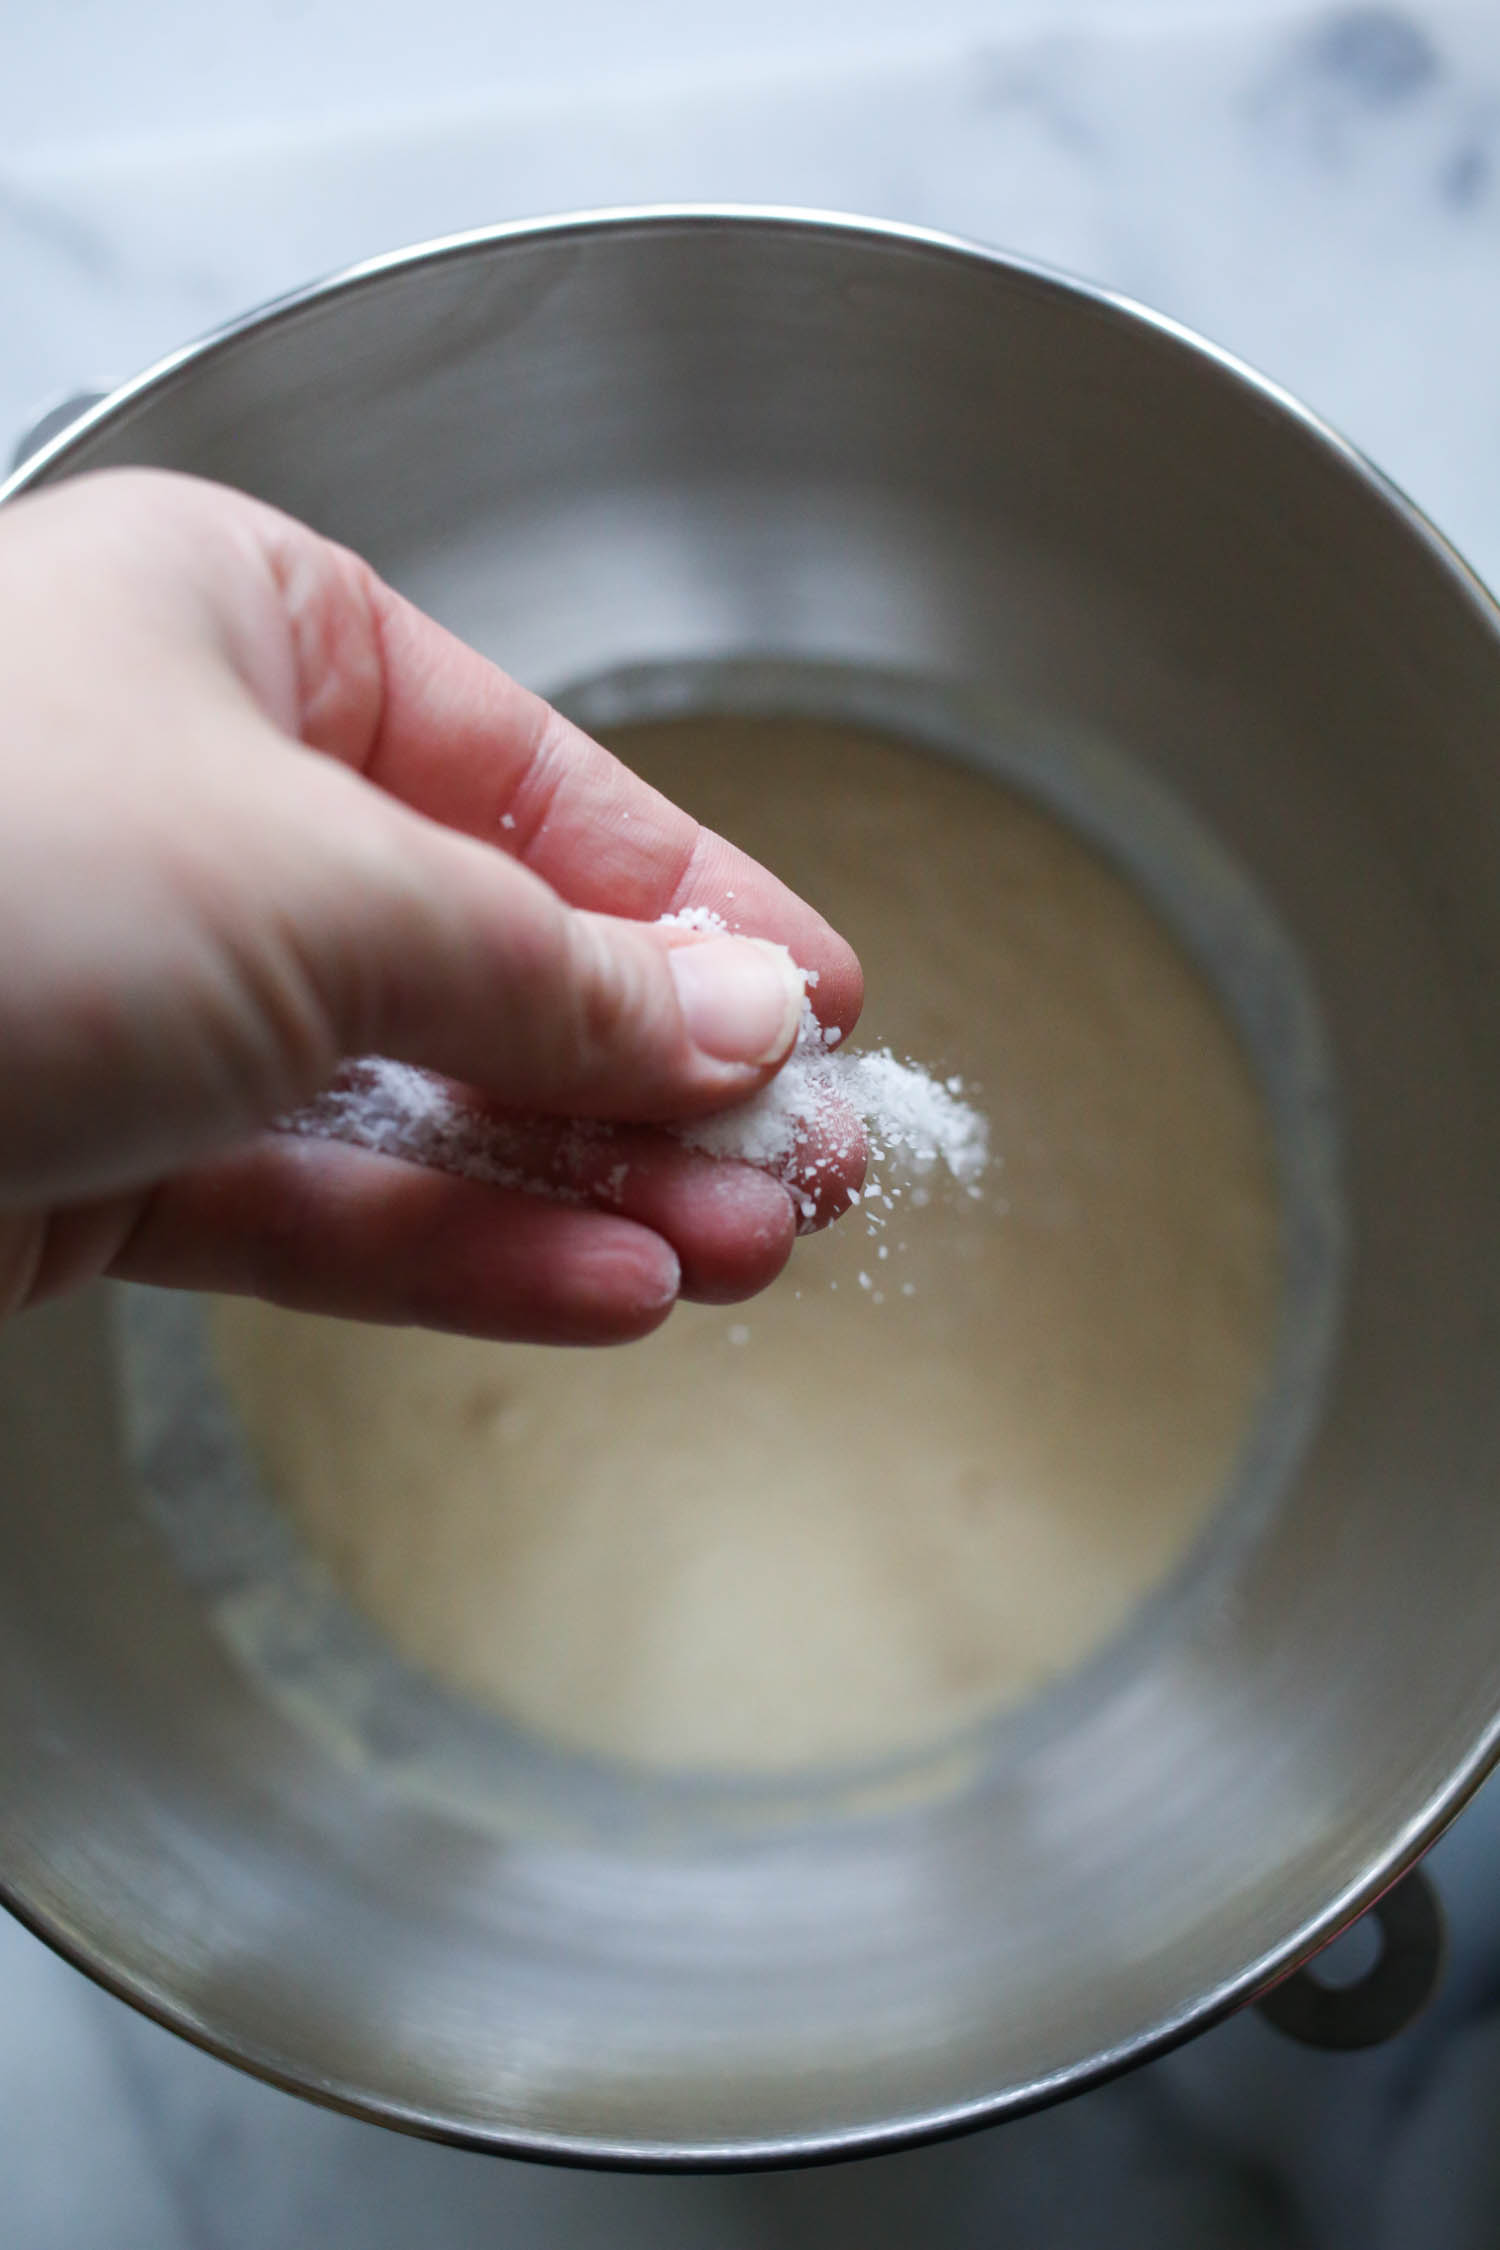
and stir. Add 1 1/2 cups of flour
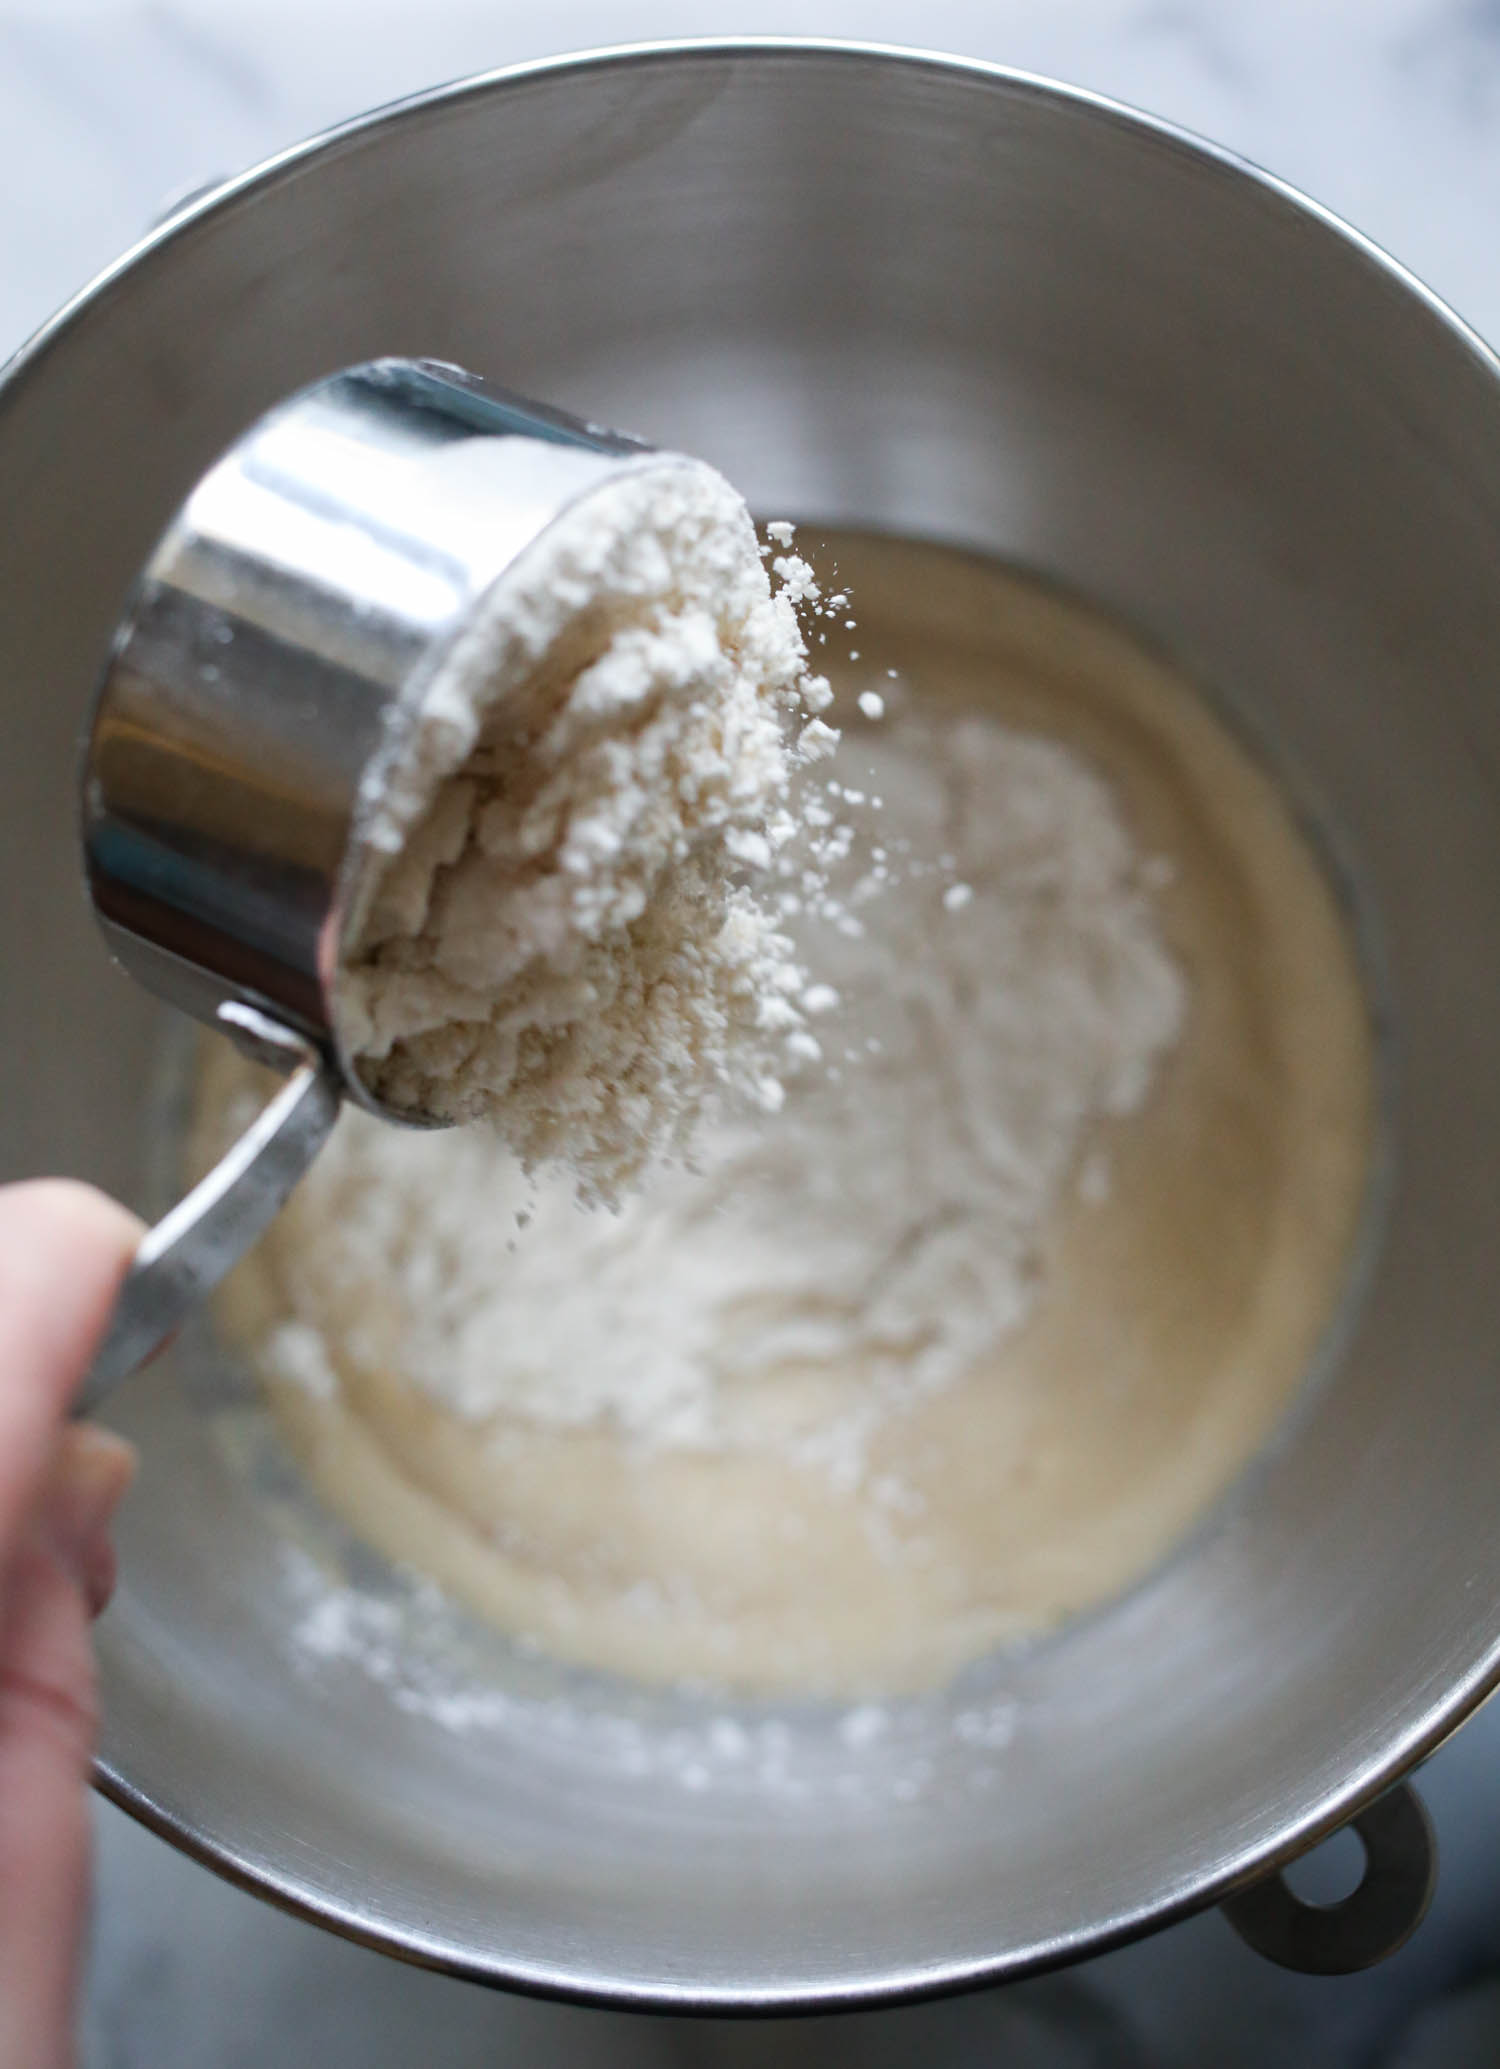
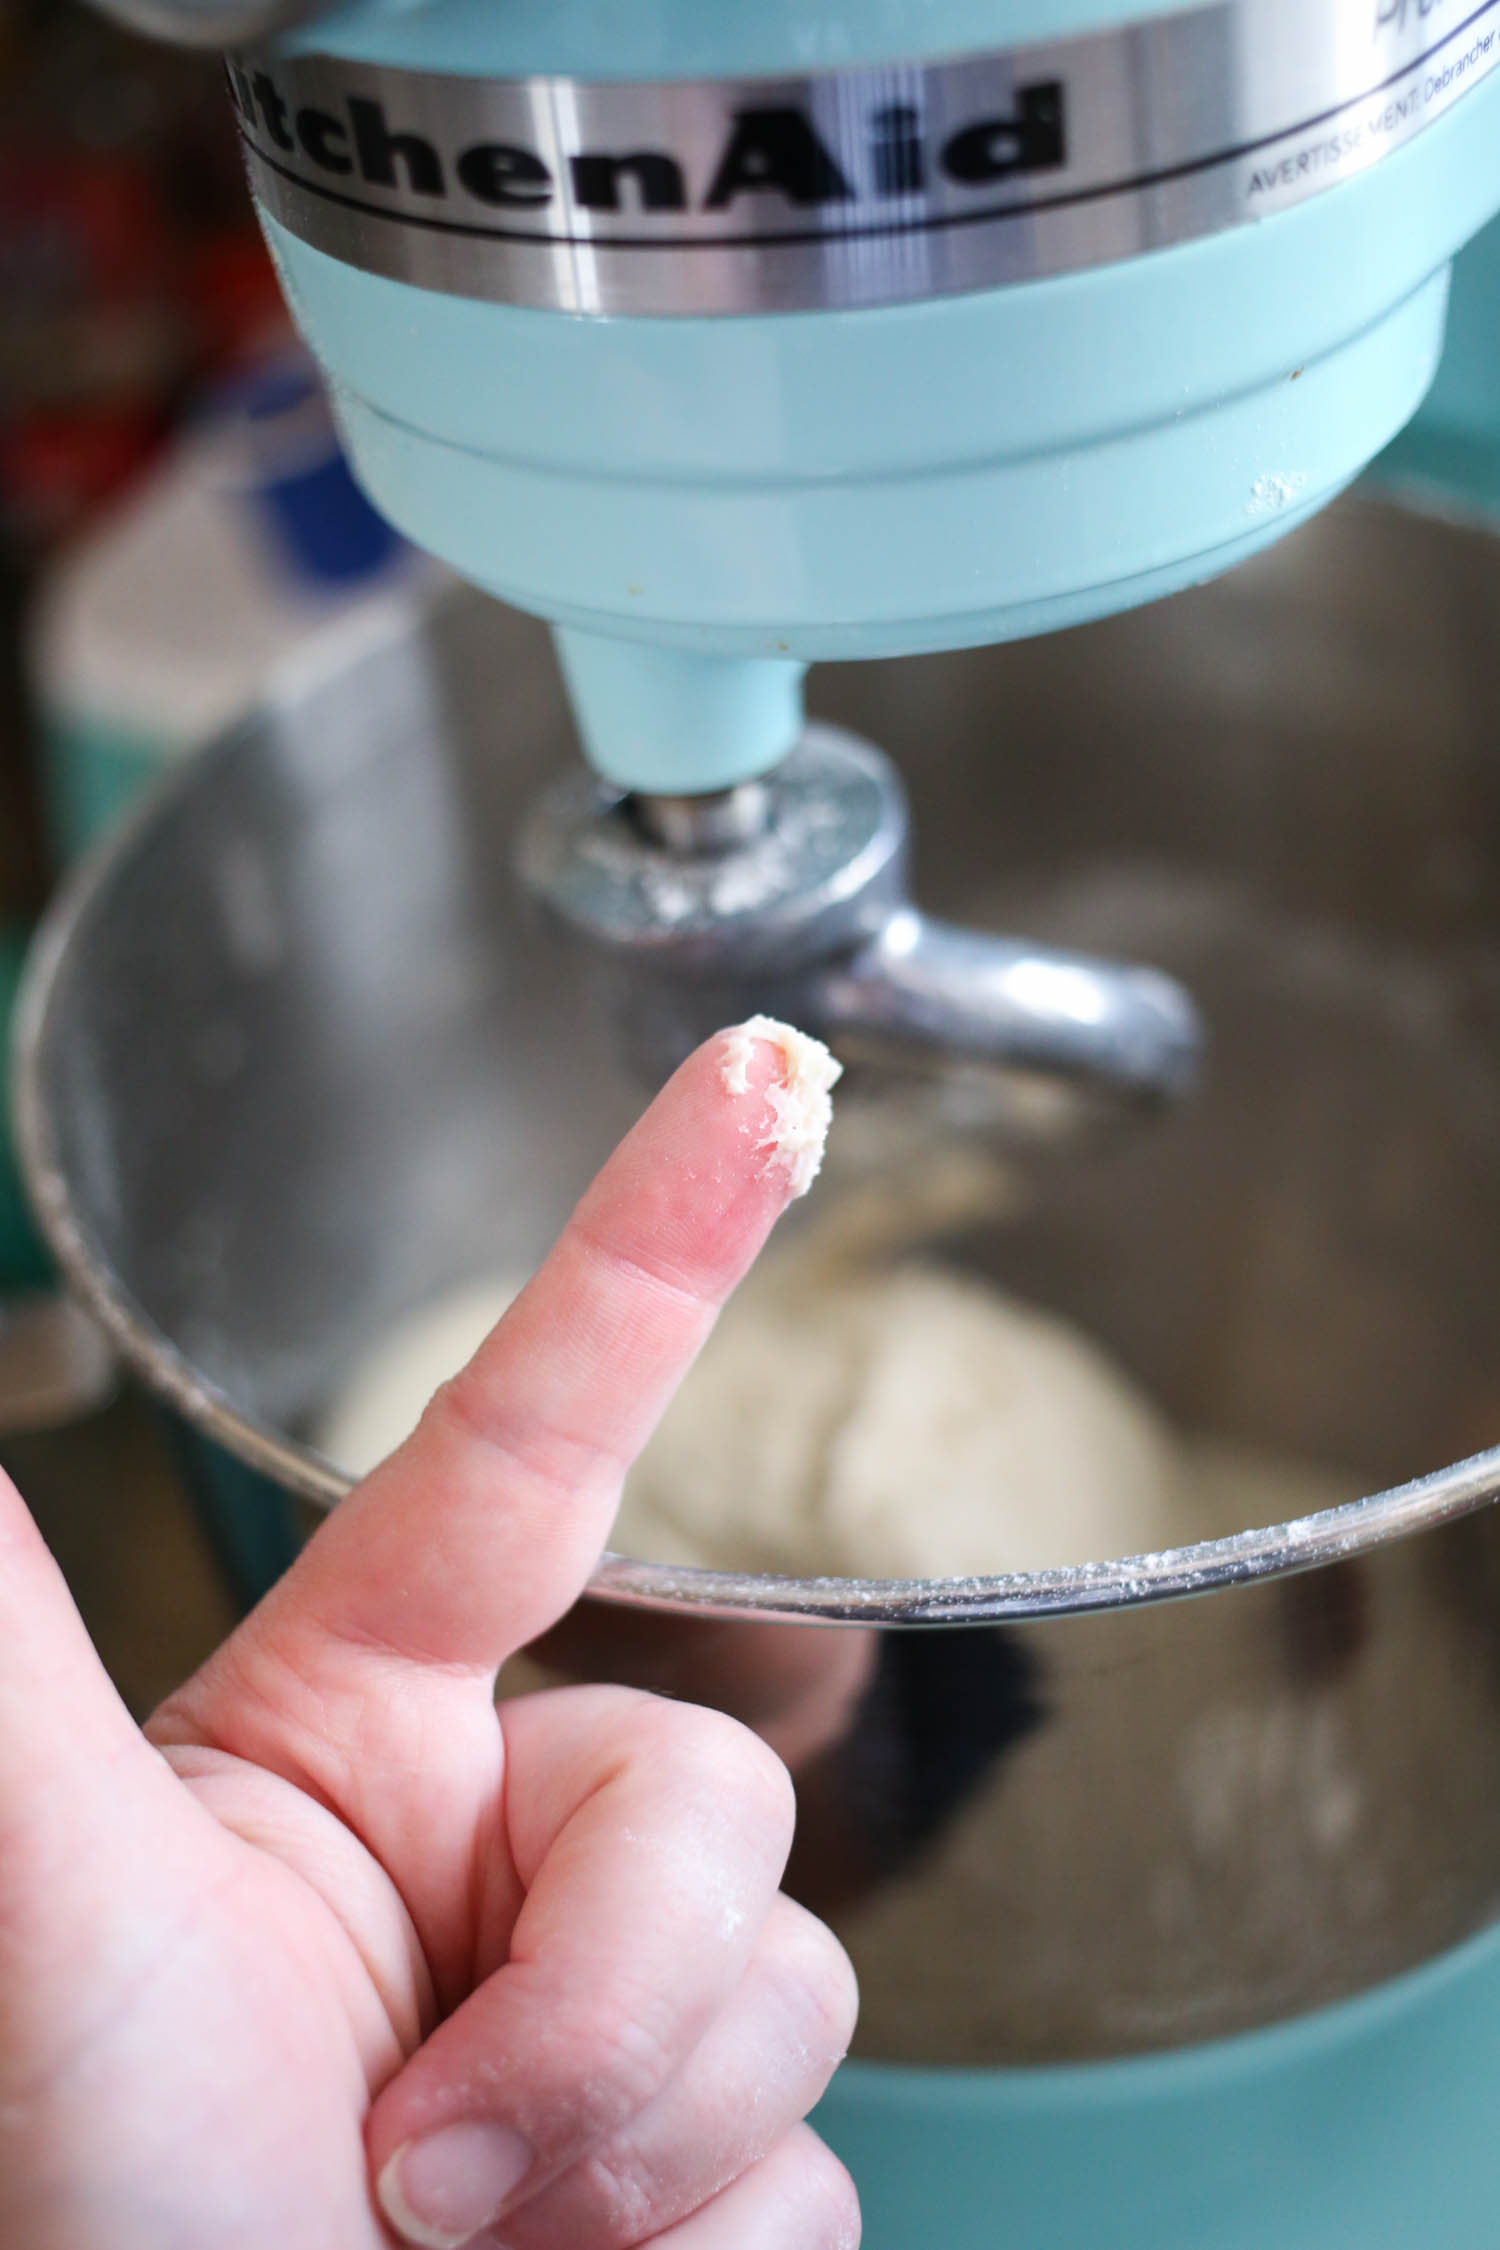
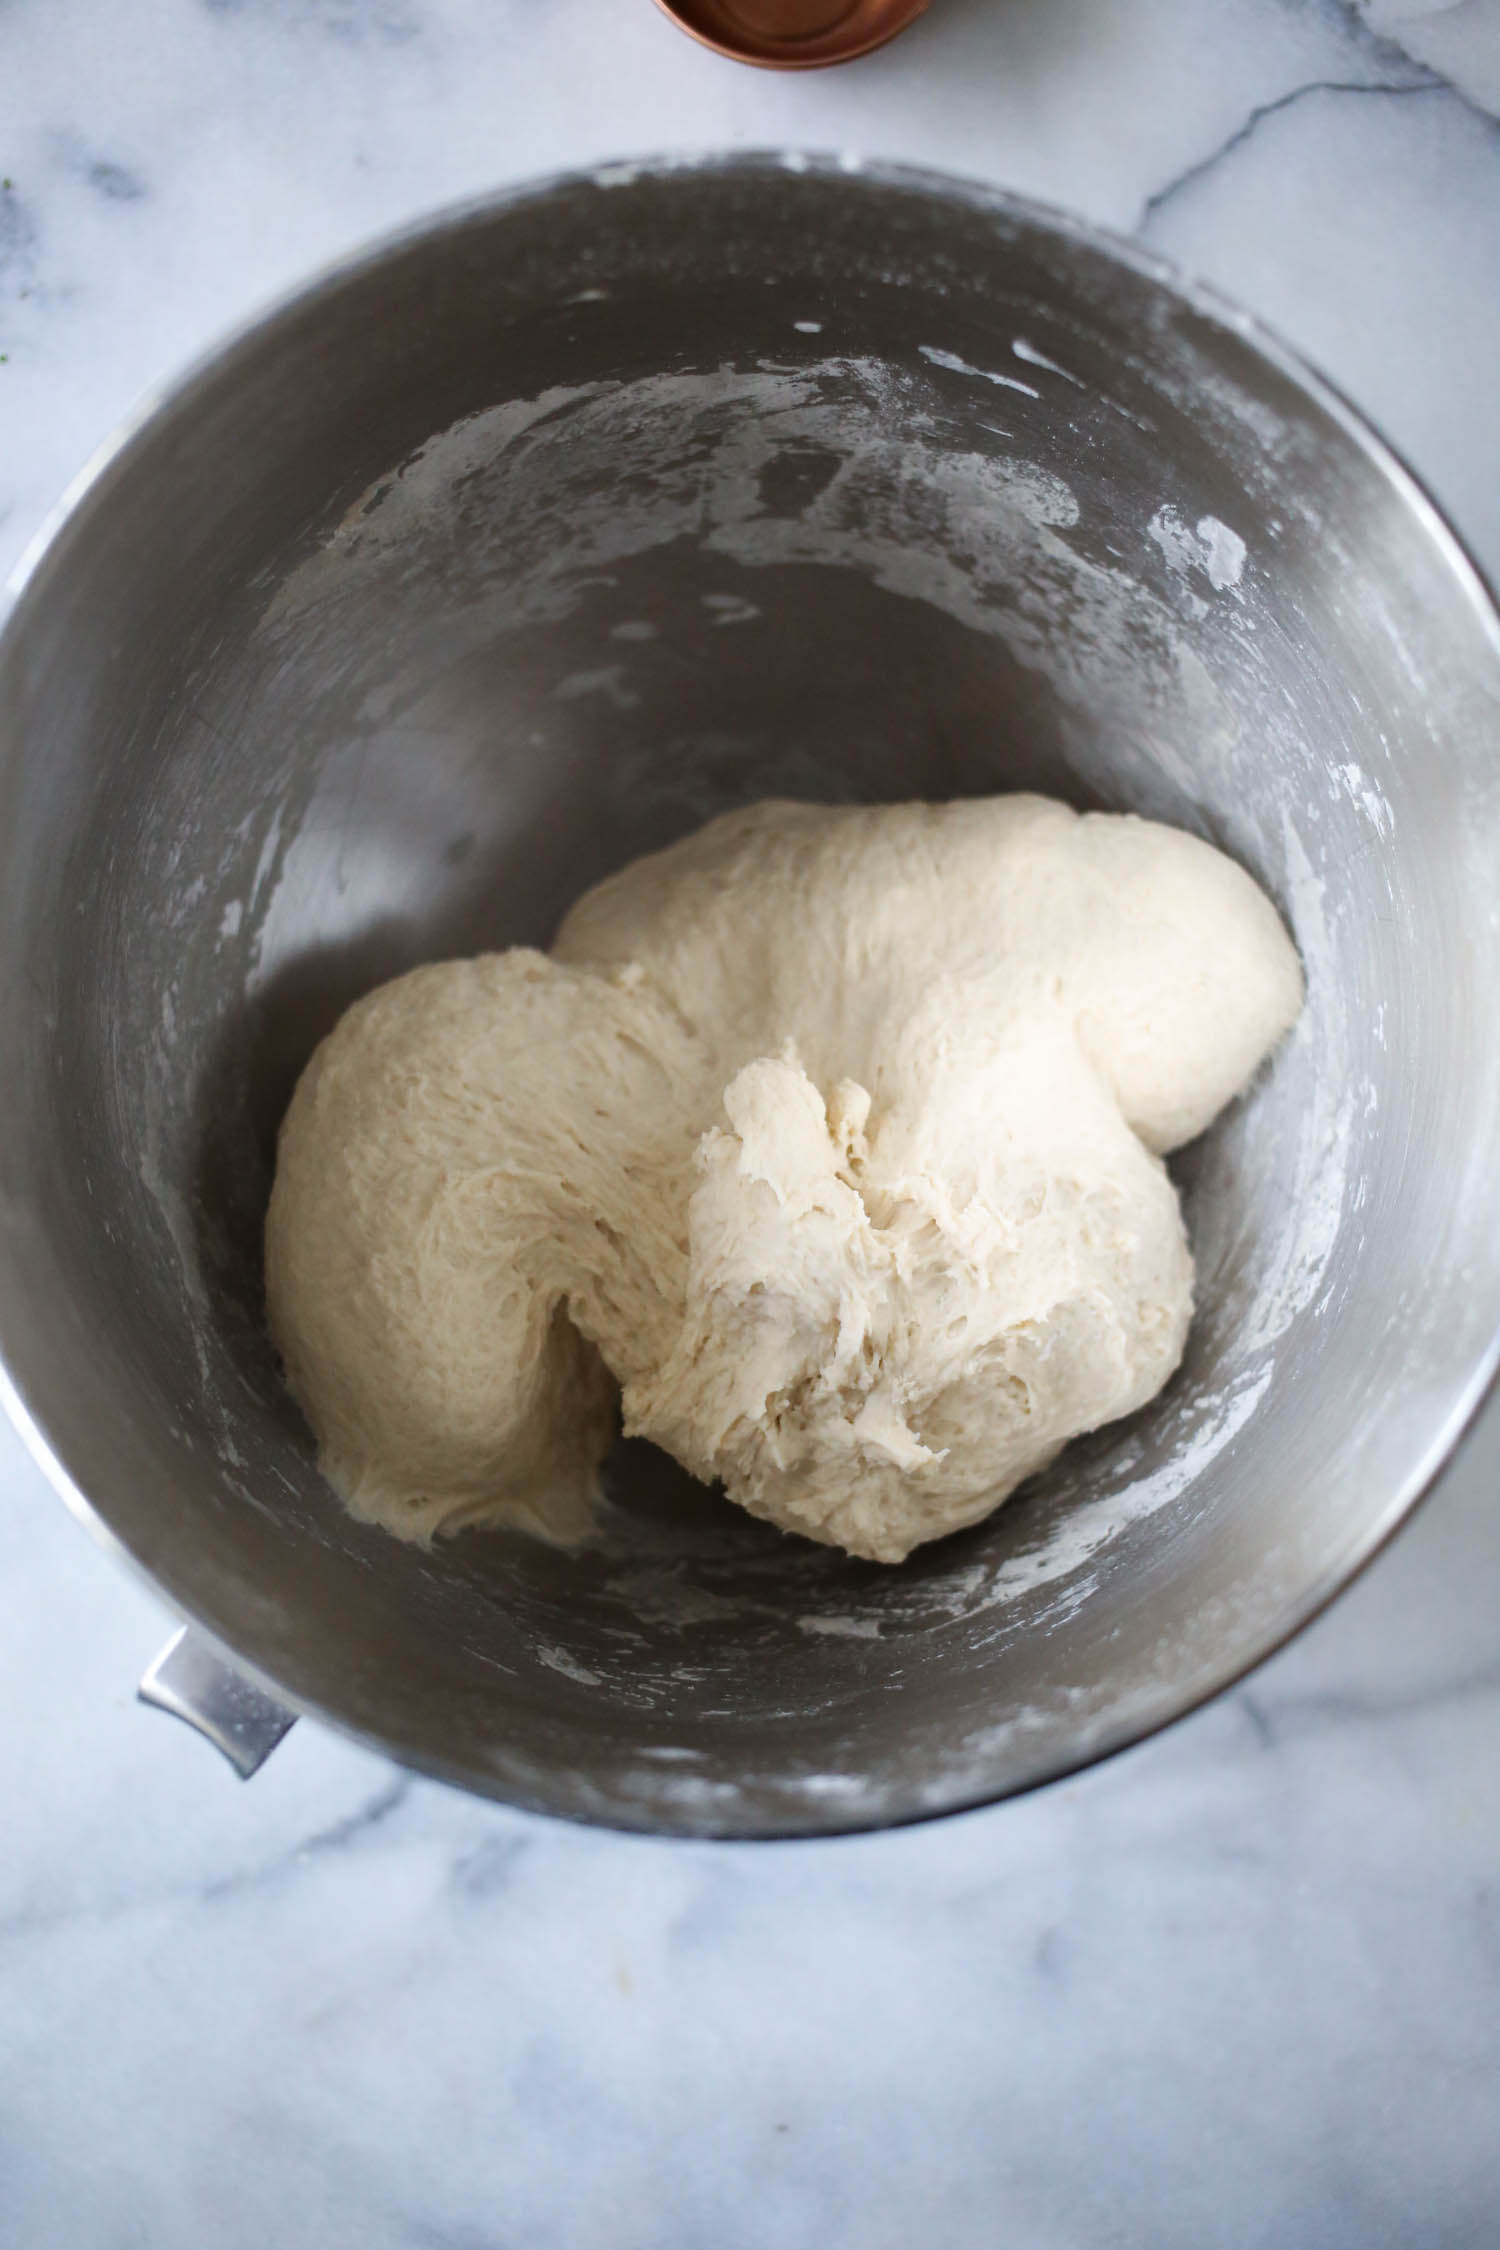
and mix well. Gradually add more flour (usually between 3-4 cups, depending on your elevation and your humidity) until dough starts to pull away from the sides of the bowl

and it barely sticks to your finger.
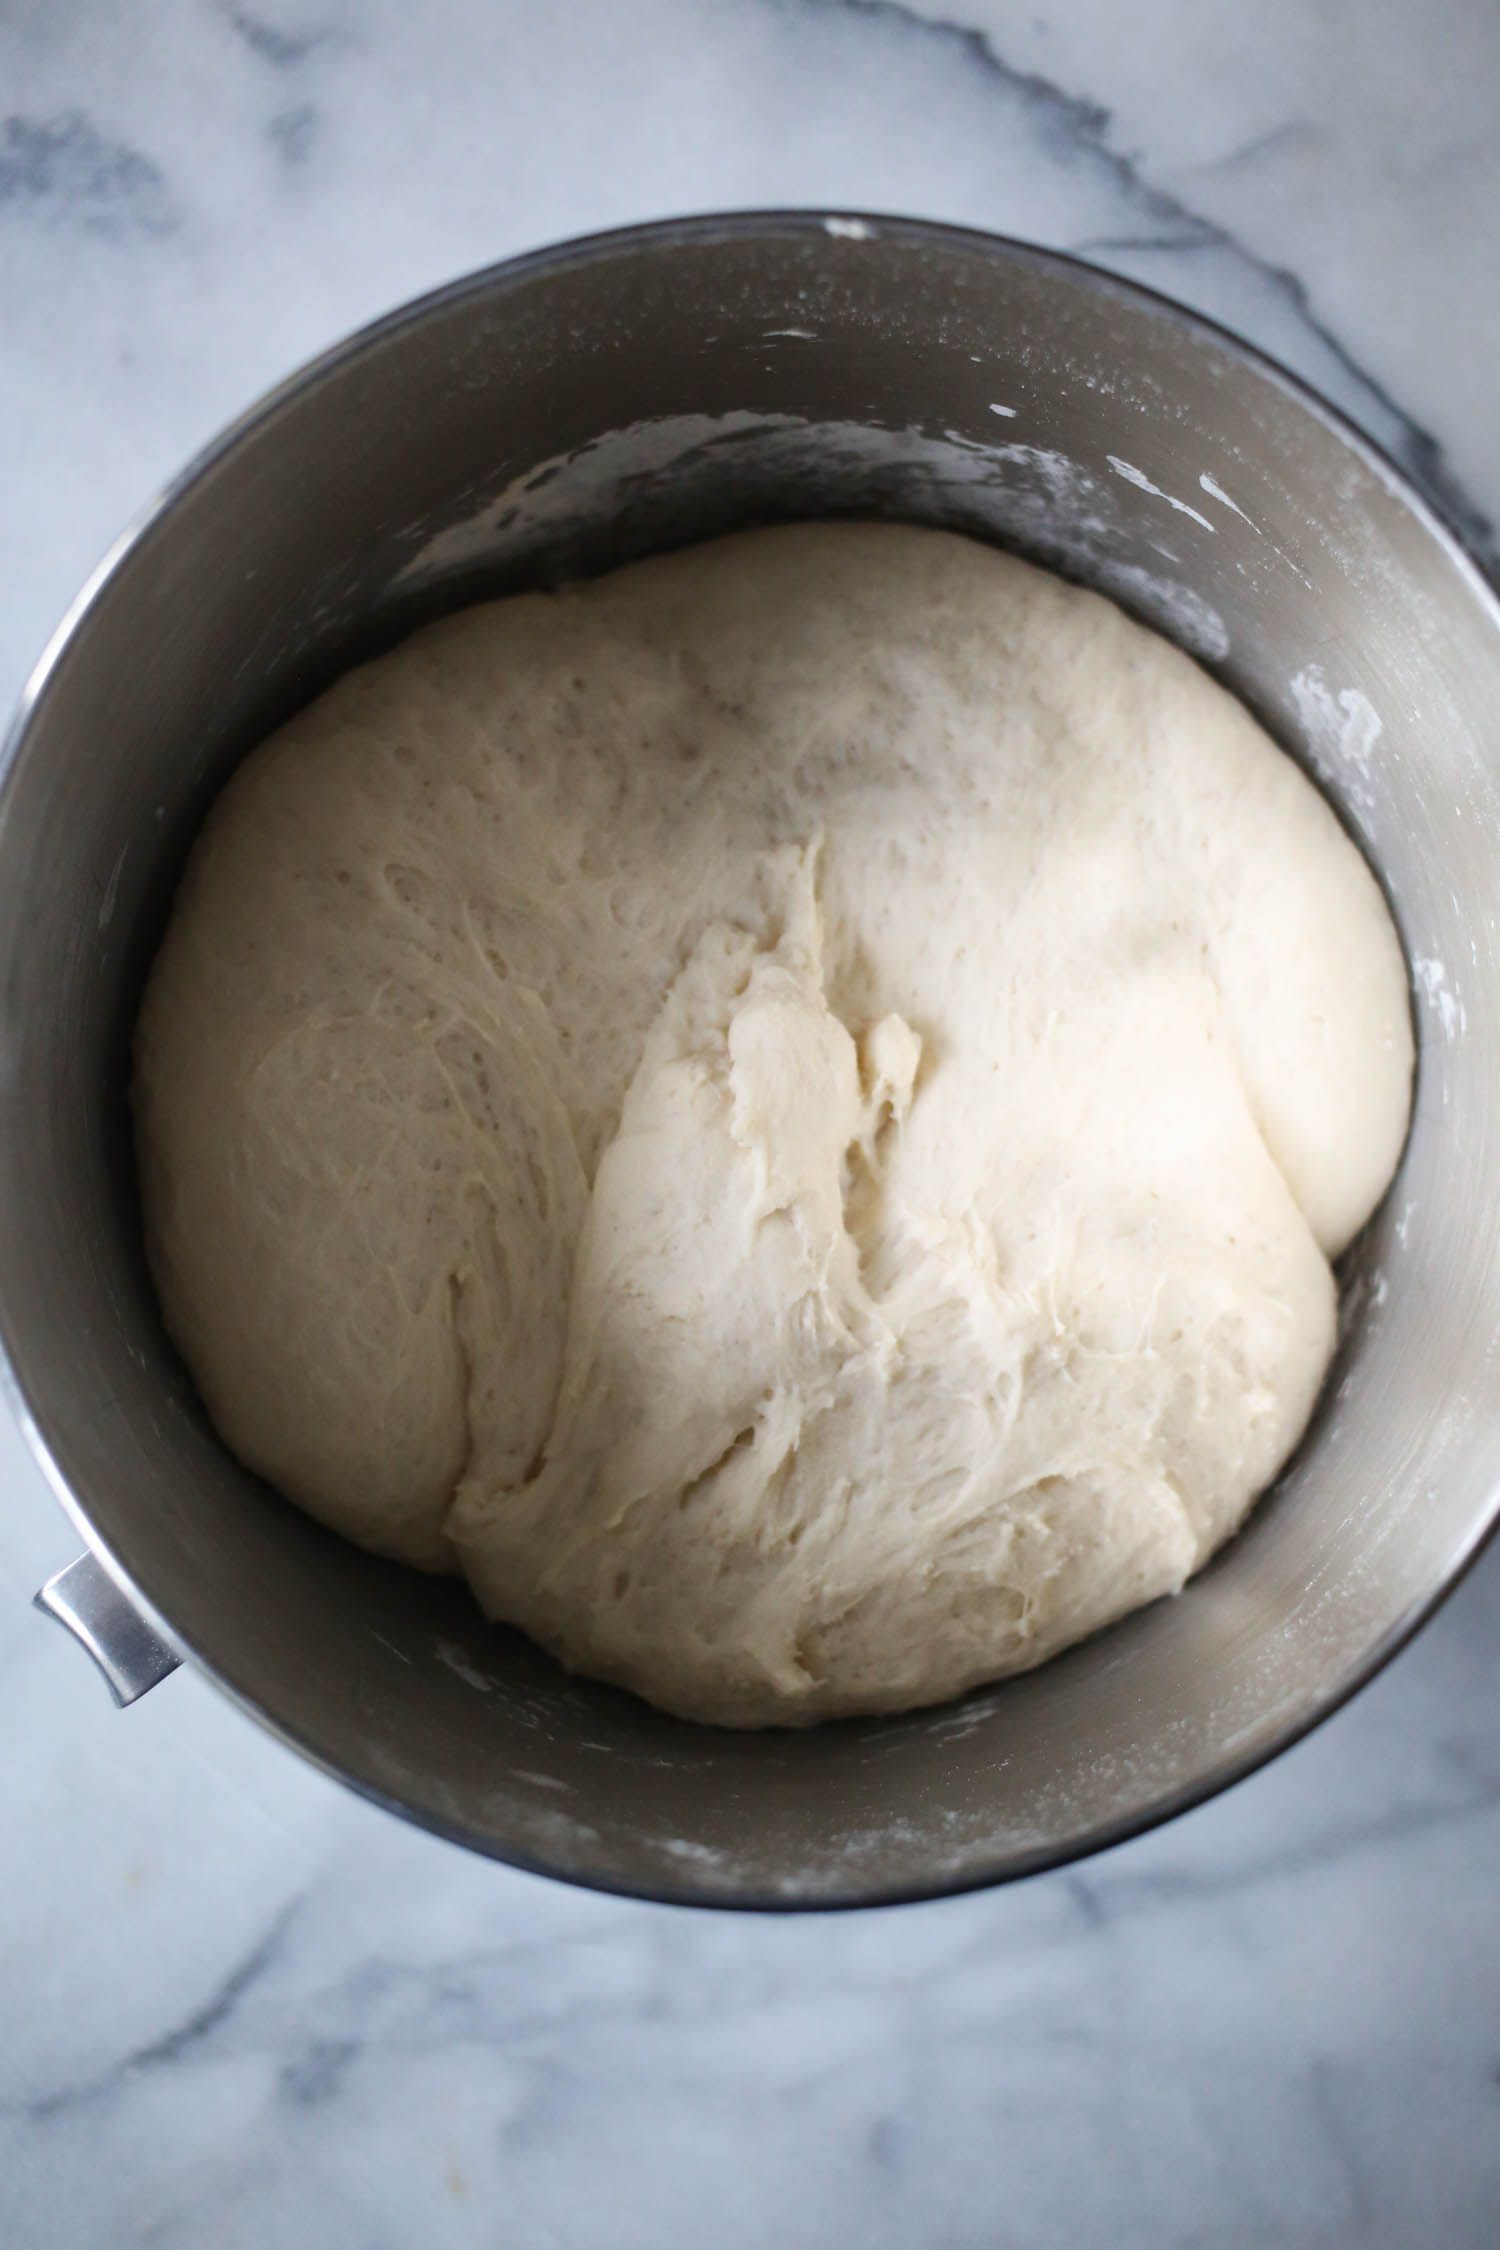
Cover and allow to rise for 45 minutes or until doubled in bulk.
before
after
While the dough is rising, line a baking sheet with parchment and set aside.
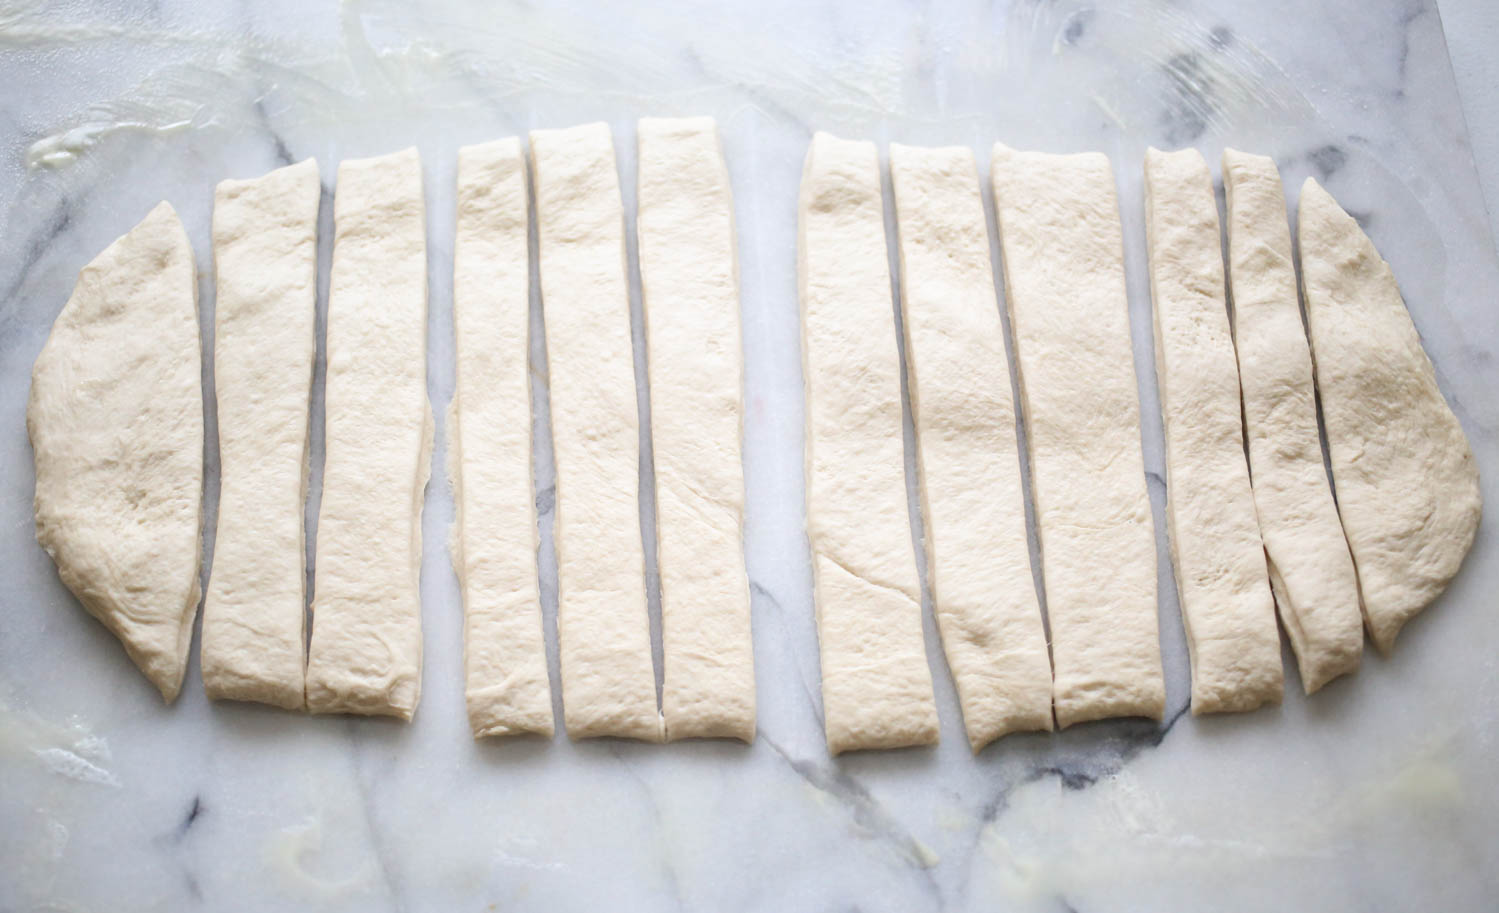
Remove from bowl and place on a surface sprayed with cooking spray. Roll into a rectangle and cut into 12 strips with a pizza cutter.
Roll out each piece of dough into a snake about 18″ long, then drape the middle of the “snake” over your forefinger
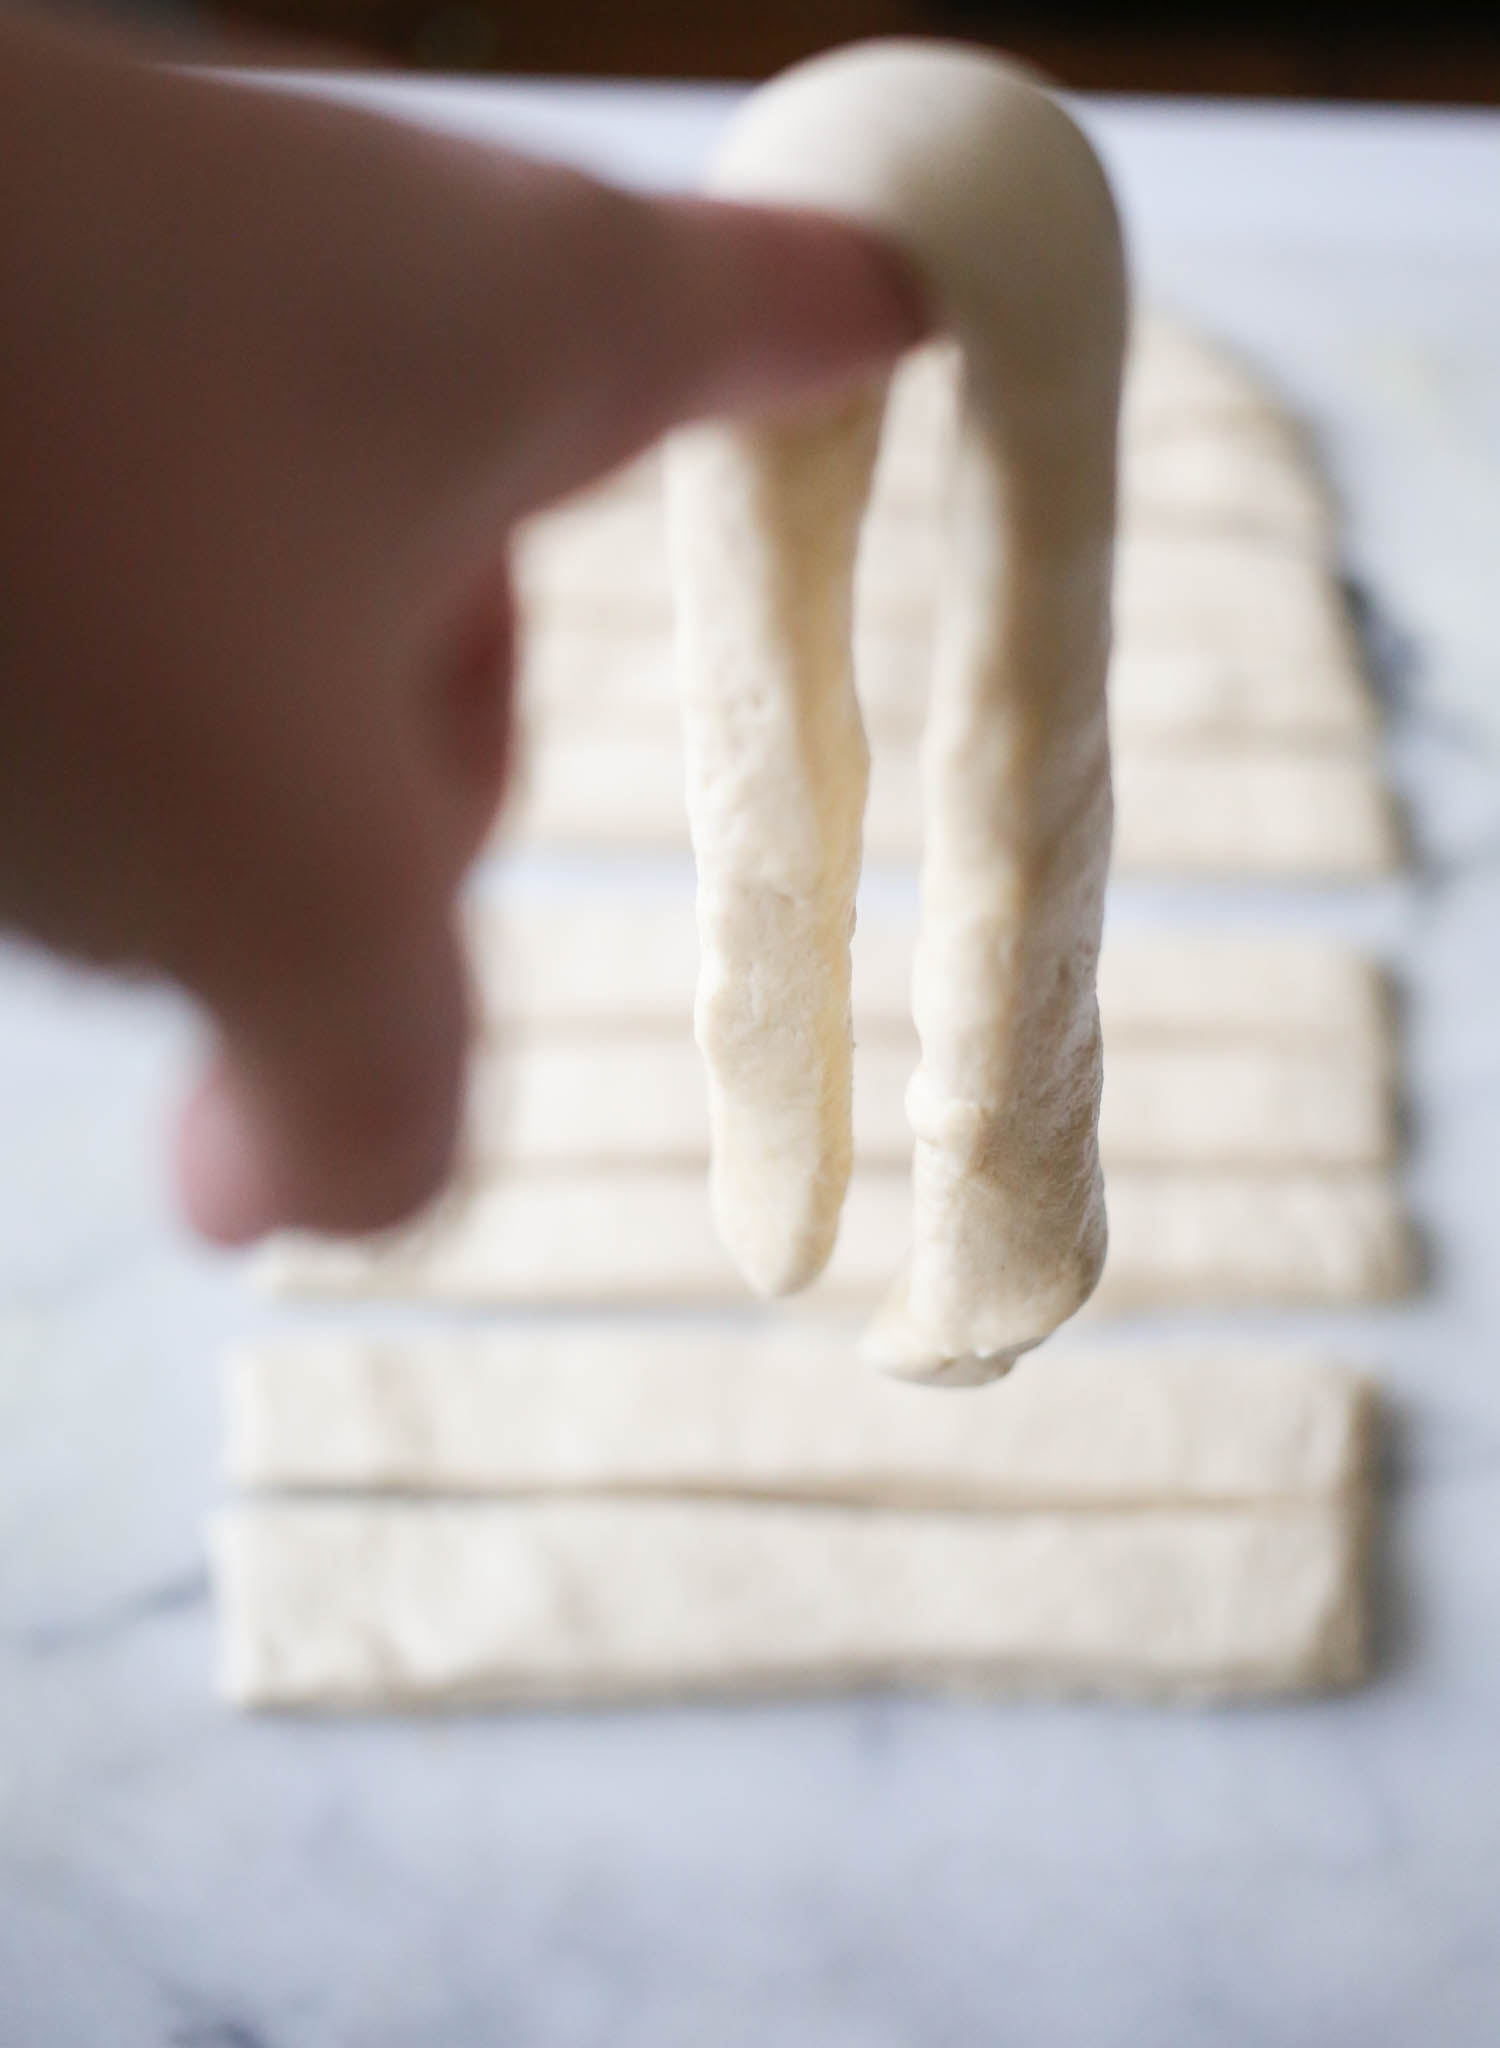
and twist the dough.
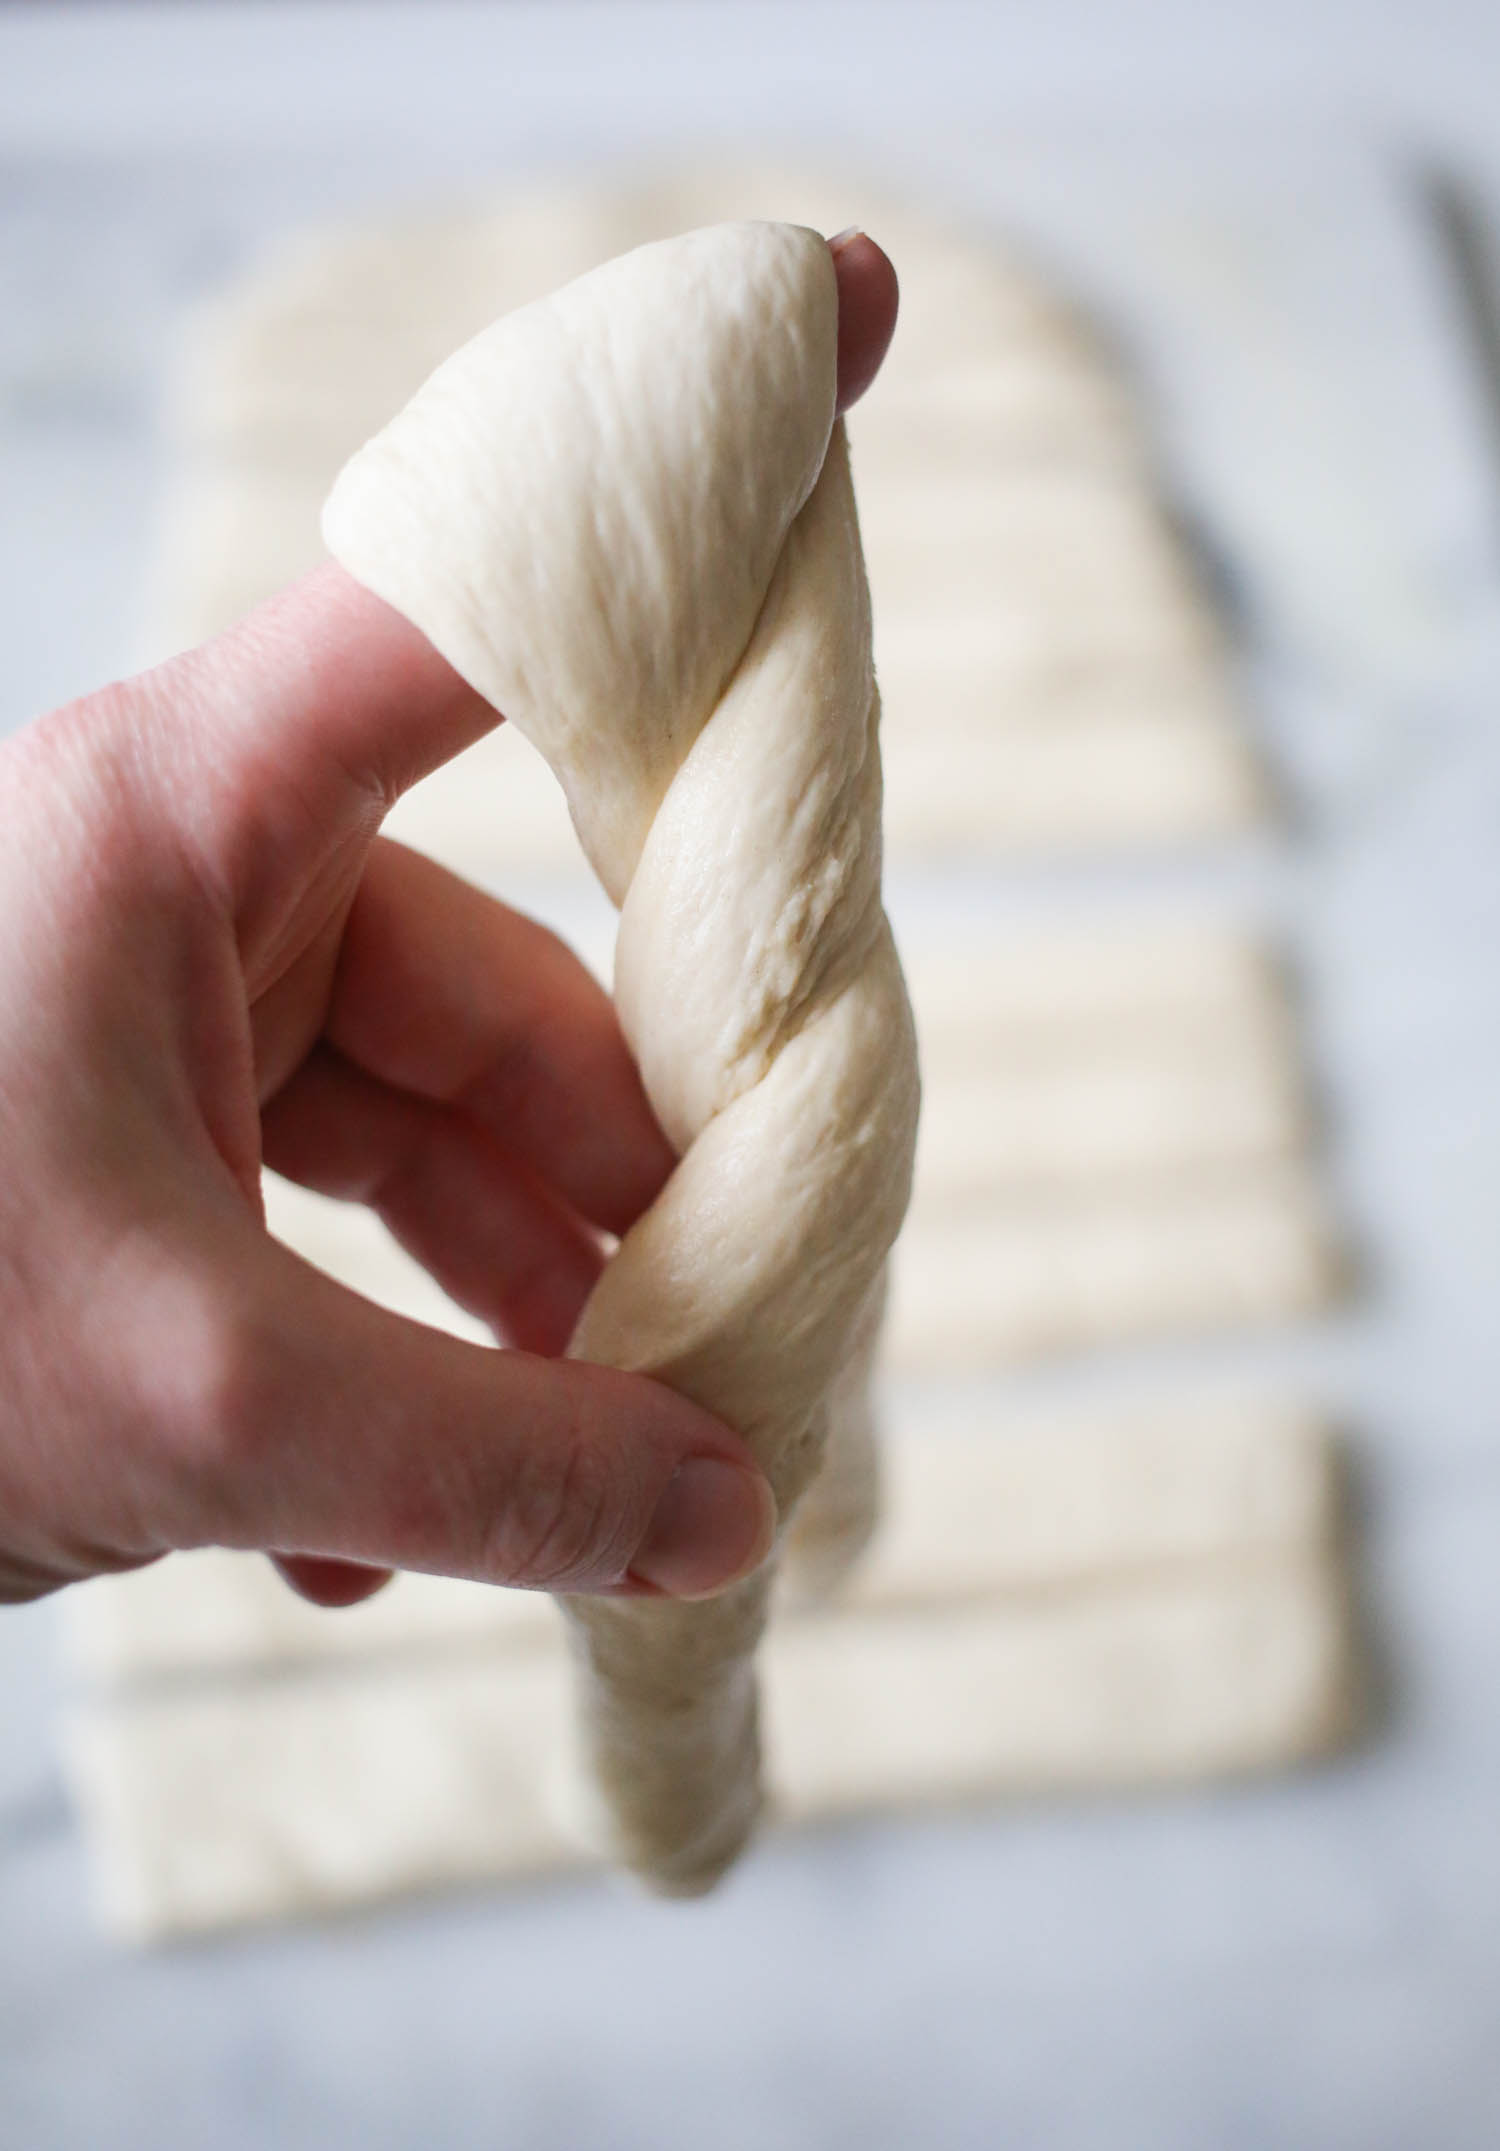
Place on baking sheet and repeat with remaining 11 pieces of dough. Try to space them evenly, but it’s okay if they’re close; pulling apart hot bread is one of life’s greatest pleasures!
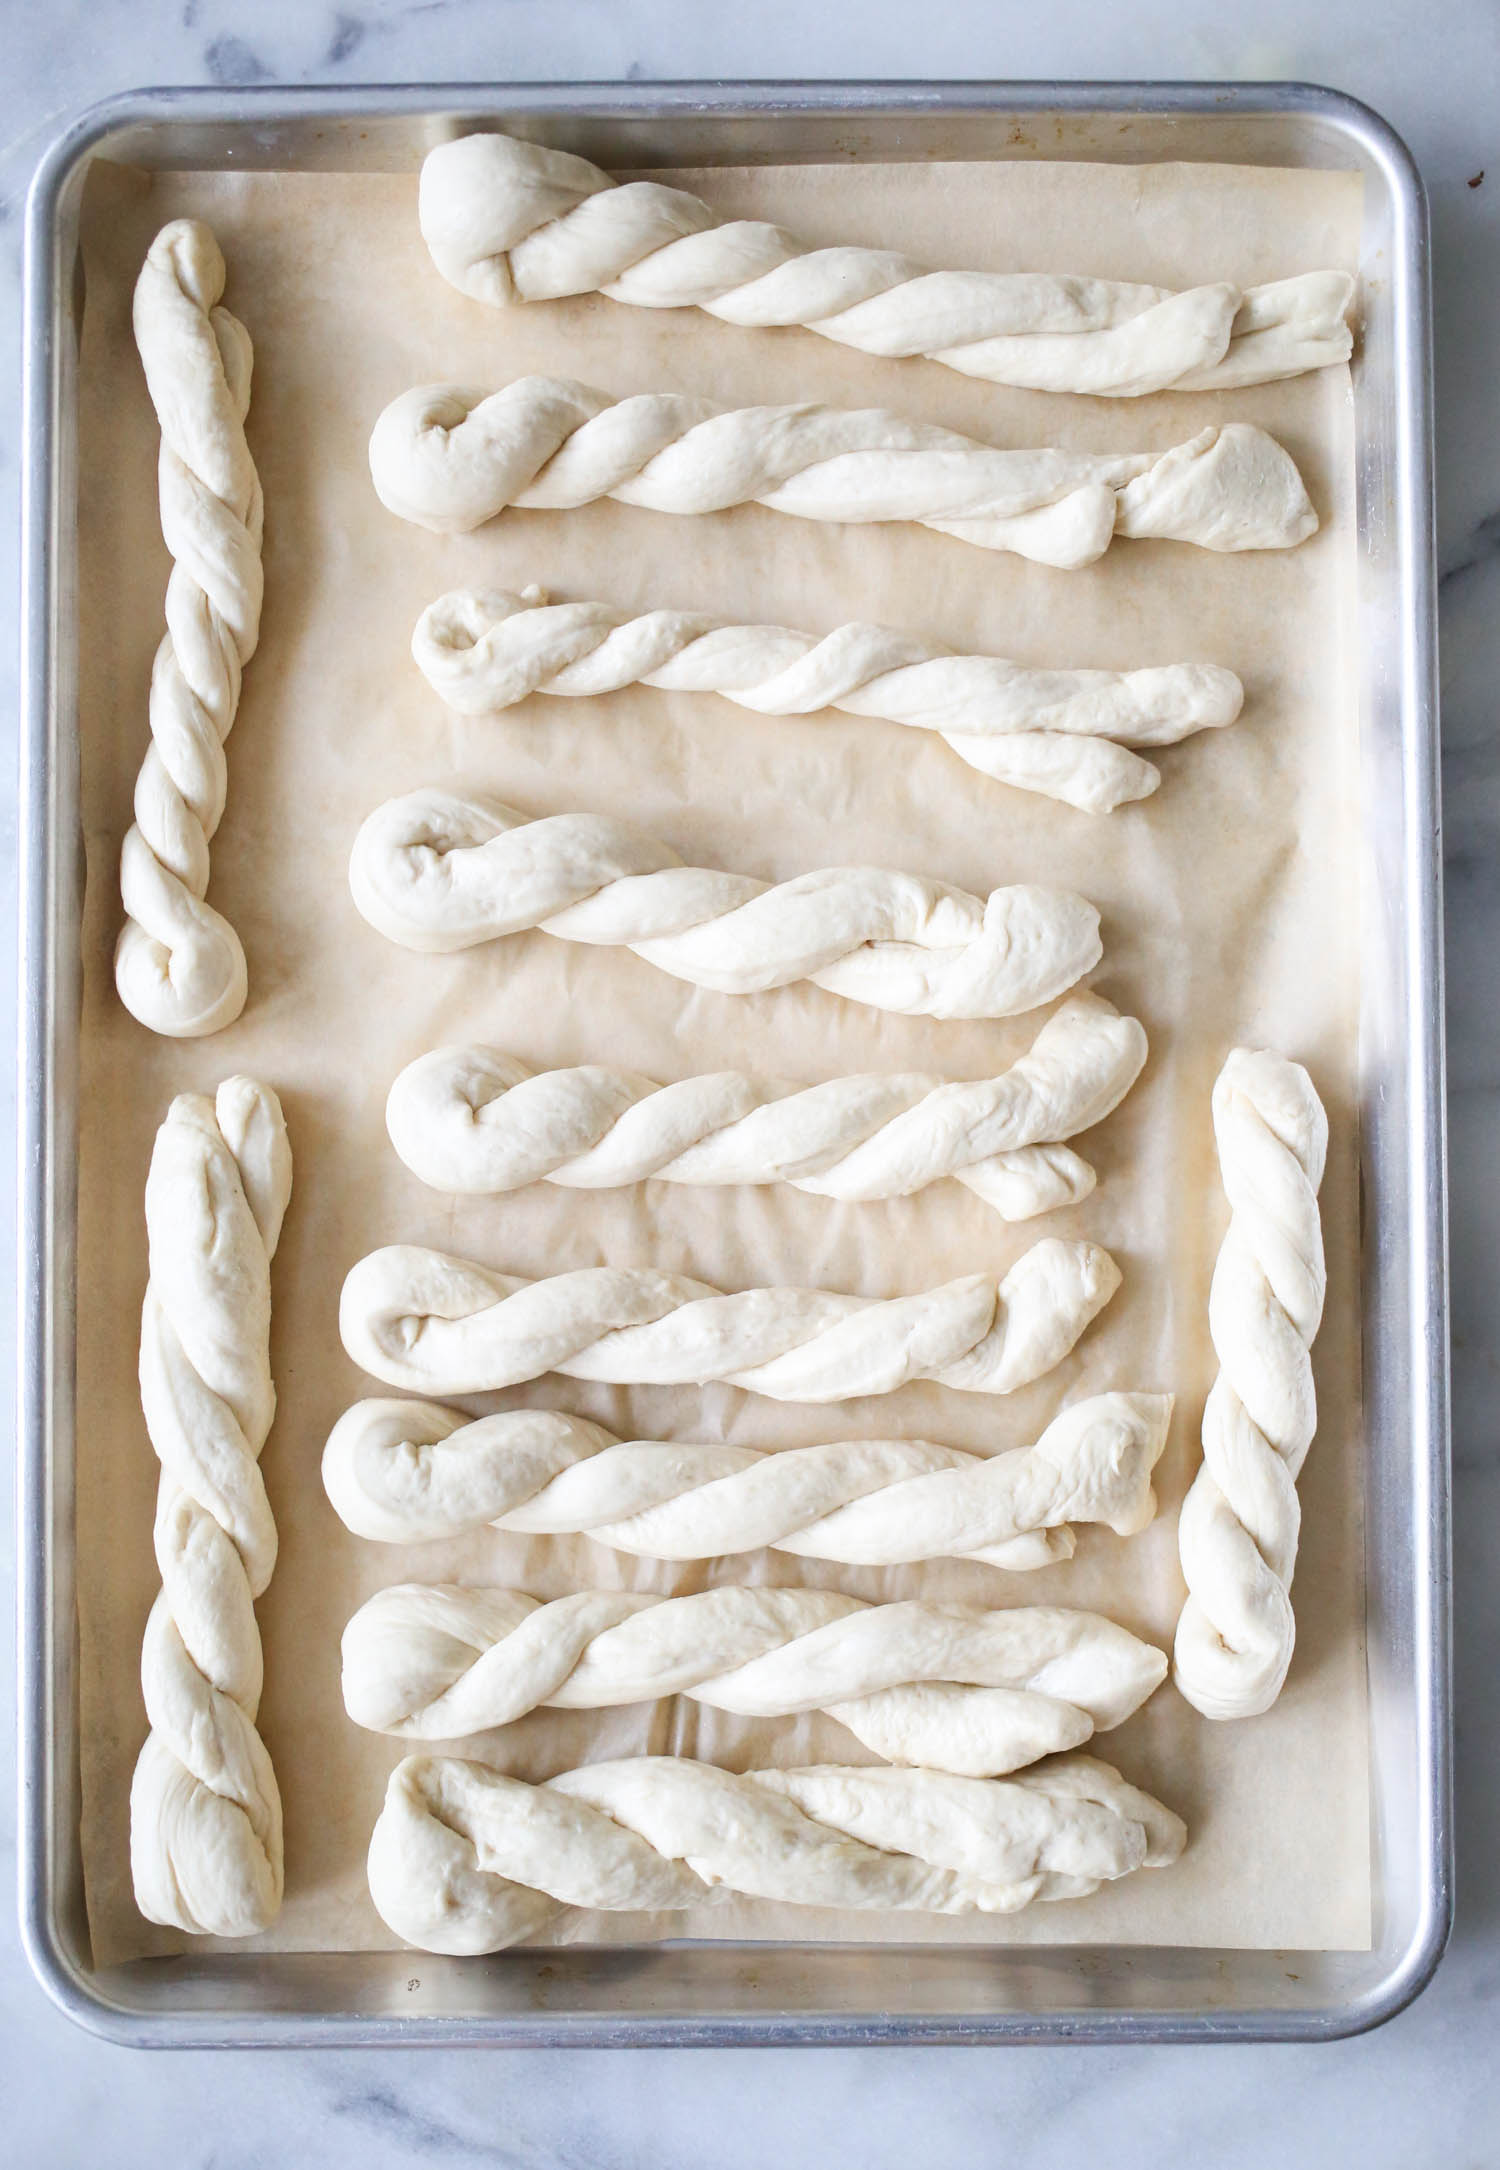
Cover pan and allow dough to rise for another 30 minutes.
When there’s about 15 minutes to go, preheat your oven to 425. When done rising, bake for 12-15 minutes (it will depend on your oven) or until golden on top.
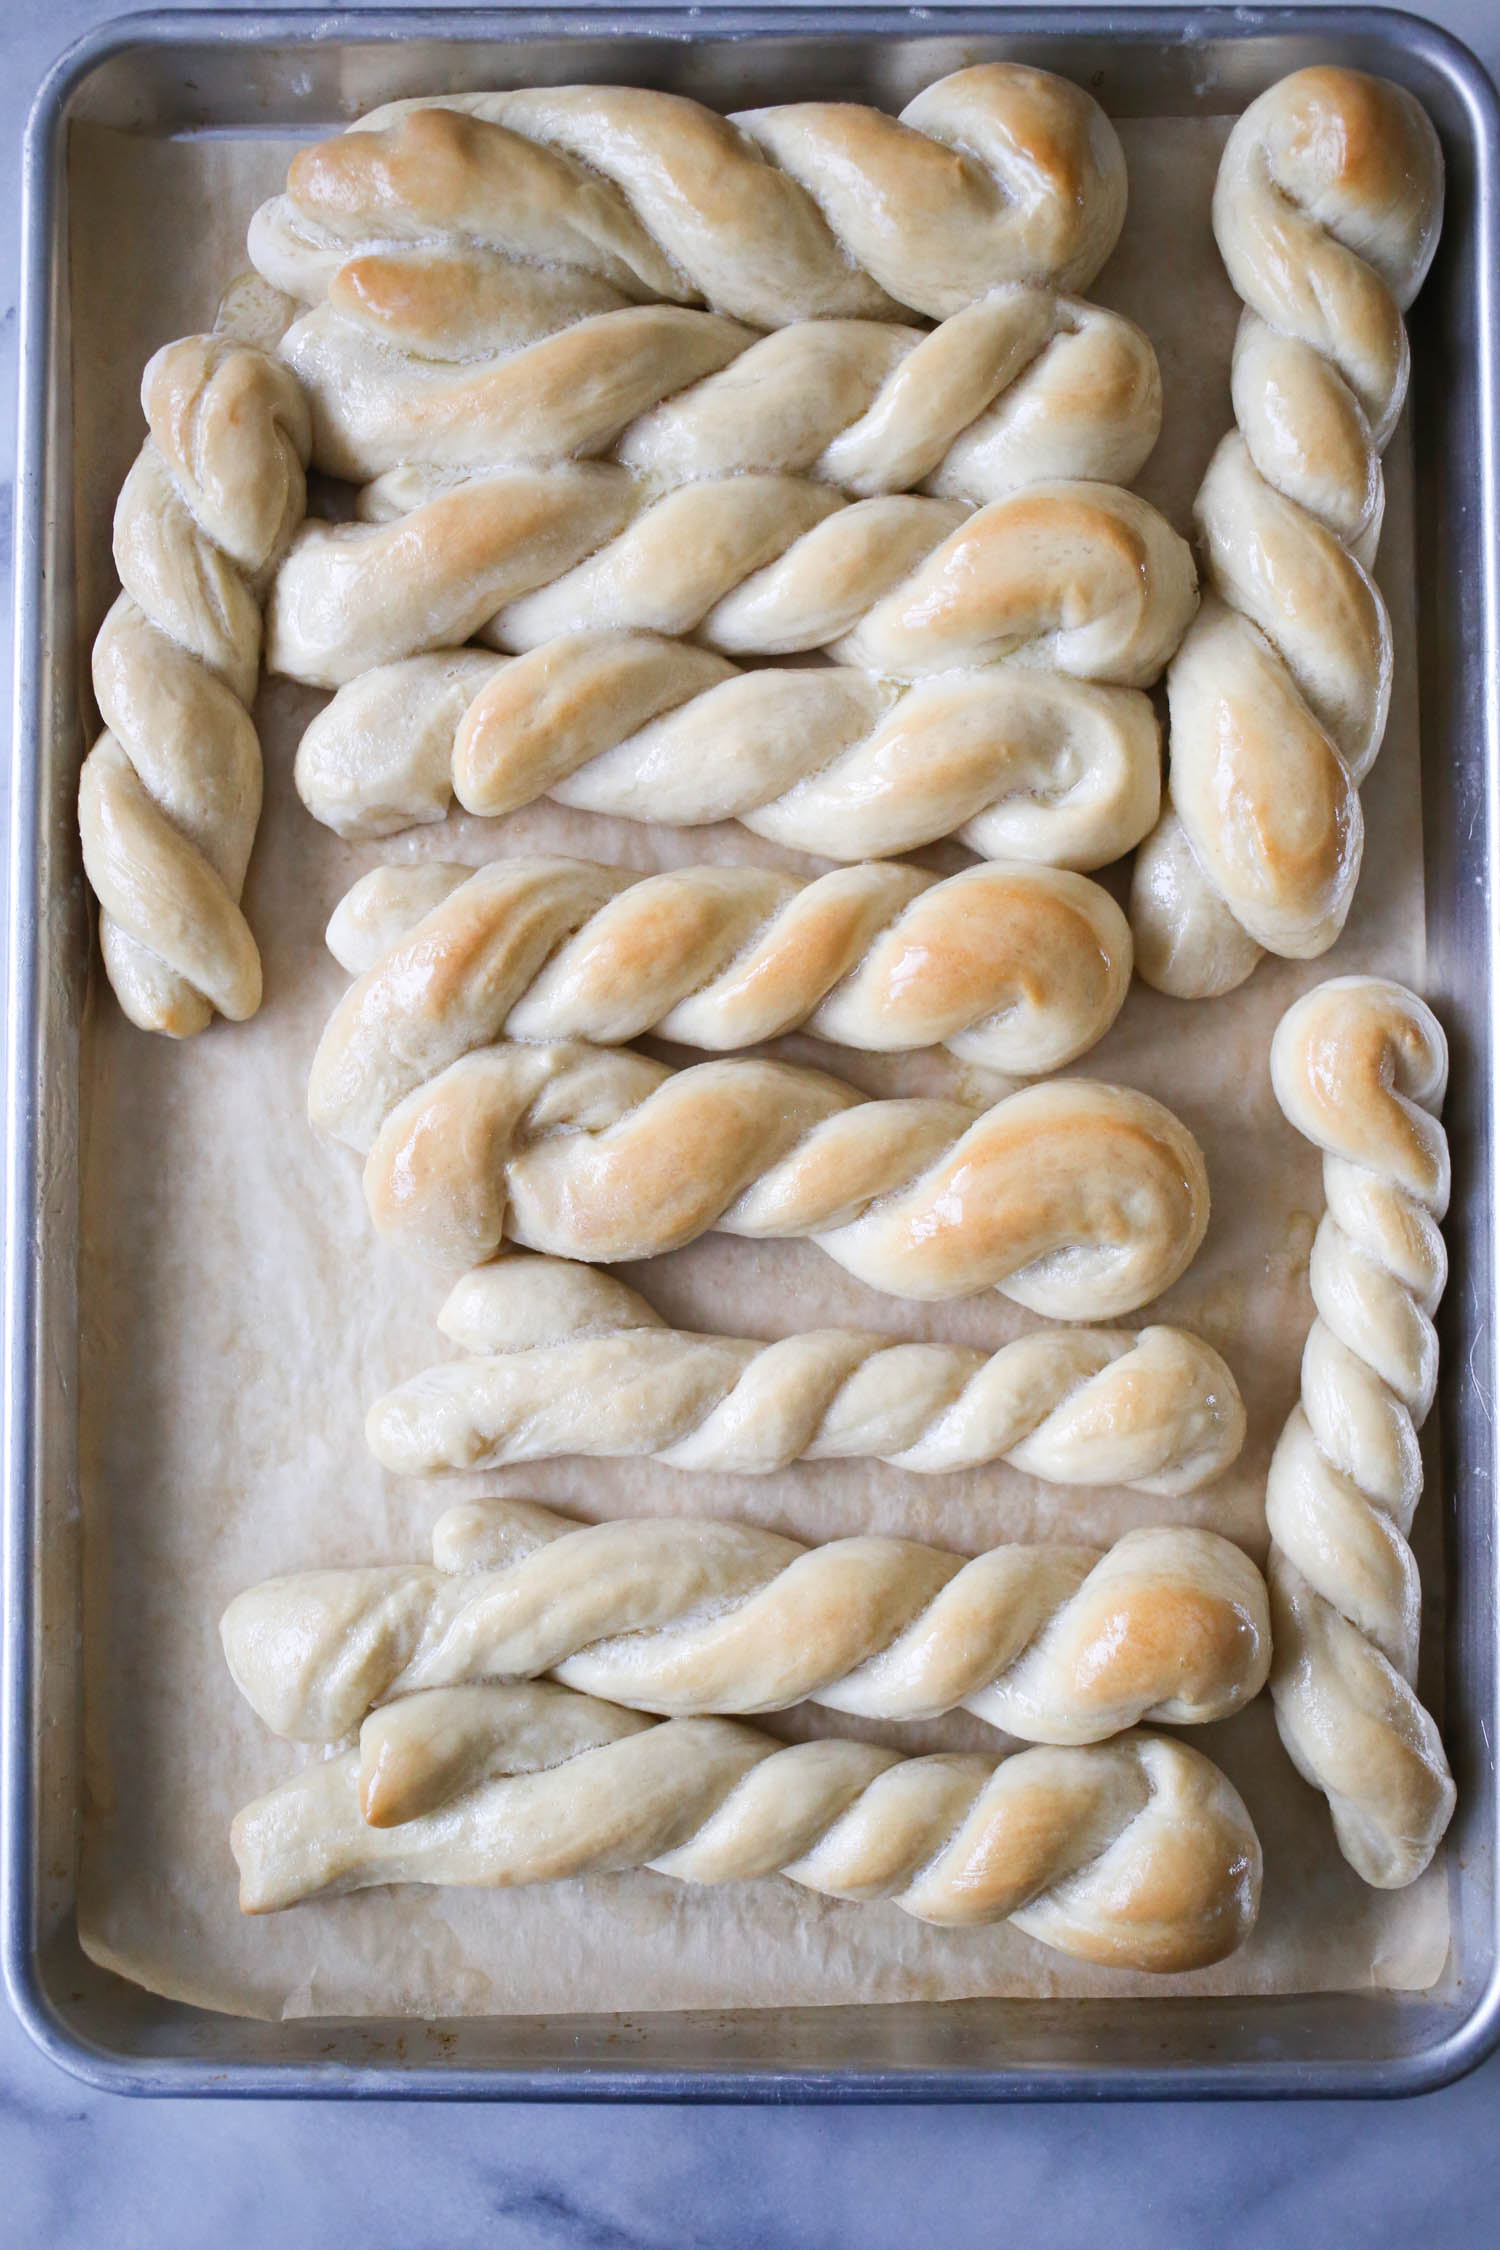
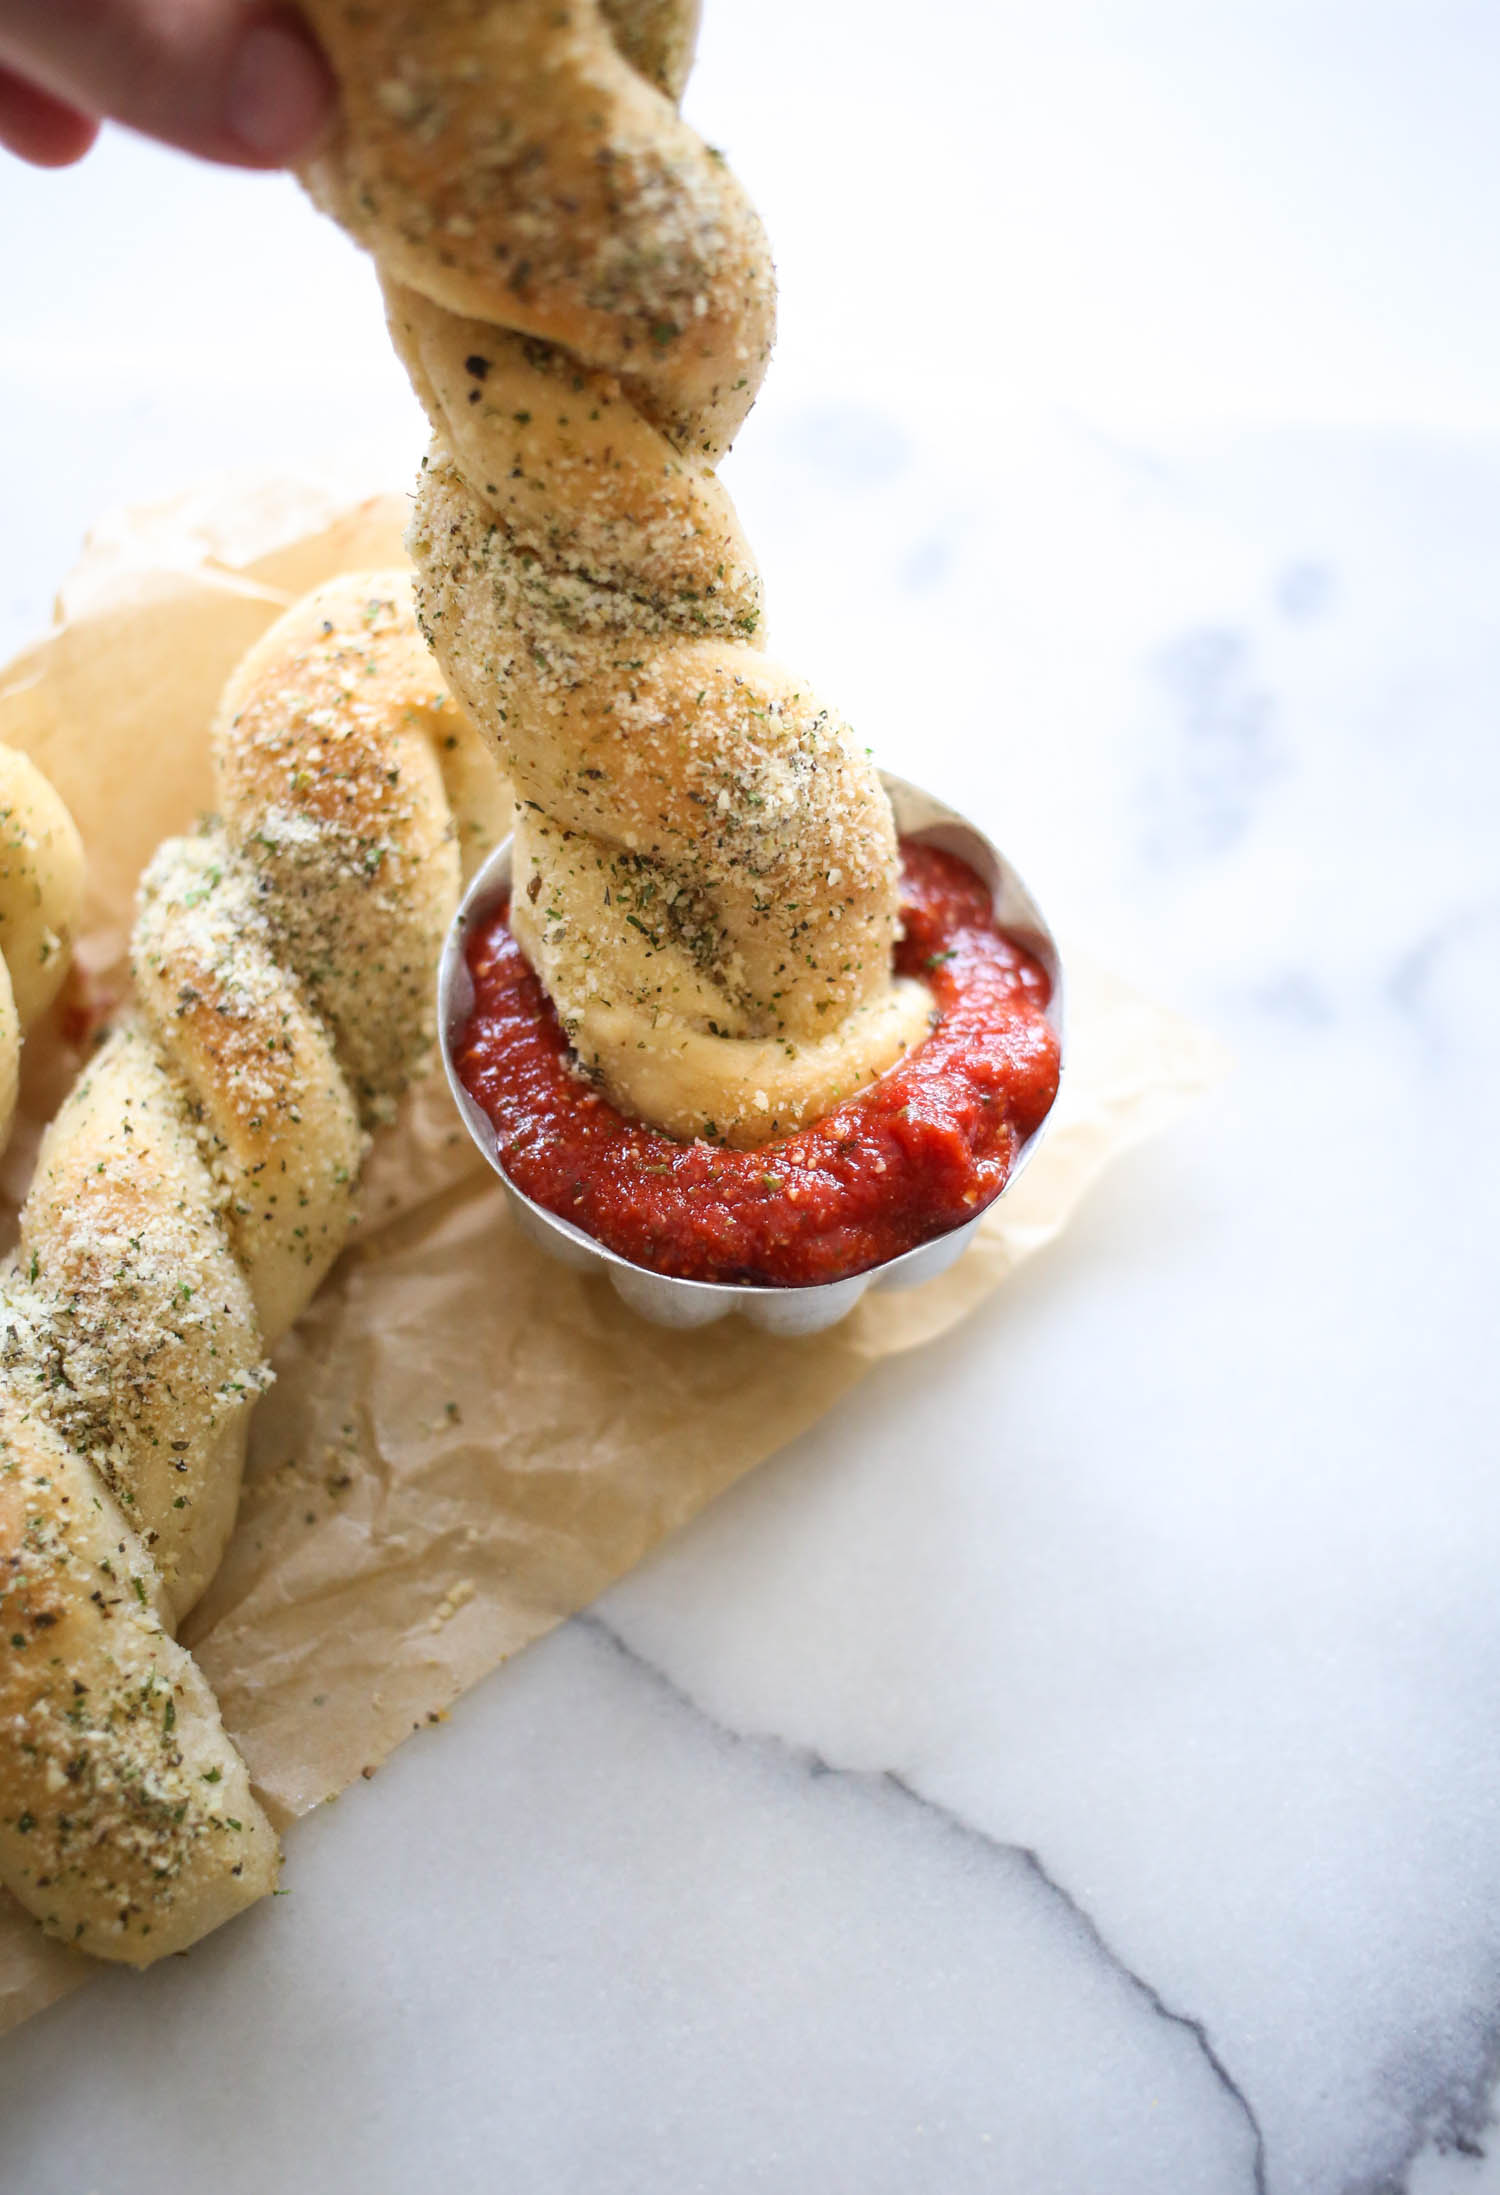
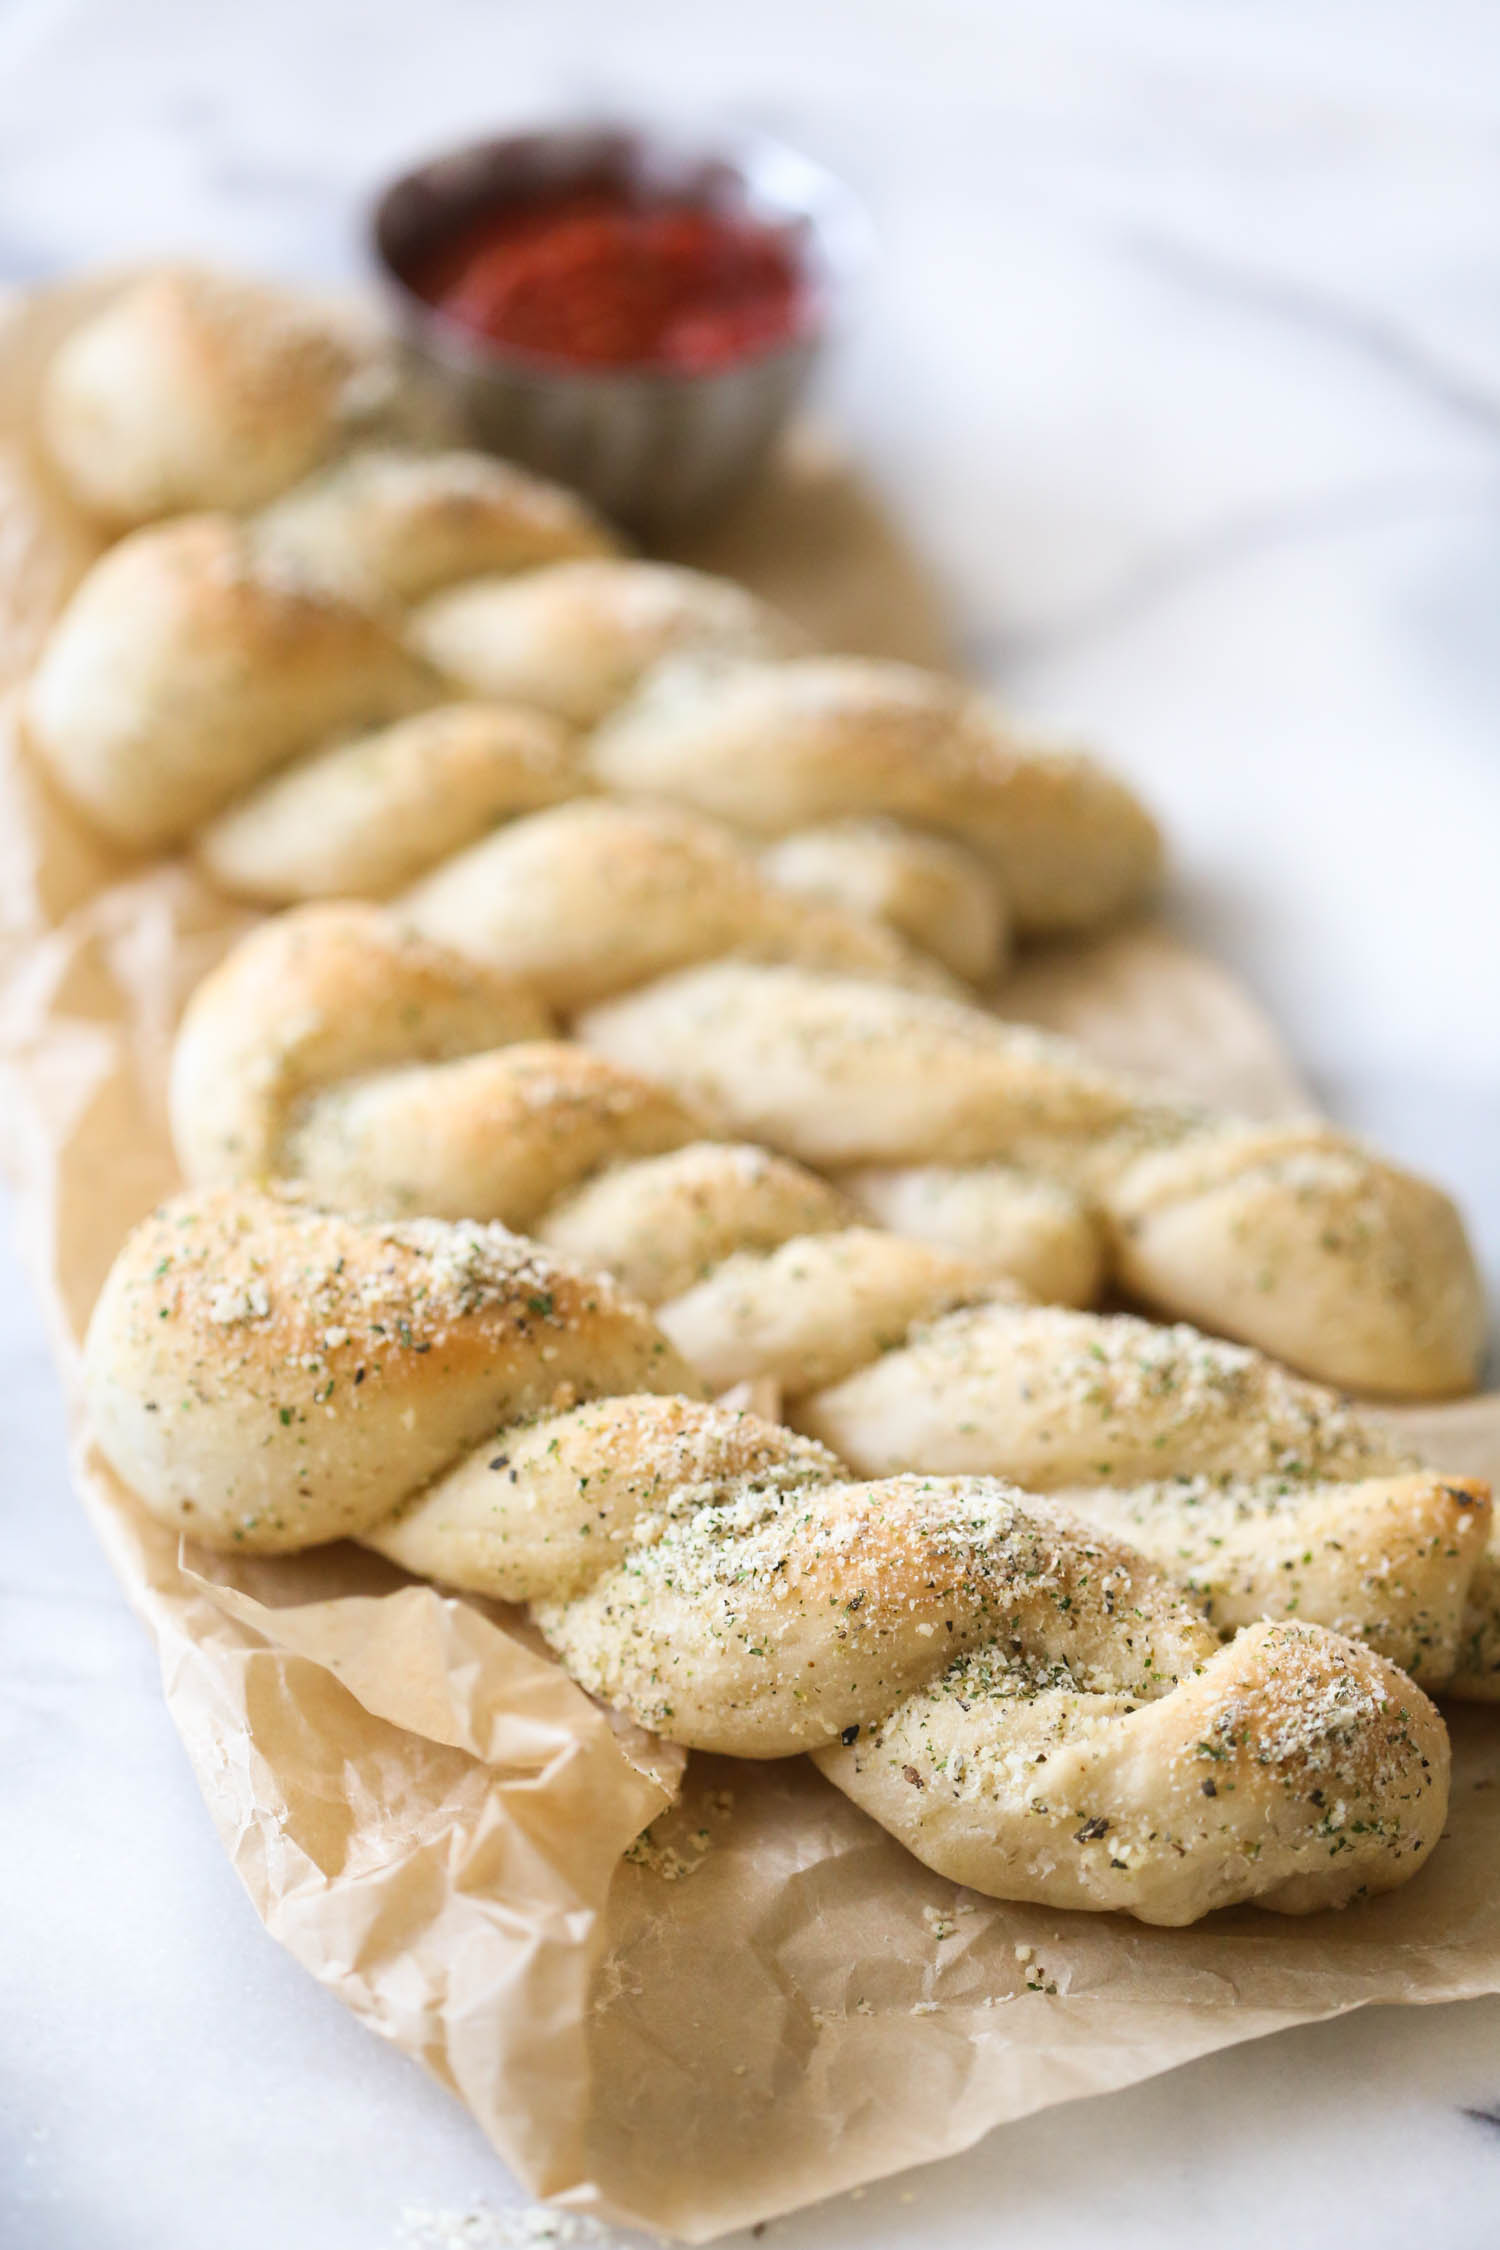
Rub some butter on top of the breadsticks (just put a ziploc bag on your hand, grab some softened butter, and have at it) and sprinkle with garlic bread seasoning
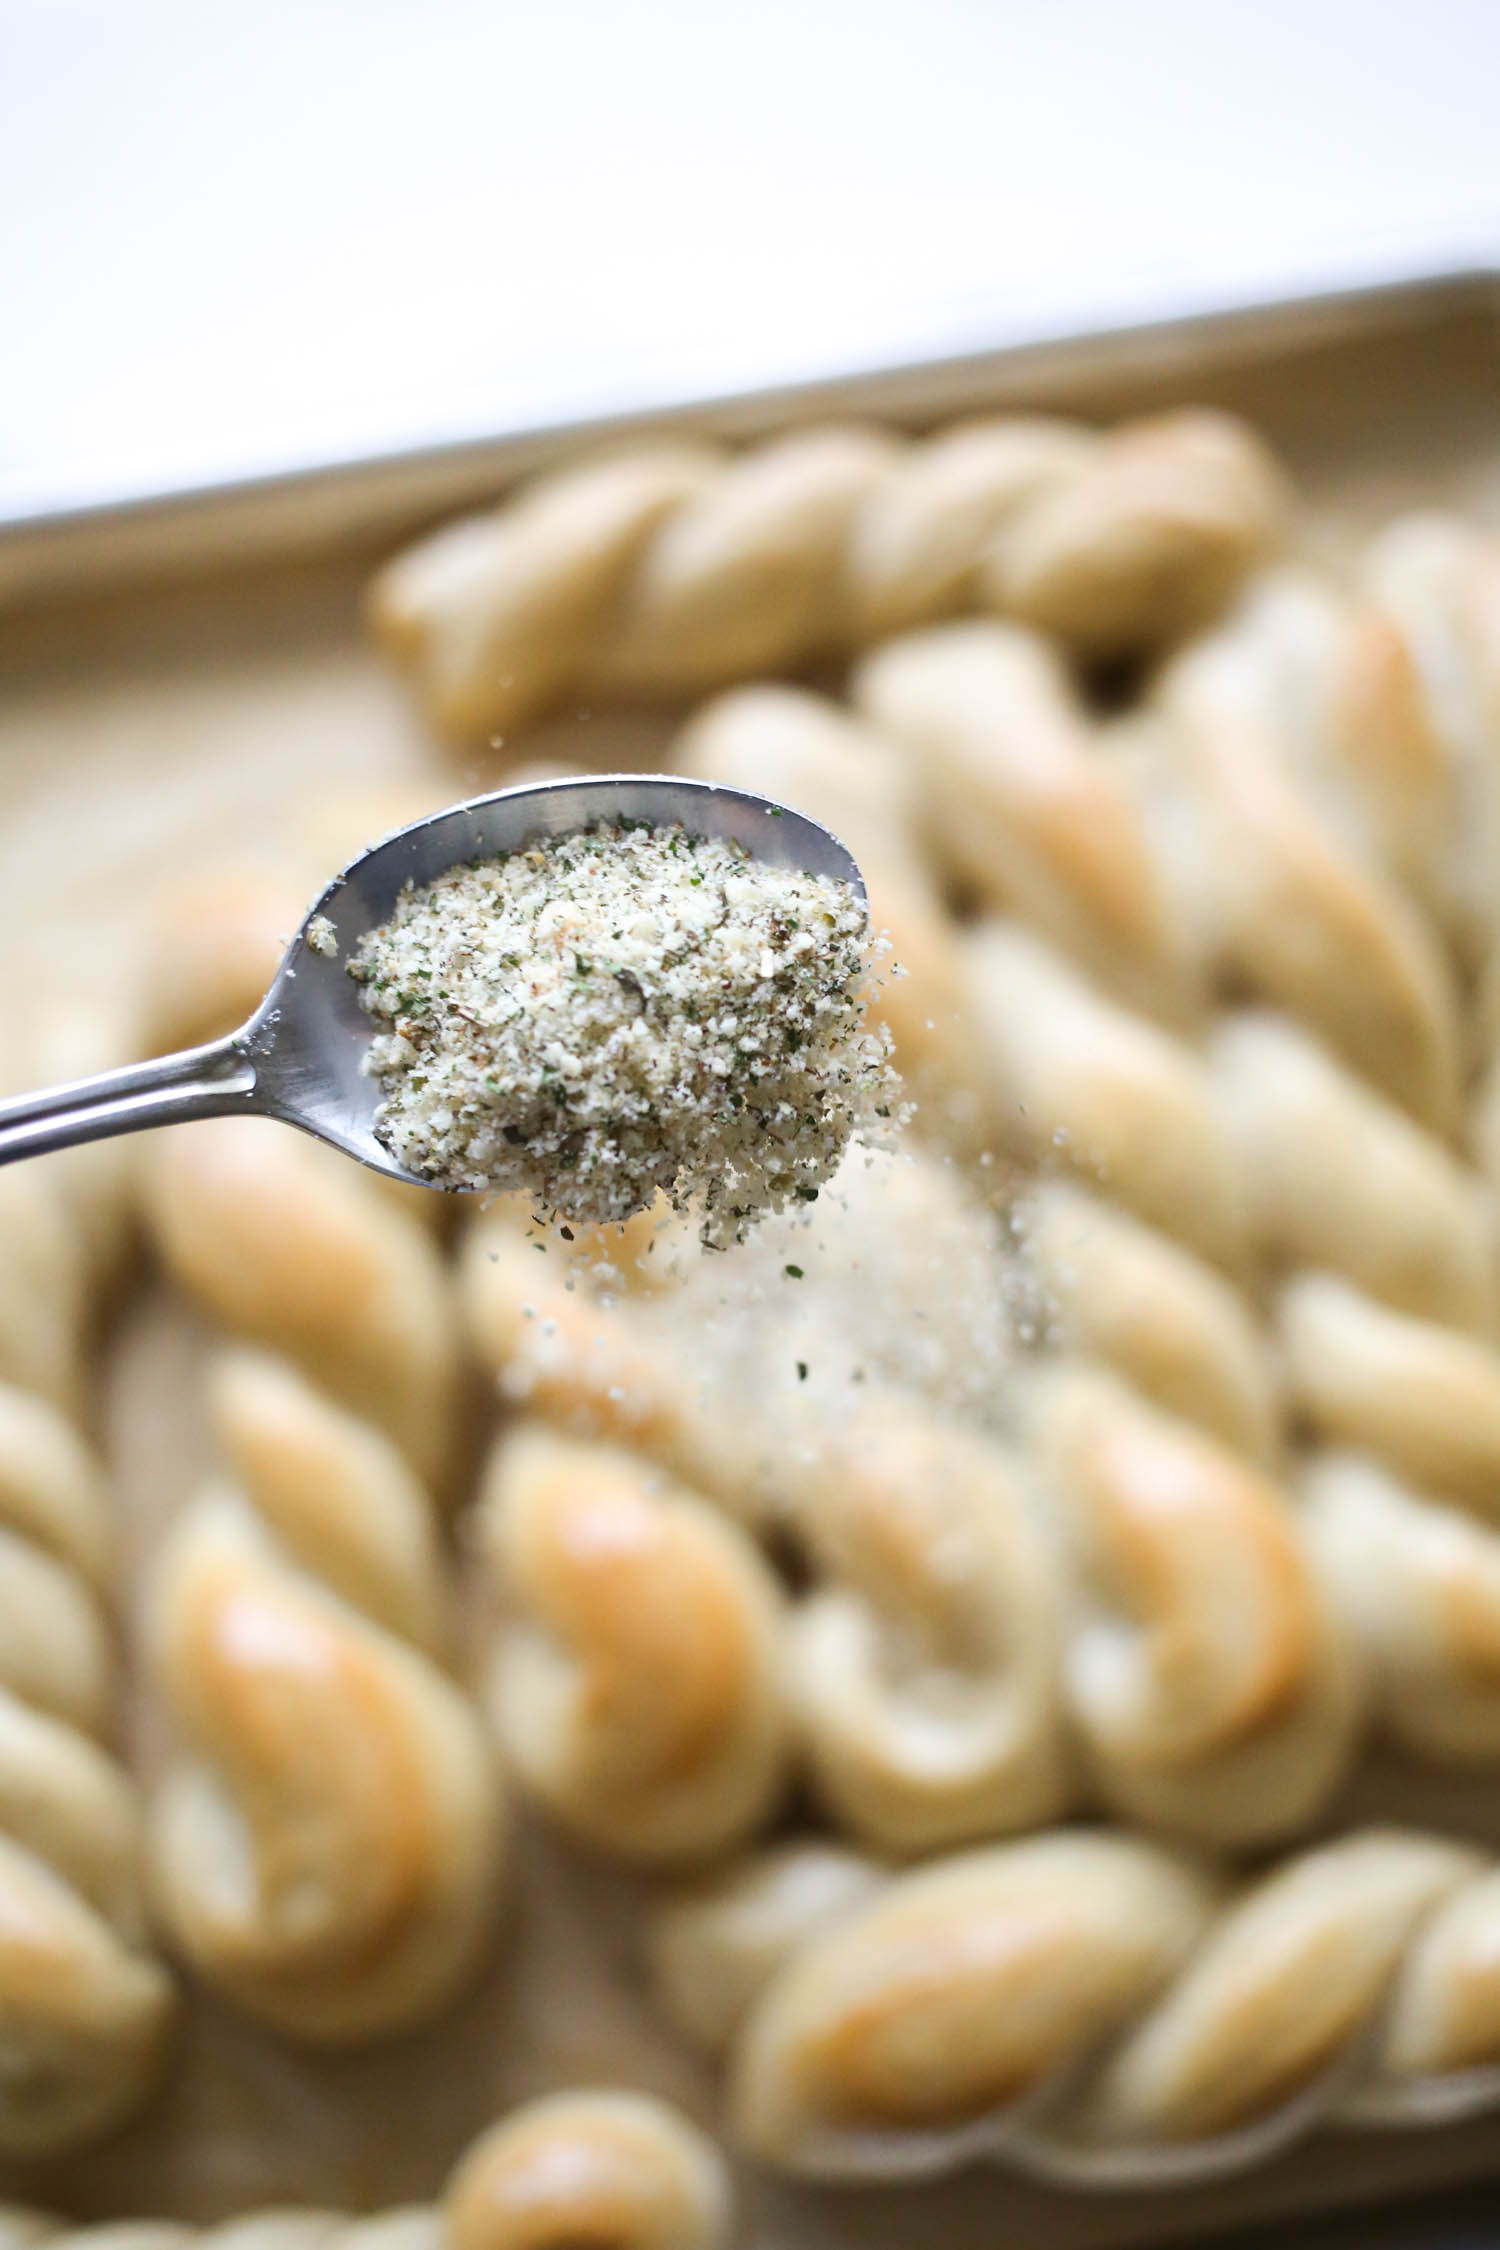
or the powdery Parmesan cheese in a can and garlic salt (or you could sprinkle them with cinnamon sugar. I did that once. It was awesome). If you’d like, you can serve with marinara for dipping.
They’re amazing hot, but I’m not gonna lie, they’re also pretty amazing at 11 pm when your kids are in bed and you’re pondering the meaning of life in the dark in the kitchen.

Breadsticks
Ingredients
- 1 ½ cup warm 105-115 degrees water
- 1 tablespoon sugar
- 1 tablespoon yeast
- ½ teaspoon kosher salt
- 3-4 ½ cups all-purpose flour
- Butter
- Garlic Bread Seasoning
Instructions
- In a large bowl (the bowl of your mixer, if you have one), combine water, sugar, and yeast. Let stand for 10 minutes or until yeast is bubbly.
- Add salt and stir. Add 1 1/2 cups of flour and mix well. Gradually add more flour (usually between 3-4 cups, depending on your elevation and your humidity) until dough starts to pull away from the sides of the bowl and it barely sticks to your finger.
- Cover and allow to rise for 45 minutes or until doubled in bulk. While the dough is rising, line a baking sheet with parchment and set aside.
- Remove from bowl and place on a surface sprayed with cooking spray. Roll into a rectangle and cut into 12 strips with a pizza cutter.
- Roll out each piece of dough into a snake about 18″ long, then drape the middle of the “snake” over your forefinger and twist the dough. Place on baking sheet and repeat with remaining 11 pieces of dough. Try to space them evenly, but it’s okay if they’re close; pulling apart hot bread is one of life’s greatest pleasures!
- Cover pan and allow dough to rise for another 30 minutes.
- When there’s about 15 minutes to go, preheat your oven to 425. When done rising, bake for 12-15 minutes (it will depend on your oven) or until golden brown. Rub some butter on top of the breadsticks (just put a ziploc bag on your hand, grab some softened butter, and have at it) and sprinkle with garlic bread seasoning or the powdery Parmesan cheese in a can and garlic salt.
Notes
Serving suggestions:
- Omit garlic bread seasoning and sprinkle with cinnamon sugar; dip in cream cheese frosting
- Serve alongside homemade pizza sauce for dipping


Questions & Reviews
I don't remember how I came across a link to your blog but have made a handfull of your recipes and think you both are amazing!! Everything I've made has turned out de-lish. I read your 'about me''s and nearly cried recognizing I was not the only Western Girl living a transplant life here in Louisiana, ha ha. I recently posted this breadstick recipe on my blog (along with many praises to your site) hope that's okay 🙂
These are great!!! I think what made them so wonderful was the garlic bread seasoning (which I also used your recipe for!!). Thank you!!!
I hope you don't mind, but I posted about them on my blog!
http://tinyurl.com/kkwxtw
I had to update… So, I finished the stix and if you want to know if I thought they were delicious, all I can tell you is I just ate four of them…almost at once I think. Will definitely be making these again, but next time I might take Lisa's suggestion of sprinkling some Mozz over the raw dough…that sounds dangerous!!
Wow…these look awesome!! Just stumbled across your site from a random link to the stuffed pizza rolls, and I gotta say, you've got a LOT of quality recipes!! I'm waiting for the oven to heat up to put in the breadsticks I just twisted up myself, mmmMMM!! I followed your dough recipe to the T and everything went as planned. Just wanted to say thanks…from a new reader…and what appears to be the only guy reading this site, lol 😉
I used this recipe for pizza crust and it was great! Now I’m making breadsticks and realized that there’s no kneading involved. Is that right?
These are great! I used the recipe to make coiled bread sticks for my son’s birthday party; they were called a “basket of coiled snakes”. A huge hit!
Tried ’em. Loved ’em. Will make ’em again. I love the cinnamon sugar suggestion! The garlic seasoning you suggested was good, too. Thanks!
I was perfectly happy with my old breadsticks until I tasted these. They are AWESOME! Especially with the Garlic Bread Seasoning. I made them with half whole-wheat flour this last time and, although not quite as light and fluffy, they were still very good. Thanks for the fantastic recipe!
I made these tonight along with guiltless alfredo. Thank you so much! My hubby loved it. I used bread flour and instant yeast and they turned out great. Next time I will have to try them with the seasonings…..
Veaters (I’m guessing that’s not your first name! 🙂 )–
Yeast can be tricky! I can’t say for sure what the problem was, but I’ve noticed that yeasty taste sometimes when I’m initially activating the yeast with the water and let it go a little (or a lot… 😉 ) too long. Is your yeast fresh? That could explain the problems rising and the yeasty taste, too.
I’ve mentioned it before, but I really like to use bread machine yeast because it’s less moody than regular yeast and it puffs up better with less effort on my part.
Anyway, hope that helped! If you try them again, let us know how they worked out! 🙂