For the base of your lip gloss, you’re going to need coconut oil, beeswax, and Vitamin E (I just got the capsules).
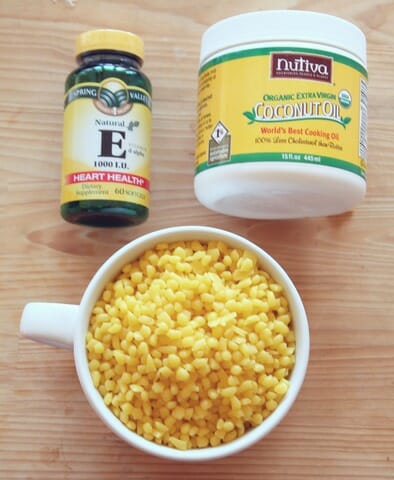
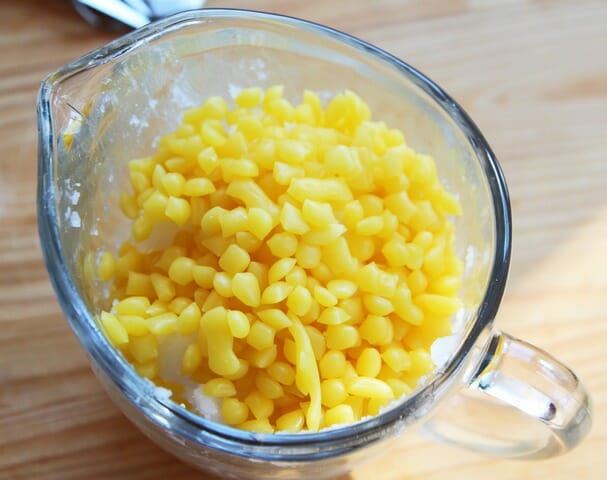
Beeswax. You can get it at craft stores like Hobby Lobby or Michael’s, but it’s generally sold in chunks, which will need to be grated. You can also get pellets like these ones which will make your life easier.
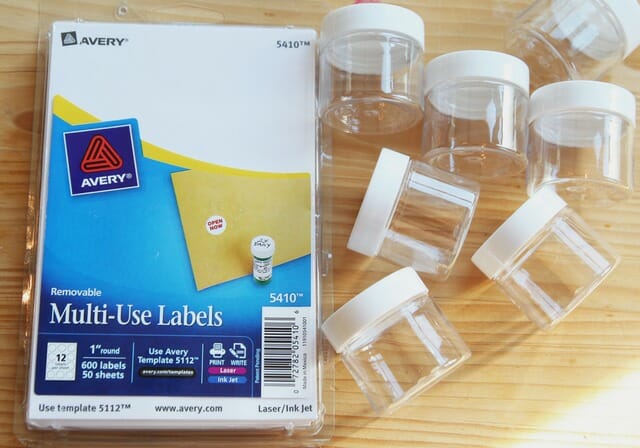
You’ll also need some kind of container and, if you want, labels. I used 1″ round Avery labels and these 1-ounce plastic jars,
but this site has a ton of fun lip balm containers and they’re not sold in lots of 10 million, which is always a bonus for those of us who don’t need 10 million empty lip balm containers. I wouldn’t recommend going any larger than 1 ounce–that’s a lot of lip gloss.
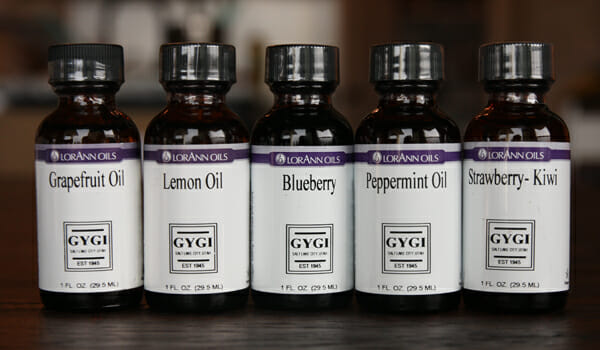
You’ll also need something to flavor your lip gloss with. I used candy flavor oils like these ones from Orson Gygi. They have SO many yummy flavors to choose from: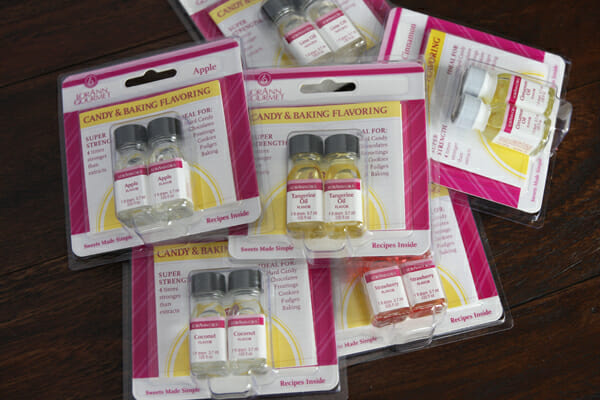
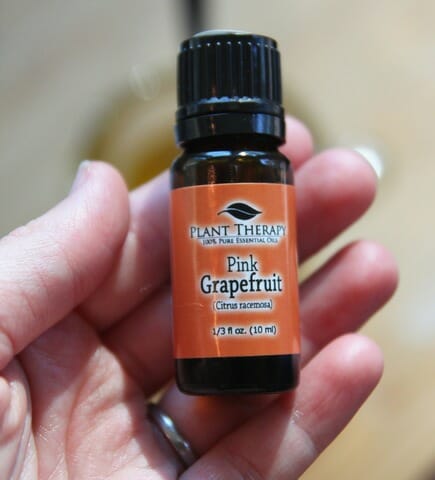
and also used different essential oils.
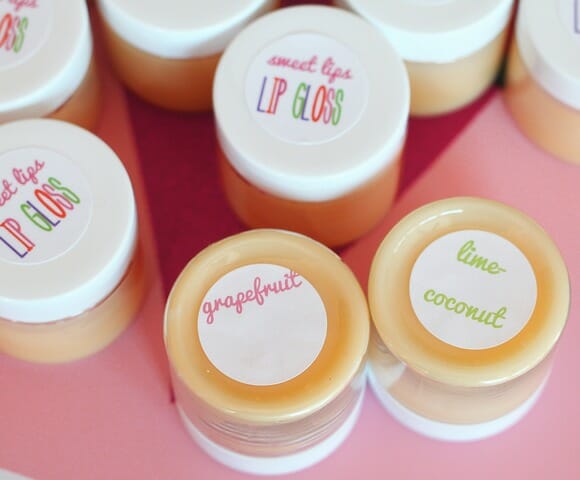
One of the funnest things was playing around with different flavors. I made coconut-lime because (shocker) that is my all-time favorite (and because when the late January doldrums set in, that’s my go-to smell to get me out of them) and grapefruit. Not with the coconut-lime, just by itself. Fun Kate fact: I hate grapefruit and grapefruit juice, but I love all things grapefruit-flavored. But seriously, the sky’s the limit when it comes to combinations.
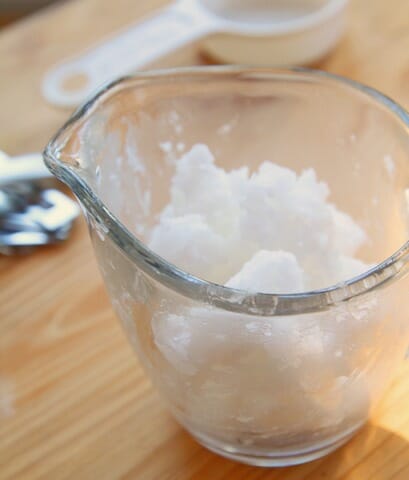
Place the coconut oil in a 1-cup glass measuring cup (you can get one for, like, $2 at Target or Walmart that you use only for lip gloss making)
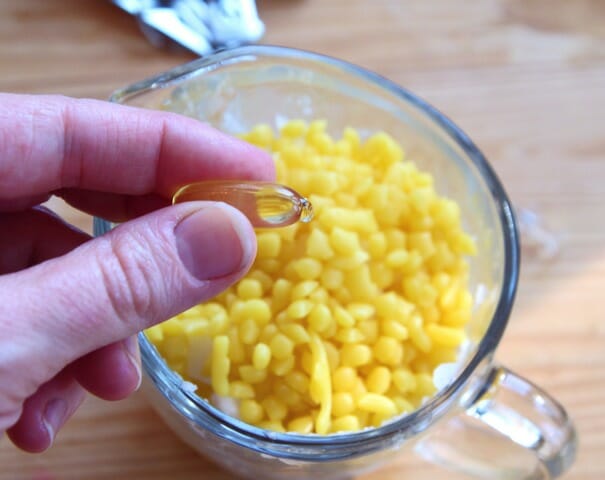
and then add the beeswax
and prick a Vitamin E capsule with a push pin and squeeze the oil into the measuring cup.
Heat the measuring cup for 30 seconds at a time, stirring well after each heating (I just used a plastic straw so I could throw it away when I was done) until everything is completely melted (in my microwave, it took about 90 seconds-2 minutes). Now…if you want to make a couple of different flavors from this batch, you could pour some of it into another couple of spouted heat-safe cups and add the oils separately, or you could just flavor the whole batch. For me and my oils and flavors, I ended up needing about 40 drops of grapefruit oil and 17 drops of coconut along with 8 drops of lime flavor. Keep the following things in mind:
- Some flavors are stronger than others–you might need to adjust how much oil you end up using.
- Flavors like vanilla, coconut, etc. are going to be milder than flavors like citrus, cinnamon, and mint, so keep things balanced.
- Dab a little of the liquid mixture onto your lips, but keep in mind that the flavors will get stronger after the lip gloss solidifies.
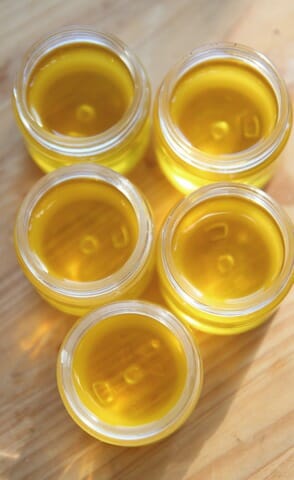
After you’ve mixed your flavors, pour them into your empty containers
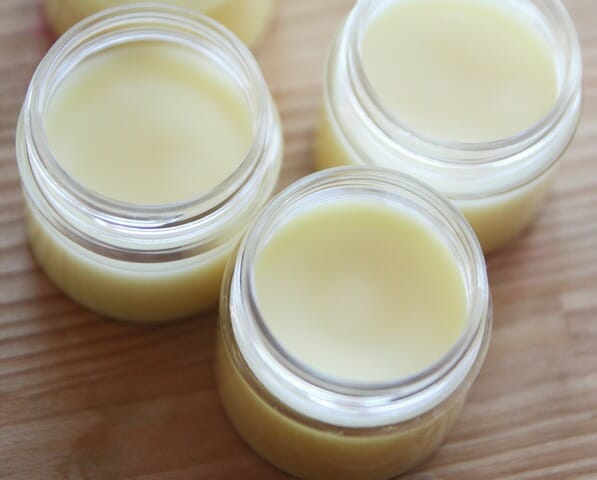
and let them cool to solidify (about 15-20 minutes).
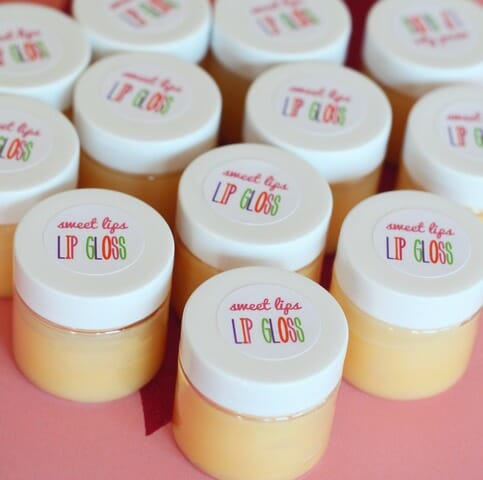
I made these labels to go on top:
Now…you totally could be using a different-sized container, but if you do use a container that has a lid that’s 1″ or bigger (square or round) and want to use these labels, click HERE and then use a 1″ Avery label, square or round, that’s on a 4×6″ sheet (my labels were Avery 5410); just set the paper size on your printer properties for 4×6″ paper.
For the bottoms, you could either print out the flavor or hand-write it and stick it on the bottom.
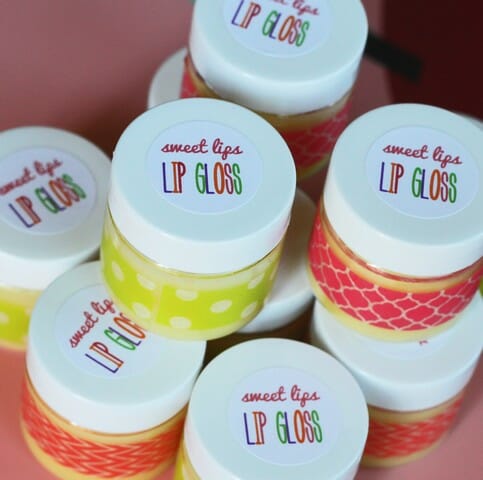
You could give them away like this or you could dress them up a little more with some cute washi tape:
This “recipe” makes 8 1-ounce containers or more smaller containers (you’ll have to do your own math there…)
Homemade Natural Lip Gloss
By Our Best Bites
Ingredients:
3/4 cup + 1 tablespoon coconut oil*
3 tablespoons grated beeswax or beeswax pellets*
1 1000 I.U. capsule of Vitamin E
25 drops of flavor oils or 40 drops of essential oils (add more or less if necessary)
*If making this lip gloss in tubes, use 3/4 cup coconut oil and 1/4 cup beeswax.
You’ll also need…
Dropper (like this)
1-ounce or smaller jars, tubes, or tins
Labels (optional)
Washi tape (optional)
Instructions:
In a microwave-safe glass container with a spout, combine the coconut oil and beeswax. Heat on high for 30 seconds at a time, stirring after each heating, until the beeswax completely melts. You can either flavor all the lip gloss one flavor or pour the mixture into a few smaller containers and mix up smaller batches of different flavors. After you’ve added the desired flavors, pour the mixture into jars, tubes, or tins and allow to cool completely. Decorate as desired.


Questions & Reviews
Good and easy recipe. Been wanting to make some for me and the grandkids. I just don’t understand why you need a seperate measuring cup and stir with a straw so you can throw away and then we are going to put the end result on our lips. That doesn’t make sense to me but maybe I am missing something. If I am going to put it on my lips in the end then I would consider it food grade? Right?
Please DO NOT use vitamin E capsules … I guarantee your lip gloss or balm will go rancid. Instead, usable a soluble in oil vitamin E oil such as this one:
https://www.amazon.com/VITAMIN-SOLUBLE-TOCOPHEROLS-ADORABLE-AGING/dp/B00GWUBLZK
I’ve been making handmade soaps and skin products for over 15 years. Please trust me on this one.
Love This Recipe i’m definitely gonna try it out
Love it! This was so helpful. I made some and it turned out great. It was really easy. I can not wait to give as gifts. The girls in my family are addicted to chap stick. They do not leave home without it. Thank you.
Hi, can you use vitamin E oil instead if the capsules? If so, how much vitamin E oil will I need? Thanks!
Yep! You’re just opening the capsules and getting the oil out, so if you have the oil handy, go for it! 🙂
Thank you sharing! I wanted to know how long do they last once they are poured into containers?
Thank you
Corinne
I would say 6 months-1 year. 🙂
Love it! Me n my mom made it a few times and I think it will run great for my business thx! ???
I love this Idea! Me and my mom are gonna make it so soon! Can’t wait thanks for the recipe!
Looks like a fun recipe to try but I would switch to a double boiler perhaps if you want it to be healthy. Microwaves add radiation and completely destroy those wonderful healthy fats in the coconut oil: (
I just wouldn’t pay the extra $$ for healthy ingredients and then ruin then in the nuker know what I mean?! All said in love….
I think this project will be perfect for my daughter’s 10th birthday sleepover! However, I’m torn on what size container(s) I should buy! The 1 oz. pictured looks so large, yet I can’t seem to find anything more than 1/4 oz! Help!! What/where can I go?
Definitely take a look online, I’m sure you can find any size you want there 🙂
I can’t get it to solidify.
How many lip balms does this make, roughly?
What fun! Have a friend with “princess lips” who can’t use most of the purchased lip balms without burning lips (except, strangely, Bonnie Bell, which we have sadly just learned is no longer going to be made), and this recipe without any essential oil is going to be just the thing!
I just finished capping my tubes and can’t WAIT to present her with a batch in the morning!!! Next batch will be for me and I’m going to add orange oil, I think. Yum! Might have to start sharing with others though – one little batch made a BUNCH of tubes!
I just made this and to give a better estimate, this recipe filled exactly 39.5 of my regular sized chapstick tubes. also to make filling the tubes super easy, I transfer the mix from the measuring cup to the tubes with one of those 1 tsp medicine syringes you can get free from walgreens pharmacy 🙂 smells awesome! I used 40 drops of chamomile to mine.
I absolutely love this lip gloss!!! I made it for Christmas presents and had to keep some for myself! I will definitely be keeping this recipe and making it for all my friends and family!