I have to tell you that when I started really cooking, one of the things I was most scared to make was pie crust. I’d only heard how hard it was, how bad tough, non-flaky crust can be, how careful you have to be, all that stuff. And I believed it. Wanna know a secret? I think pie crust companies secretly spread these rumors that everyone will screw up pie crusts and that they’re hard and time-consuming to make so you’ll go buy their refrigerated pie crusts. Also, they want you to believe that there’s little difference in taste or texture between those pie crusts and the ones you can make yourself. That is a big, fat lie. Light and flaky pie crusts are so much easier than you could ever imagine!
making the dough
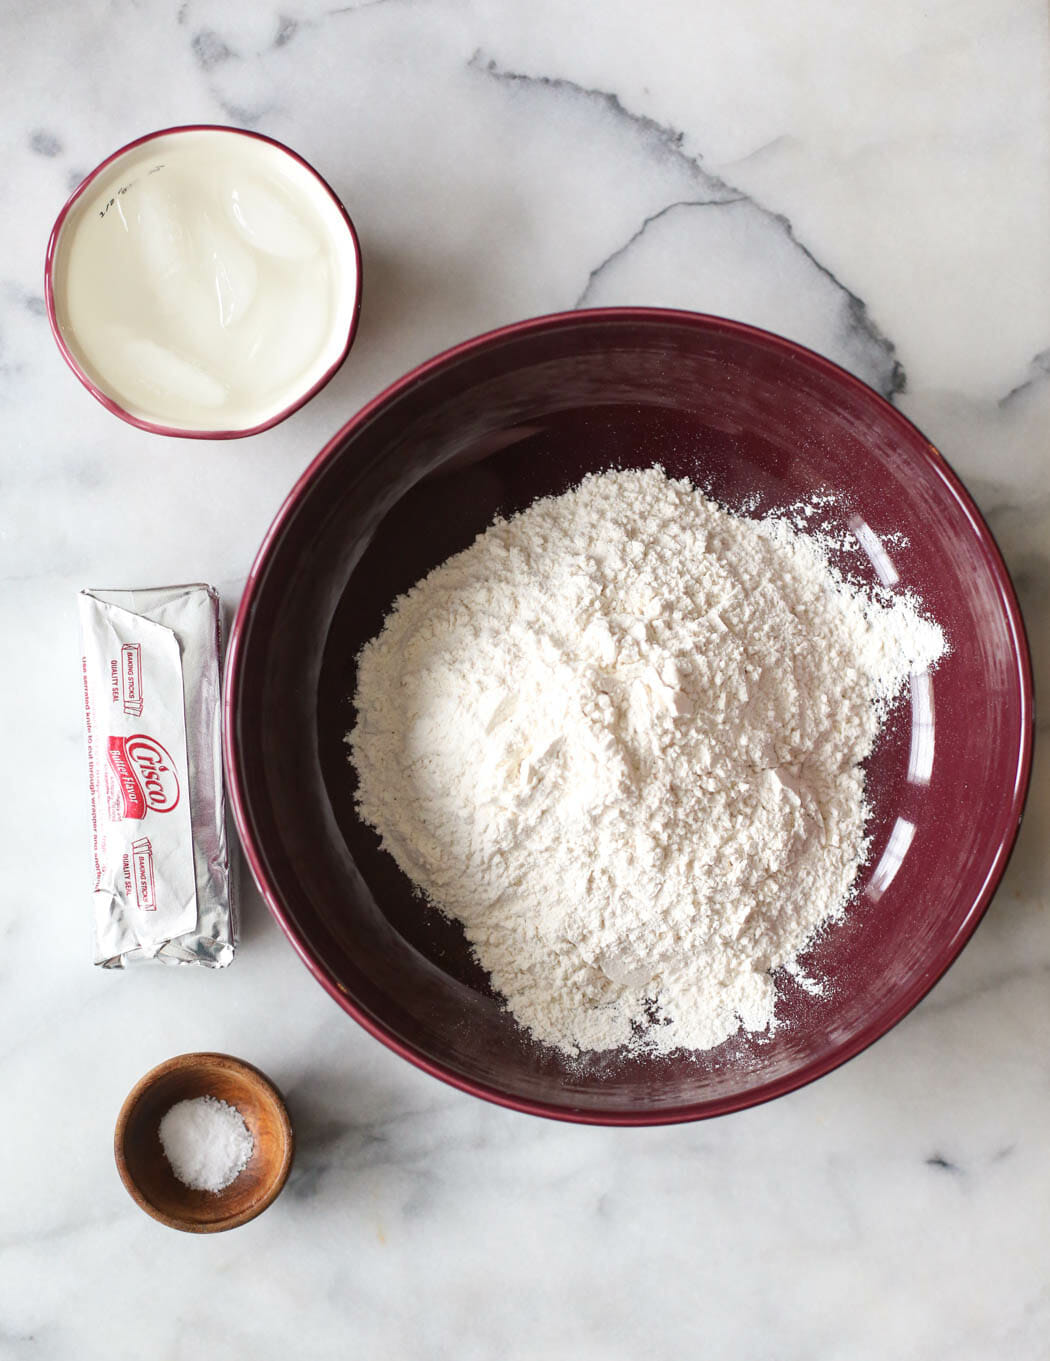
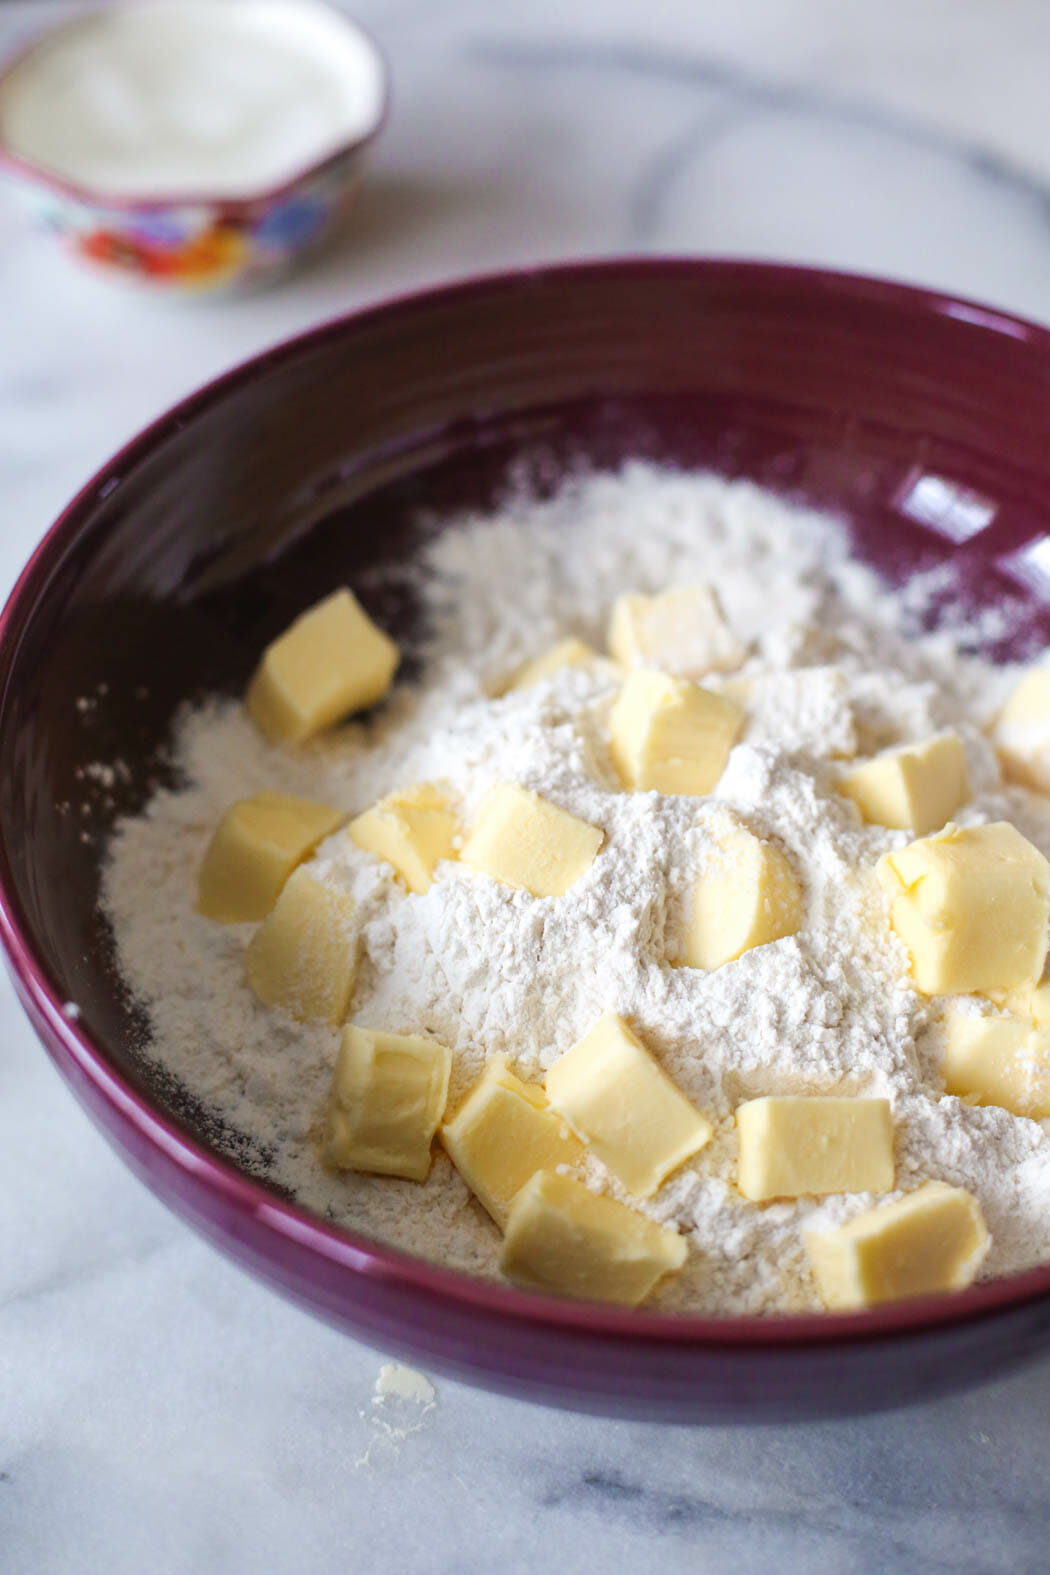
Combine flour and salt in a medium-sized bowl. Add shortening in small cubes.
Cut in shortening (room temperature) until you get pieces that are about pea-sized.
Now, this is where it gets a little tricky, but don’t be scared. Start sprinkling the ice water by about a tablespoon at a time over the flour/shortening mixture.
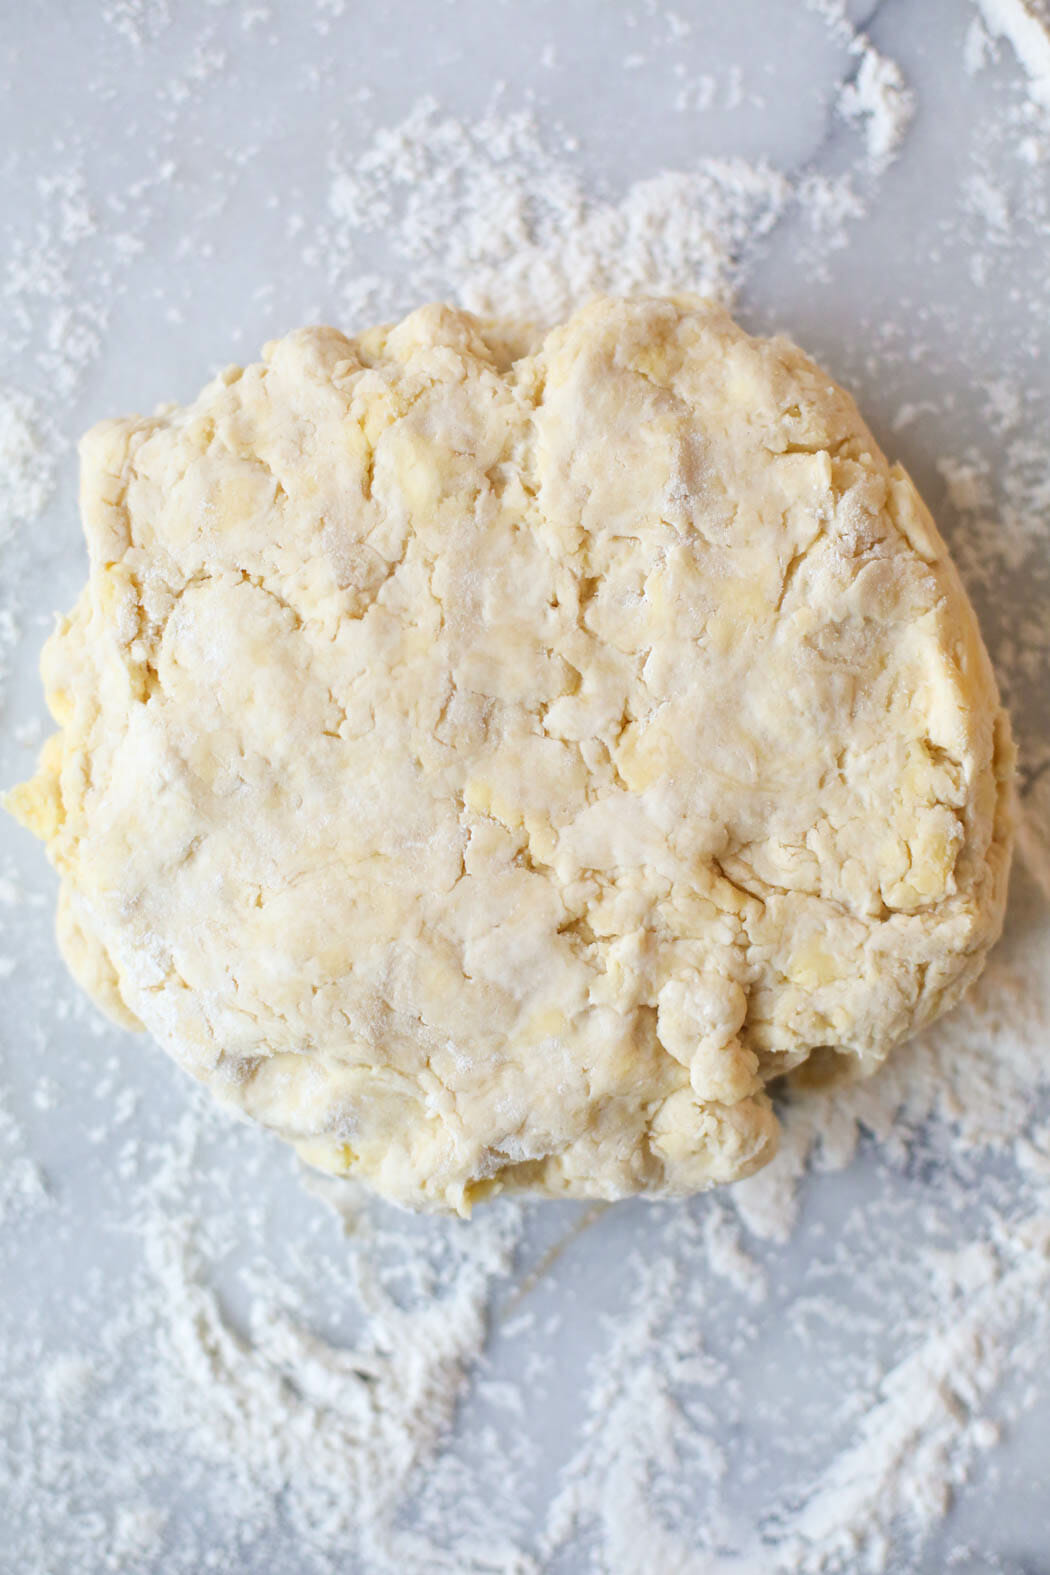
Very, very gently, turn the dough with your fingers so it gets exposed to the water. You’re NOT mixing, just trying to moisten all of the flour/shortening mixture. Gradually, all of the flour mixture will be moistened. Gently pat the dough into a ball (it should come together easily but not be sticky).
Wrap in plastic wrap and keep in the fridge until you’re ready to use.
Rolling the Dough
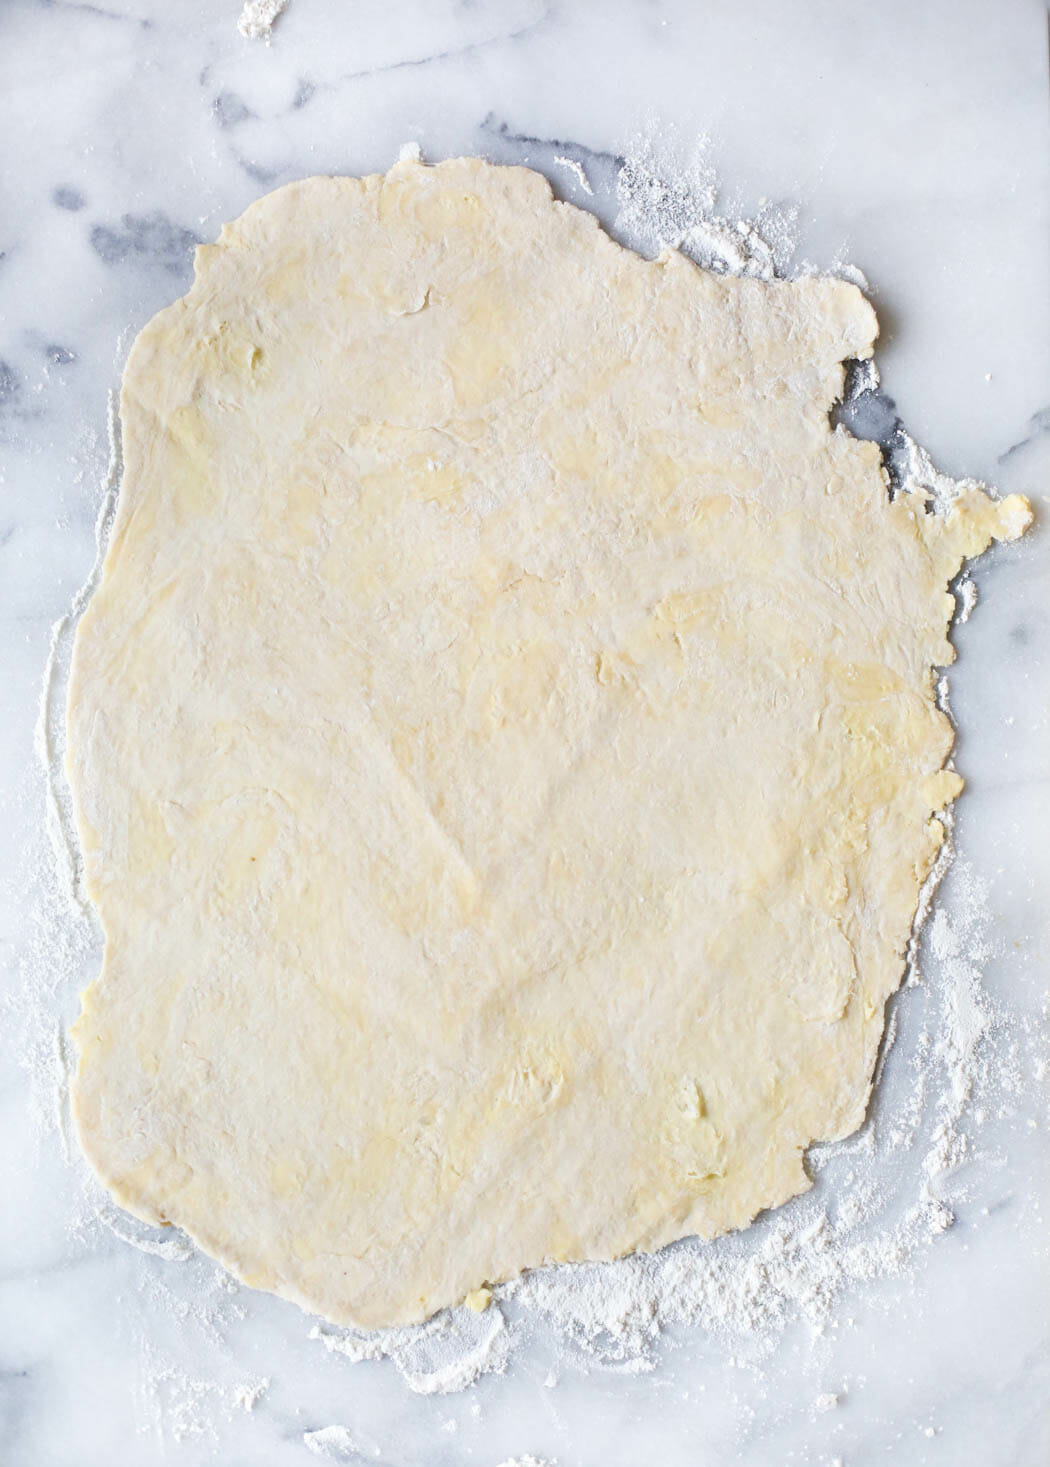
When you’re ready to roll out your pie crust, lightly flour your work surface and place the dough ball on the surface. One of the keys in making pie crust is to handle the dough as little as possible. Don’t freak out TOO much; like I said, this recipe for crust is pretty forgiving, but at the same time, the less you touch it, the more tender and flaky it will be. Starting in the center, roll the dough out into a circle-ish shape, about 1/8″ thick.
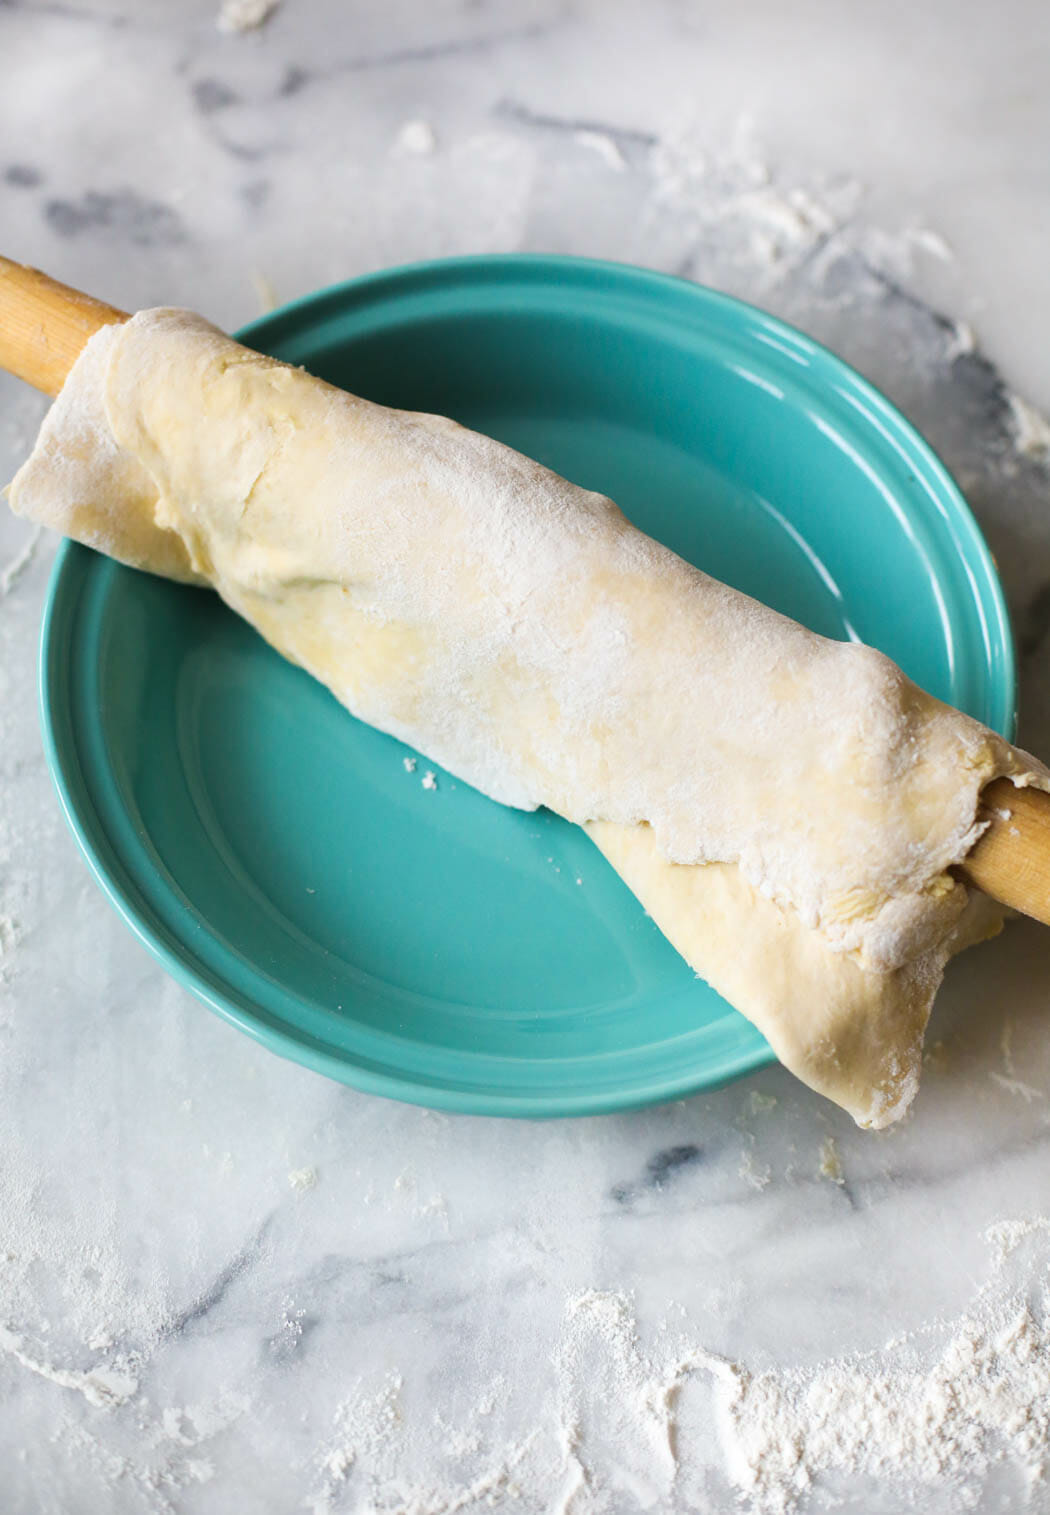
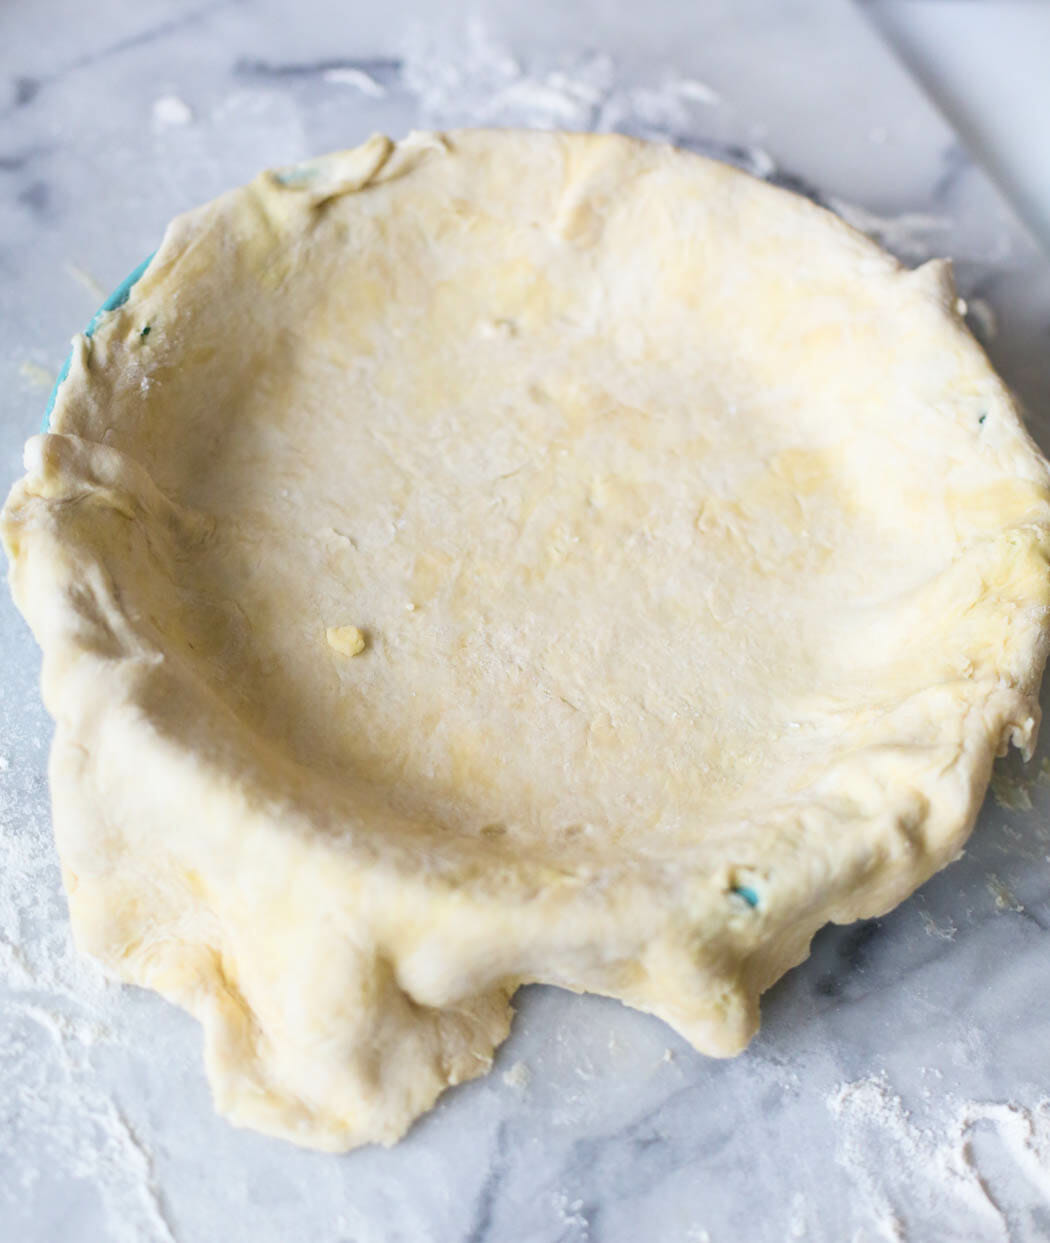
When you’ve reached your desired thickness, place the rolling pin in the middle and gently fold the crust over the rolling pin. Lift the dough onto your pie plate
and unfold it (gently; notice a theme here?).
The Edge of Reason
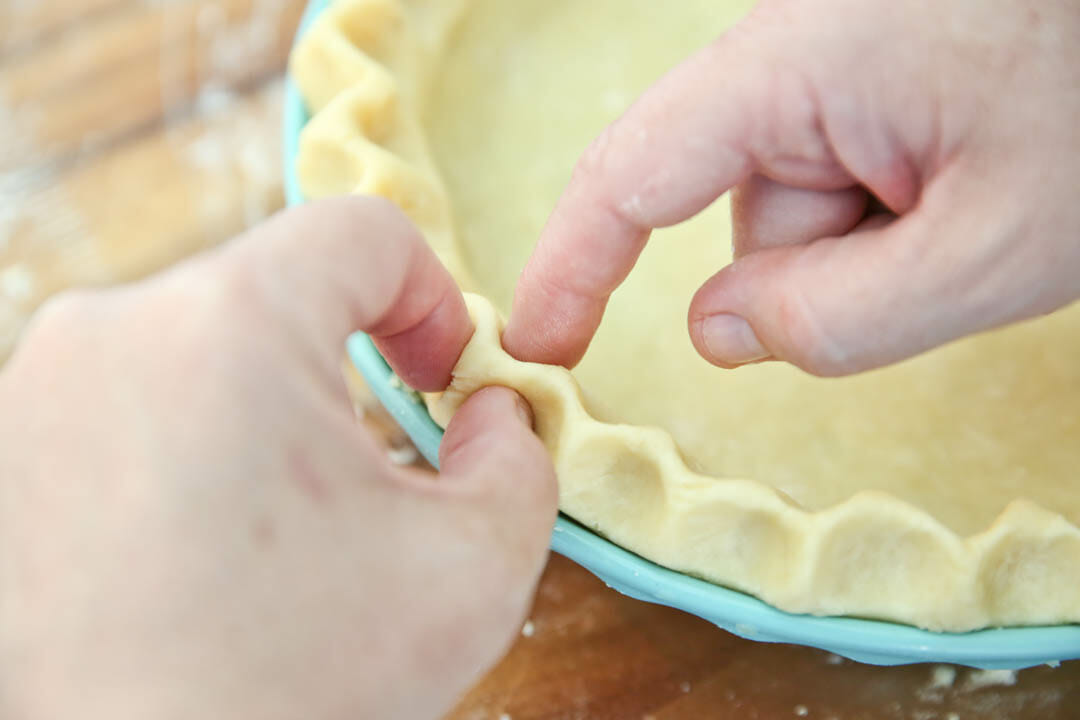
Unless I’m planning on doing something fancy schmancy with my edges, I just run a sharp knife around the edges of the pie plate, cutting off the excess dough. Then I use my thumb and fingers to make kind of a big, wavy edge on the crust, but that’s just how I do it; there are lots of pretty pie edges.

Pre-baked Crusts
Sometimes a recipe will call for a pre-baked crust. Some people place “weights” (either little balls specifically designed for this purpose, or even dry beans) in the pie to keep it from puffing and shrinking, but I’ve found that with this recipe, I don’t need them. Just prick the bottom of the crust with a fork and bake at 450 for 10-12 minutes or until golden-brown.
Double Crusts
Sometimes you’ll need or want a lid on top of that pie. Just double the recipe for the crust and cut the dough in half, using one part for the bottom and one part for the top.
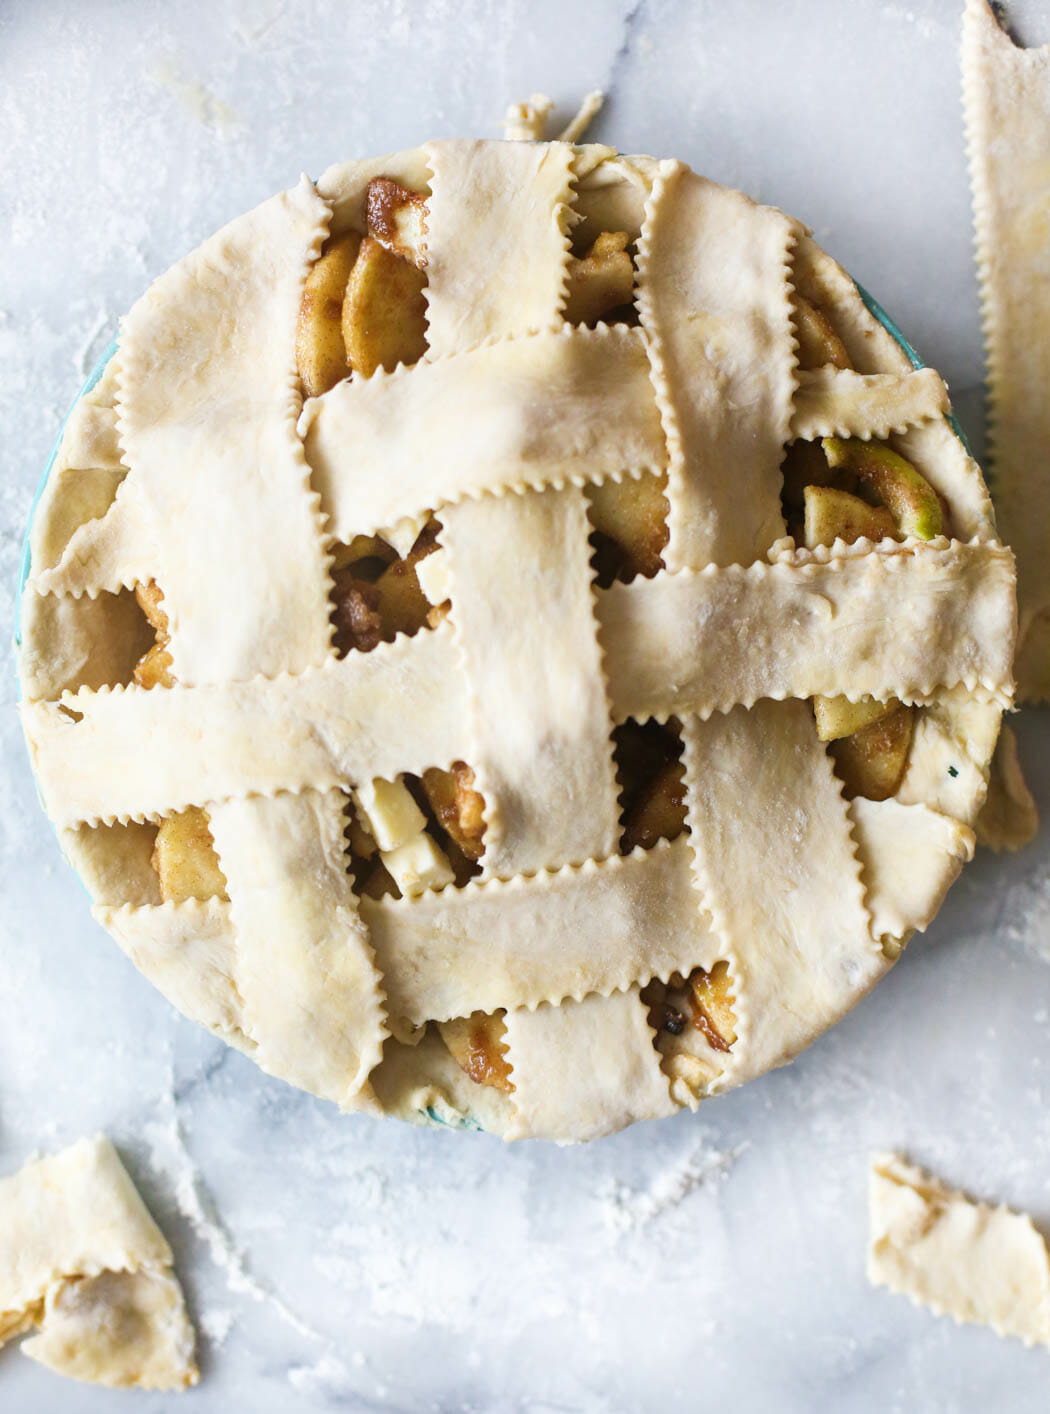
When you put the crust on top, you’ll need some way of letting the steam out. This is where you can really wow people. I had a roommate who would cut a cute little heart in the top crust; some people cut some decorative slits so when you put it on top, it spreads a little and looks all pretty. My favorite thing to do is a lattice top.
How to Make a Lattice Crust
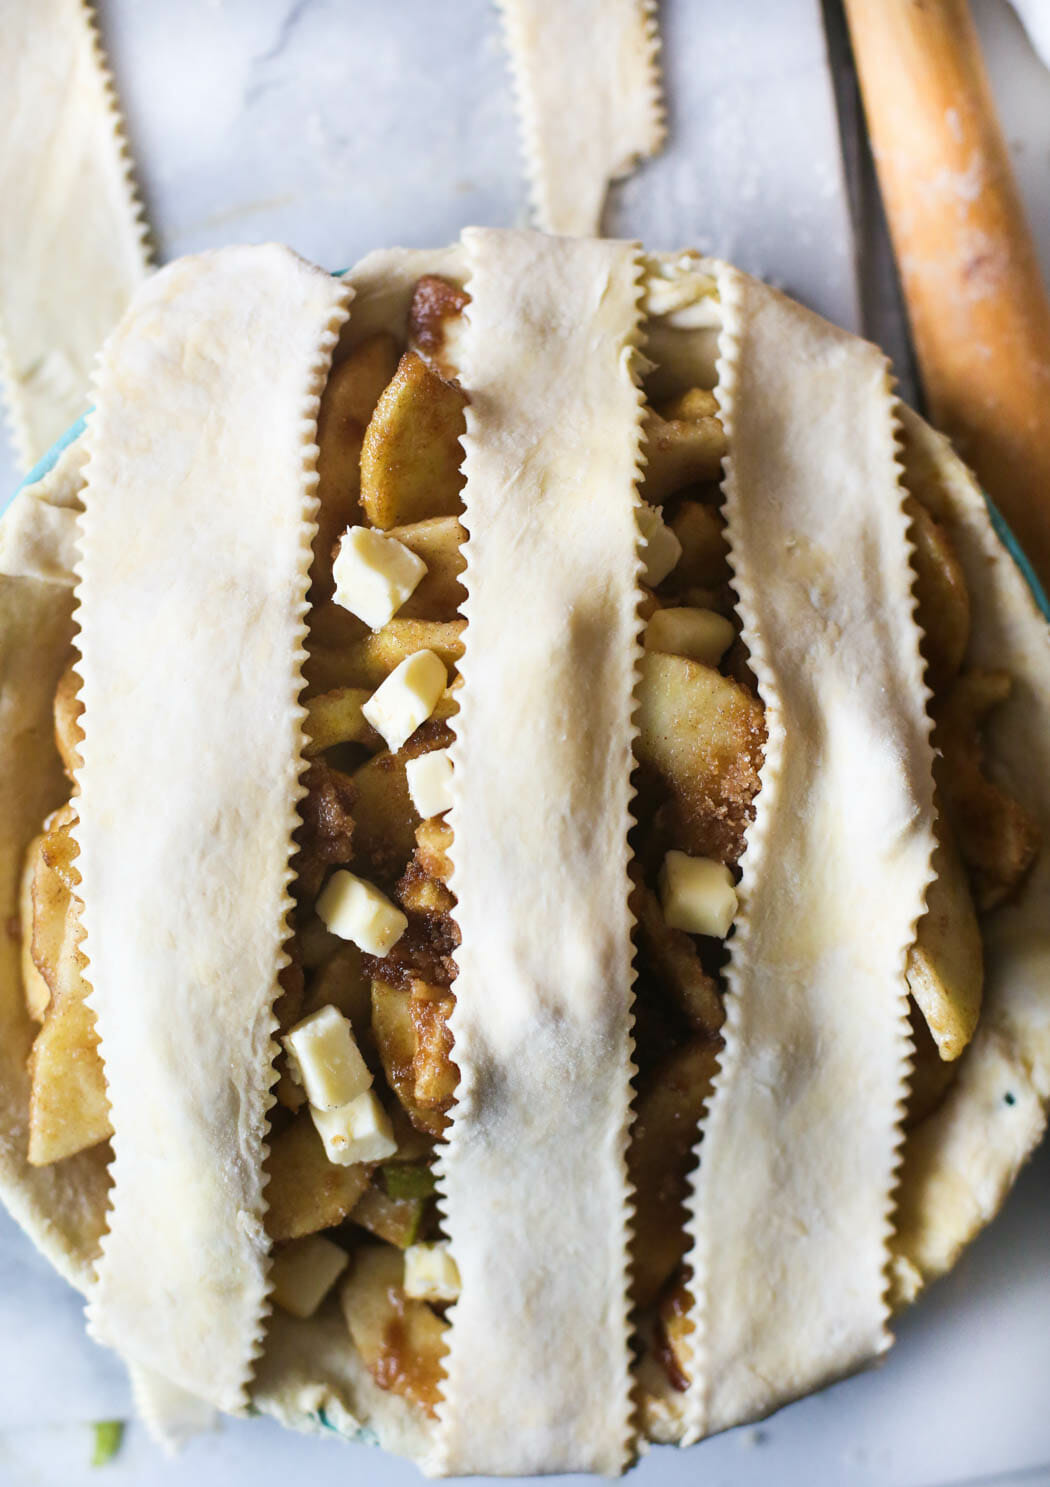
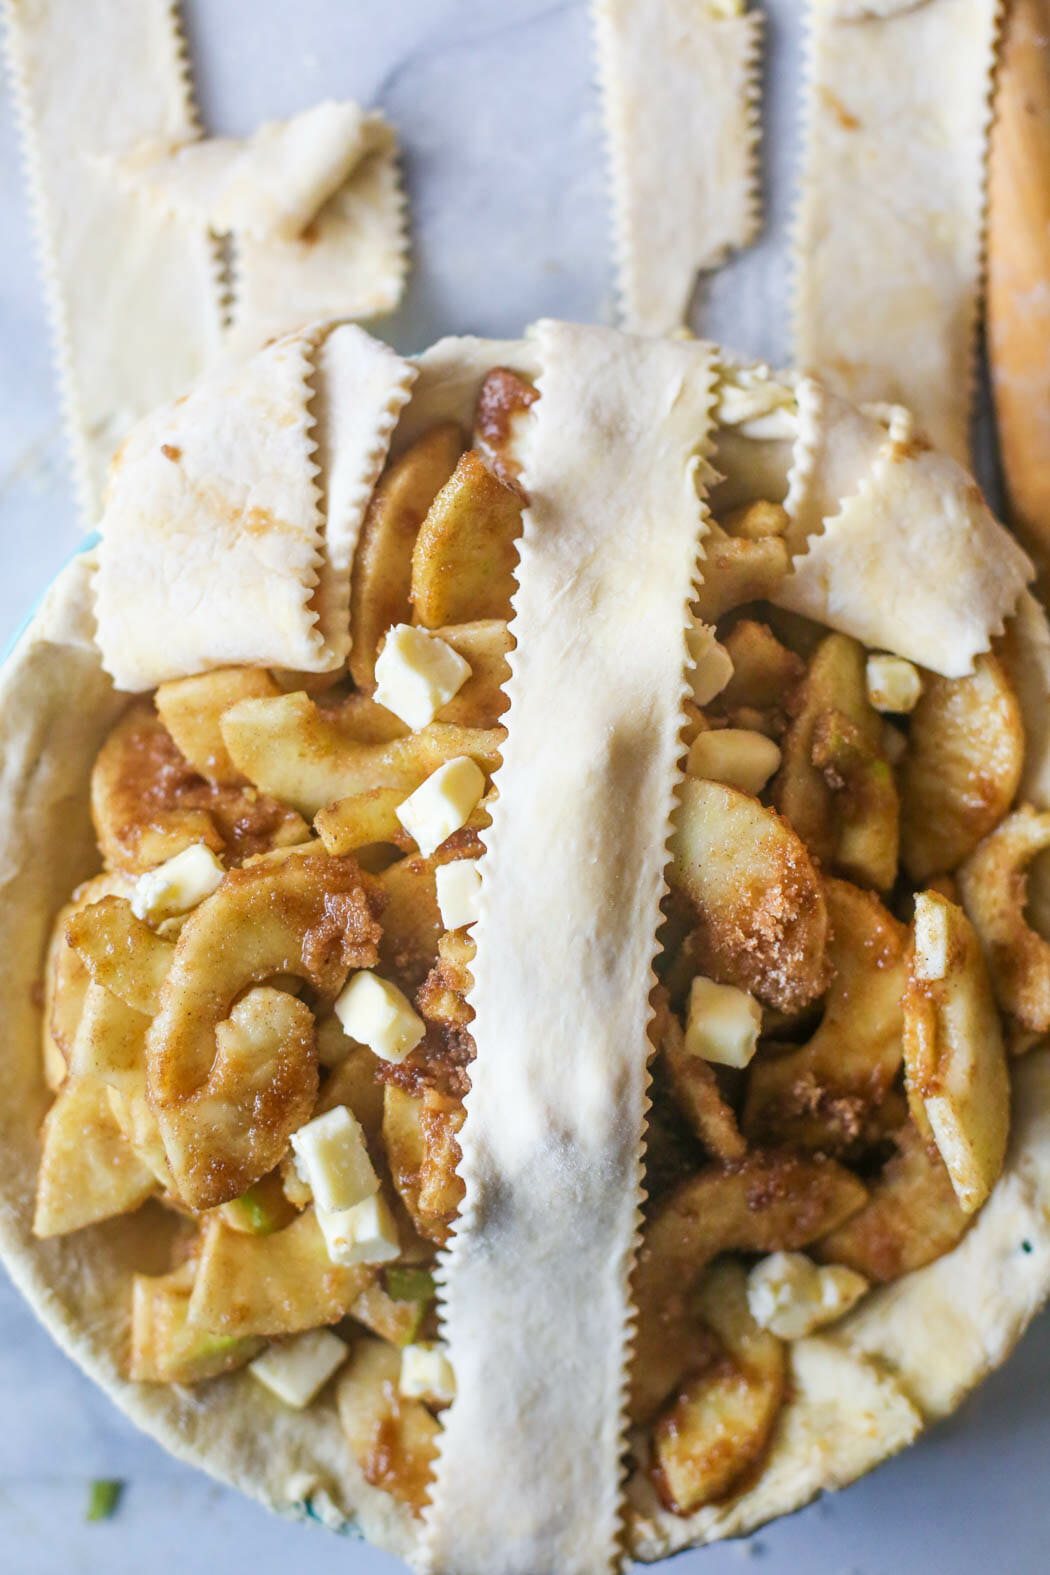
Place the rolled-out bottom crust in the pie plate, fill your pie as desired, and then roll out the top crust and cut it into strips about 1″ wide. You can use a knife or a fluted pastry wheel.
Now, lay 4-5 strips vertically on top of your pie…
Now fold every other strip back and lay a horizontal strip right under the part you’ve folded back.
Unfold the vertical strip so it lays on top of the horizontal strip. Repeat this step, this time folding back pieces that you didn’t fold before, and then continue repeating until the pie is covered.
Adding Shine
Guarding Against Heat
Light and Flaky Pie Crust
Description
A light and flaky pie crust recipe that is perfect for sweet or savory pies!
Ingredients
1/2 teaspoon table salt
1/3 cup+ 1 tablespoon shortening (I prefer butter flavored but either works; look for it in sticks)
Ice water (probably about 1/4 c.)
Double Crust Pie
2 1/2 cups all-purpose flour
1 teaspoon table salt
2/3 cup+ 2 tablespoons shortening
About 1/2 cup ice water
Instructions
Combine flour and salt in a medium-sized bowl. Add shortening in small cubes.
Cut in shortening (room temperature) until you get pieces that are about pea-sized.
Start sprinkling the ice water by about a tablespoon at a time over the flour/shortening mixture. Very, very gently, turn the dough with your fingers so it gets exposed to the water. You’re not mixing, just trying to moisten all of the flour/shortening mixture. Gradually, all of the flour mixture will be moistened. Gently pat the dough into a ball (it should come together easily but not be sticky).
Wrap in plastic wrap and keep in the fridge until you’re ready to use.
When ready to use, handle as little as possible according to recipe directions. See blog post for tips and tricks for pie-making!
