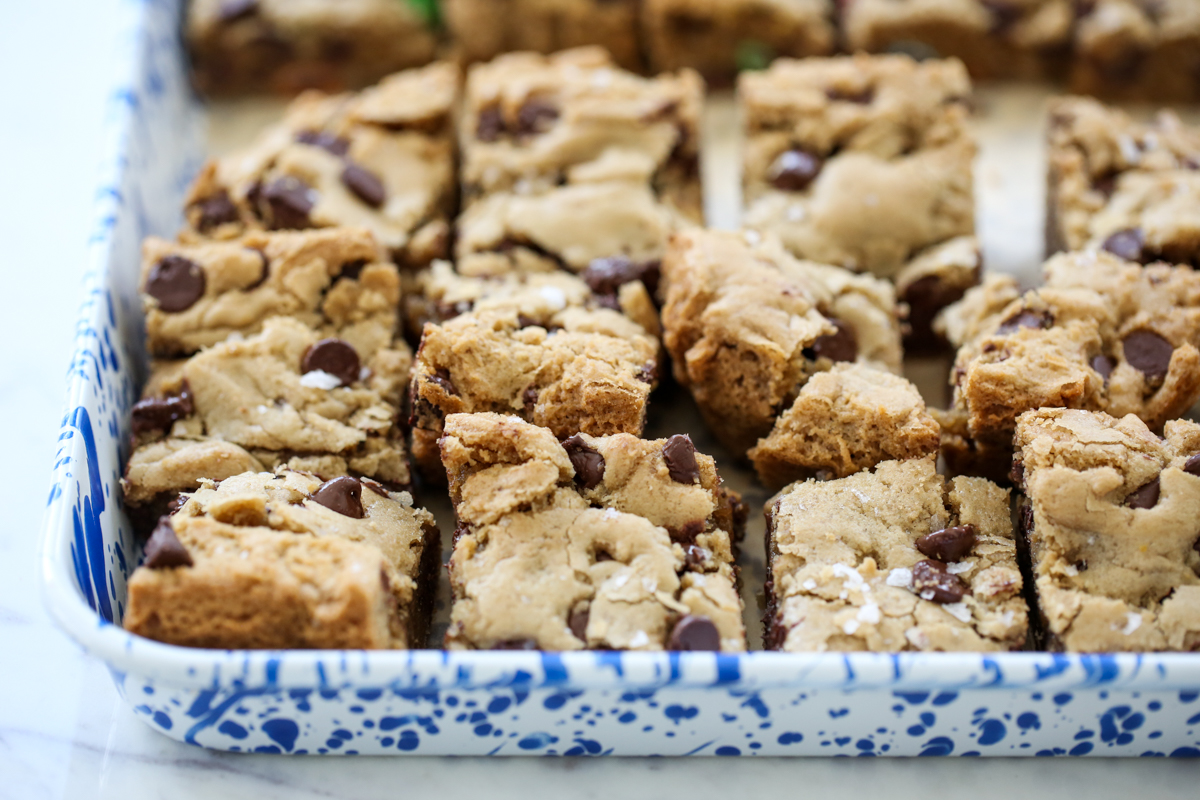
These Chocolate Chip Cookie Bars are the most made dessert in my house. I’m kinda known for them. I’ve sold hundreds at bake sales! Cookies in bar form is a really quick and easy way to get the same soft and chewy home-baked cookie, but just…squared. And cooking them all together in one pan gives you a chewy dough center in every piece. These are super quick to whip up. It probably takes 5 minutes to measure everything out, mix it, and have it in the oven.
Ingredient Notes
- Butter – Use real, salted butter here. If you have a food intolerance, feel free to make substitutions as needed, but I haven’t tested anything but butter.
- Chocolate Chips – There are no hard and fast rules here. Use whatever kind of chocolate or flavored baking chips you’d like! When I first posted this recipe years ago, I called for half semisweet and half white chocolate. Most often I just use semi-sweet or dark these days.
- Toffee Bits – Toffee bits are an optional ingredient (and not shown in this batch in the photos). You can find them by the chocolate chips on the baking aisle. It’s becoming harder to find plain toffee bits, and not chocolate covered. I don’t mix them into the dough because they tend to melt and change the texture of the cookie, but rather I like to sprinkle them on top before baking.
How to Make Chocolate Chip Cookie Bars
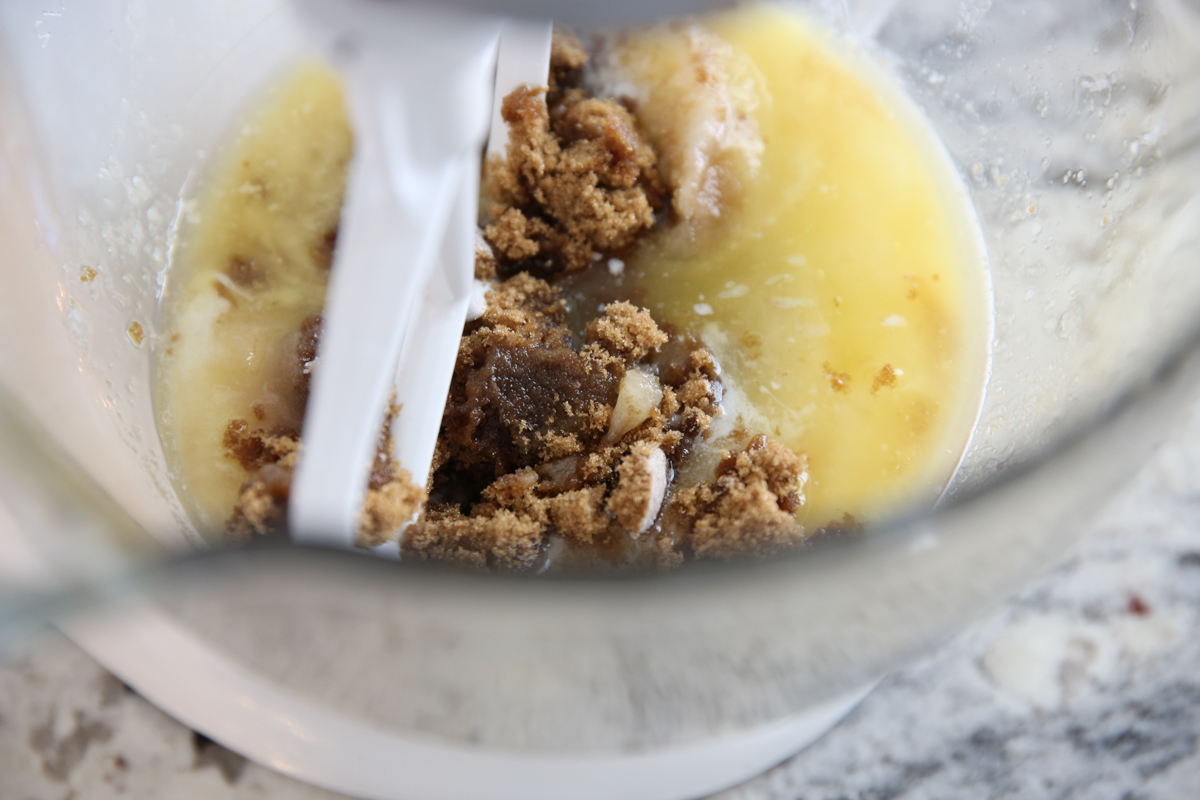
- Start with a mix of brown and white sugars.
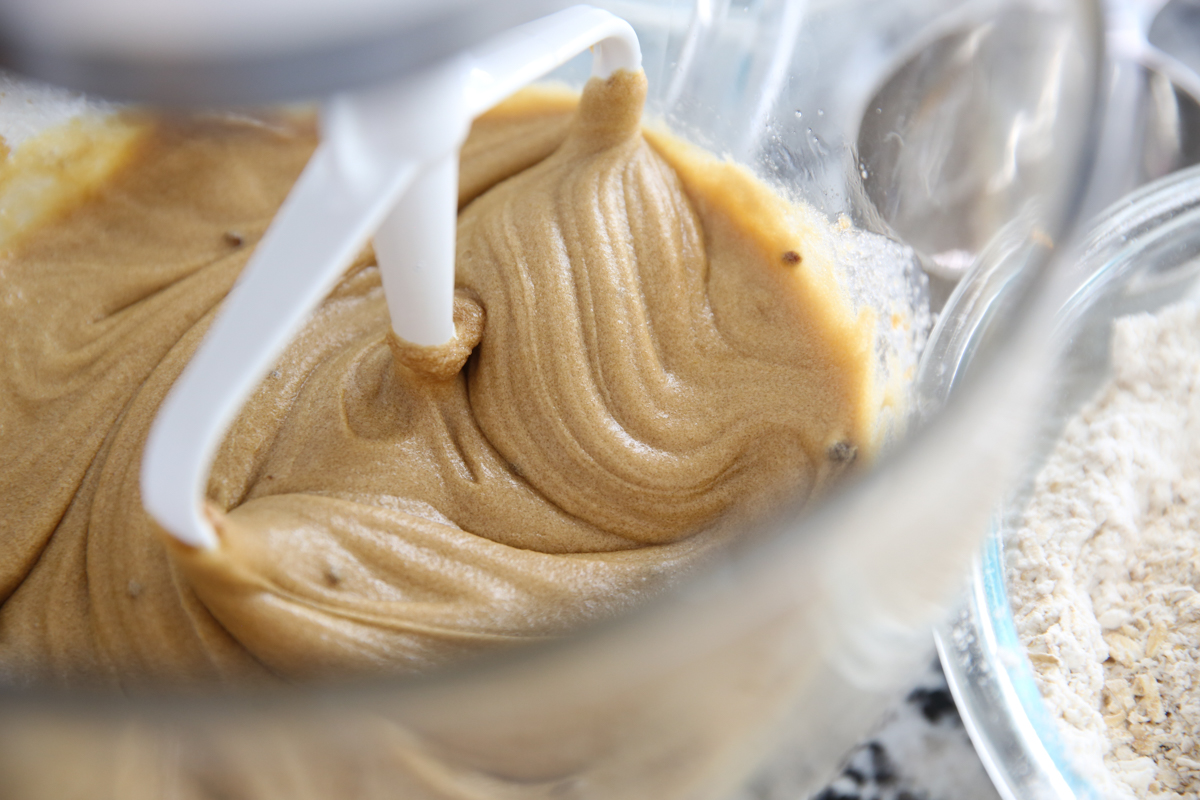
- Mix that up with some melted butter, and then add eggs and a generous splash of vanilla.
- Once those are incorporated, sprinkle in your dry ingredients a little at a time: flour, baking soda, and salt.
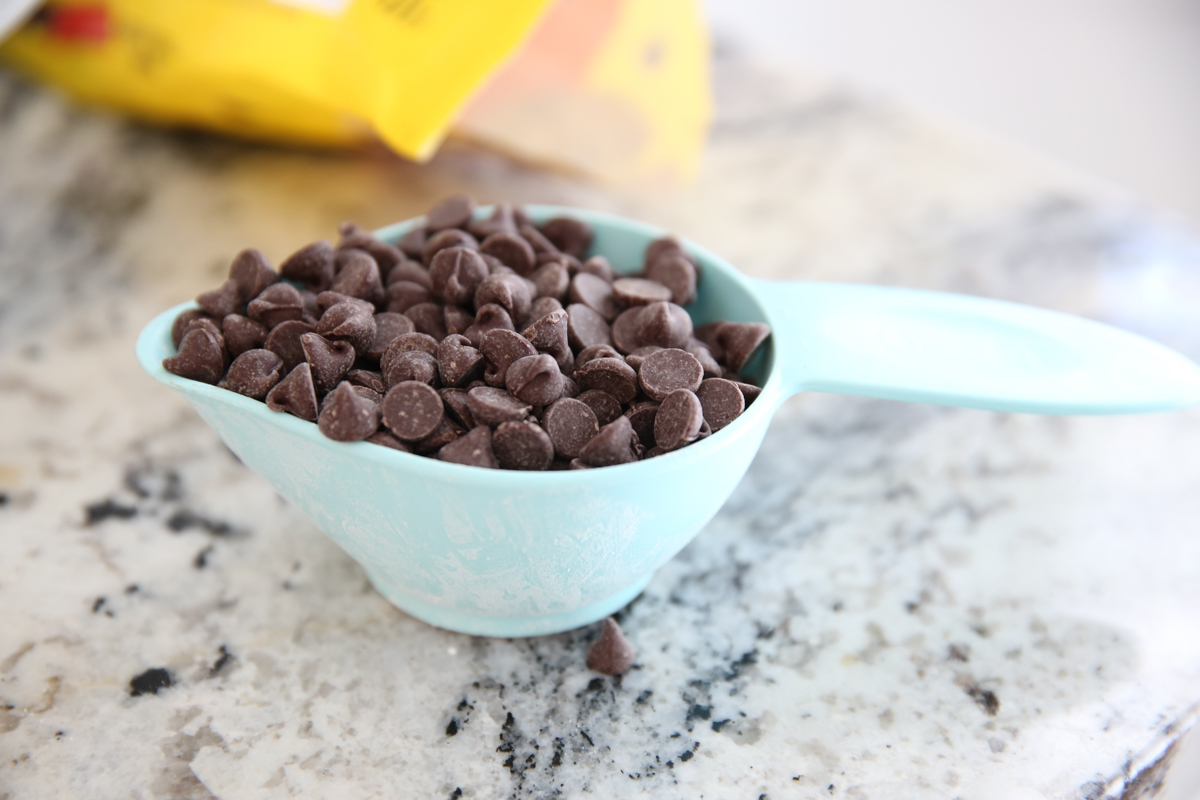
- Lastly, you’ll need some chocolate chips, and you can use any kind you like. I never use milk chocolate in desserts because I think they just turn out overly sweet. I go for semi-sweet or dark. It’s also great to mix and match!
- Once those are mixed in, you’ll press the dough into a foil or parchment-lined 9×13 pan. A pan with straight corners works best, and I always line my pans for bar cookies because it makes it infinitely easier to cut them afterward, when you can just lift the entire giant bar right out.
- Put the pan in the oven. They’re done when the edges are just golden brown and you can tell they’re set up. The middle will still appear set but quite soft.
The absolute hardest part of this is waiting for these to cool. If you sneak out a square right out of the oven, it will be gooey and doughy and fall apart. As they cool they continue to set up. If you’re going to serve them before they’ve cooled all the way, I suggest putting them in a bowl with ice cream on top.
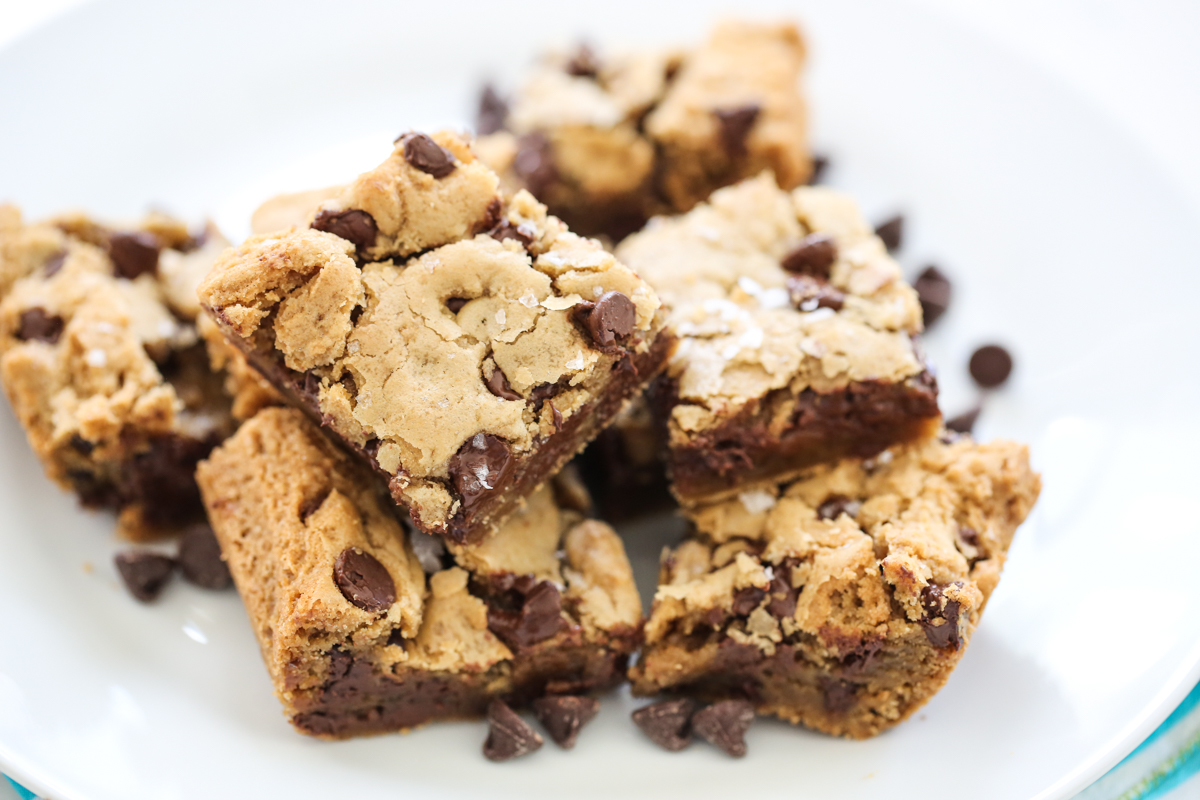
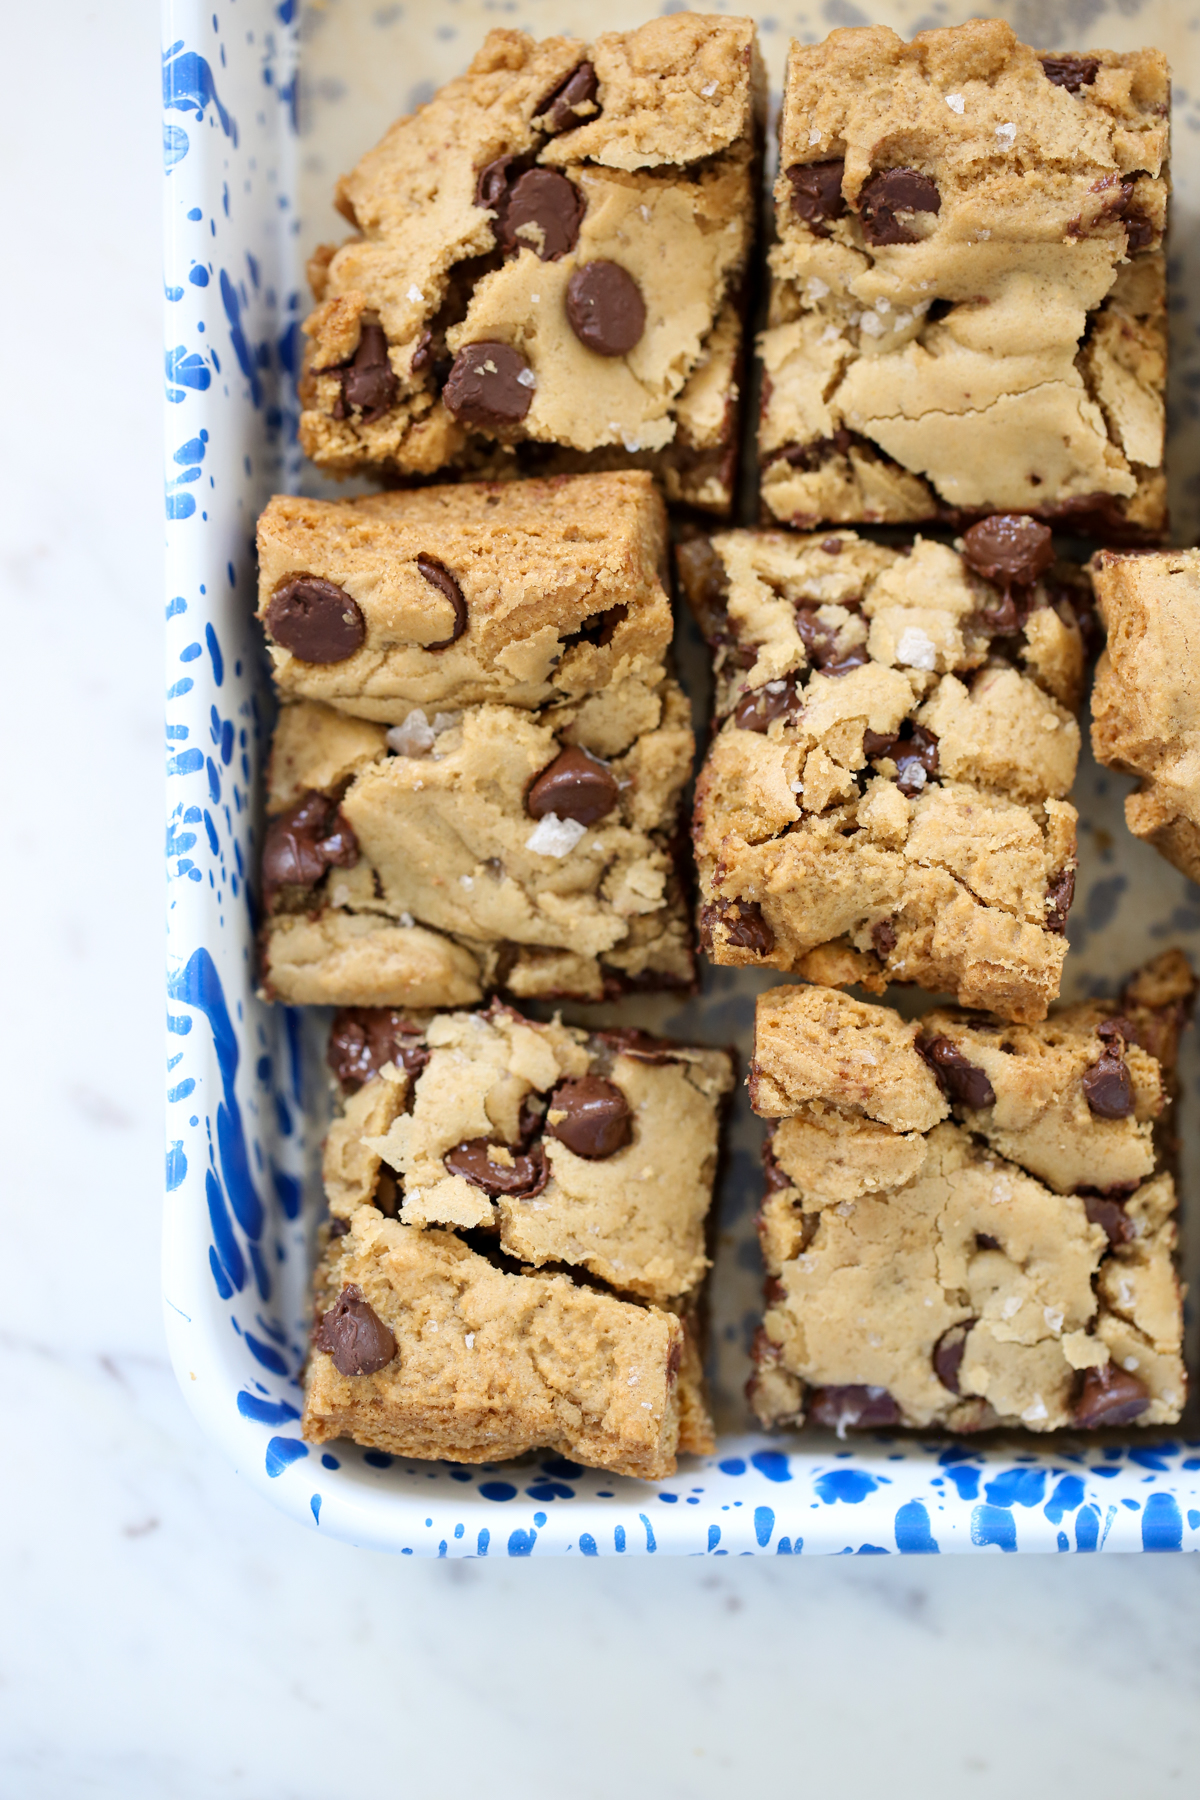
Otherwise, cool completely to room temp (or even chill) and then cut into squares. At our house we actually like to eat these cold from the fridge! The centers will be like cookie dough. These are slightly crisp around the edges, and super soft in the middle, and basically heaven in a bar. This is one of those rare occasions where I think they are even better the next day. I will often make them a day ahead of time for events. They also freeze well.
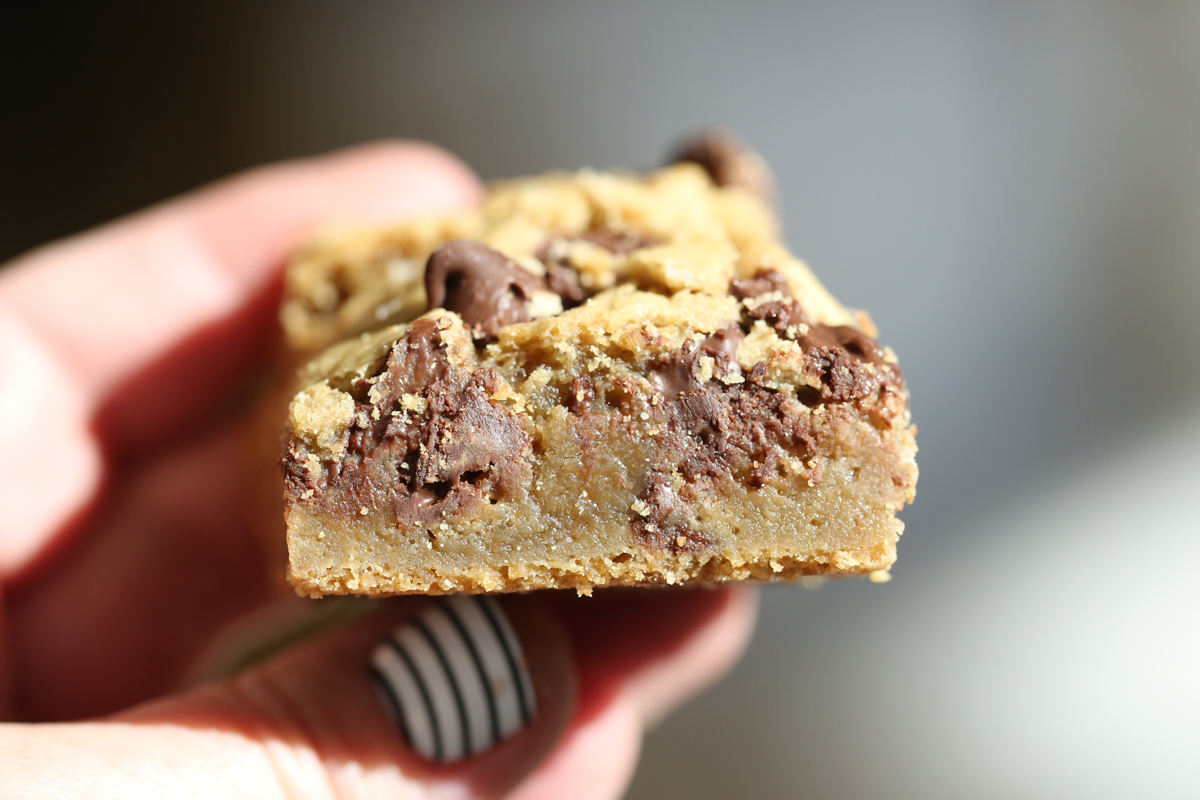
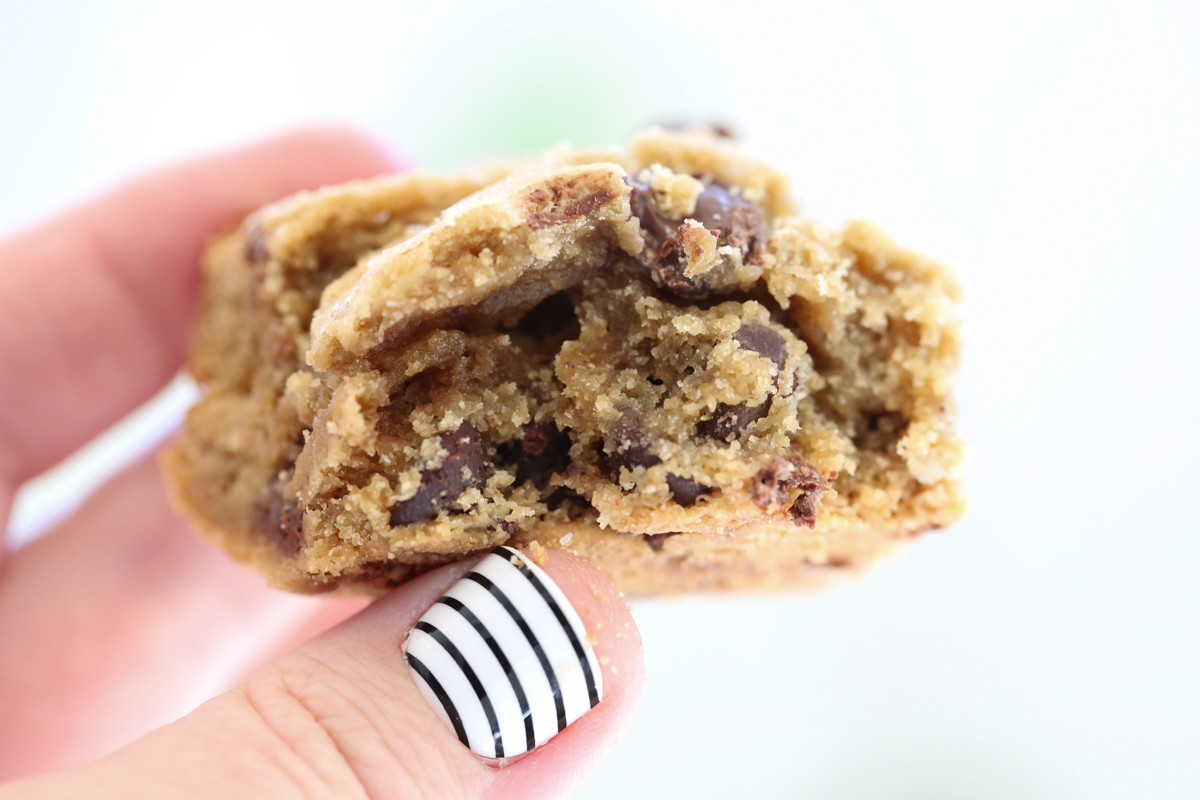
Here in these photos you can see a bar cut from the center after it’s barely cooled, and on the right, the next day after chilling and cooling completely. Both insane. Perfect for a weeknight treat, a potluck party, or breakfast. I won’t tell.
Serving Suggestions
This recipe is really good served warm with vanilla ice cream!
Looking for more bar cookies and desserts? Try one of these other favorites from Our Best Bites:
- Peanut Butter and Jam Cookie Bars
- Oatmeal M&M Chocolate Chip Cookie Bars
- Frosted Sugar Cookie Bars with Fluffy Buttercream Frosting
- Raspberry-Almond Cookie Bars
- Reese’s Peanut Butter Bars
- Lime Bars with Coconut Shortbread Crust
- Caramel Apple Cheesecake Bars
- Chocolate-Frosted Peanut butter Cookie Bars
FAQs
- If I double this recipe do I need bigger pan? In general, it’s best to measure out ingredients for each batch in separate bowls (but at the same time) and use a separate 9×13 pan to bake each batch. The baking times here are well-tested, but only apply to the recipe and equipment as written.
- Tip for a Jumbo Batch: I often 1.5x the recipe and bake in my favorite 12×17 pan.
- Can I make these cookie bars ahead of time? Of course! Make up to 24 hours ahead of time and leave at room temp, or wrap well in the fridge for up to a week. These also freeze beautifully. I have frozen them in a big slab and sliced when defrosting, and I have frozen them in individual pieces as well.
Did You Make This?
I’d love to hear from you! Snap a picture and tag me on Instagram, and then come back and give this recipe a rating!
Print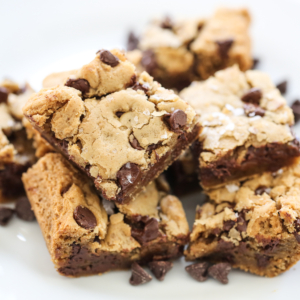
Chocolate Chip Cookie Bars
- Total Time: 35 minutes
Description
These chocolate chip cookie bars produce a thick, soft cookie. They are a great time saver since they take just a few minutes to whip up and cook all at once in the oven!
Ingredients
3 cups all purpose flour
1 teaspoon baking soda
1/4 teaspoon table salt
1 cup (2 sticks) butter, melted and cooled slightly
1 1/2 cups packed brown sugar
3/4 cups white sugar
2 large eggs
1 tablespoon vanilla extract
2 cups chocolate chips (any kind you like, or a mix)
1/2 cup toffee bits (optional)
Instructions
Preheat oven to 350 degrees. Line a 9×13 inch baking pan with foil and lightly spray the bottom with cooking spray. Set aside.
Combine flour, baking soda, and salt in a bowl and whisk to combine. Set aside.
In a mixing bowl, thoroughly combine brown sugar, white sugar, and melted butter. Add eggs, one at a time, stirring between each addition, and vanilla. Add dry ingredients a little at a time until incorporated. Stir in chocolate chips (save a few for the top if desired). Once dough is thoroughly mixed, press into the prepared baking pan.
Bake for about 25 minutes (all ovens are different, set timer for 20 minutes to start checking on them. They will bake for 20-30 minutes, but some readers have reported they took longer). Remove from oven when edges are golden brown and center appears set, but still soft. Cool completely to room temperature and then cut into squares.
- Prep Time: 10 minutes
- Cook Time: 25 minutes


Questions & Reviews
These are delicious! It took a bit to get the timing right as I think they were a bit undercooked at first but still delicious!
Amazing. Made these exactly as written except I doubled the batch and weighed out so each pan would have the same amt. Half is going in the freezer for next week when I have dessert for my son’s team dinner! I plan on thawing in the fridge the day of. So good! Mine took longer, maybe about 35 minutes. But that should have been from the frequent checking by my teenagers lol!