As if butter isn’t great enough on it’s own, browned butter takes it to a whole new level. Brown butter might just be the easiest way to take your cooking and baking from “good” to “more please!”, with almost no extra effort. By melting butter and letting it gently toast until golden, you get a rich, nutty flavor and an aroma that’s downright irresistible.
It works in both sweet and savory recipes too! You can use it in any recipe that uses melted butter, like my favorite Chocolate Chip Cookie Recipe, or this awesome Banana Bread recipe, and it will add a toasty nuttiness that just amplifies all of the other flavors. It’s also amazing spooned over vegetables, or tossed with pasta. I always make a batch a few days before any big holiday dinner; I’ll brush some on top of a tart, add some to a classic stuffing, or toss a bit on some nicely seared butternut squash.
It’s really not that hard to make, either! You just need to give it patience and attention.
What is Brown Butter?
Butter is basically emulsified water and fat, with milk protein solids in it. When you melt butter down and let it simmer, the water evaporates and those little milk solids are freed. As they cook in a pan, they turn golden brown and toast, just like any other delicious thing would toast if you put it in a hot pan with some fat.

How to Make Brown Butter
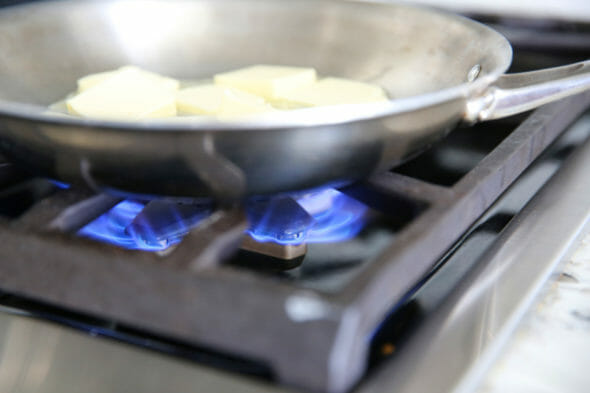
- You’ll want to start with a light colored pan (like stainless steel.) If you use a dark coated pan you won’t be able to tell when it’s browned and it can go from brown to burned pretty darn quick. Use unsalted butter. You can brown salted butter, but all of the salt gets concentrated in the milk solids and depending on how you’re using it, it can ruin the flavor.
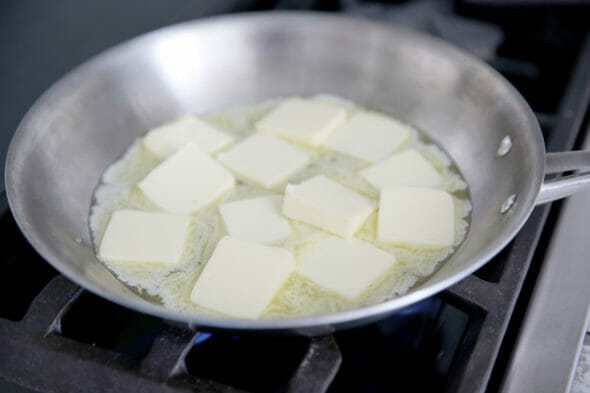
- Cut up your butter into chunks and place them in your pan. Turn on the heat to medium and let the butter melt.
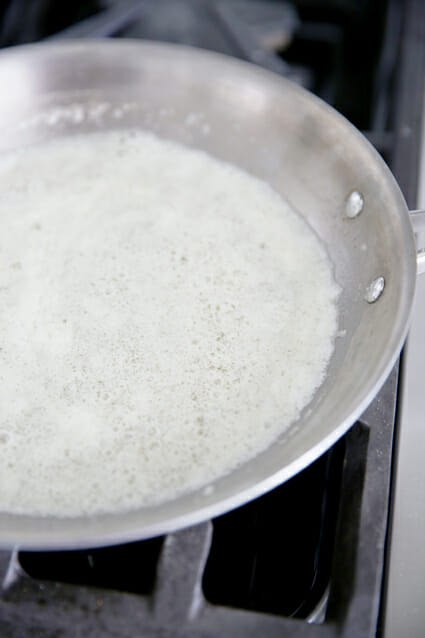
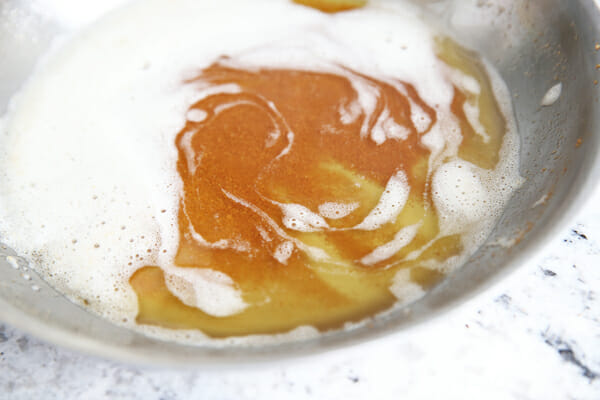
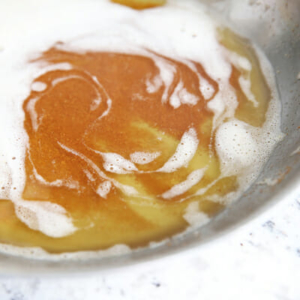
- After it melts, the butter will foam.
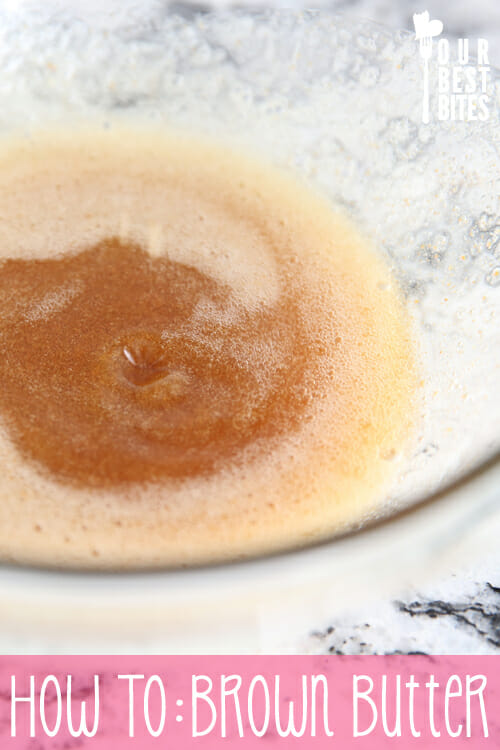
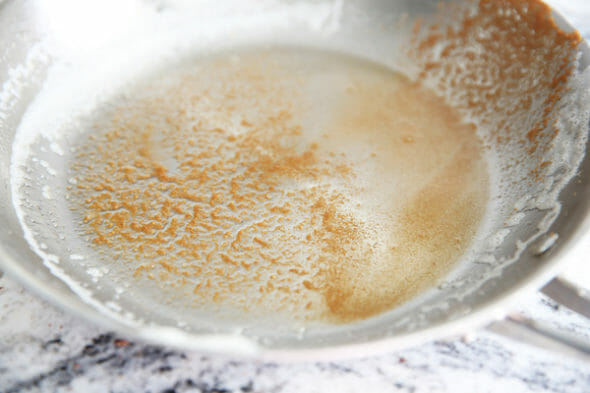
- You’ll want to let it bubble away gently, while stirring, and soon the foam will subside and you’ll start to see little brown pieces on the bottom of the pan. Those are the milk solids starting to toast. At this point your house will smell almost like roasted hazelnuts. It’s a really warm, nutty aroma.
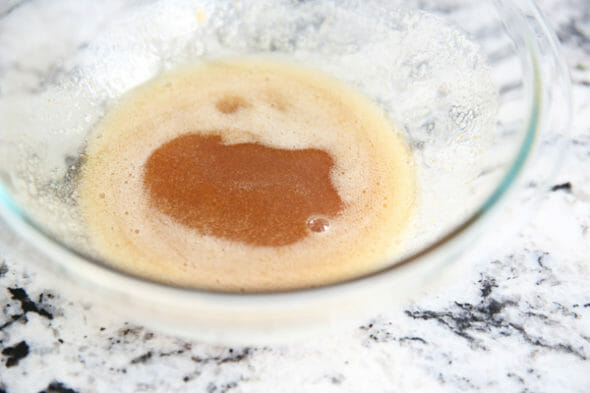
- Once your butter gets to be a caramel color, remove it from your pan immediately. If you leave it in a hot pan, the residual heat can overcook it. If you want, you can place this bowl of browned butter in a sink filled with ice water; shocking completely stops the browning process. Browned butter is delicious…burned butter is not!
- Some people strain out the little brown bits, but I say no way! That’s where all of the flavor is. Try it drizzled over pancakes or waffles. Okay, or like, asparagus. Whatever.
Best Practices When Working with Browned Butter
- Quality Matters: use a high-quality butter (unsalted is best) because any flaws within the butter tend to get magnified. It’s okay to splurge for the KerryGold on this one!
- Adjusting Recipes:
- It’s important to remember about 15% of butter is water, and that all evaporated during the browning process. When you’re using browned butter in recipes, you’ll want to compensate for this loss by adding about 1 tablespoon per stick (or 113 g) of browned butter.
- If a recipe calls for softened or solid butter, you’ll need to re-solidify your butter, or match the recommended state for the recipe. So if you’re making cookies that call for softened butter, you’ll want to put your browned butter in the fridge for a bit to let it chill up.
- Note that any recipes you use browned butter in, the shade might be a bit darker than you expect. Visible brown specks are totally fine and part of the appeal!
- Storage & Make-Ahead Brown Butter:
- After you cool the butter to room temperature (either by shocking it in ice water, or just letting it hang out on the counter in a bowl), it’s time to store it. This is when you need to think about how you will use the browned butter, and how much you’ll need at any given time.
- If you need to use quite a bit of butter all at the same time, you can pour it into an airtight container and store in the fridge until time to use. It will stay good for 2 weeks or so.
- If you’re using just a bit at a time and need longer term storage, you can pour 1 tablespoon at a time into an ice cube tray. Chill it first in the fridge for about an hour, then move it to the freezer. Once they’ve hardened fully, I like to pop all of the browned butter cubes out of the tray, and into a zip-top bag for long term freezer storage. It makes taking just a cube or two out at a time easy. It saves freezer space too! It stores well in the freezer for 2 – 3 months.
- After the brown butter is cooled, you can also whip it so the brown bits are evenly distributed. This is useful when storing it, or using small portions.
- No matter which method you choose, be sure to stir it well right before pouring into the containers. This allows those delicious, toasty bits to get stirred up and be evenly distributed throughout your storage container.
- After you cool the butter to room temperature (either by shocking it in ice water, or just letting it hang out on the counter in a bowl), it’s time to store it. This is when you need to think about how you will use the browned butter, and how much you’ll need at any given time.
How to Use Brown Butter
- Baked goods: cookies, brownies, biscotti, cakes, pie crusts, muffins, scones, or brushing on top of a tart or pie.
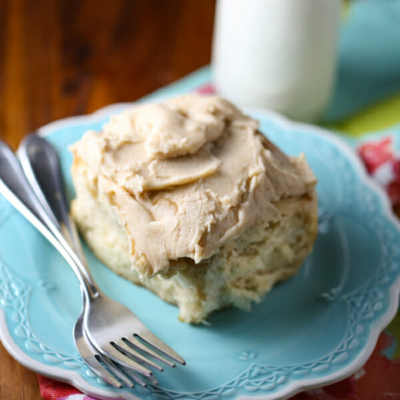
- Frostings & glazes: swirl into buttercream, cream cheese frosting, glazes of buns or cakes.
- Sauces: drizzle it straight over vegetables, pasta, potatoes, fish, or any meat (especially great on chicken or pork)!
- Savory use: use it in compound butters, pasta sauces (particularly great with ravioli), or roasted vegetables.
- Breakfast: try it on toast, pancakes, stirred into oatmeal, or on top of waffles.
- To layer different flavors, try mixing it in nuts, spices, on popcorn, or even citrus zest. It is the go-to in professional kitchens for a finishing butter, like simply spooned over a beautifully grilled steak right before serving.
Frequently Asked Questions
It’s ready when the milk solids at the bottom are golden brown, and the butter smells nutty and toasty. Pull it off the heat quickly, because it can burn fast.
Yes! Store it in the fridge for 2 weeks, or freeze it in cubes so you can grab some whenever you need it.
Not usually. The browned milk solids add flavor! If you want a smoother look for certain sauces or frostings, you can strain them out.
Add 1 tablespoon of water per stick of butter to replace the liquid that evaporates as it browns. Otherwise, your recipe might turn out a little dry.
Yes, but unsalted butter gives you more control over the final saltiness, especially in baking.
Foam is normal and expected; it’s the water cooking off. Keep stirring or swirling until the foam subsides and you can see the milk solids browning at the bottom.
Only if you let it cool and re-solidify first. This is important for recipes like cookies or cakes that require the creaming method.
A light-colored skillet (like stainless steel) makes it easier to see when the milk solids are browning.
Brown Butter
Equipment
- sauce pan lightly colored
Ingredients
- 1 cup butter unsalted (make as much or as little as you need, doesn't have to be 1 cup)
Instructions
- Cut butter into chunks and place in a light colored pan. Place pan over medium heat and stir butter until melted.
- Continue to cook, slightly simmering, until butter foams, stirring often
- Once butter forms toasty brown bits, becomes a golden caramel color, and has a warm nutty aroma, remove from heat and pour into a separate bowl. Use immediately, or refrigerate for later use.
Nutrition


Questions & Reviews
The brown butter icing on your apple cake is to die for. I could eat it with a spoon. Awesome tutorial, I never know when to stop so I don’t burn it.
Thank you! Thank you! I love making Southern Living’s Fresh Apple Cake with Browned Butter Icing. It’s always a big hit but I’ve never been confident I’ve nailed the icing……because I was doing it in a dark pan! Appreciate the tip! Happy Easter!
Brown butter broccoli is my fav!
Try browned butter over spaghetti noodles and top with some shredded mizithra cheese. YUM…….
I get browned butter accidentally. I guess I didn’t realize that it was a cool thing to do. But you know I remember a wonderful frosting made with browned butter that I had as a kid and totally forgot about it until I read Ashli’s comment.
I recently discovered the amazing flavor that browned butter gives to different foods and I am so grateful to have some visual pics to look at- I have pretty much always just guessed! By the way- have you tried the brown butter snickerdoodles that were on Studio 5 a few months ago? A-MAZING! You need to try them if you haven’t yet!
One of my favorite uses for browned butter is in buttermilk syrup. I didn’t think syrup could possibly get any better. I was wrong. Yum!
I love brown butter on pasta, but my favorite is using it in frosting. Oh. My!
I love these tutorials! I use them all the time. The gravy and brown rice one are two of my favorites! Can’t wait to try this one. Thanks, ladies!
Yum! Love using brown butter!