Recently on Instagram I asked my followers what types of things they (you) would liked to learn how to do this year. Things in the kitchen you’ve always wanted to try but never had. There were so many great comments and ideas on there and one that popped up quite a bit was artisan bread. I knew that we definitely needed to start with this recipe for Easy No Knead Overnight Artisan bread because, PEOPLE. Listen up. YOU DO NOT HAVE TO BE A BREAD MASTER TO MAKE THIS.
Hands Down the Easiest Bread You Will Ever Make
It is quite simply, the easiest, and possibly the most delicious, bread in the world and it requires zero bread making skills. This takes literally 90 seconds to prepare. It only requires 3 ingredients, 1 bowl and a wooden spoon. There is no kneading. You literally dump 3 ingredients in a bowl and the next day have an insanely gorgeous artisan bread loaf with a crazy crackly crust and tender chewy insides and you will just sit there staring at it telling everyone in a 50-foot radius, “I MADE THAT.”
Equipment needed for No-Knead Bread
The one special thing you will need for this recipe is a heavy enamel coated Dutch oven. If you don’t have one of these, you can try it in any heavy oven-safe pot with a lid you can find, but I’m telling you right now a heavy Dutch oven is a great investment. It’s a workhorse in the kitchen and you’ll get so much use out of it. It’s the perfect pot for braising Pot Roast, making dishes like my Oven Braised Chicken, Honey Balsamic Drumsticks, cooking soups on the stovetop and more.
There’s no need to spend over $300 on a Le Creuset (I mean, unless you want to?) You can order a Lodge brand for $60 and free Prime shipping. Amazon Basics actually makes one as well now for just over $40. I ordered one to compare and I’ve only used mine once but it seems like a great option. I did notice my Amazon pot said oven safe to 400 (whereas the lodge is safe up to 500 and this particular recipe cooks at 450, just FYI) They both come in a rainbow of gorgeous colors. When recipes refer to cooking in a “Dutch Oven” this is what they’re talking about. Click here to grab a Lodge Brand, and Here to check out Amazon’s brand!
How to make No-Knead Dough
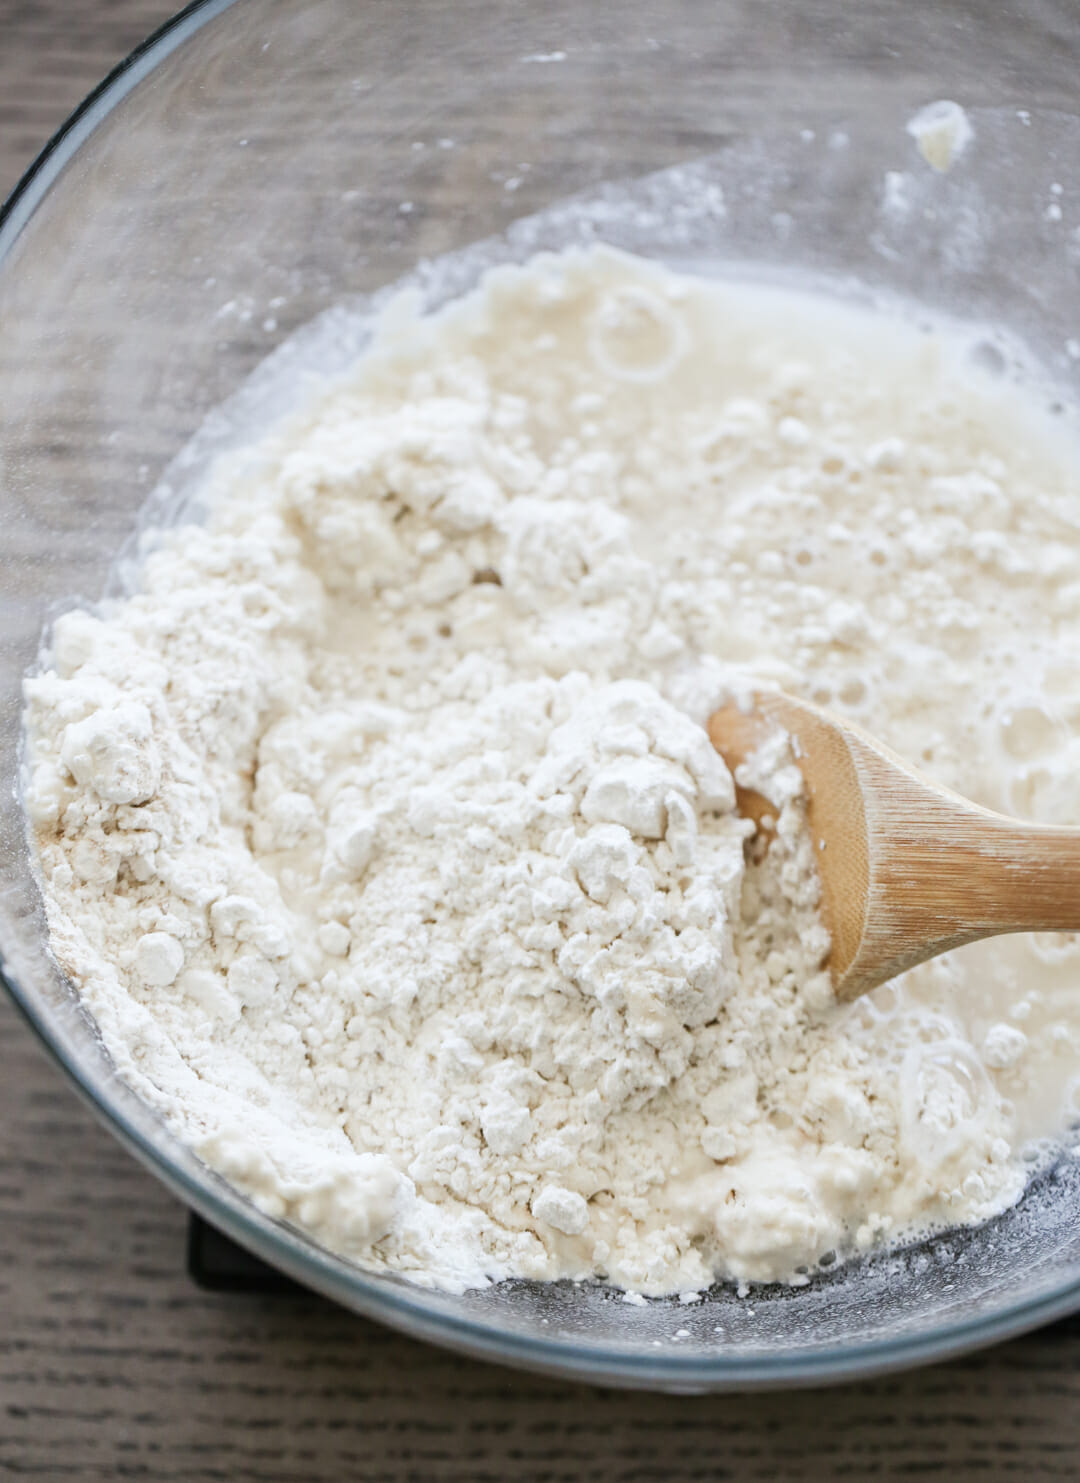
So let me show you in just a few steps how we’re making this bread. It starts with all purpose flour, warm water and yeast. Okay and a little salt, so I guess technically 4 ingredients.
You will stir these ingredients with a spoon to mix them up and that’s it! Done.
I do want to say something about the flour, here. I think this recipe does count on people over measuring their flour. When I actual weigh my flour to get an exact weight for the 3 cups, this dough is extremely wet and loose. Like, I can’t form it into a ball, it’s more of a thick liquid. And the bread turns out amazing and soft and beautiful. When I scoop my flour with the measuring cup (something we are constantly telling you not to do,) the dough is still on the wet-sticky side, but it looks more like most people’s photos of this dough, and you can actually form it into a ball. And it turns out delicious. So what I’m saying is, this dough is extremely flexible. Try it a few times and see what you like, but don’t ever get worried it’s not going to work because it always works! Just don’t add tons more flour because you think it should be the consistency of playdough. Because it shouldn’t. Overall your dough should be quite loose and sticky, but feel free to just dunk your measuring cup in your flour bag and haphazardly scoop. This is one instance where that totally works!
Let the Dough Rest
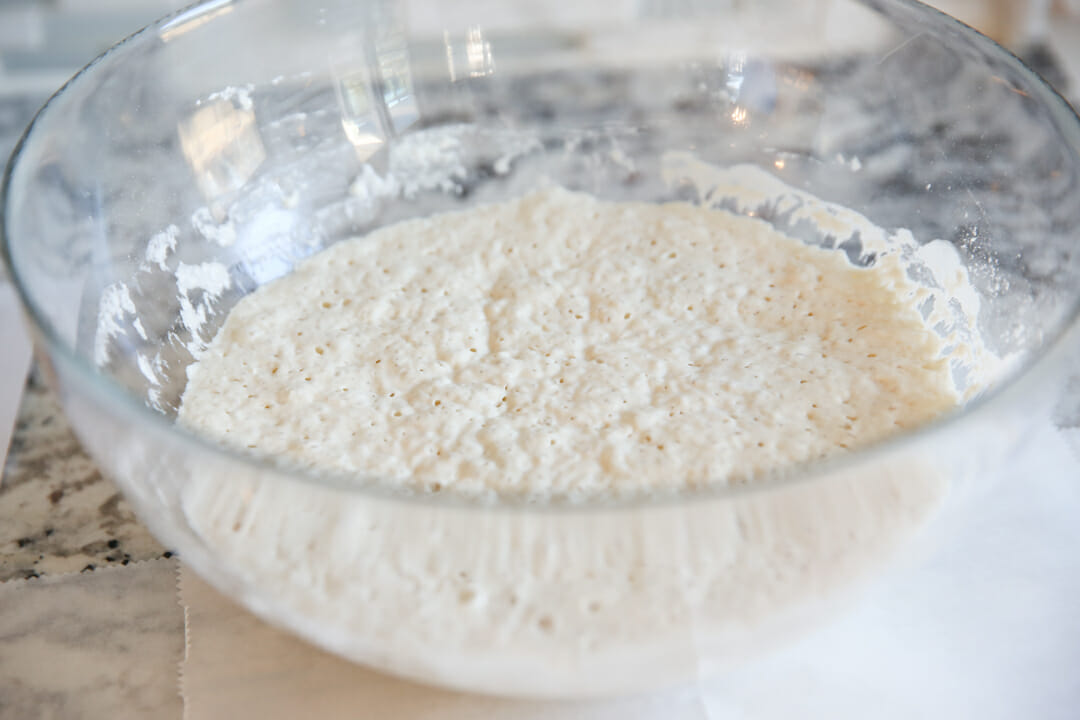
Once that’s all mixed up, just cover with plastic, leave on your counter, and come back and visit it tomorrow. It needs to sit for anywhere from 8-18 hours. I always just mix up the dough the day before, but technically you could do it early in the morning and have it for dinner as well. Just know the longer it sits, the better the texture will be so I recommend at least 12 hours.
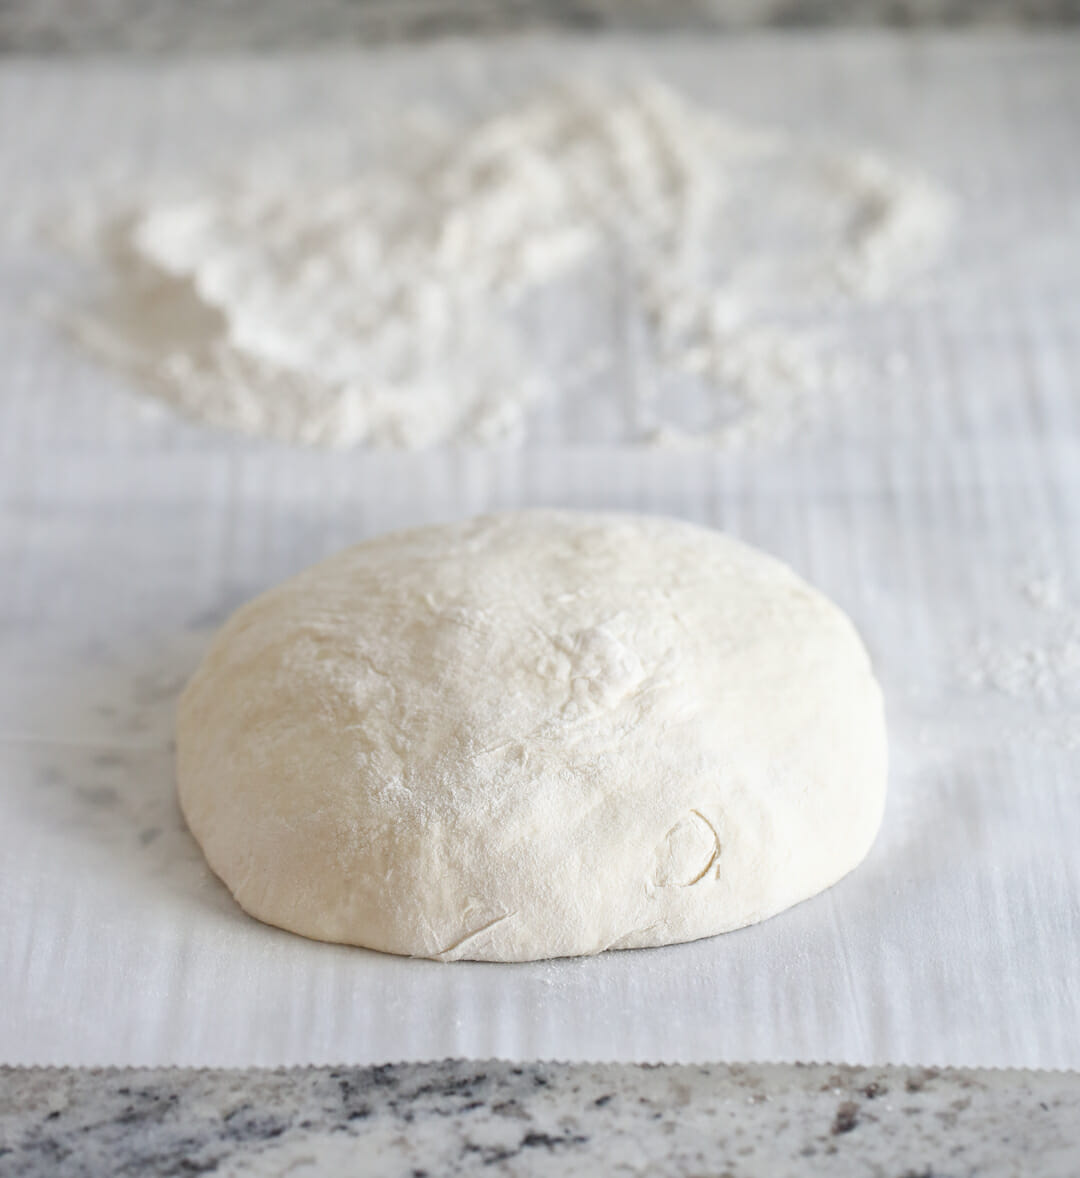
At this point you’ll just scrape it all out onto a generously floured surface- I put it directly onto a piece of parchment paper. Remember your dough will be REALLY sticky so sprinkle flour all over it where you’ll be touching it and handle it gently so it doesn’t get all over you. Fold it on top of itself a couple times (remember no kneading) and form it into a round-ish shape. Let it sit for 30 minutes. During that 30 minutes you will place your empty, covered dutch oven in your oven preheated to a screaming hot 450 degrees. We’re creating our own little bread oven here.
Baking No-Knead Bread
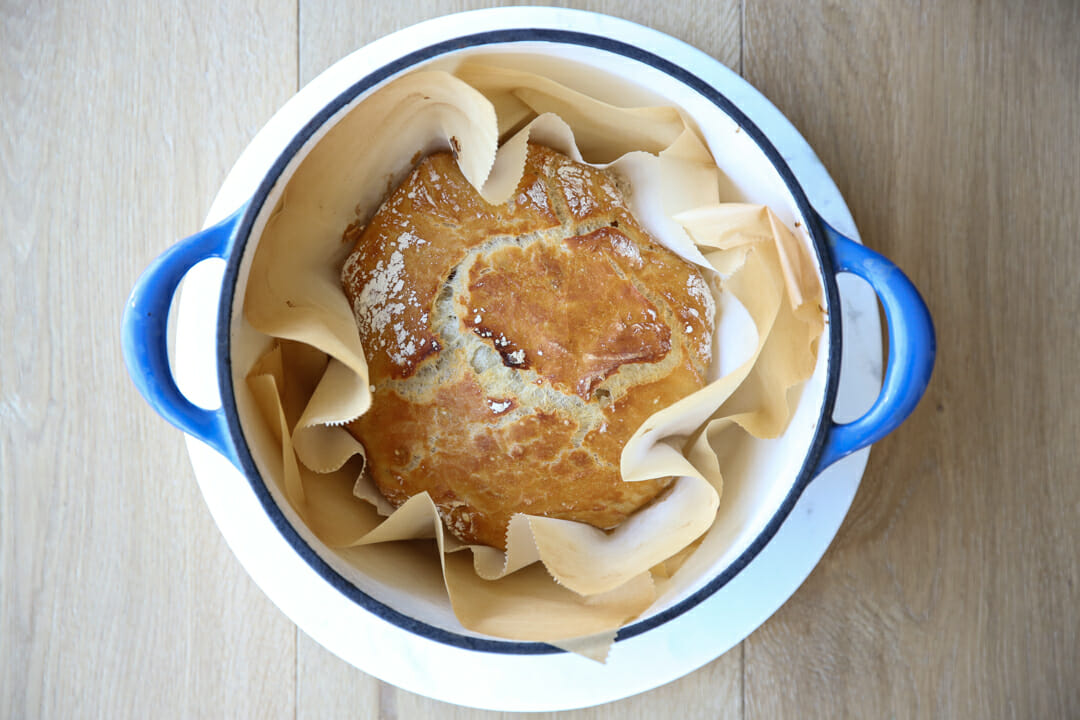
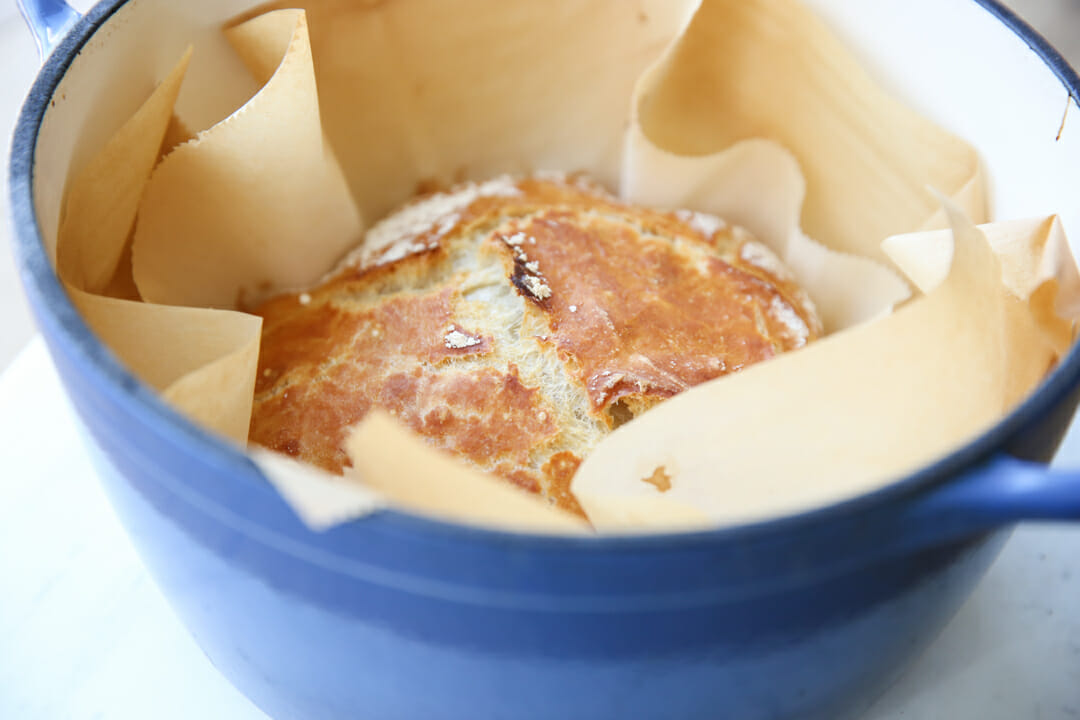
When it’s preheated you will CAREFULLY (can’t stress that enough) remove your crazy hot pan from the oven, transfer your bread into it, and place the lid on. DON’T FORGET YOUR LID IS PIPING HOT. I always keep a towel over the handle while it’s on my counter just to be safe. Pop that pot back into the oven to bake. You can see I just lift my whole parchment paper that my bread was sitting on and put it into the pot.
about 40 minutes later your house will smell like a straight-up European bakery.
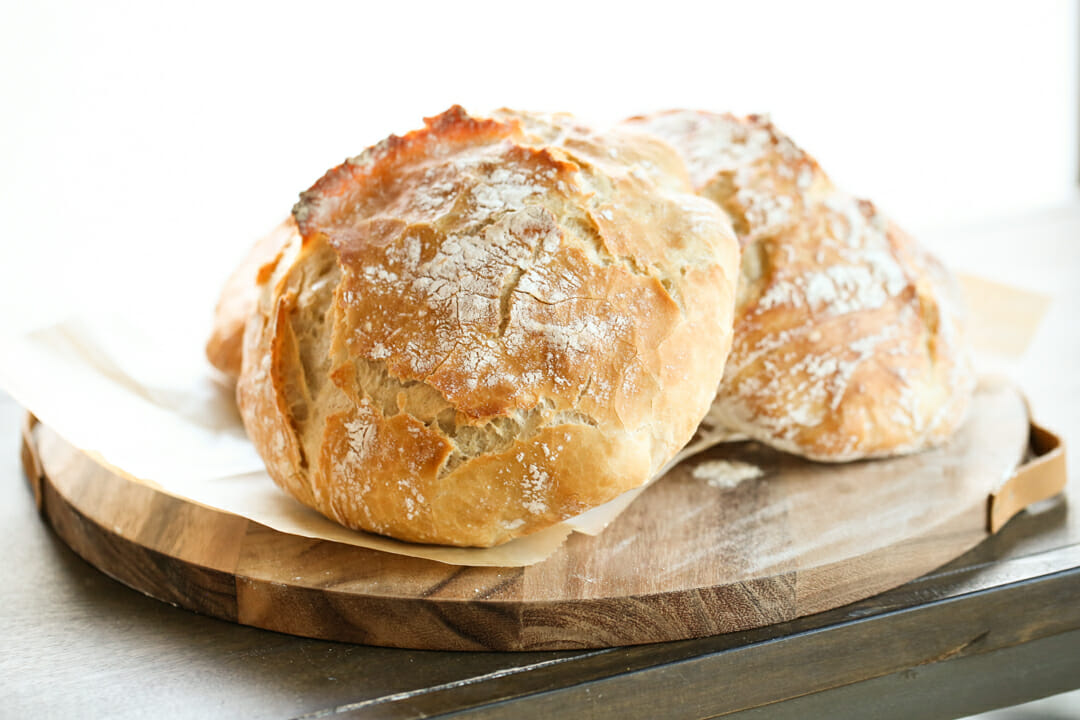
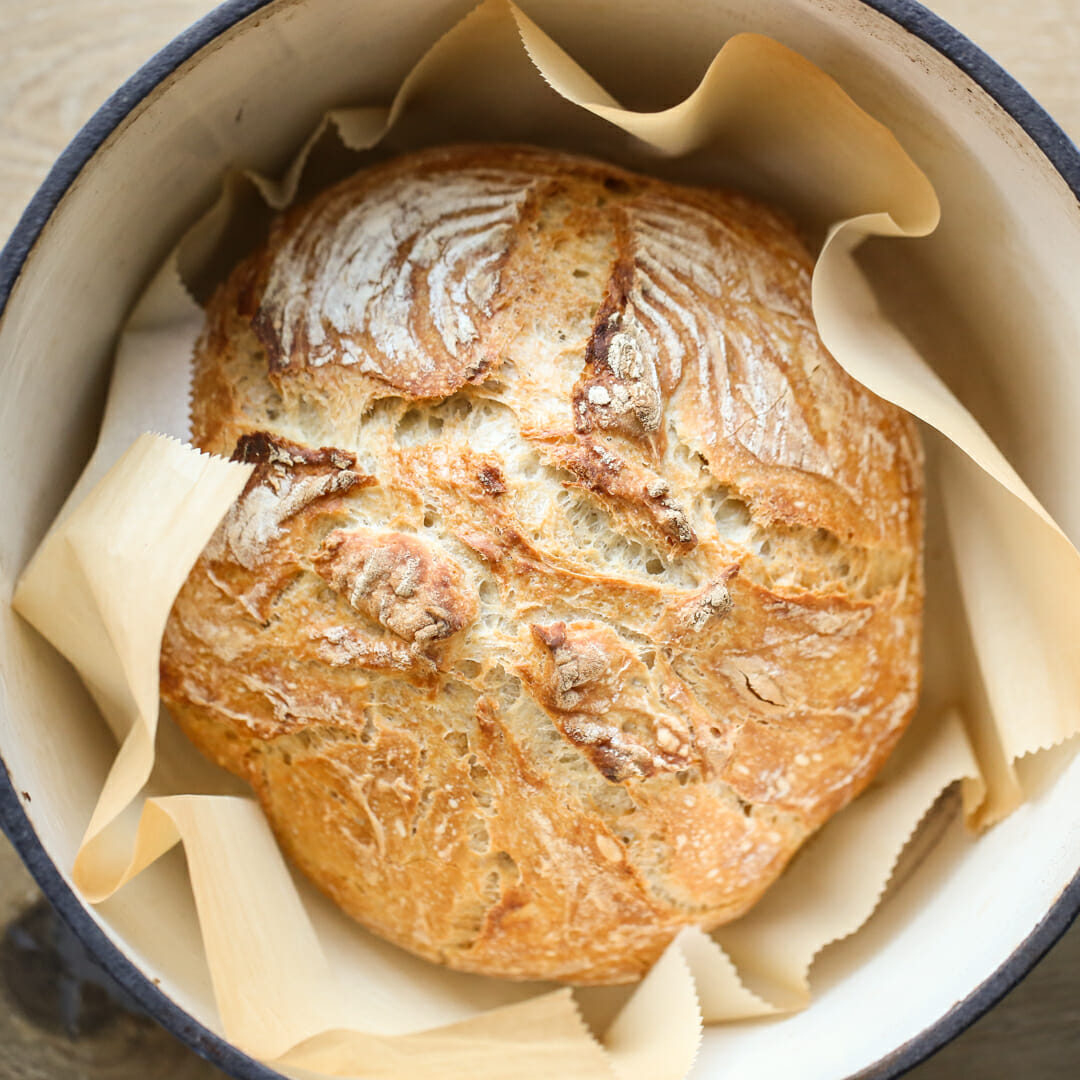
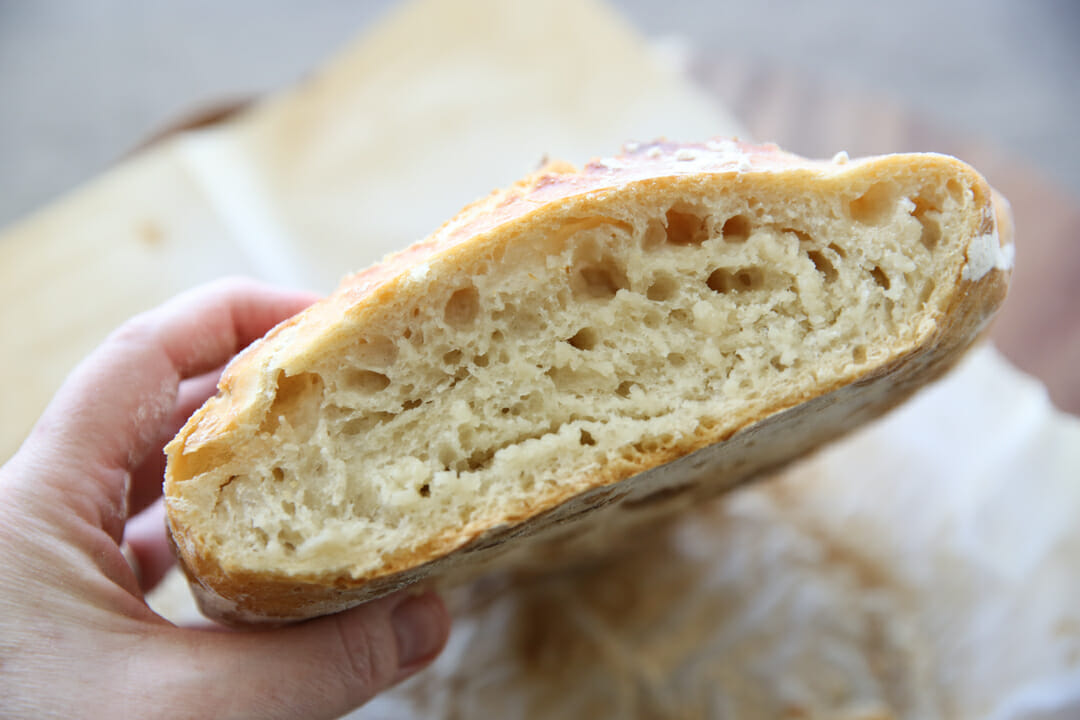
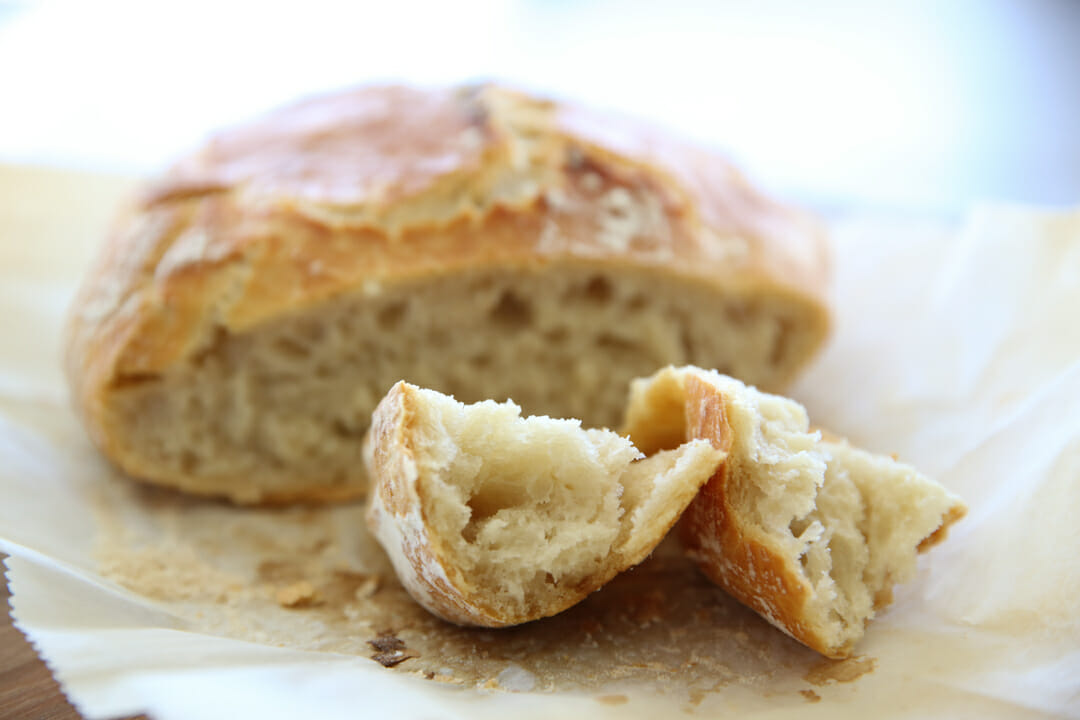
This bread has a super crispy crust and a chewy soft inside. It’s the kind of bread you rip off in chunks and slather with butter while it’s still warm, or dunk in a bowl of soup, or dip in olive oil. It’s amazing.
It’s so crazy easy you can literally make it every day. This fact is both useful and dangerous.
This is one of my favorite things to gift new neighbors or a friend who needs dinner. Pair it with a pot of soup, or a bottle of nice olive oil for a sweet gift!
Easy No Knead Overnight Artisan Bread
Ingredients
- 425 g about 3 cups all-purpose or bread flour, more for dusting
- 1/2 teaspoon instant yeast*
- 1 1/4 teaspoons salt
- 1 1/2 cups 340g warm water (about 110 degrees, like warm, not hot, bath water)
Instructions
- In a large bowl combine flour, yeast and salt. Add water, and stir until blended; dough will be shaggy, sticky, and quite loose. Cover bowl with plastic wrap. Let dough rest at least 12 hours, preferably about 18, at room temperature.
- Dough will be dotted with bubbles and much looser/wetter than it was the day before. This is normal! Generously flour a work surface- I recommend parchment paper to make this process really simple, but you can also work on a cutting board or silicone mat and then transfer your dough to a piece of parchment before baking- and place dough on it; sprinkle it with a little more flour and very gently fold it over on itself once or twice. If your dough is super loose here, like so loose you can't even form it into a ball, it's more of a blob, you can generously flour so it doesn't stick to your hands. Let rest about 30 minutes.
- While dough is resting, preheat oven to 450 degrees. Put a covered 6- to 8-quart heavy covered pot (cast iron, enamel, ceramic) in oven as it heats. When dough is ready, carefully remove pot from oven. Pick up parchment paper with dough (blow off excess flour sitting on parchment if you need to) and place directly in pot. Cover with lid and bake 35-40 minutes, then remove lid and bake another 10-15 minutes, until loaf is golden and browned.


Questions & Reviews
My son just came home from university and said we should make bread. Sure, why not try something new and a little crazy in the kitchen. Found this recipe that had my key requirements, minimal time to make, few ingredients, good reviews. This recipe ROCKS!!! Just ate half the loaf with my son and he’ll have the rest with dinner. Can’t believe how easy this was. We’ll both be making this again. Thanks for the awesome recipe. Perfect for a lazy cook like me and a beginner like my son.
I made this letting it proof 2 hours in my oven on proof setting. Formed into a long loaf with sesame seeds to cover and rest 10 minutes then baked at 450 for 35 minutes till it sounded hallow when tapped from bottom. Delicious!
I’d like to try this recipe but I don’t do yeast. Could this be made with sourdough starter? If so, how much starter do I use? Thanks much!
I’ve never tried using sourdough starter, but I’m assuming that would work fine. I’m not sure how much though!
Question: preheat dutch oven in 450° oven. Do I then bake it at 450° also? Just seems like a very hot oven. I am going to try this once I figure that part out Thanks for sharing!
Yes, bake it hot!
Hi! I’m so excited to try this recipe. My Dutch oven is only 3.5 qt so I’m wondering if I can do two loaves or should I just go for it? Please help!
You can definitely do two smaller loaves, or you might be fine with one- you’d have to just try it out!
In the recipe you state 425 grams of flour and further down in the comments you say to Toni that 3 cups is 360 grams. Which do you use?
Hi there, sorry for the confusion! The reason for the discrepancy is that people use varying weights for a standard 1 cup of flour. Most sources will say that a cup of flour weights 120g (hence why I may have quoted that 360g to someone) and Jim Lahey- the creator of this method uses a generous 140g per cup (the 425 measurement). In most of my recipes I use 130g- right in the middle of those! Different factors can influence how much total flour you will need for this specific recipe, so anywhere in that range is totally acceptable and you can use the visual cues I described in the article to help determine that- hope that helps!
When do I add the herbs?
I would add them in with the flour!
Can this be baked without a dutch oven? Or does it need that to make it the round shape? The only thing I have to bake bread on is a cookie sheet.
I there! The pot does help with the shape for sure, but it also creates kind of an insulated oven inside the pot, helping that crust to crisp up. Do you have an oven safe pot, like a stainless steel soup pot with a lid? That won’t be quite the same, but would work well! If not, give the cookie sheet a go! It might not be quite the same, but I bet it will still taste delicious.