Of all the foods I fell in love with while living in Brazil, Pao de Queijo (literally translated to ‘bread of cheese’) is right up there at the top of my favorites list. If you’ve never had this type of Brazilian cheese roll, it’s not the same type of bread or roll we’re used to here in the US. It’s made with tapioca flour, as opposed to all purpose flour, so it’s almost more like the texture of a cream puff shell or popover, but with more substance. The outside is slightly crisp and browned and the inside is soft and chewy. In the US, you can find them regularly served in Brazilian restaurants, and in Brazil, they’re in every corner store and bakery.
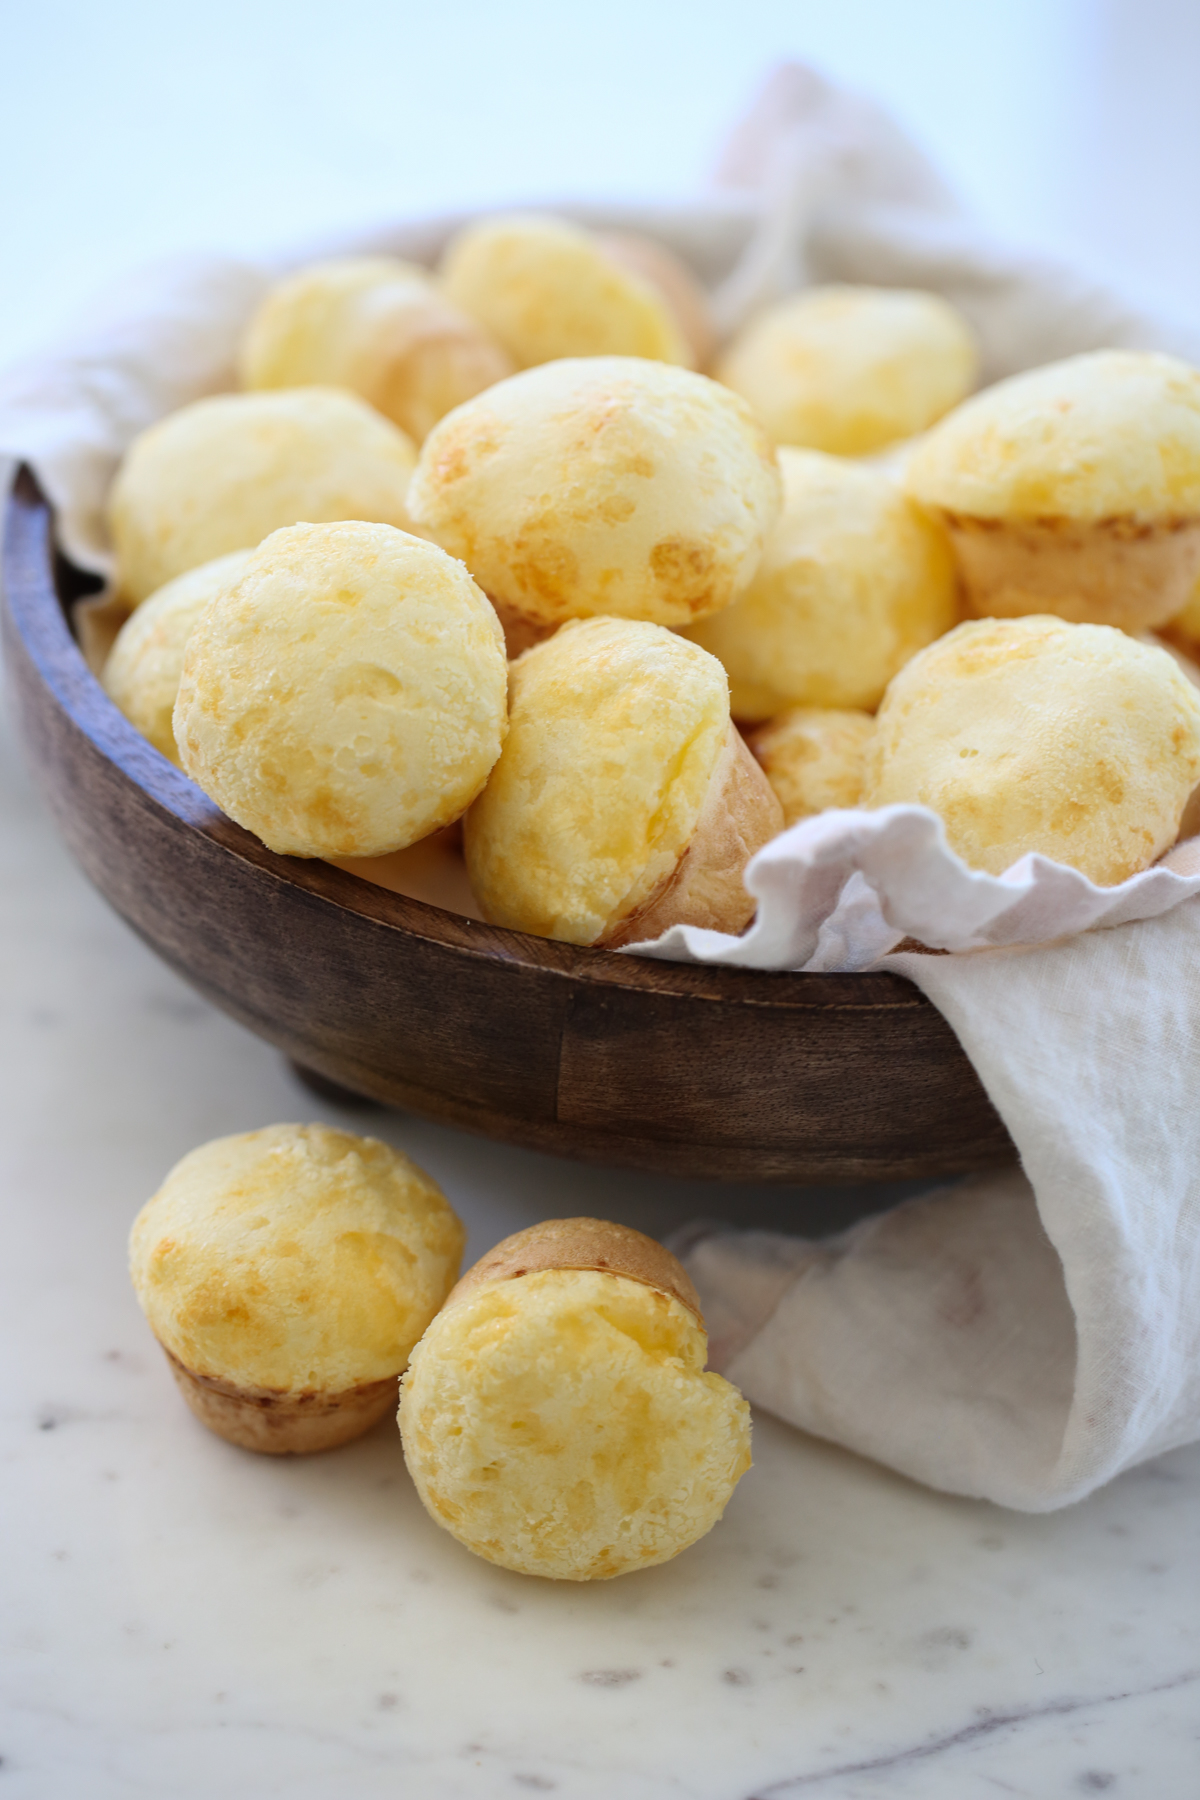
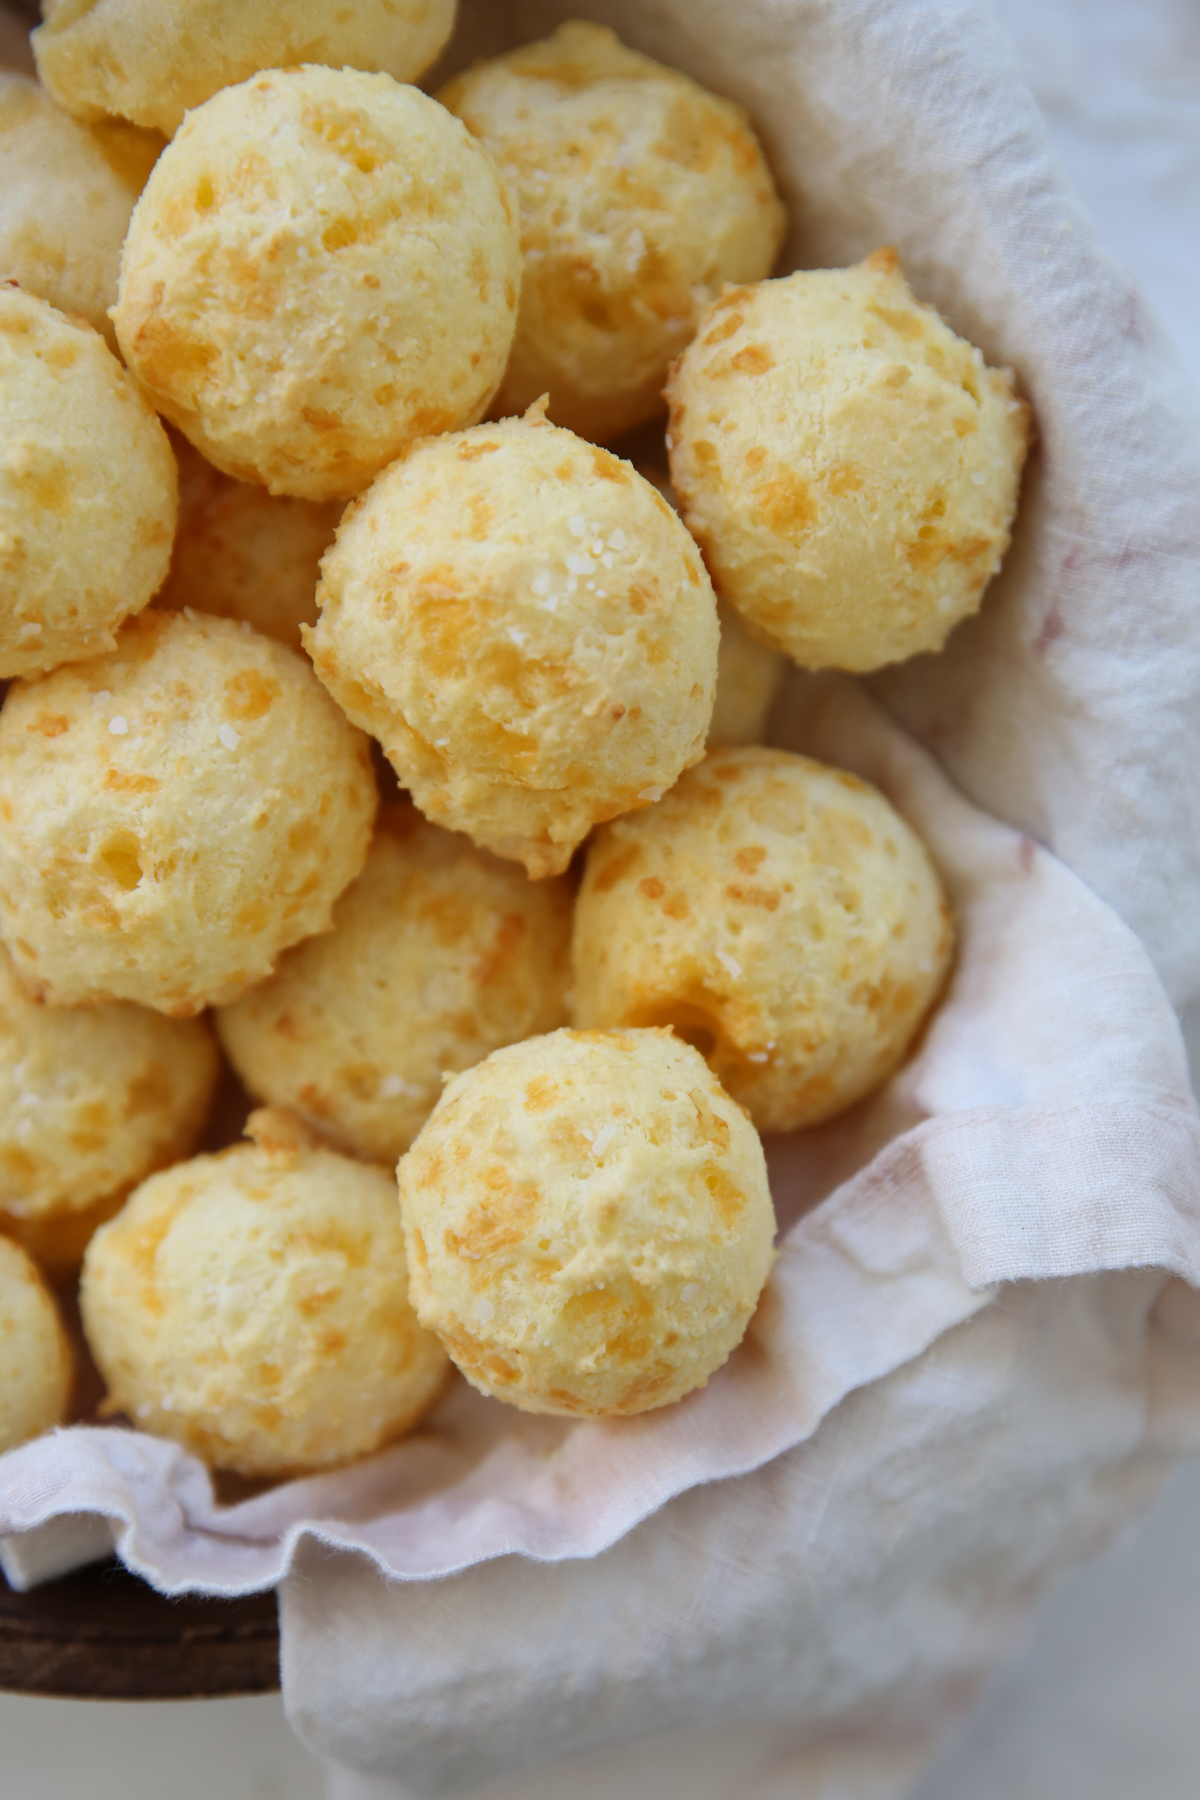
Below, I’ll show you 2 different methods of preparing the exact same recipe:
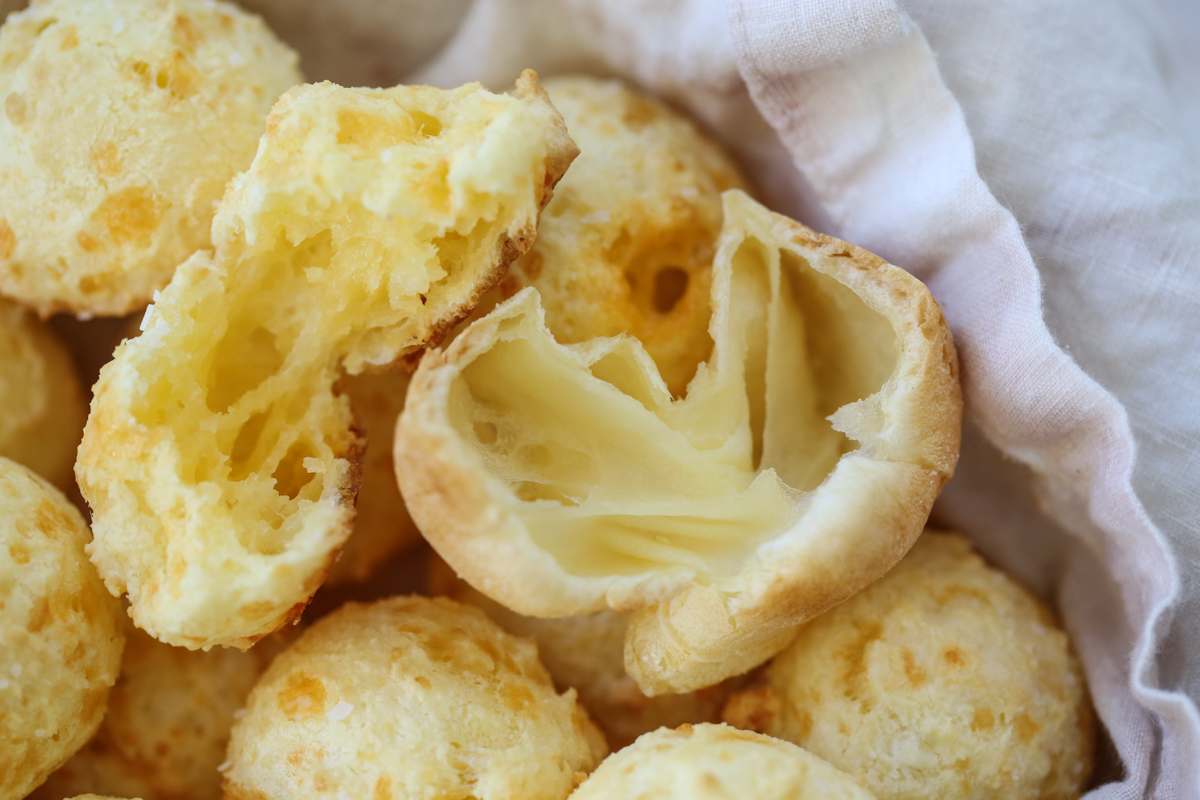
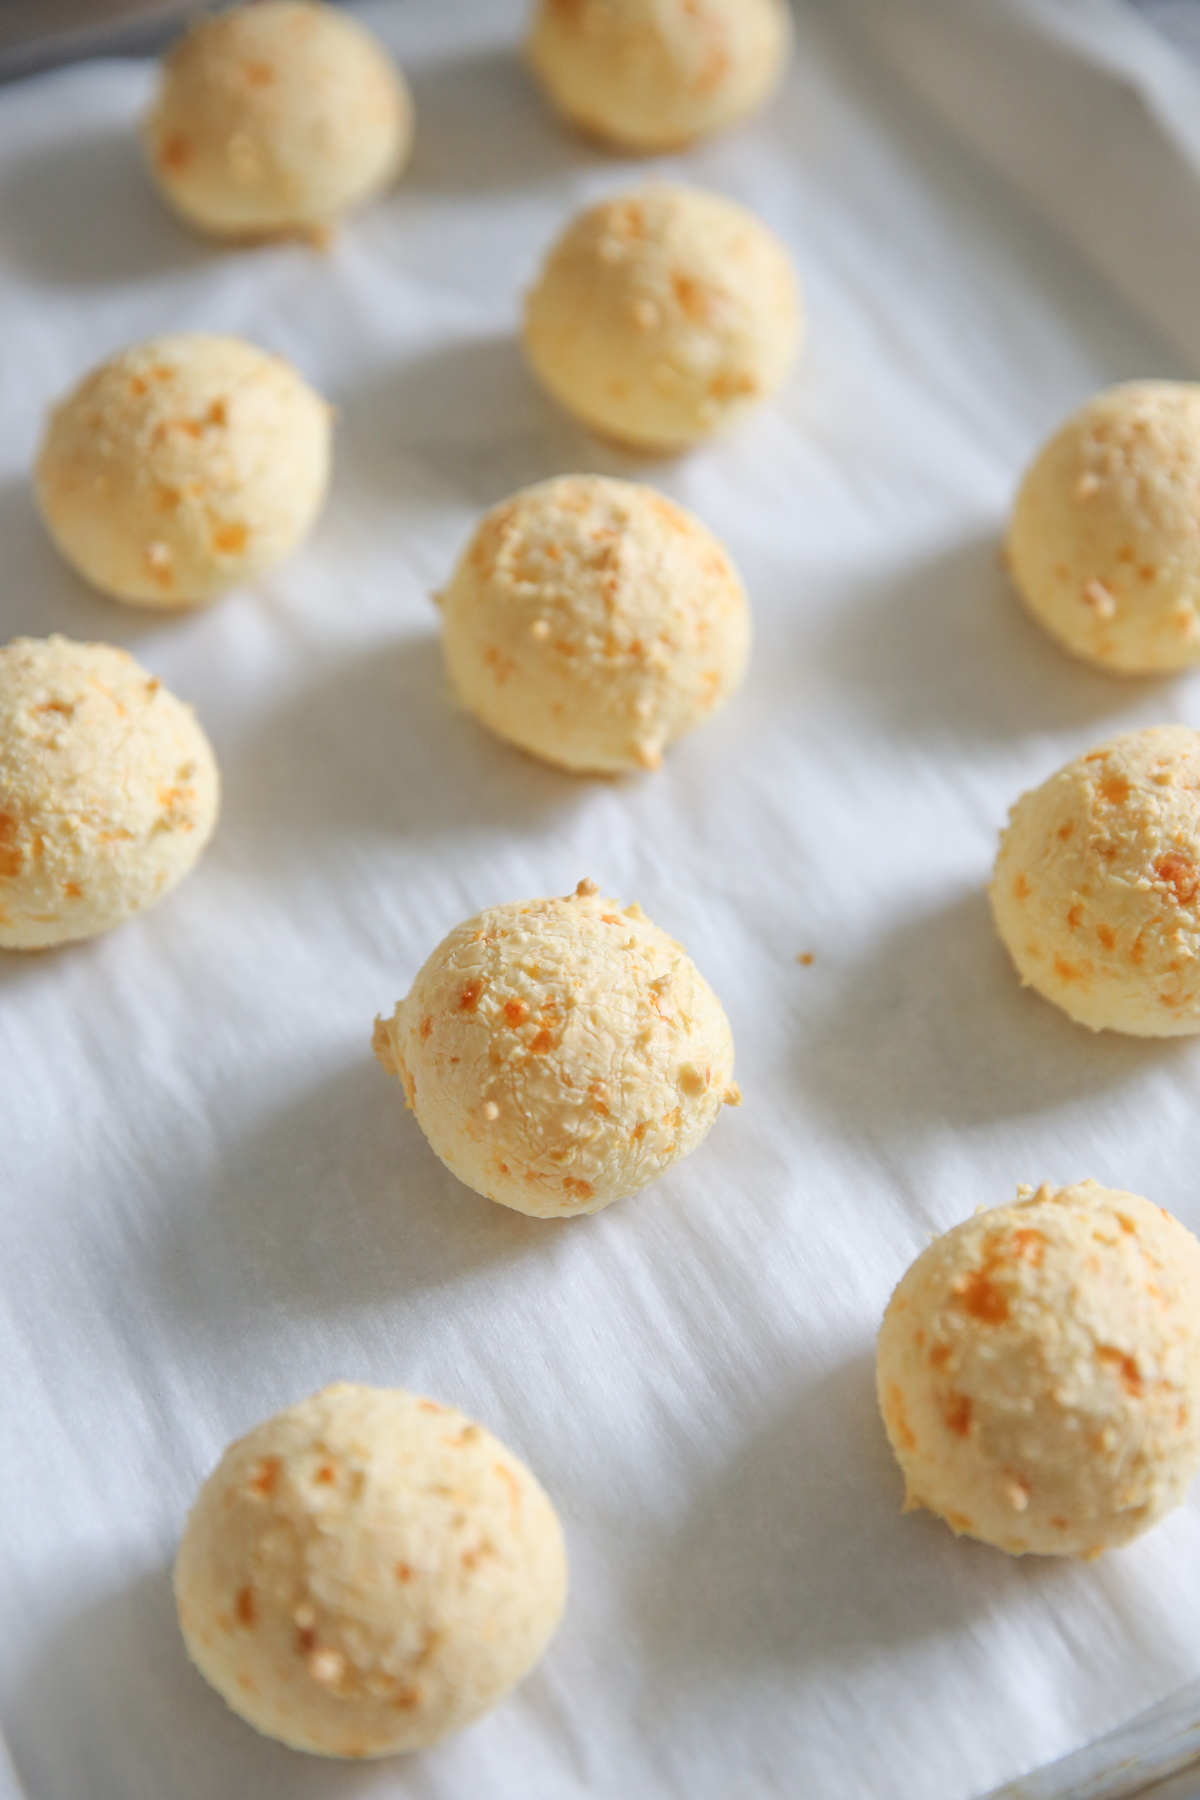
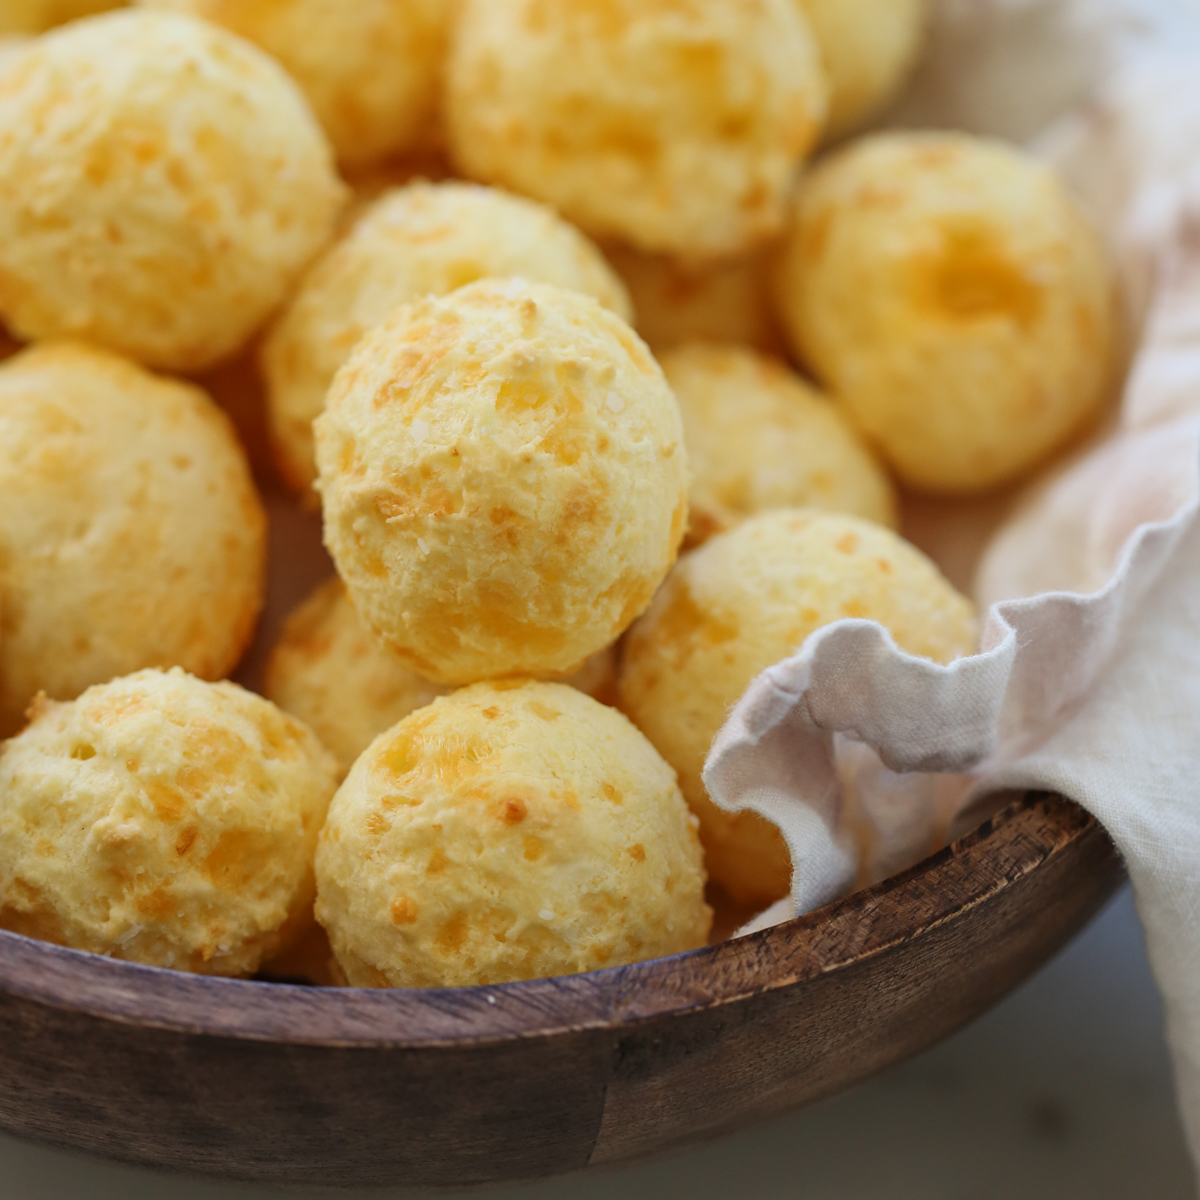
1. The traditional method (shown above, R) where the wet ingredients are first heated and then beat together with the dry ingredients and scooped into little dough balls before baking. This results in: A traditional roll with a slightly crisp outside and a soft chewy center.
2. The shortcut version (shown above, L) where you put all ingredients in a blender and pour the ultra thin liquid batter into a muffin tin. This results in: A flavorful roll with the same chewy texture, but not as much density. These often puff up with hollow centers, and shrink after baking. The outside is a little thinner, but still delicious.
Here in this photo you can see the blender method roll on the right and the traditional method on the left. Both super delicious!
Ingredients and Equipment List
- Tapioca Flour– look for tapioca flour in the specialty flour section of the grocery store, or online. I have also found it sometimes in the bulk foods area of stores like WINCO. It’s a naturally gluten free flour. If you happen to be serving these to a person who needs to avoid gluten for medical reasons, avoid purchasing from bulk bins where there can be risk of cross contamination.
- Egg – Egg acts as a binder and helps produce the chewy texture. I’ve never tried these with any egg substitute.
- Milk – You can use any milk in this recipe, though I prefer one with a higher fat content, like 2% of whole. If you don’t have those, use whatever is in your fridge, including a plant based option if you need to do that for dietary reasons.
- Salt – without salt, these will turn out quite bland! I use kosher salt. If subbing table salt, decrease the amount slightly.
- Cheese – feel free to vary the cheese and discover new combinations. I prefer to use medium or sharp cheddar and parmesan, but most cheeses work well. Stronger flavored cheeses will produce a more flavorful roll.
Instructions
BLENDER METHOD
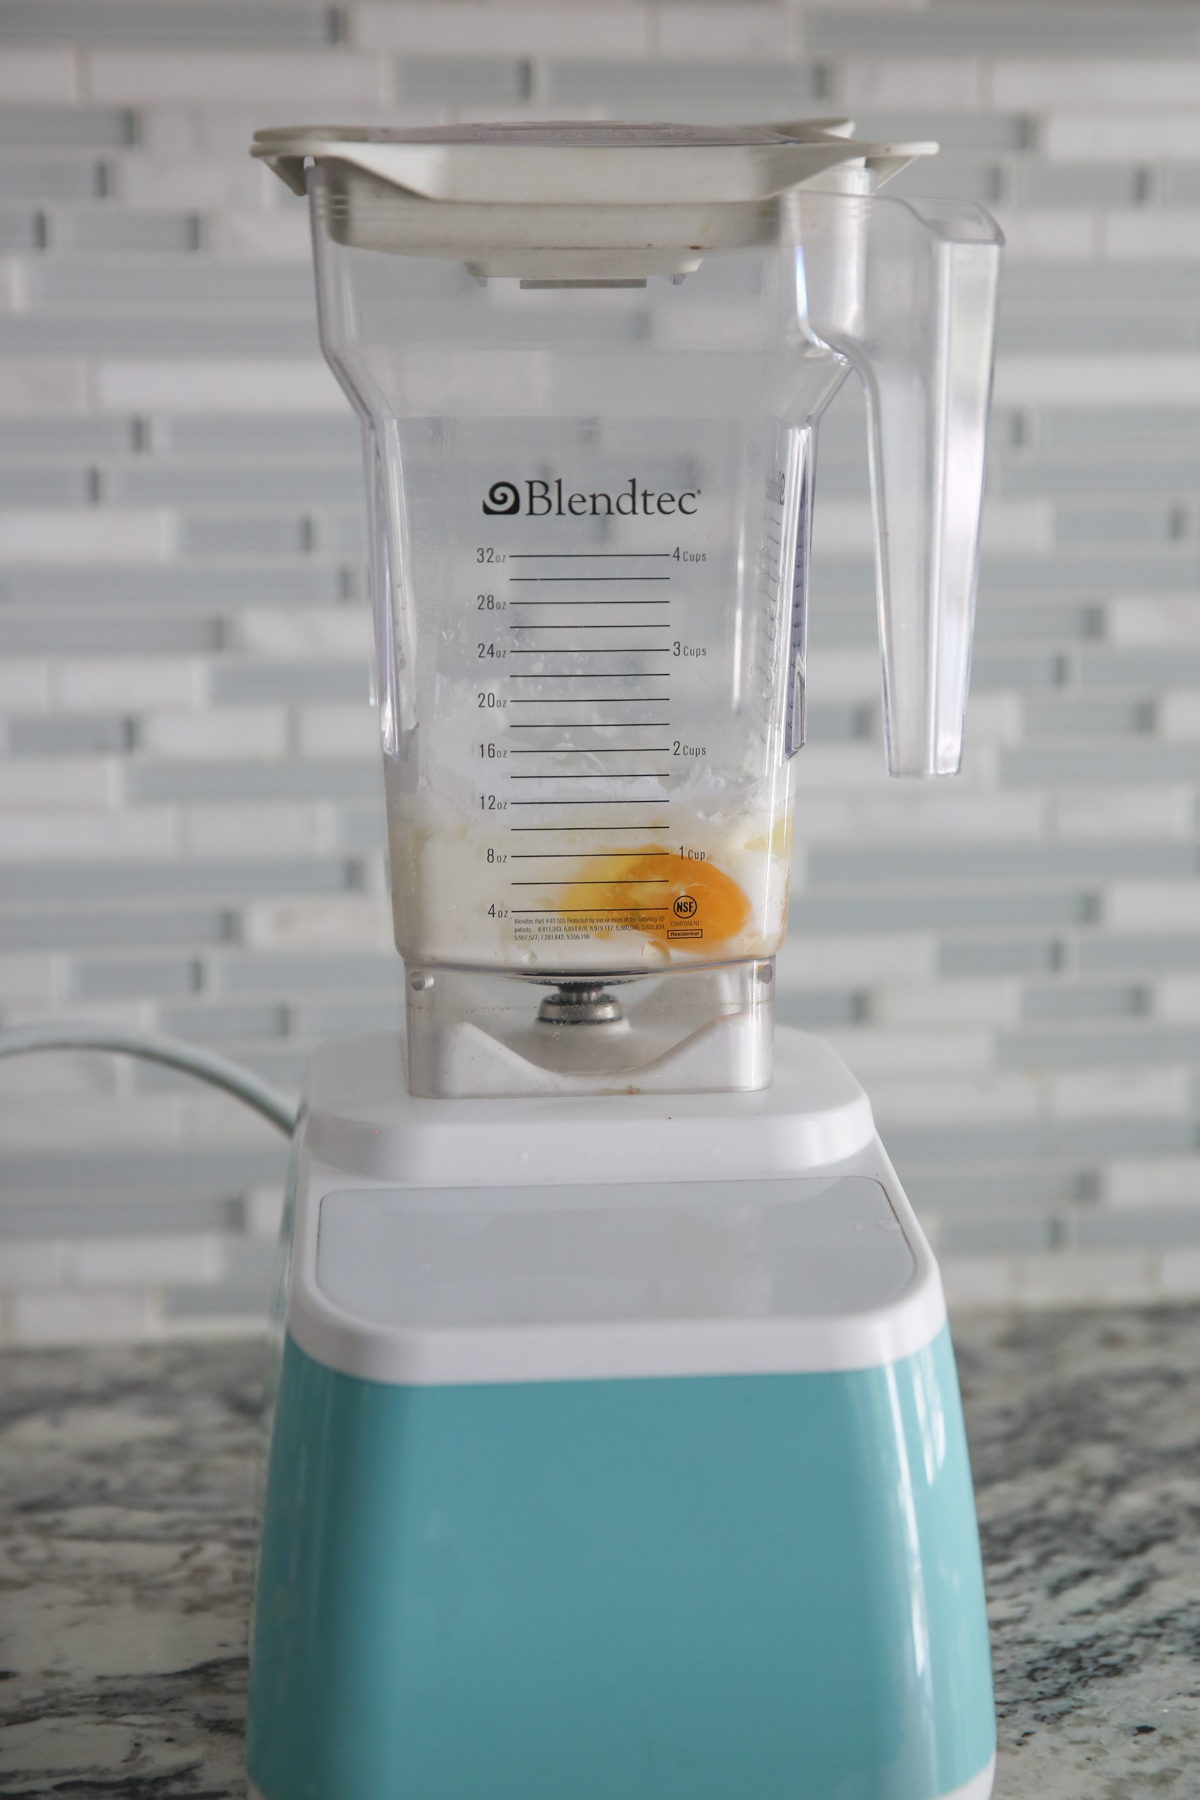
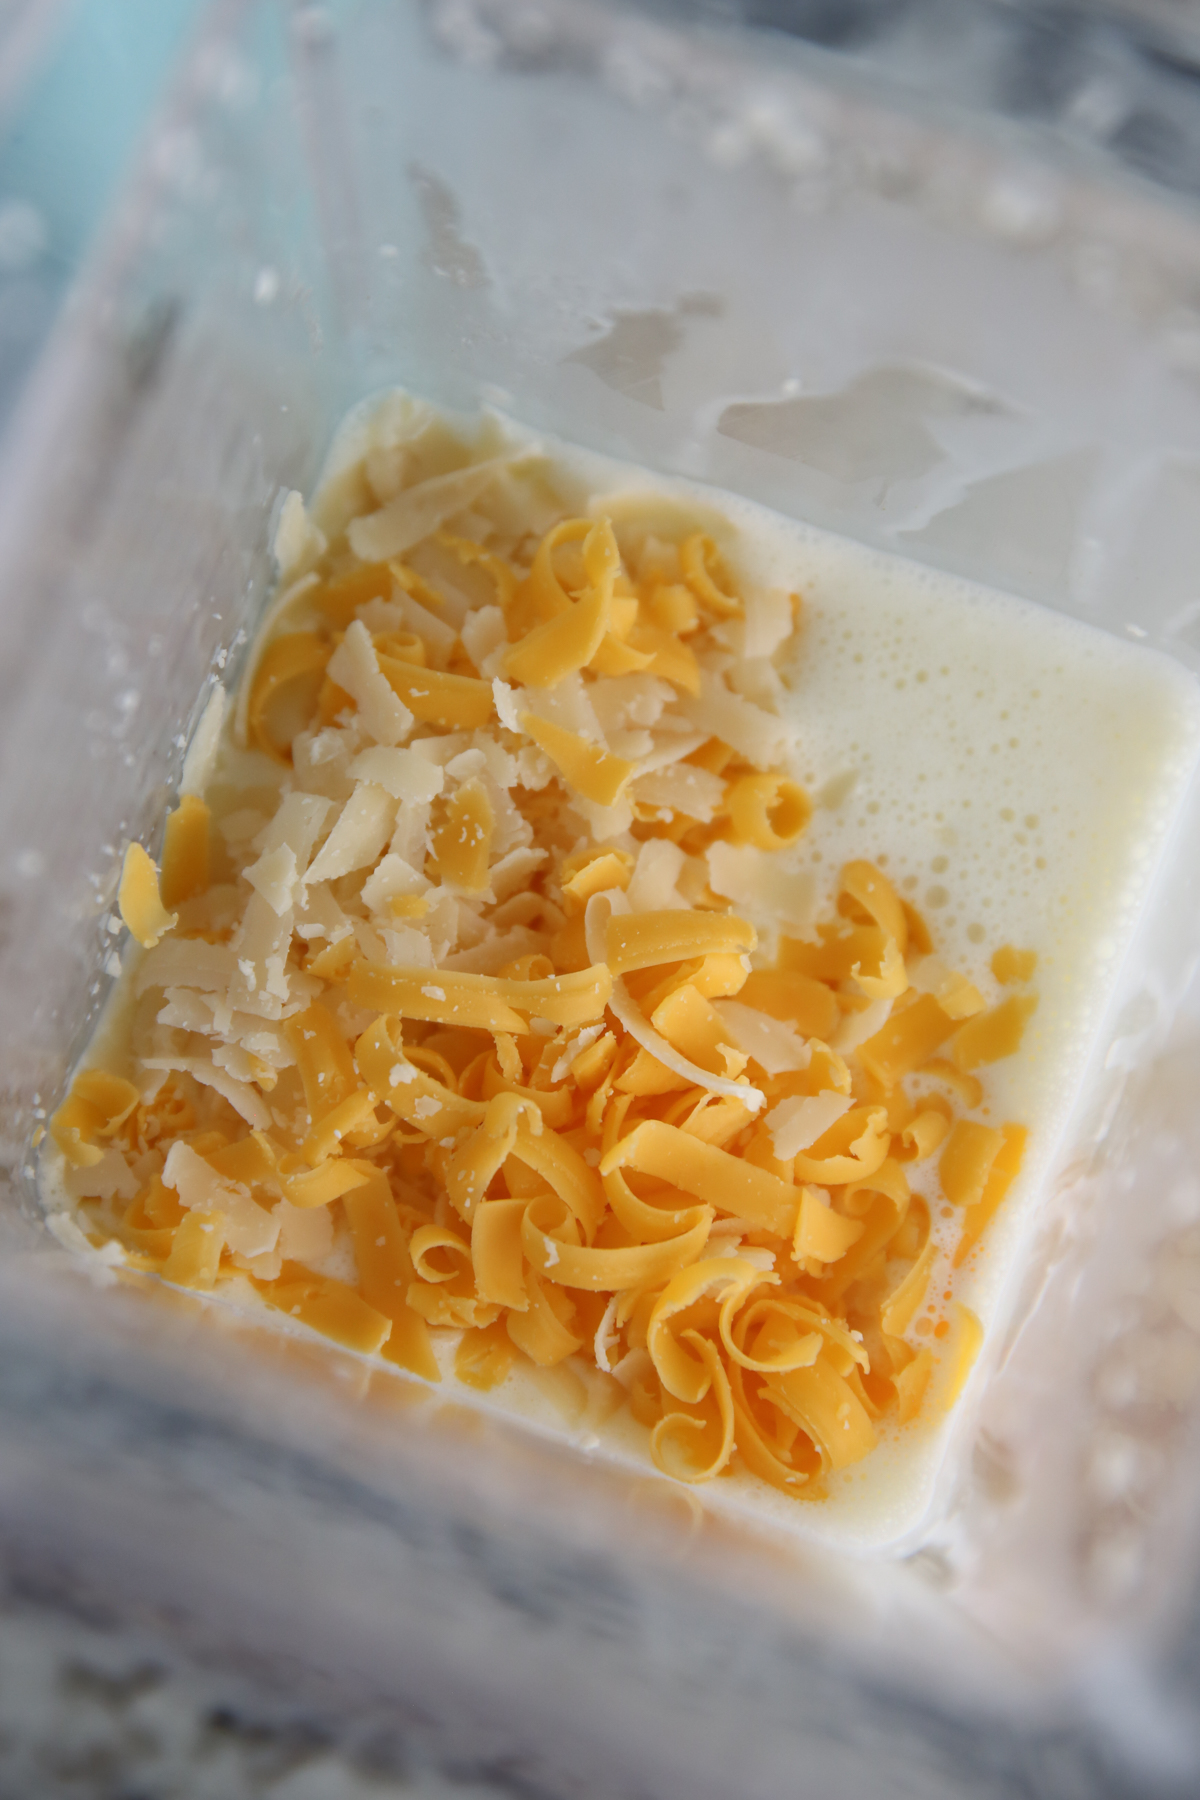
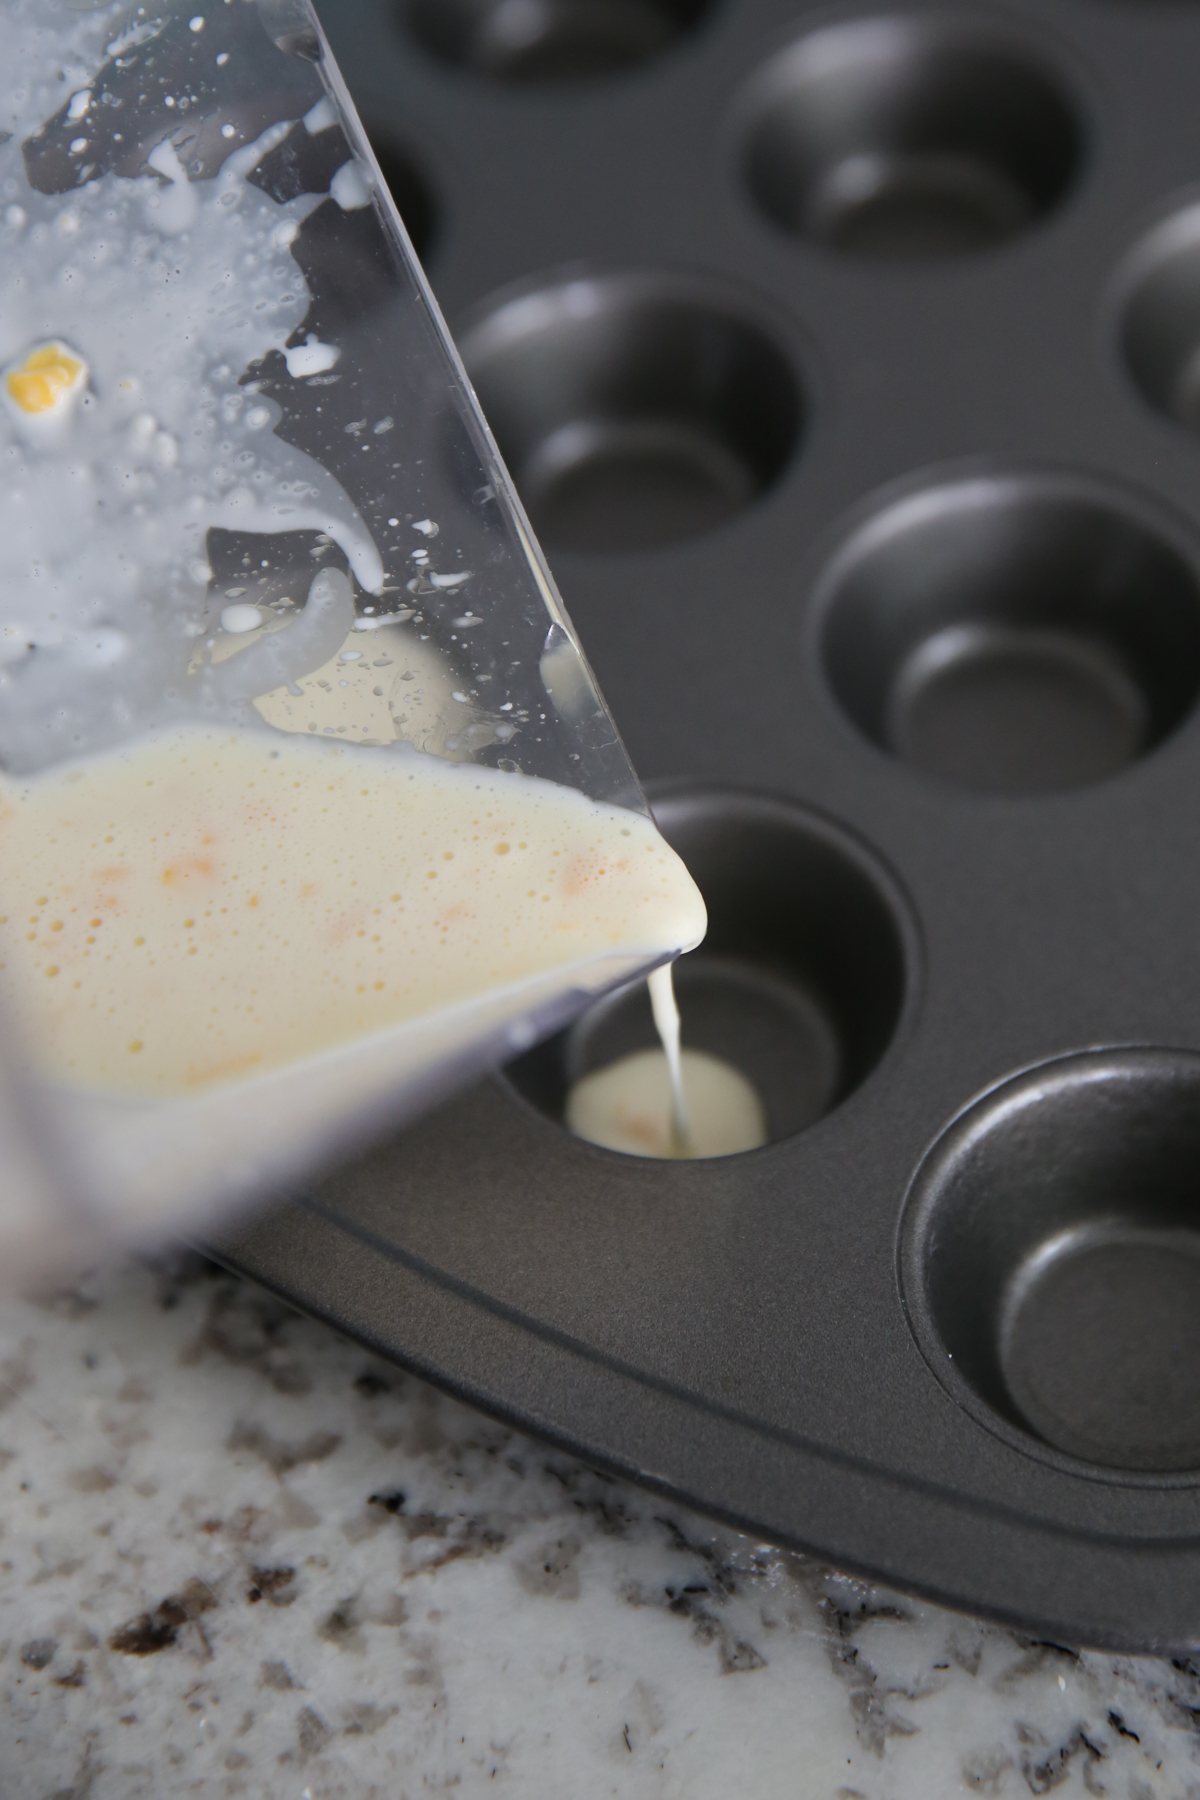
- Put all ingredients except cheese in the blender and blitz it up!
- Add cheese and pulse just a couple times
- Quickly pour into prepared muffin tin (I say quickly, so cheese stays distributed.
- Optionally, you can sprinkle a little more cheese on top
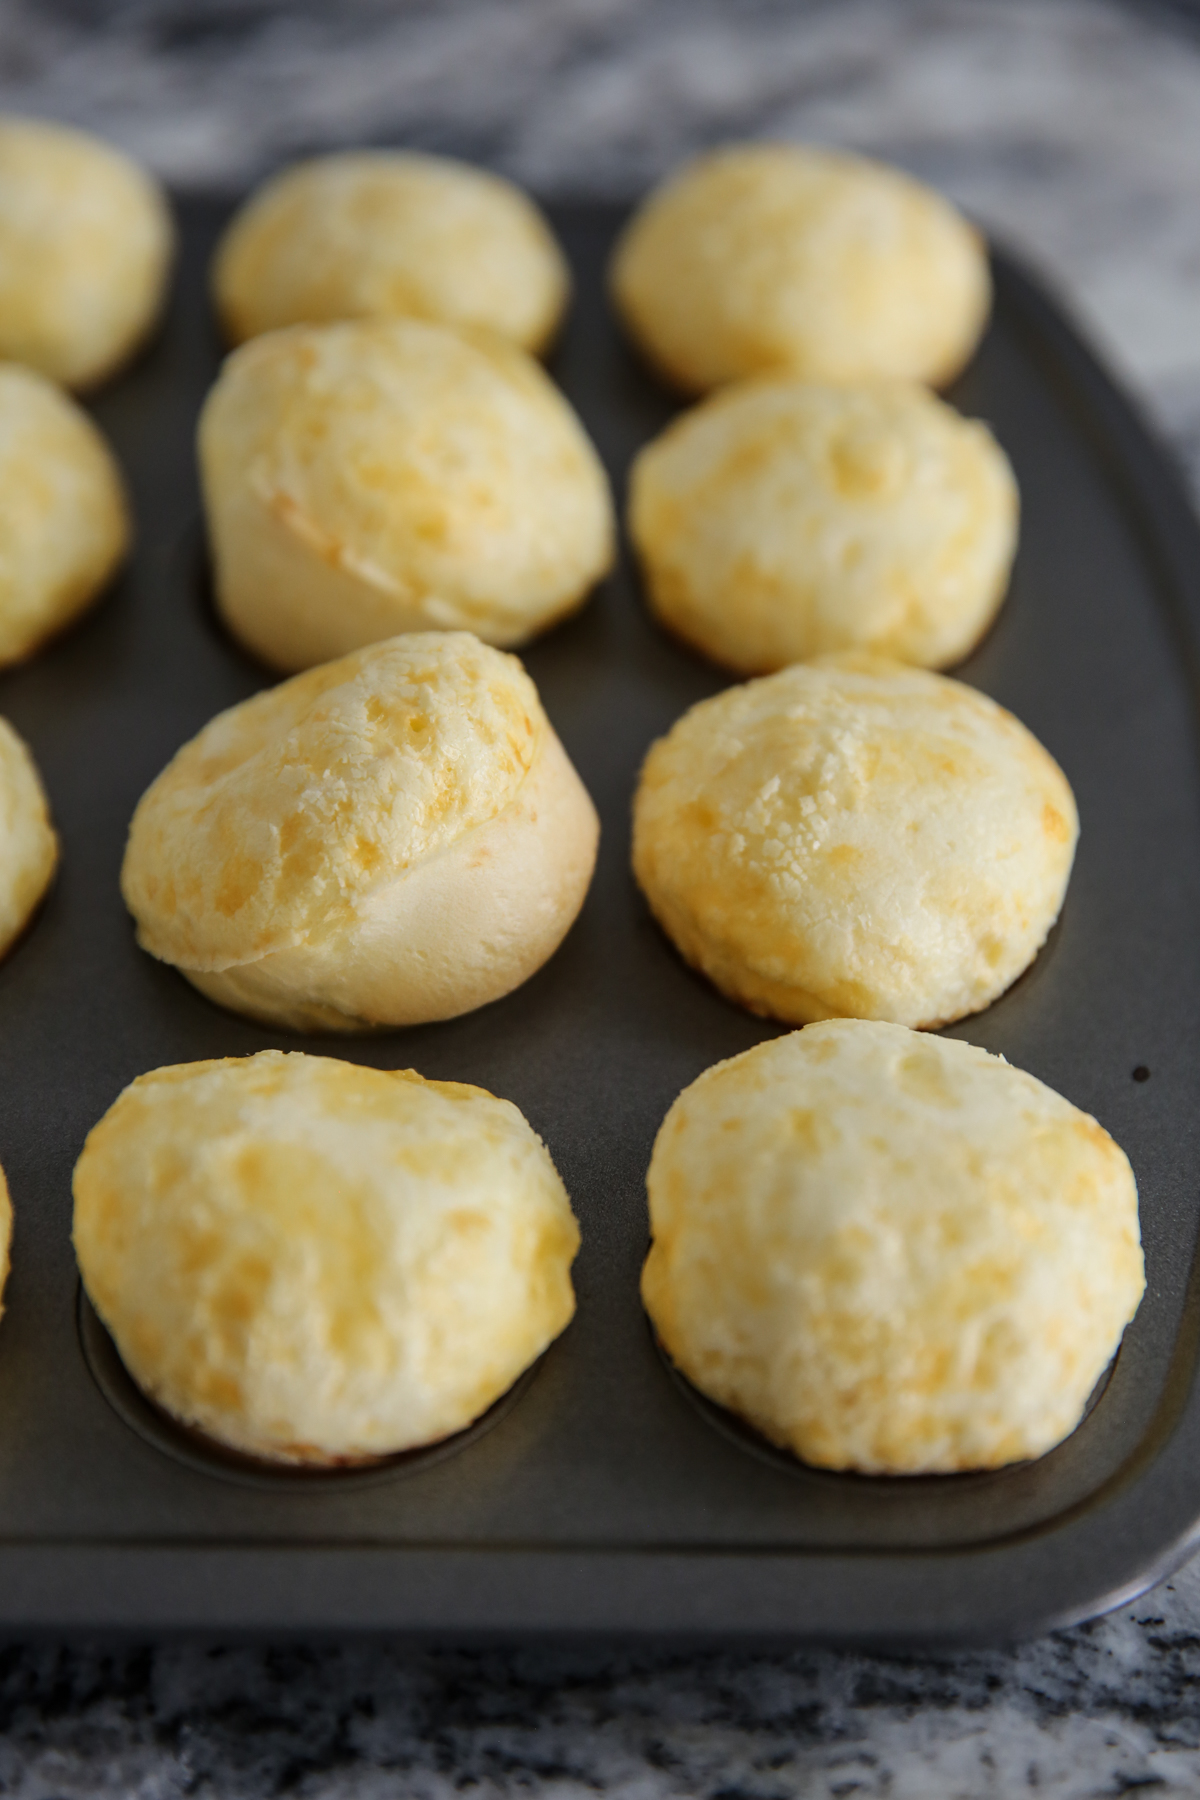
- Bake until puffed and just barely golden.
- They’ll be a little crispy on the outside and soft, airy, and tender on the inside. Almost a little chewy. Some of them are even kind of hollow. This version is definitely less dense than the kneaded dough variety. The yield is anywhere from 16-24 rolls, depending on how full you fill your muffin pan. I fill mine pretty full (a good 3/4 full) and I generally get about 16-18.
TRADITIONAL METHOD
Pay attention to the photos and my explanation here, because while I have made these a ridiculous number of times over the years, the finished dough, with the exact same ingredients and measurements (even weighed to be sure) often turns out with completely different consistencies. And it’s okay!
- First you’ll heat your milk and oil on the stove until just simmering.
- Then you’ll add this to your tapioca flour. You’ll notice in the photos below, I’m adding the flour directly to the pot, but often I put the flour in my mixer, and pour the hot liquid over it and that’s fine too.
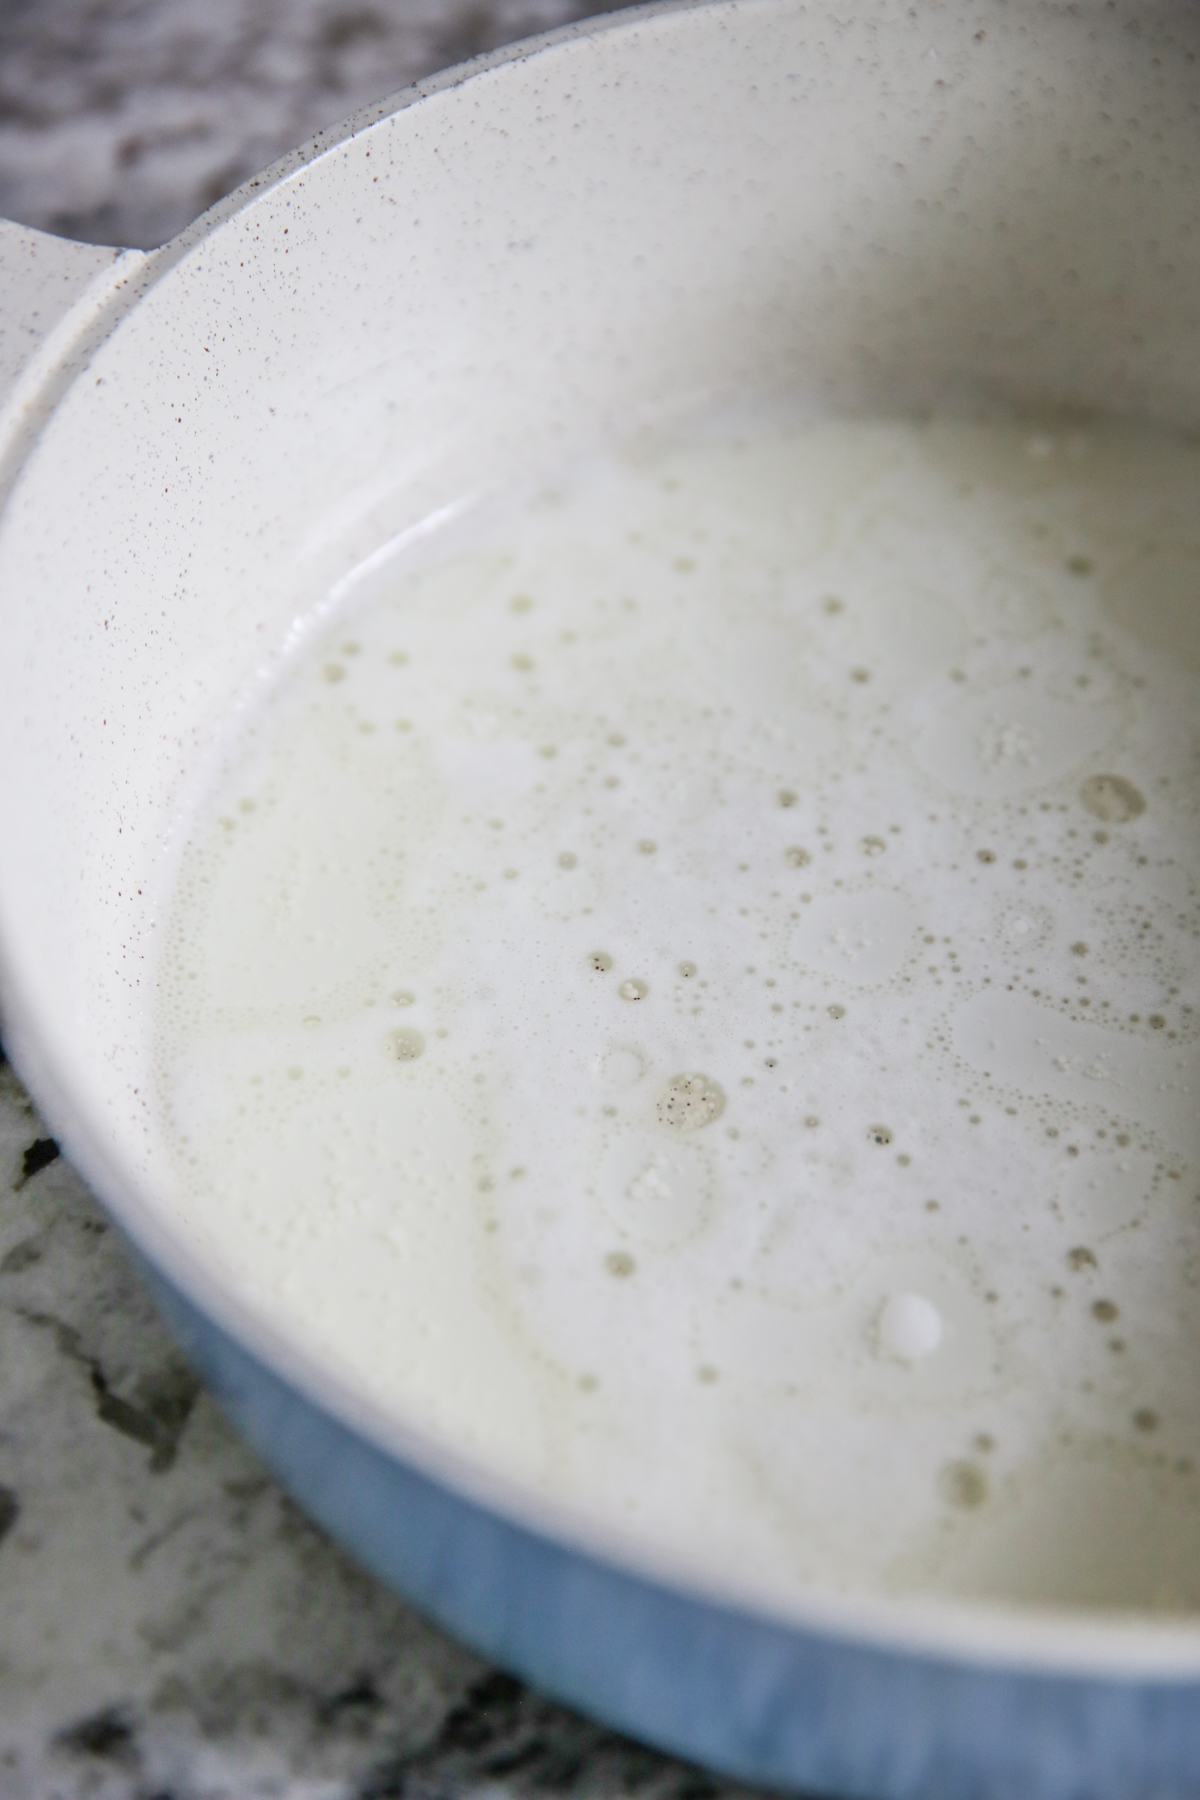
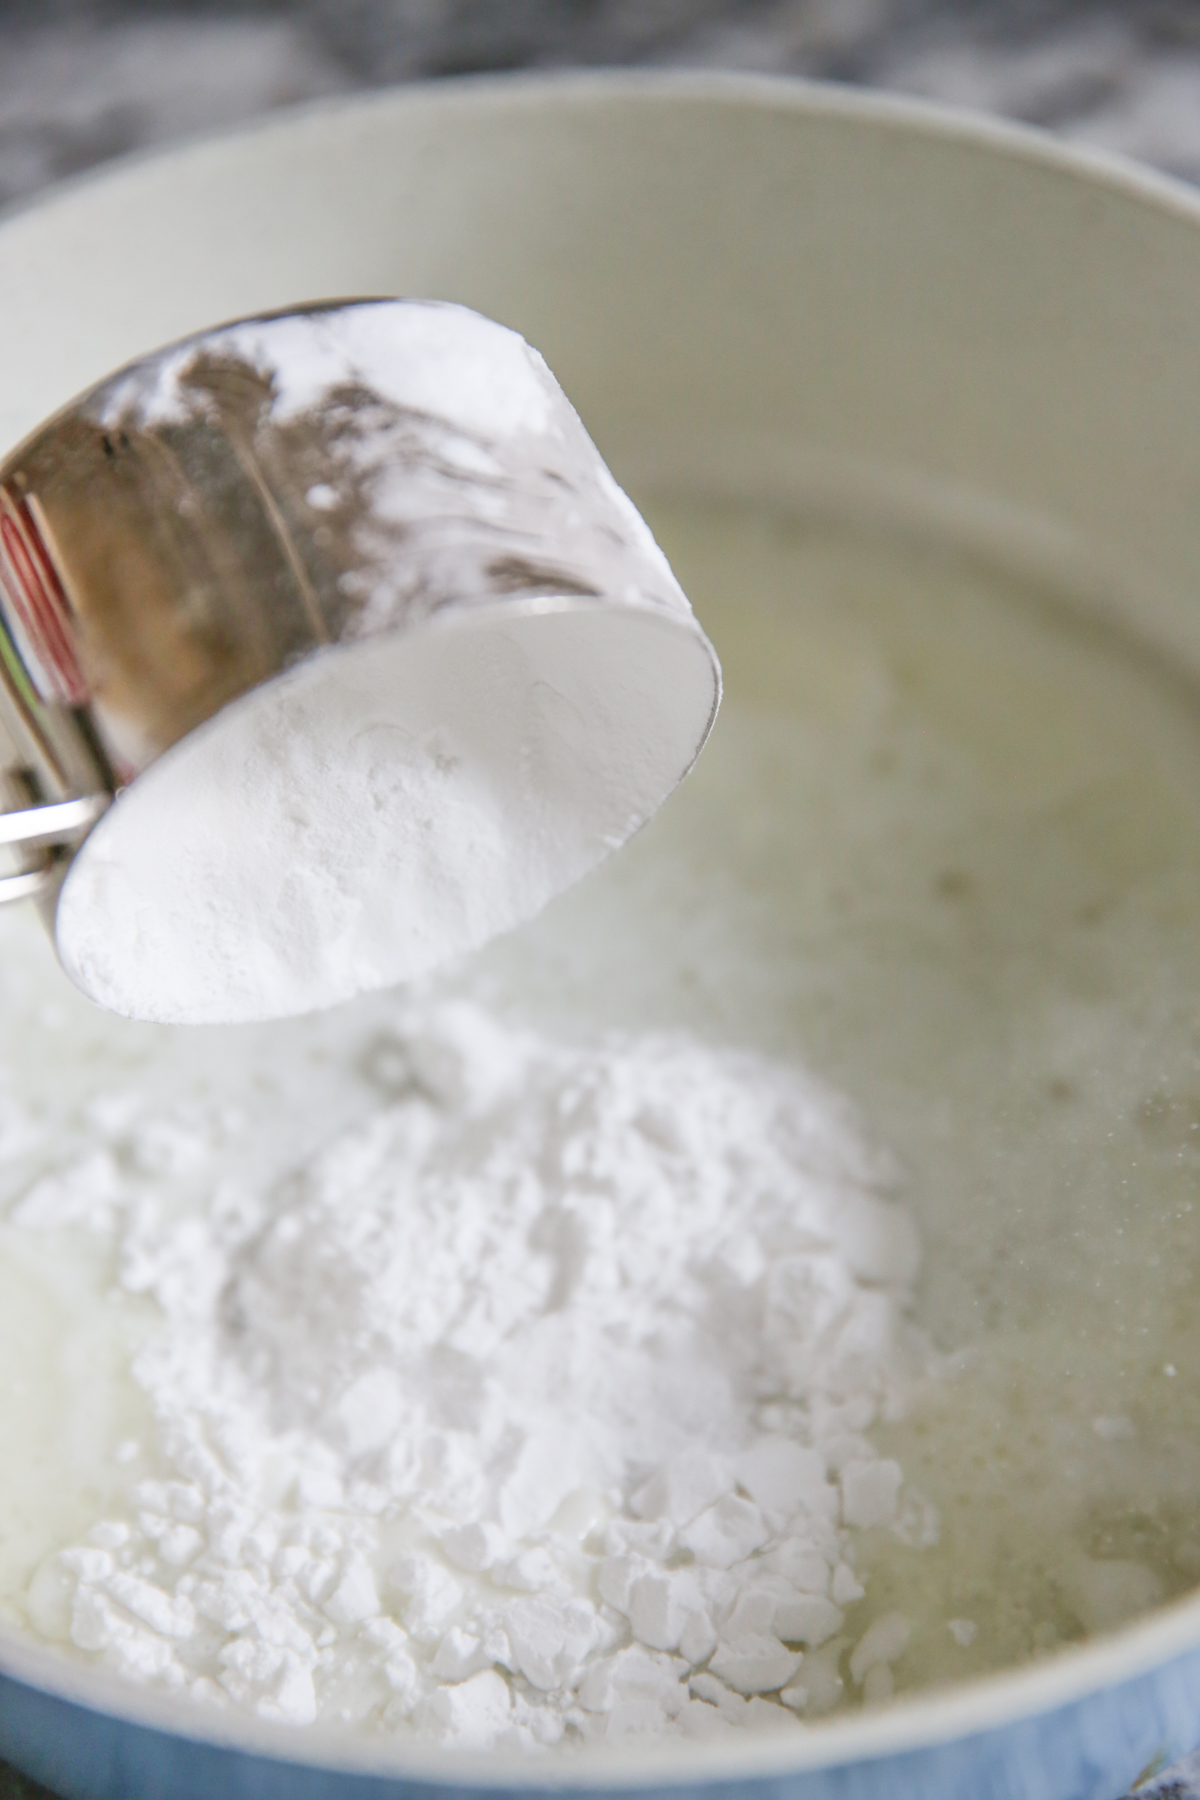
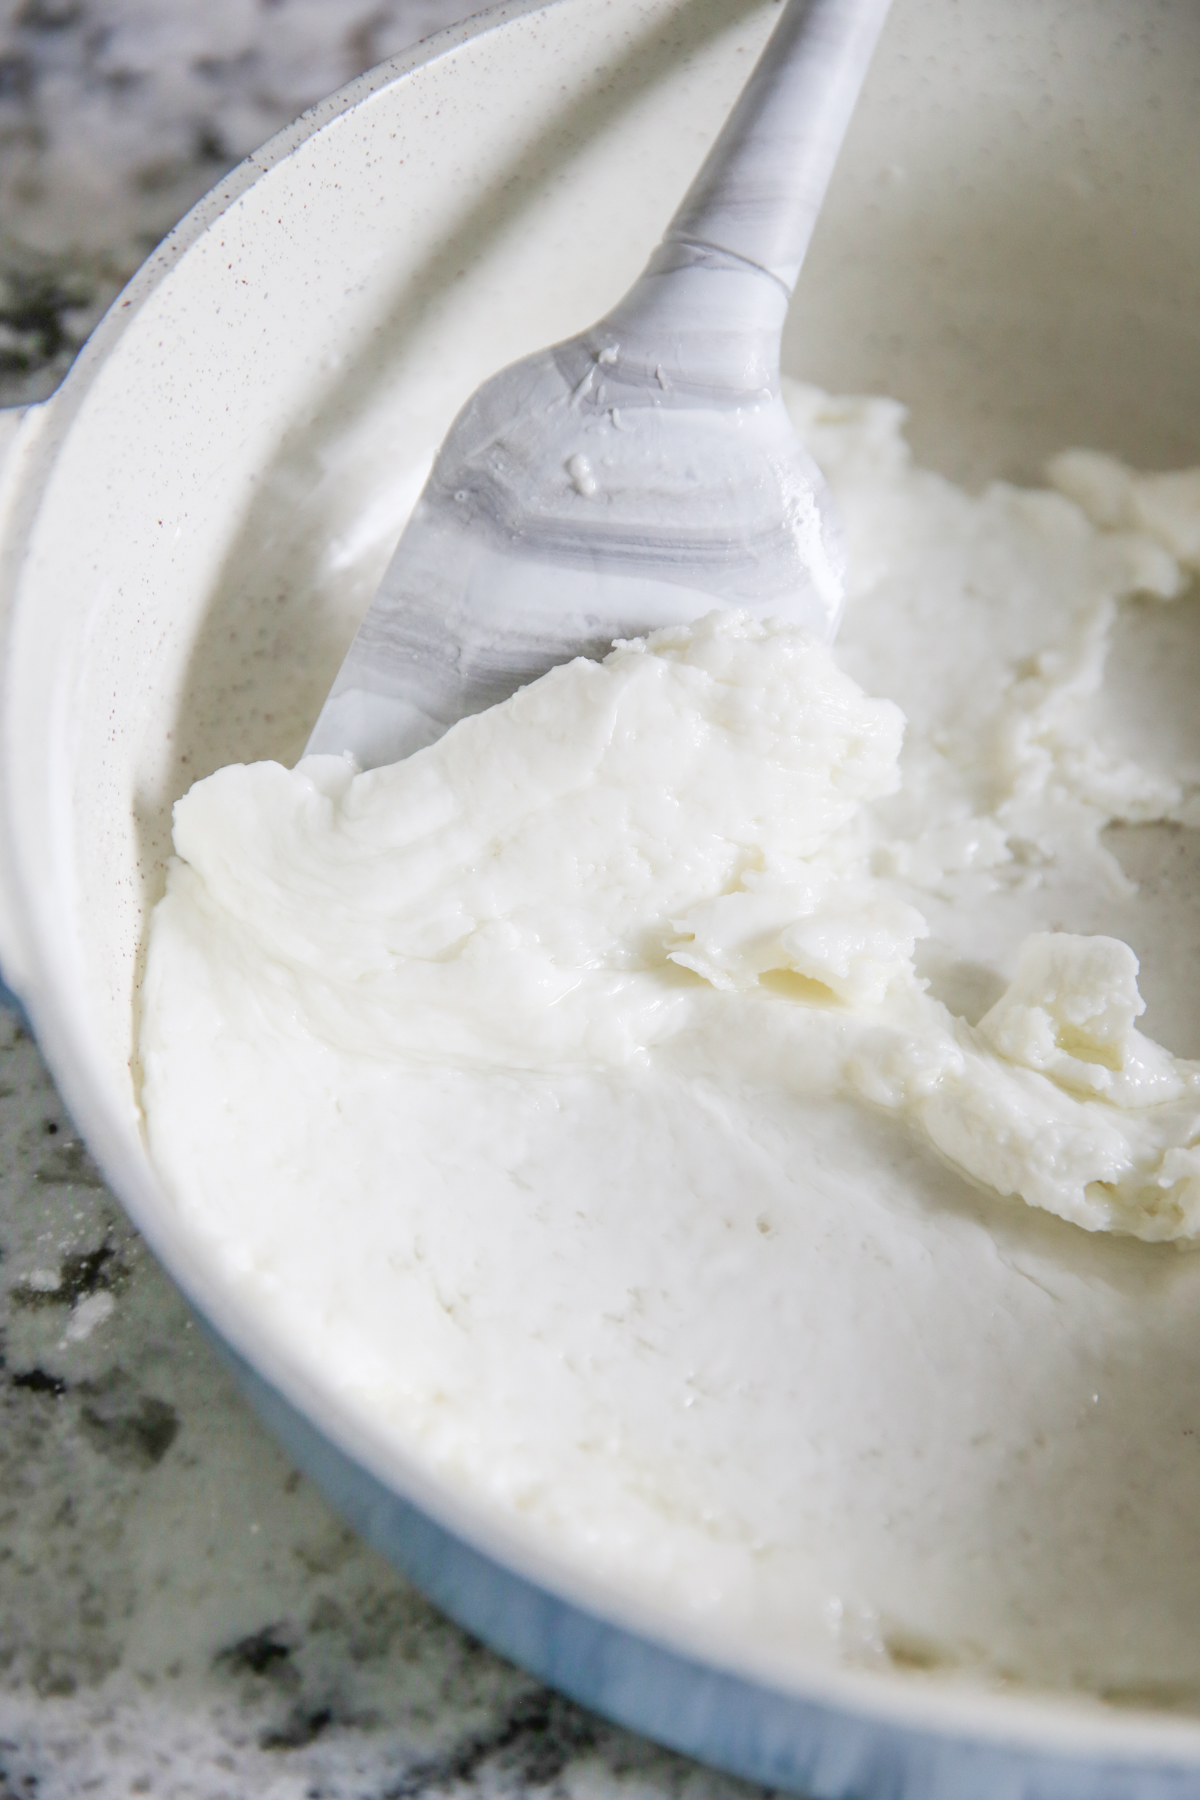
Here’s where it gets interesting. Sometimes this mixture comes out smooth and silky like playdough. Other times it’s crumbly like wet sand. You’ll notice the smooth version in the pan below left, and the crumbly batch (with the egg on top) on the right. The lack of consistency has driven me crazy for years, but after trying other people’s recipes and encountering the same thing, I think it’s just part of the fun haha. I know that different brands of tapioca flour have different levels of absorbency, but even with the same bag of flour, I find this still happens, so now I just go with it. Bottom line- either of these outcomes is okay!
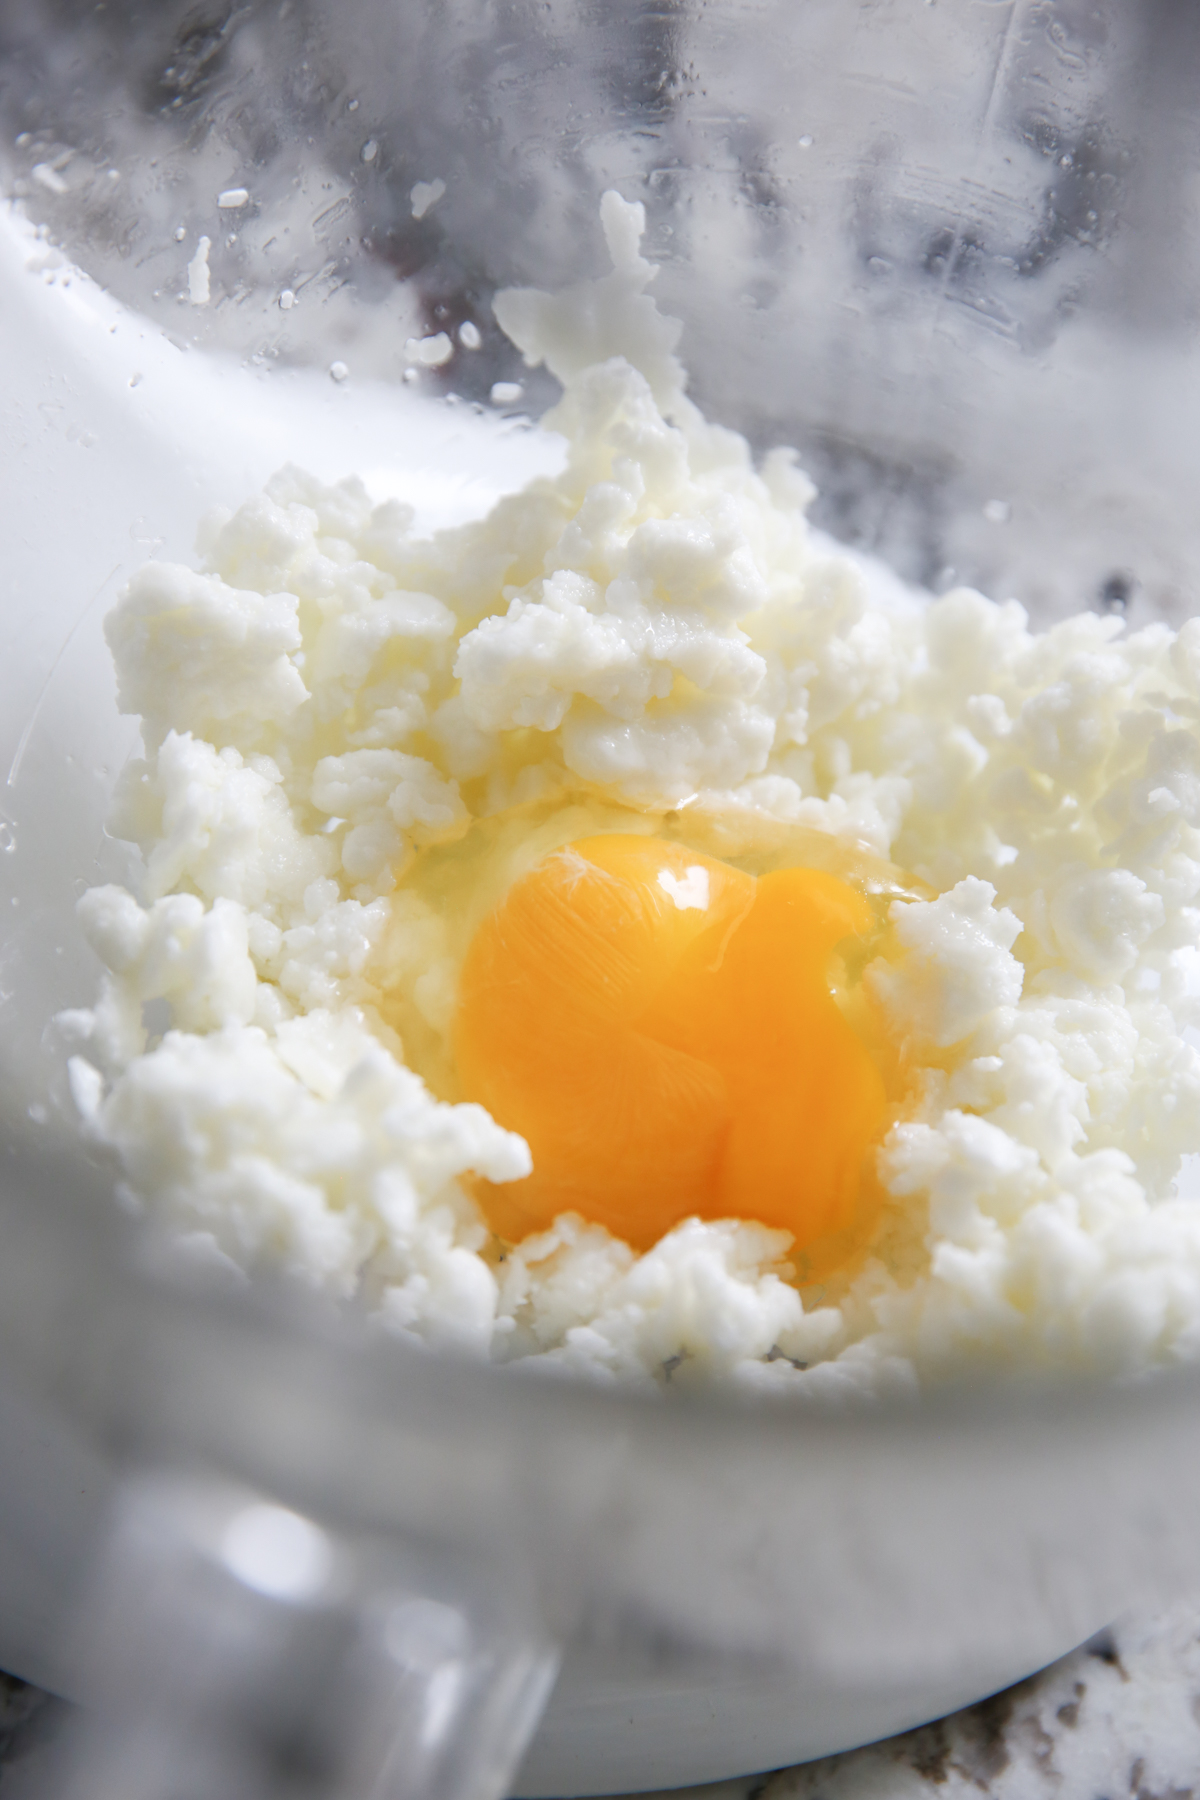
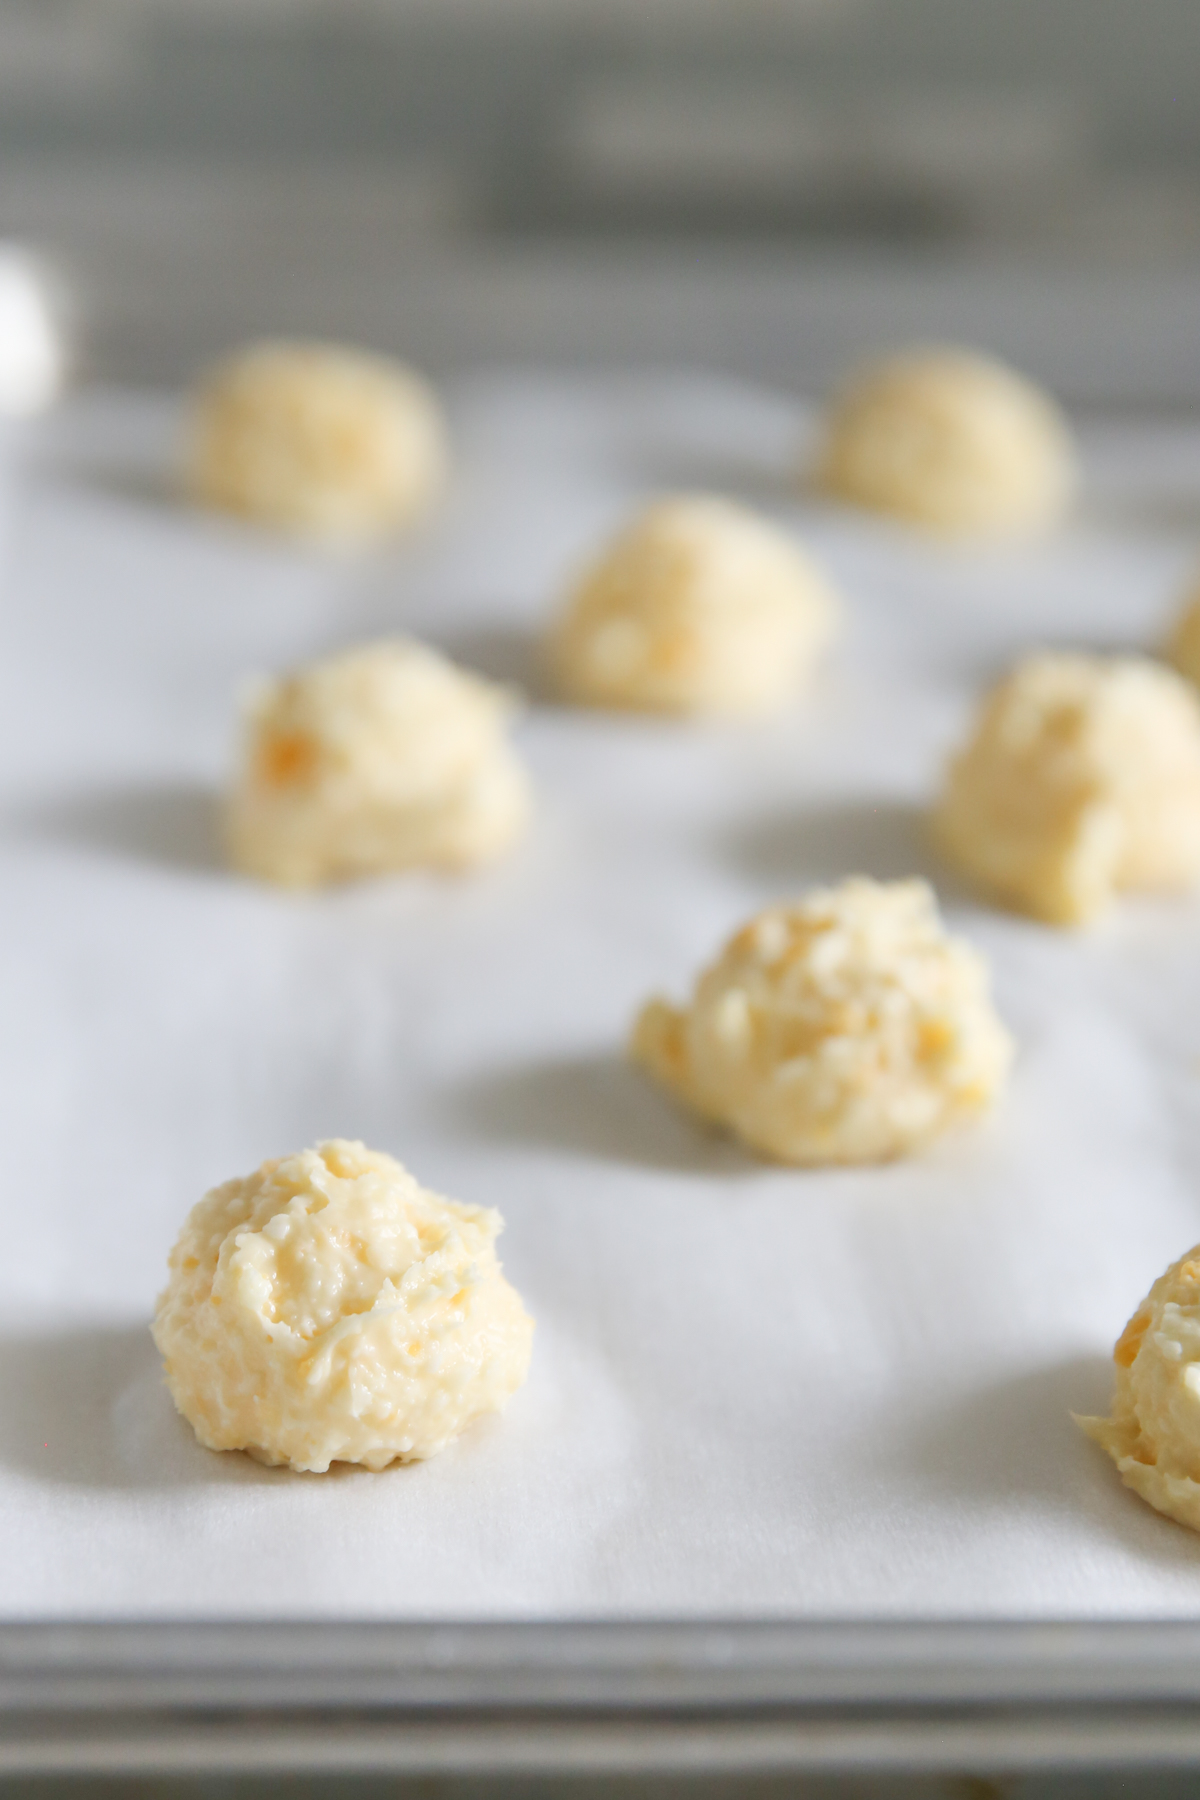
3. The next step is beating in the egg, and then the cheese. Ideally, your mixture should look like a wet cookie dough:
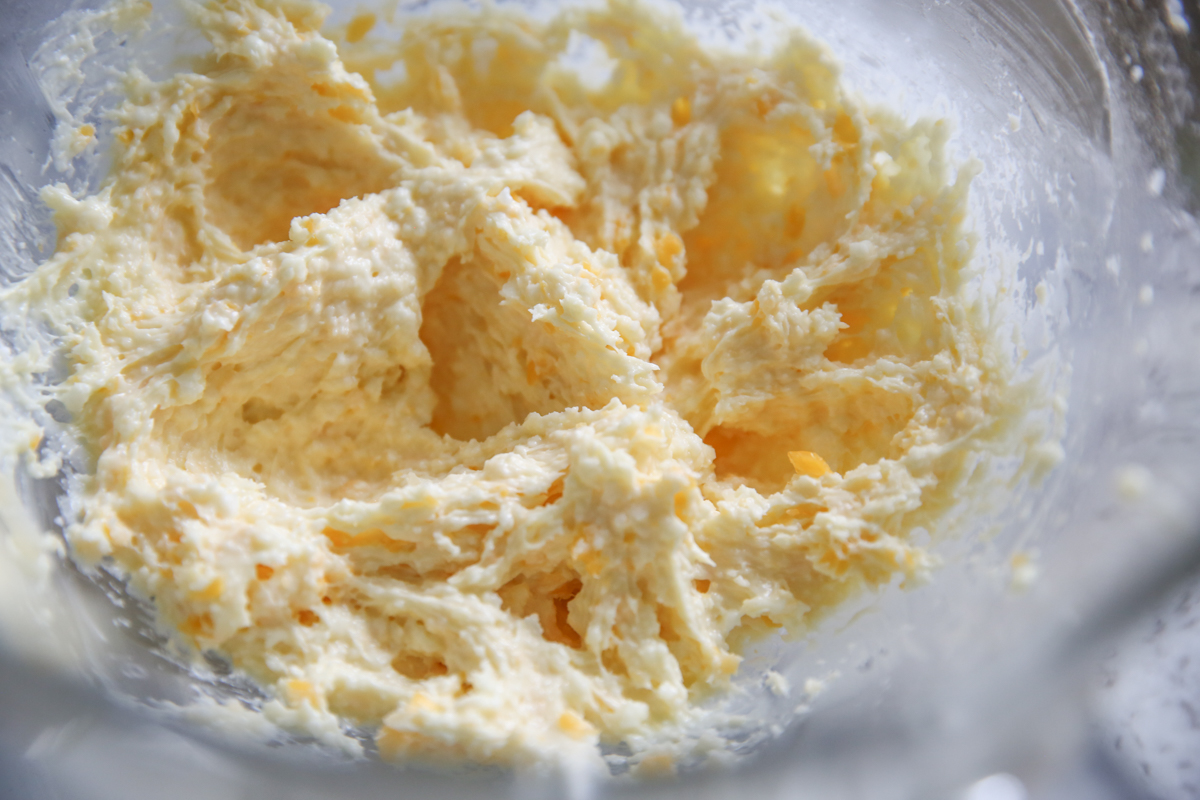
4. You can then use a cookie scoop to drop it on a baking sheet and bake until puffed and golden.
SOS!
But let’s say your batter is super runny! There’s no way it will hold its shape. Guess what? Happens to me too! Sometimes it just does that. No problem! If it’s just slightly too wet, you can simply add a bit more tapioca flour and even a bit more cheese. If it’s really loose, simply spoon your batter into a muffin tin (mini OR full size) as opposed to the baking sheet, and they will bake right up and be absolutely delicious. They’ll be a little crispy on the outside and soft, tender, and chewy on the inside.
The yield is anywhere from 16-24 rolls, depending on how full you fill your muffin pan. I fill mine pretty full (a good 3/4 full) and I generally get about 16-18.
Frequently Asked Questions
- Can these be made ahead? These are best eaten fresh, but you can absolutely make the dough/batter ahead of time. With the traditional method, refrigerate dough in an airtight container for up to 2 days. Chilling also helps it set up if it’s a little runny.
- Can you freeze Pao de Queijo? The baked breads aren’t as good after freezing, but if you use the traditional method of preparation, you can scoop the dough onto parchment and then freeze. Place frozen dough balls in an airtight container or zip top back for up to 3 months. Bake from frozen, adding a few minutes onto baking time.
Brazilian Cheese Rolls | Pao de Queijo
- Total Time: 30 minutes
- Yield: 16
Description
Traditional Brazilian cheese bread. These little rolls have a unique texture as they are made with tapioca flour. They’re chewy and flavorful and a perfect snack or side! This recipe includes 2 different methods to make them.
Ingredients
- 1/2 cup milk
- 1/4 cup canola oil
- 1 cup tapioca flour (sometimes labeled tapioca starch) no substitutions
- 1/2 teaspoon kosher salt
- 1 large egg
- 1/4 cup grated cheddar cheese (preferably medium or sharp)
- 1/4 cup grated Parmesan cheese
- Optional: extra cheese to sprinkle on top and any herbs/flavorings you’d like to add. Try rosemary and or garlic powder, my favorites!
Instructions
Quick Blender Version:
- Preheat oven to 400 degrees. Spray a mini muffin tin with non-stick spray or rub with butter.
- Place egg, milk, oil, tapioca flour, and salt in blender and blend until smooth. Add cheeses and pulse just a couple times.
- Immediately pour batter into a mini muffin tin , filling each well about 3/4 full. If desired, sprinkle a bit of parmesan cheese on top.
- Bake for 15-20 minutes until puffed and golden. Remove from oven and cool for a few minutes before removing rolls from pan. Serve warm.
Traditional Method
- Preheat oven to 400 degrees. Line a baking sheet with parchment paper, or* spray a muffin tin with non stick spray or rub wells with butter (*see note).
- Place milk and oil in a small pot and heat until just simmering and remove from heat.
- Place tapioca flour and salt in a mixing bowl and pour hot milk and oil over top. Beat to combine.
- NOTE: At this point, your mixture might look crumbly and grainy, this is okay.
- Beat in egg.
- Add cheese and beat to combine.
- Scoop dough into balls (I use a cookie scoop, you can do any size you like, I aim for golf ball size) onto parchment-lined baking sheet* and bake until puffed and set on the outside, just slightly golden. Time will vary depending on size, but usually around 15 minutes.
- *NOTE: I’ve made this recipe a million times and have found at this point, sometimes the finished dough is scoop-able like cookie dough, and other times it’s kind of runny like thick pancake batter. Tapioca flour differs in absorption levels and this isn’t unusual. If your dough is not scoopable, you can always add a little bit more flour. But what I usually do is just bake the mixture in a muffin tin as opposed to a baking sheet. They still turn out great!
Notes
- *Tip: You can play around with the cheese. I’ve used Monterey Jack, low-moisture mozarella, swiss, and even gruyere in place of the cheddar. All great- sharper, stronger cheeses will make for a more flavorful roll.
- Keep in mind, these actually don’t re-heat well, so I recommend making and eating fresh.
- Prep Time: 5-15 minutes
- Cook Time: 15-20 minutes


Questions & Reviews
Can you use coconut oil?
Never have, you’ll have to experiment!
I used avocado oil and it came out great!
I just made these, and they are in the oven right now. These are one of my weaknesses! Unfortunately, I’m worried they aren’t going to turn out 🙁 The dough was a solid mass, not thin and liquidy like described. I had to add twice the milk just to be able to scoop it out with a spoon. I did use homemade tapioca flour (where I ground up tapioca pearls super fine with my blendtec) so that could be the problem…..
I just tried to make these after having them at a local brazilian restaurant and they came out oily, flat and extremely gooey. I only had 1% milk in the house – could this explain it? Please help! I am craving these golden bites of heaven!
Amy, the milk shouldn’t make much of a difference, but perhaps they weren’t cooked long enough? that’s the only thing I can think of!
One thing I would also add is that if you are using a dark non-stick pan you might consider lowering the temp to 375F. I found when I got new dark pans my bottoms became too brown and the insides weren’t done.
I am about to try this recipe to send to Brazil day with my 2nd grader. They said to send in candy wrapped in white tissue paper. Huh? I didn’t even know it was for Brazil, but when I found out, i asked if I could send something a little more authentic!
Anyway, I ground tapioca pearls in a wheat grinder and tried a recipe that boiled the milk and it turned into rubbery chunks. And then my friend told me (and since you said you’re in Idaho, I thought I’d pass this along) that WinCo has tapioca flour in their bulk bins.
HELLO! All that trouble and I coulda just gone to Winco.
Lol Susie- do our 2nd graders go to the same school?? I was in charge of Brazil day and had that tissue paper assignment too, they must have been using the same paper!
And pour this batter into 2 pie pans lined with parchment paper and you have 9″ gluten free pizza crusts! And they’re fabulous!
Would you have a Sequillos recipe?
Nope, sorry!
Nevermind I see it, didnt see the first time I read it, this recipe looks awesome cant wait to try it!!
Do you grease the cupcake pan?
As a Brazilian, I’ve got to say this recipe is the best for a quick pao de queijo! It’s so good I translated the recipe to Portuguese and shared it with my friends on my blog (I’m giving you guys credit).
Oh that makes me SO happy!
Great! Thank you for posting the recipe. I’d made these once or twice before with my sister after eating at Fogo de Chao, then lost the recipe. Whipped up a batch tonight and had cleaned up the kitchen before the came out of the oven. Oh so tasty, and with my mother in law visiting who eats gluten free, a perfect snack to share.
Asiago and sharp cheddar are delicious together and create such a nice flavour.
Also I had some left over the next day and I cut them in half heated them up in a pan, spread on some goat cheese and sandwiched them back together and they were quite yummy!
Thank you for sharing such a delicious and simply recipe.
This is a great and quick recipe for pao de queijo. I have made pao de queijo from mixes, from frozen packages, from scratch using the stove method prior to baking, etc and this is by far the easiest method with great results! Thank you for posting this.
An alternative to Bob’s Red Mill Tapioca flour is just tapioca flour from the Asian stores/markets, for those that live in areas that have these. They only cost around $0.79-$1.00 per package and these packages have enough for at least 1.5 of the recipe above.
Whole foods only had Bob’s Red Mill Tapioca pearls. Would it be okay to grind them up with my blender into a fine flour and use that?
I made these in my Baby cakes maker! Much better than in the mini muffin tins
Your Pao de Queijo recipe was a life-saver! I always buy the Yoki mix at our local Asian grocery store. My 6th grader did a project on Brazil and I went to go buy some mixes to prepare pao de queijo for her class and they were out, and don’t expect more for 2 weeks. I will never buy the mix again after finding your recipe. It is so awesome, feels like being in Brazil. Wish I could actually go! Thank you for this delicious recipe!
I just made this recipe for my son who has celiac and he loved it. We put a long side Chicken Marsala and it was perfect to sop up all the gravy. Yum! Thank you…will definitely make again very soon.
Love these! And so did a Brazilian friend. She was stunned….”Where did you get this recipe?!” She had been buying the frozen stuff from the Brazilian market, which was pricey and not nearly as good, because she didn’t have a recipe!
I have made these delicious cheese breads and they are irresistible. however I also found when I ran out of tapioca flower that if you substitute a half mixture of self rising flour and mashed potato mix a little more about 2 tablespoons more to make up the balance of the flour mixture you get a very different but similar product. the outside is crisp and the inside is chewy just like the Pao de Queijo you taste a little of the potato. almost like a cheese and potato pirogi filling but with fuller body and taste you also cant eat just one.
I have made these before, thanks to your great (and easy) recipe and a husband who LOVES them, but I am wondering if I can make the batter ahead of time and keep it in the fridge(?). We are having a big Brazilian potluck tomorrow and I would love to be able to just show up ready to pour and bake!
Sorry I didn’t answer your question in time! I would think that would work just fine, as long as you mixed it all up well again before baking. Did you try it?
How far in advance can this batter be prepared? I made these last night and they are beyond delicious! I would really like to be able to make the batter and put it in the pan and set them aside until time to bake, but don’t know if they would still rise as beautifully if they sat out for 30 minutes or so. Also, have you ever doubled the recipe? Sometimes doubling doesn’t work with baking, but would definitely need more for a dinner party. I have two growing boys and a husband, and not a crumb was left!
I don’t know what went wrong but my pao de queijo didn’t look like rolls at all. They went flat even when they’re still in the oven. I tried to do it exactly as your recipe said. But they’re still delicious though, my daughter loved it!