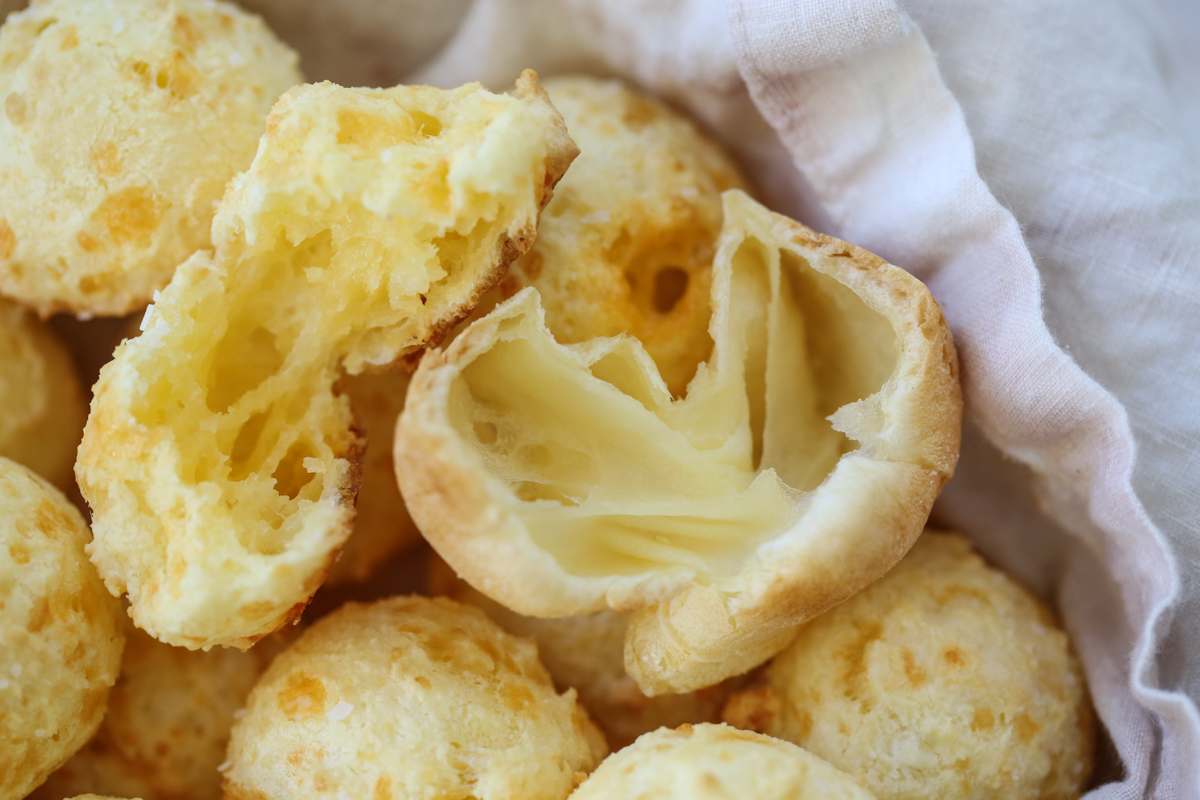
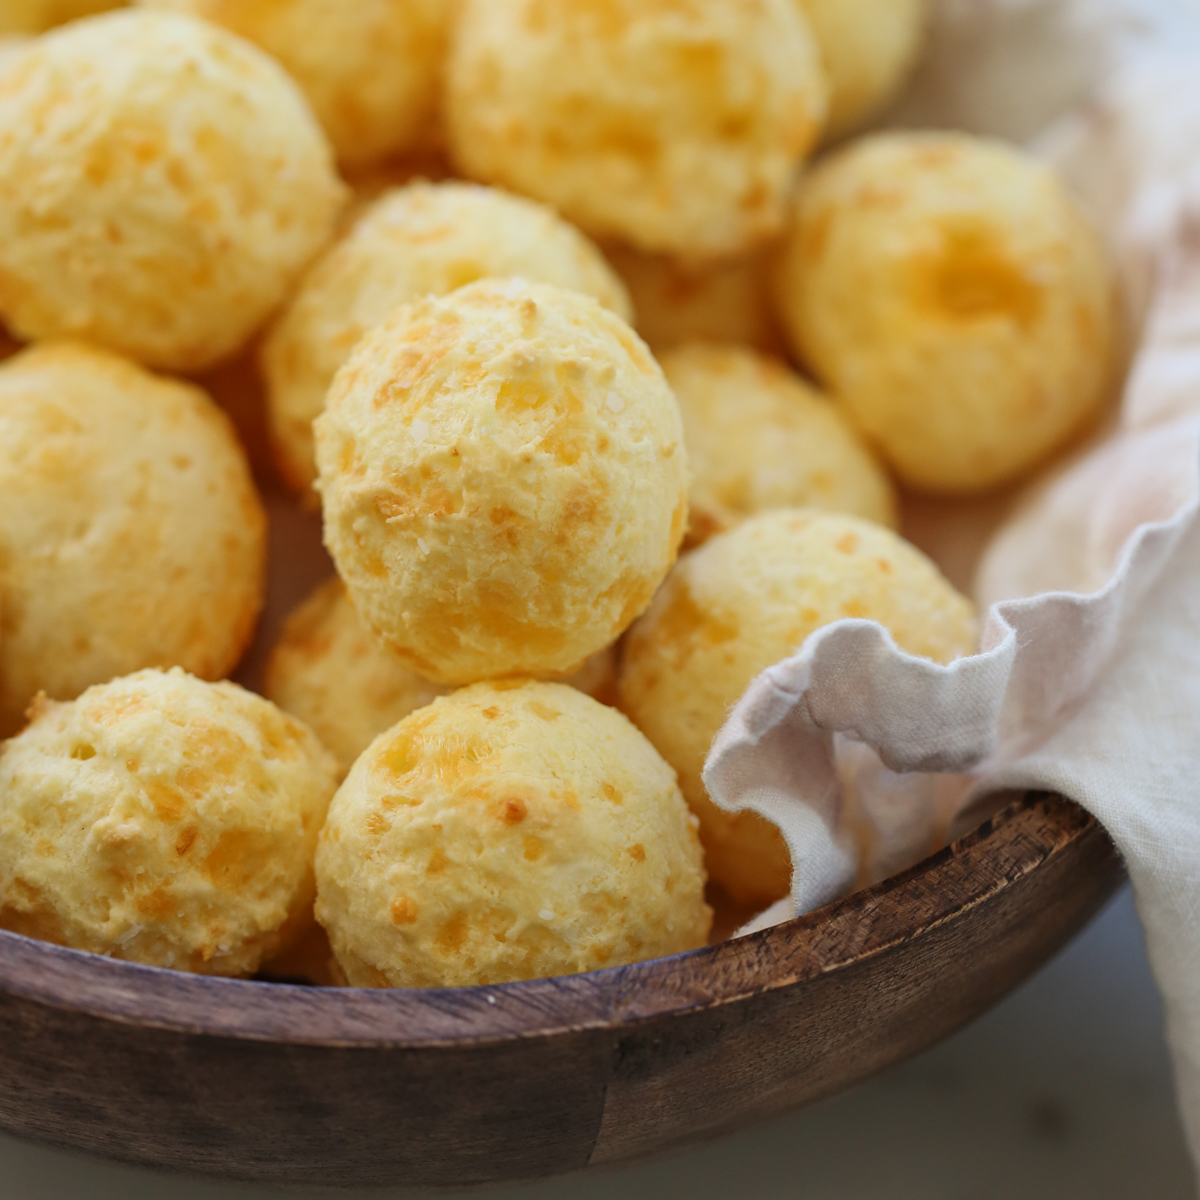
Of all the foods I fell in love with while living in Brazil, Pao de Queijo (literally translated to ‘bread of cheese’) is right up there at the top of my favorites list. If you’ve never had this type of Brazilian cheese roll, it’s not the same type of bread or roll we’re used to here in the US. It’s made with tapioca flour, as opposed to all purpose flour, so it’s almost more like the texture of a cream puff shell or popover, but with more substance. The outside is slightly crisp and browned and the inside is soft and chewy. In the US, you can find them regularly served in Brazilian restaurants, and in Brazil, they’re in every corner store and bakery.
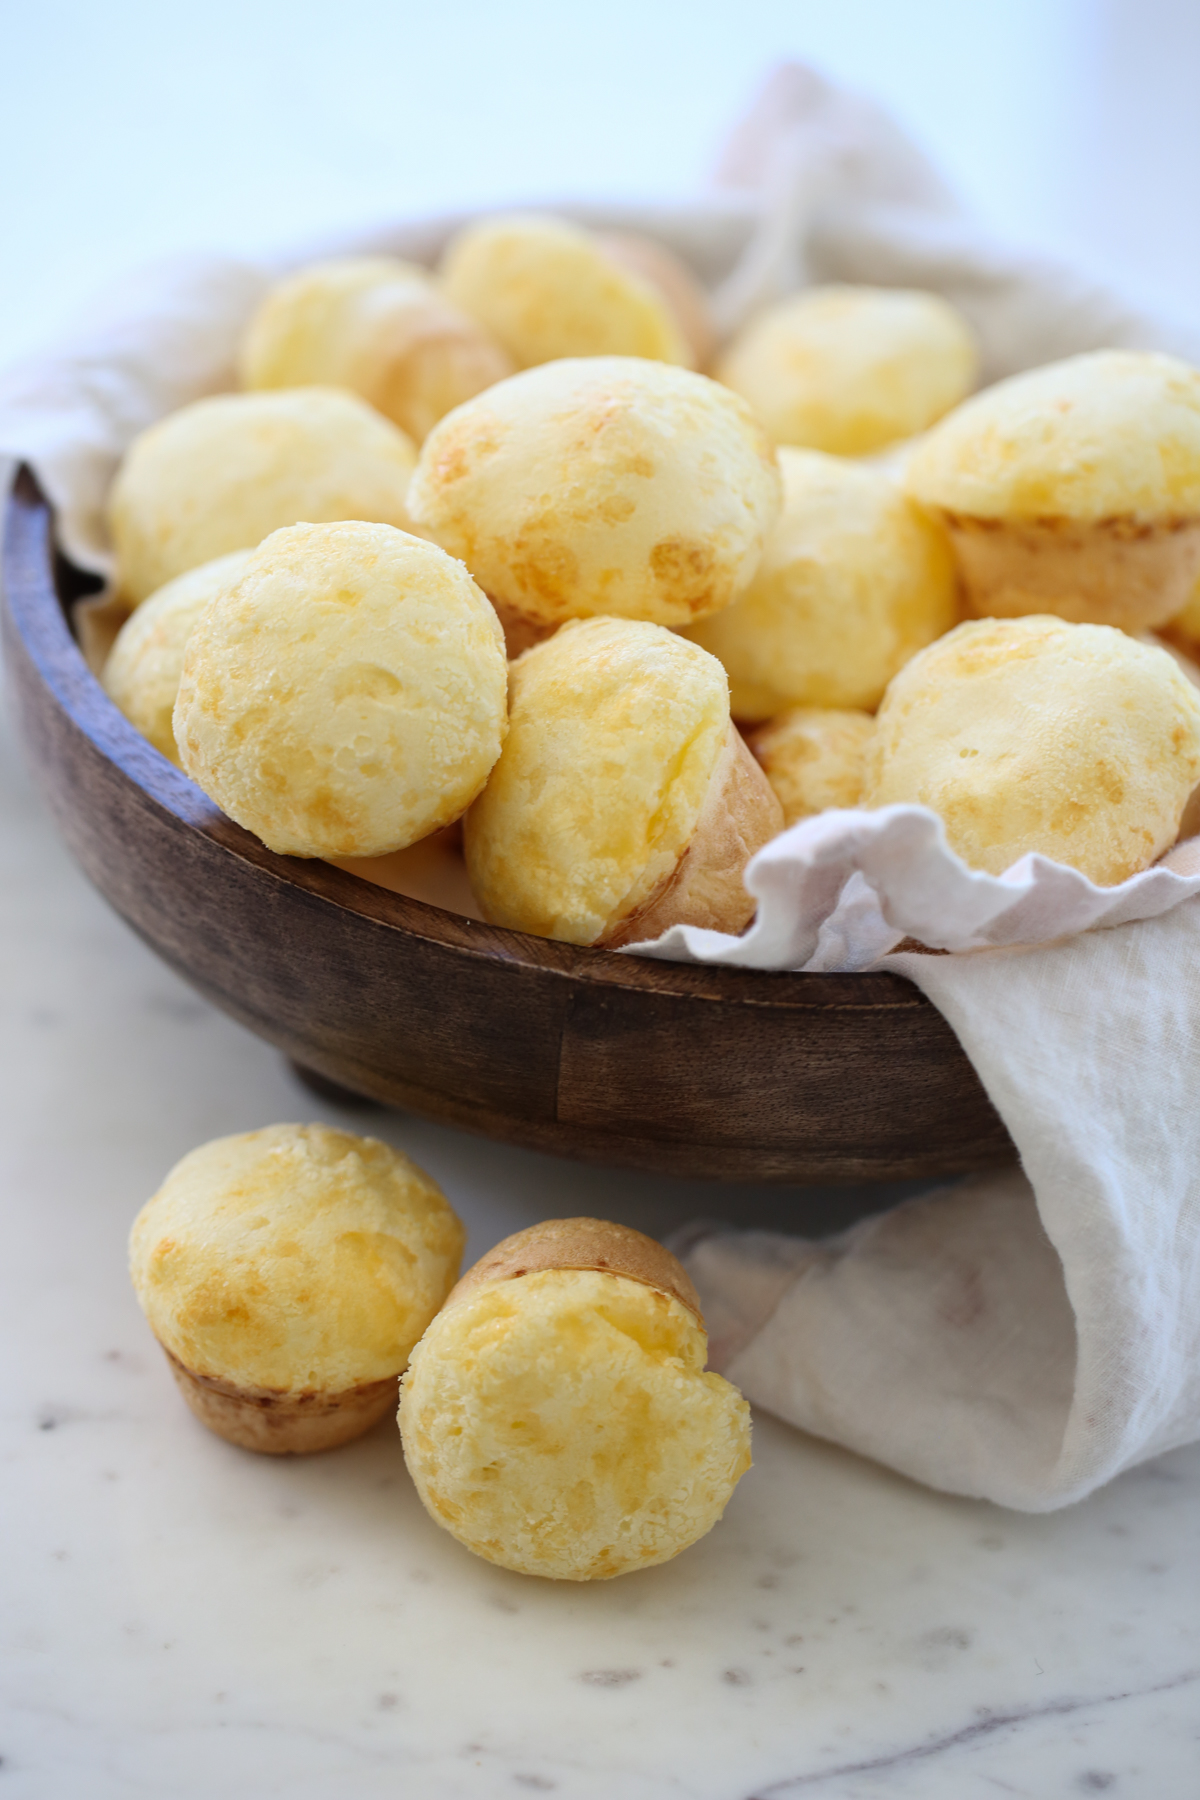
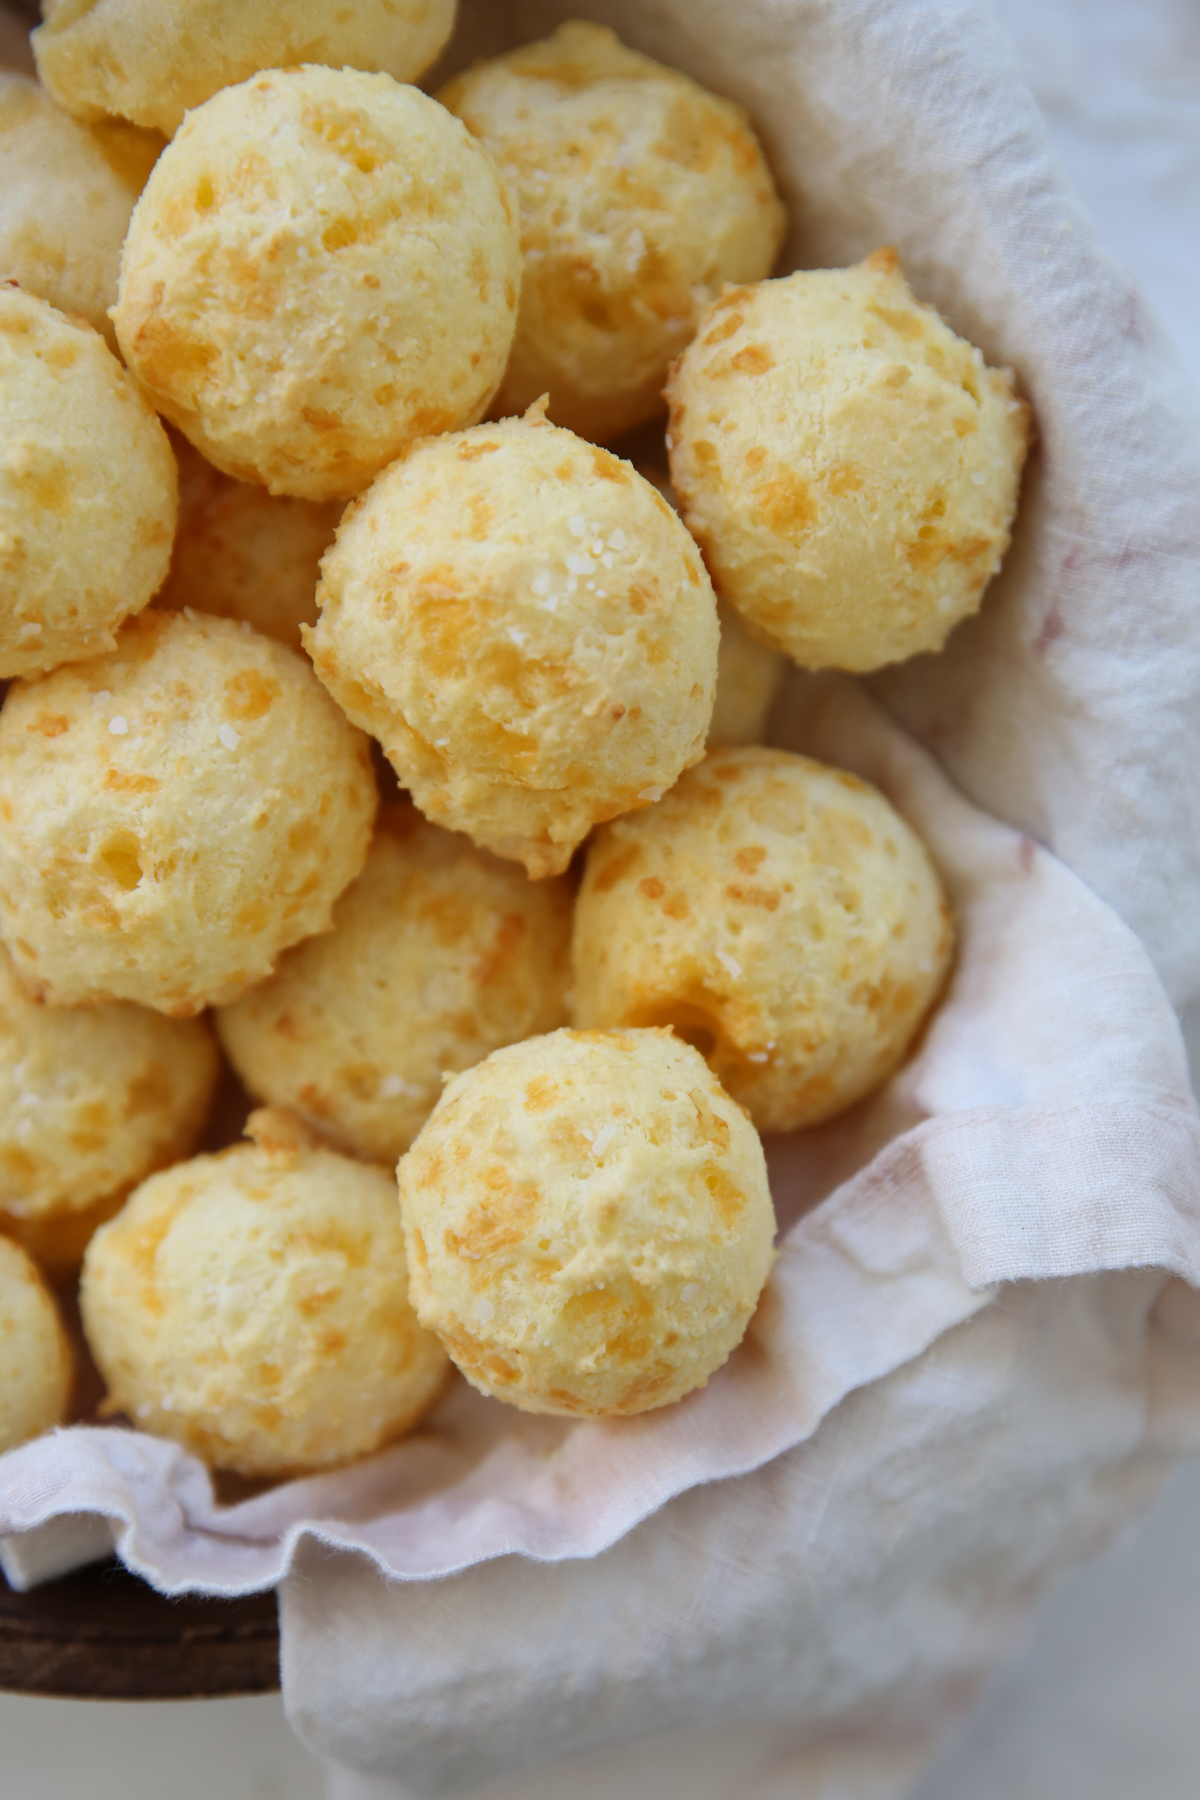
Below, I’ll show you 2 different methods of preparing the exact same recipe:
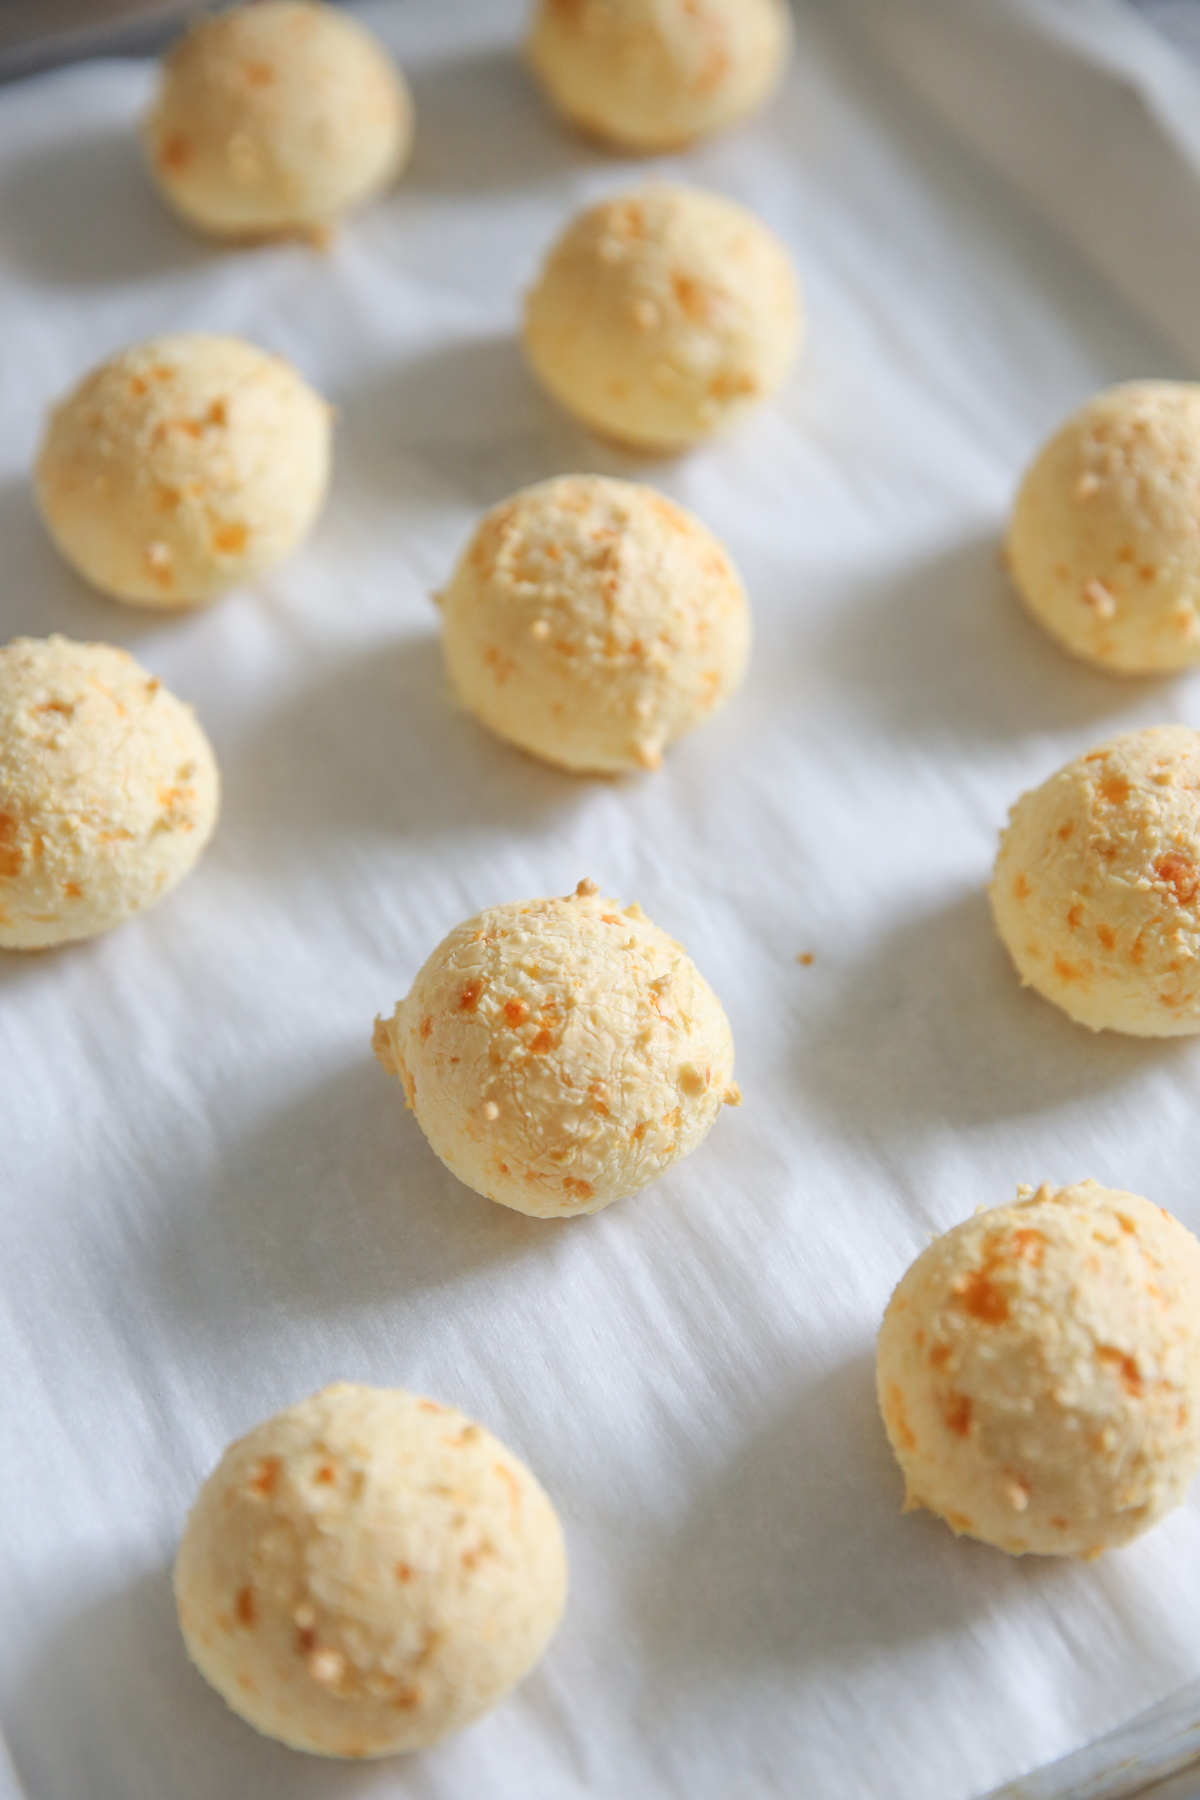
1. The traditional method (shown above, R) where the wet ingredients are first heated and then beat together with the dry ingredients and scooped into little dough balls before baking. This results in: A traditional roll with a slightly crisp outside and a soft chewy center.
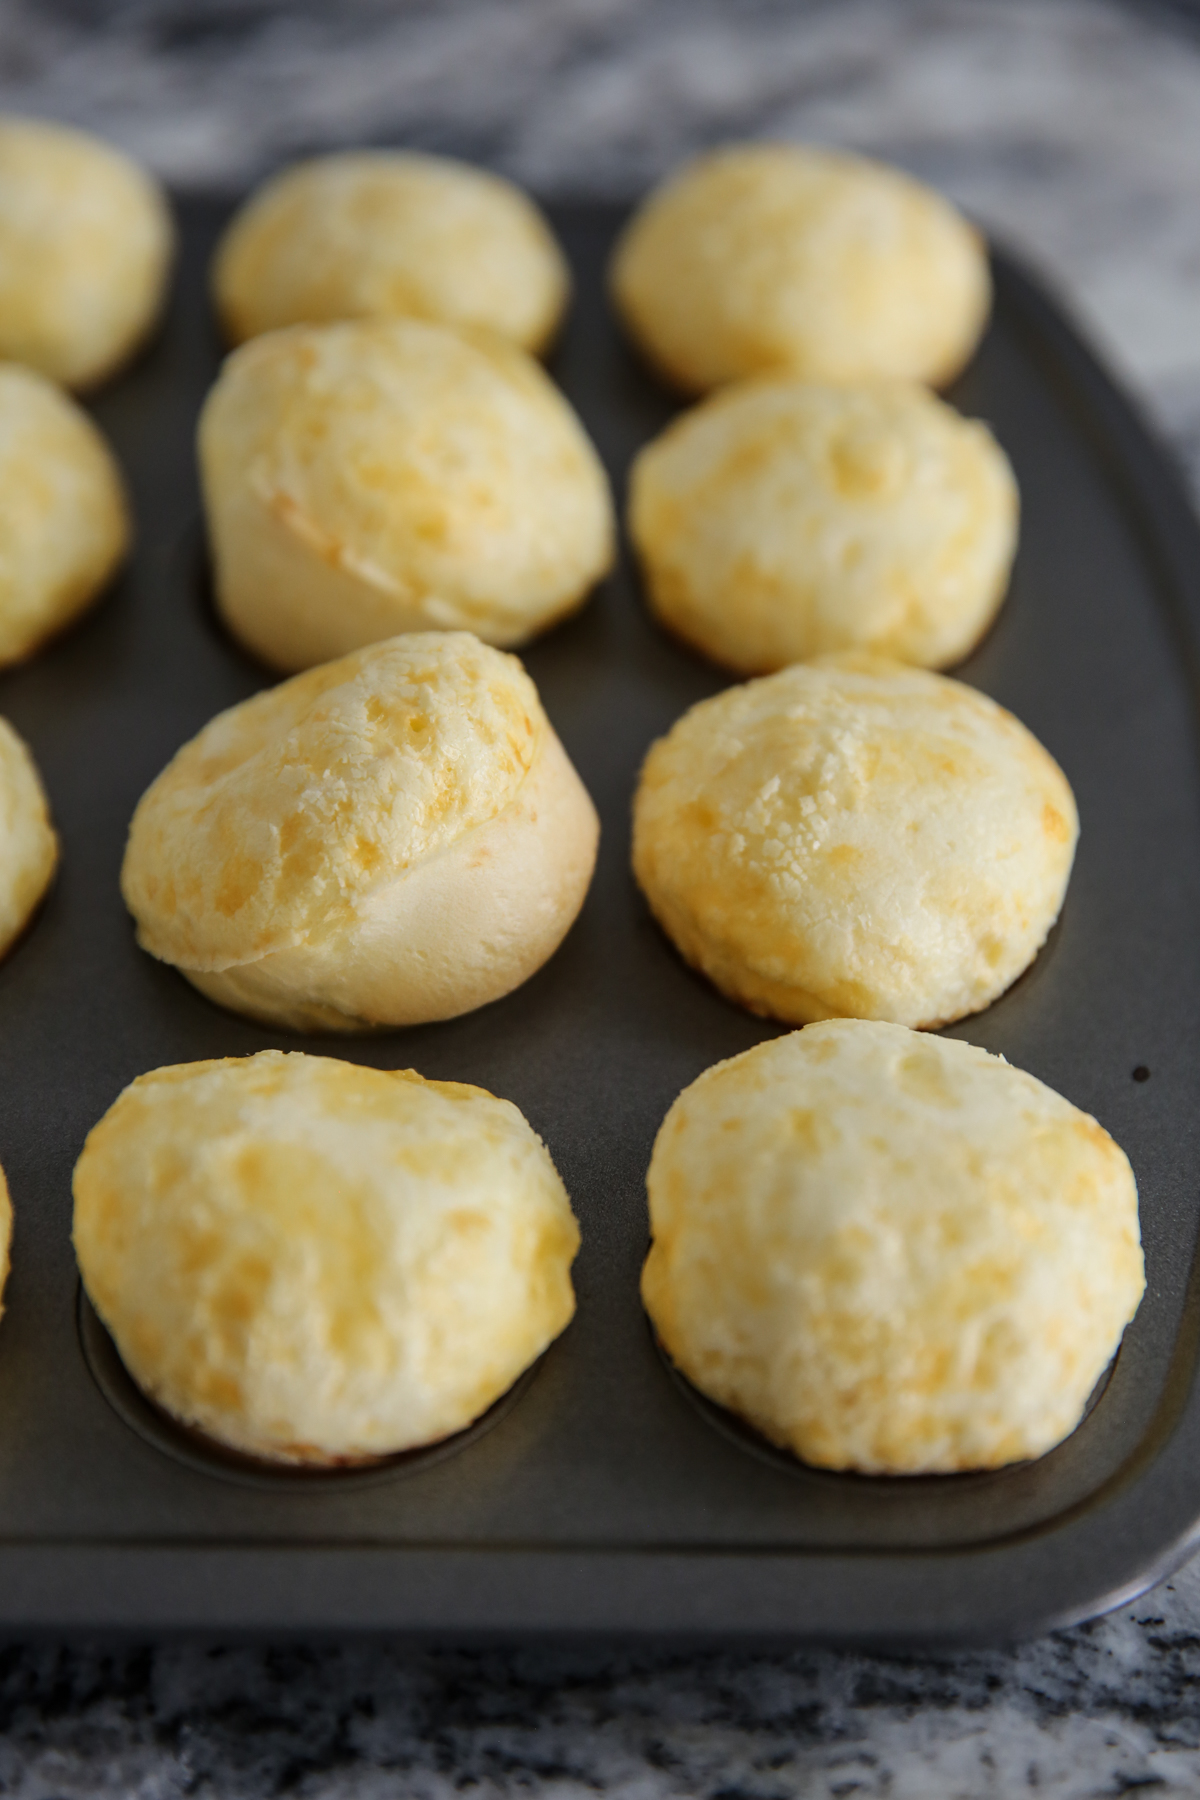
2. The shortcut version (shown above, L) where you put all ingredients in a blender and pour the ultra thin liquid batter into a muffin tin. This results in: A flavorful roll with the same chewy texture, but not as much density. These often puff up with hollow centers, and shrink after baking. The outside is a little thinner, but still delicious.
Here in this photo you can see the blender method roll on the right and the traditional method on the left. Both super delicious!
Ingredients and Equipment List
- Tapioca Flour– look for tapioca flour in the specialty flour section of the grocery store, or online. I have also found it sometimes in the bulk foods area of stores like WINCO. It’s a naturally gluten free flour. If you happen to be serving these to a person who needs to avoid gluten for medical reasons, avoid purchasing from bulk bins where there can be risk of cross contamination.
- Egg – Egg acts as a binder and helps produce the chewy texture. I’ve never tried these with any egg substitute.
- Milk – You can use any milk in this recipe, though I prefer one with a higher fat content, like 2% of whole. If you don’t have those, use whatever is in your fridge, including a plant based option if you need to do that for dietary reasons.
- Salt – without salt, these will turn out quite bland! I use kosher salt. If subbing table salt, decrease the amount slightly.
- Cheese – feel free to vary the cheese and discover new combinations. I prefer to use medium or sharp cheddar and parmesan, but most cheeses work well. Stronger flavored cheeses will produce a more flavorful roll.
Instructions
BLENDER METHOD
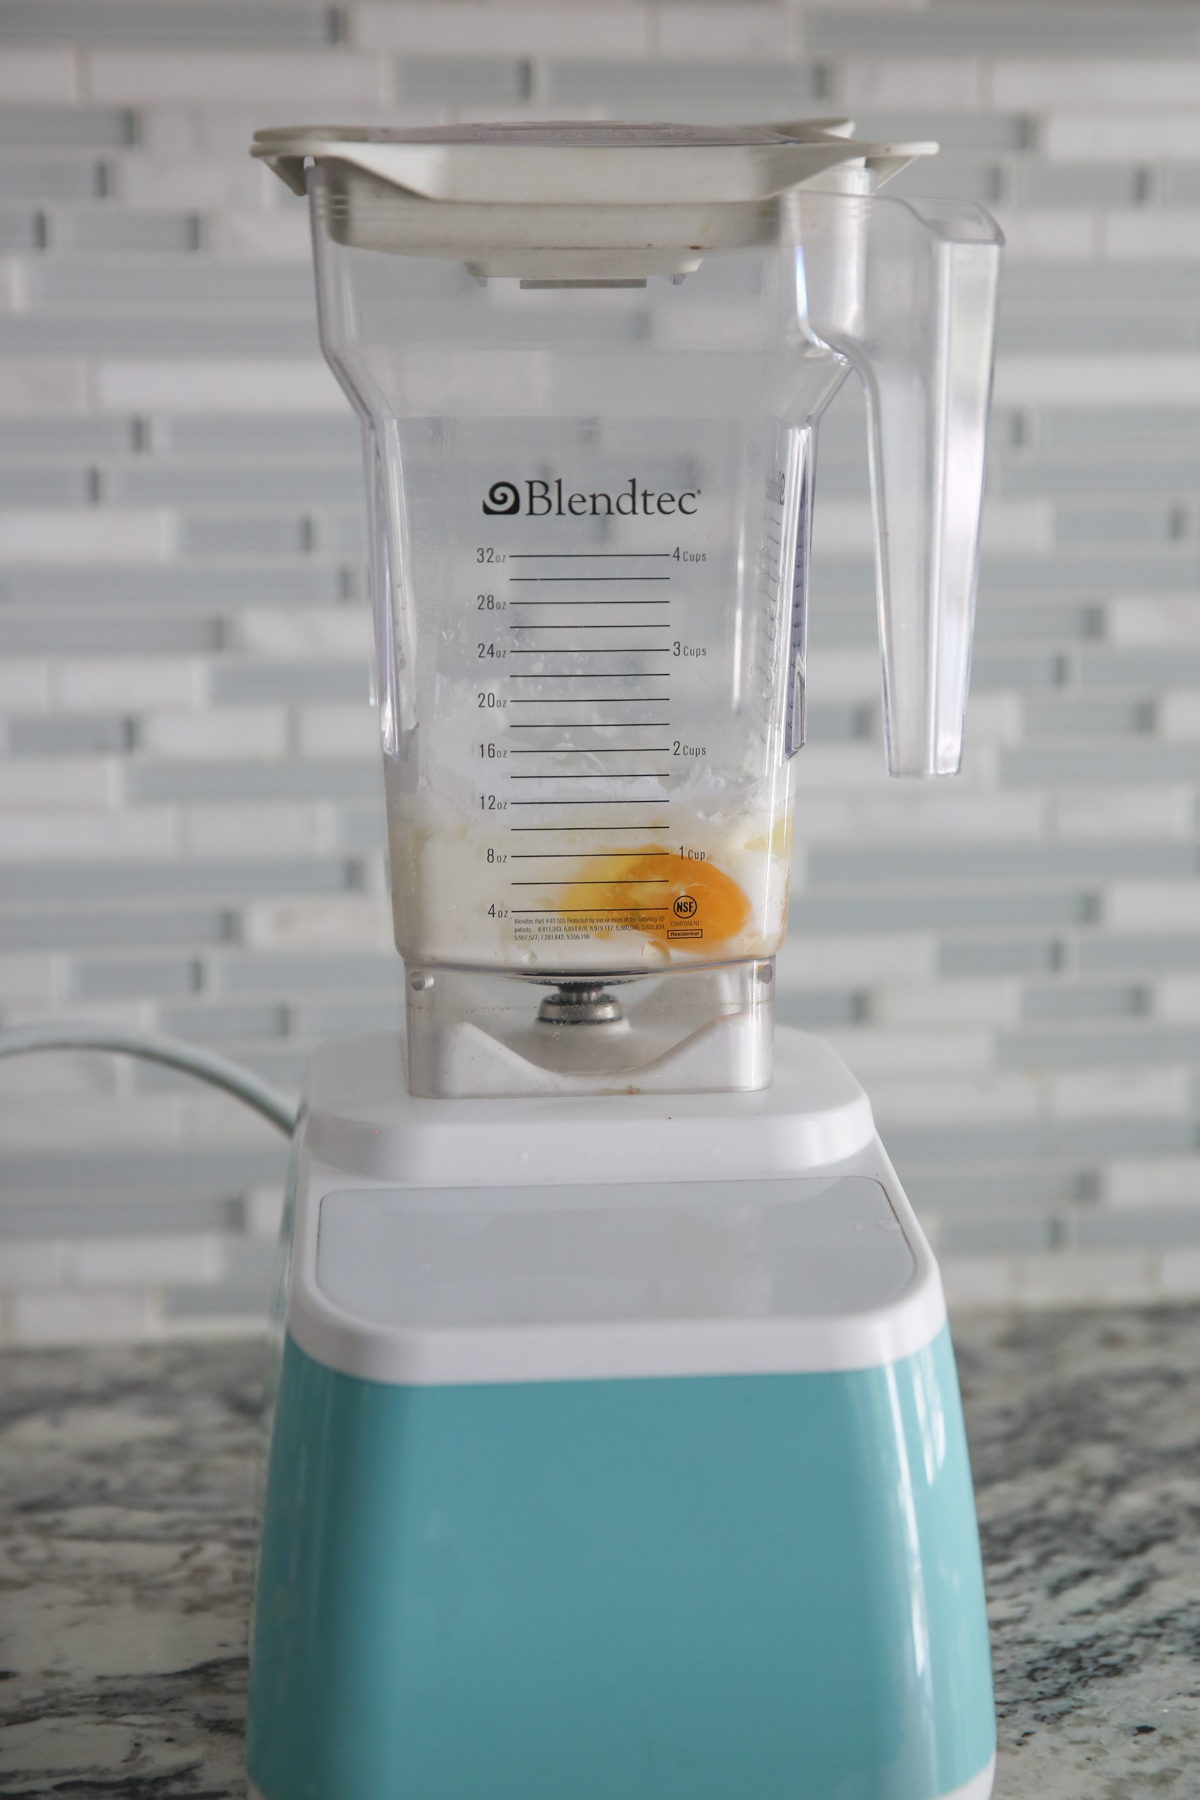
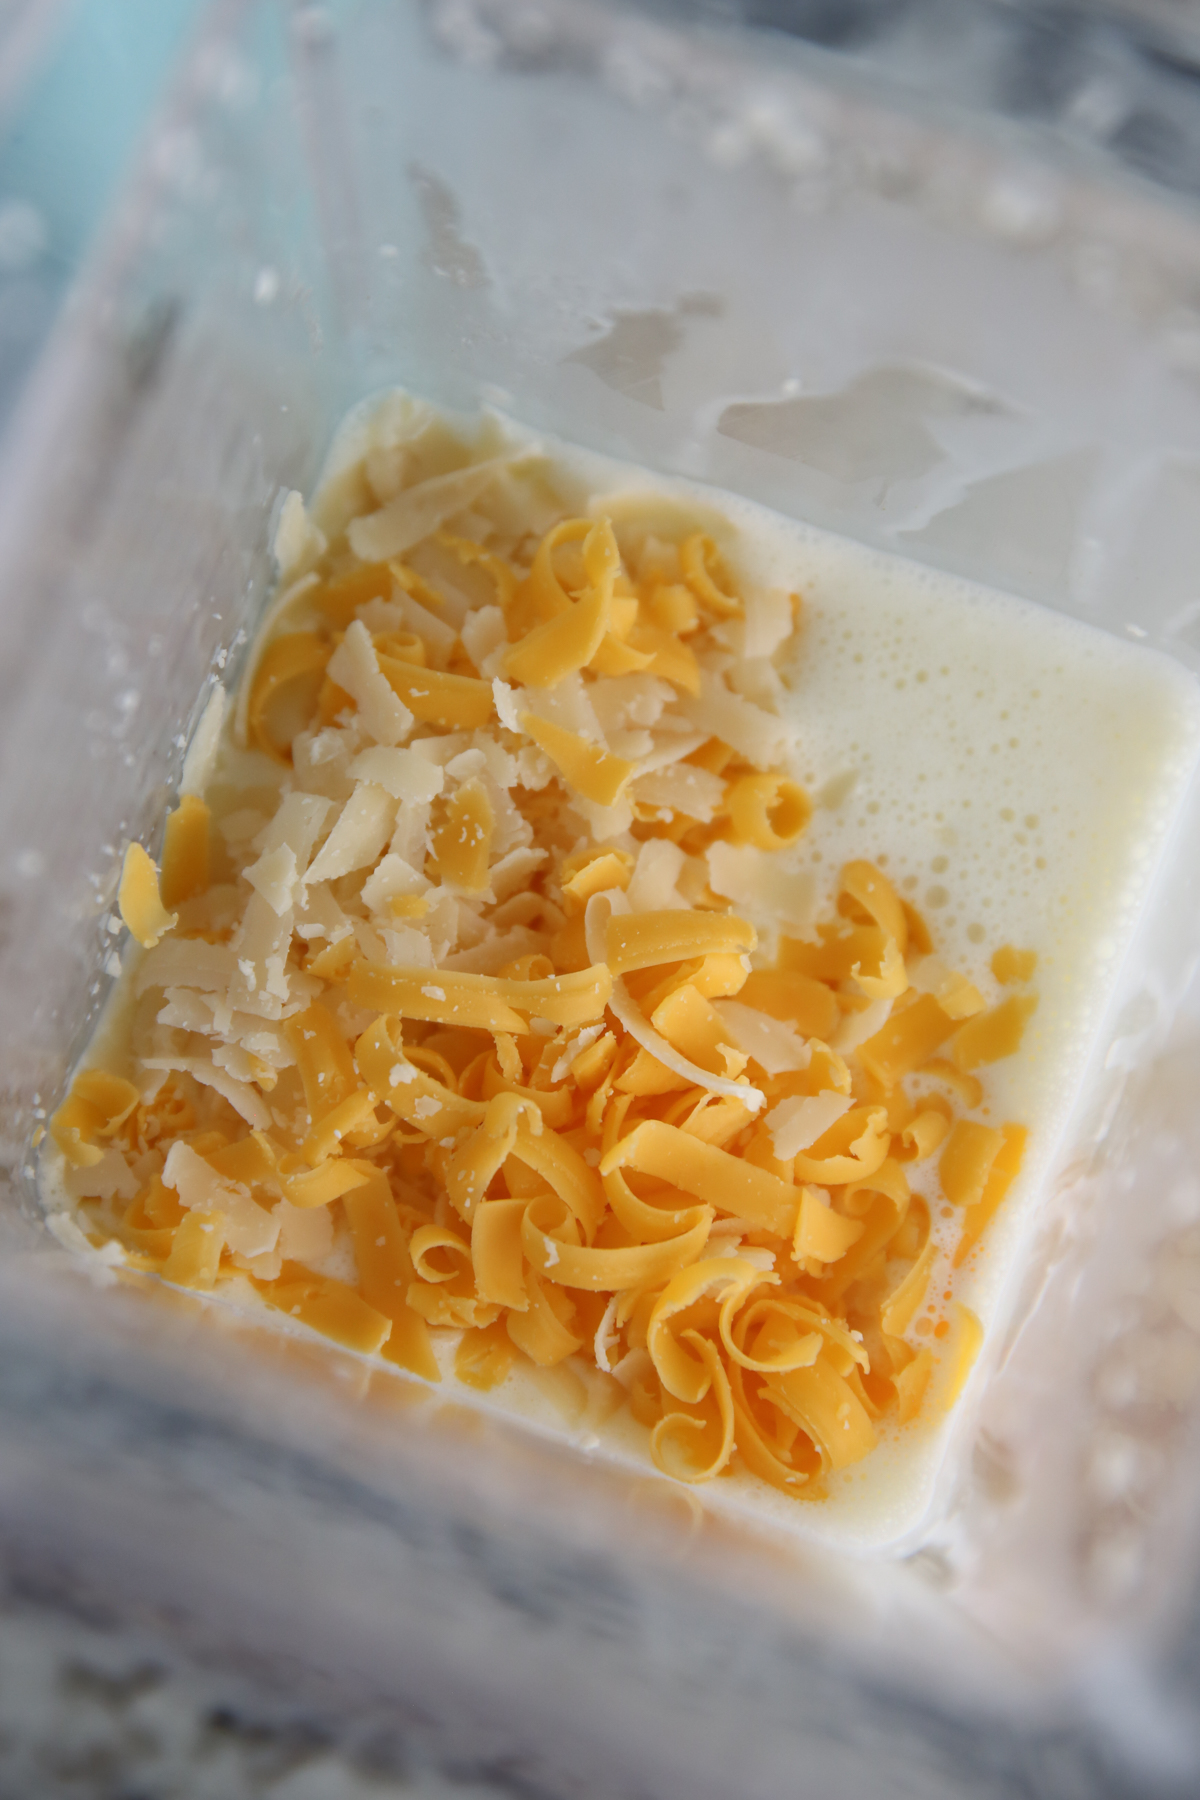
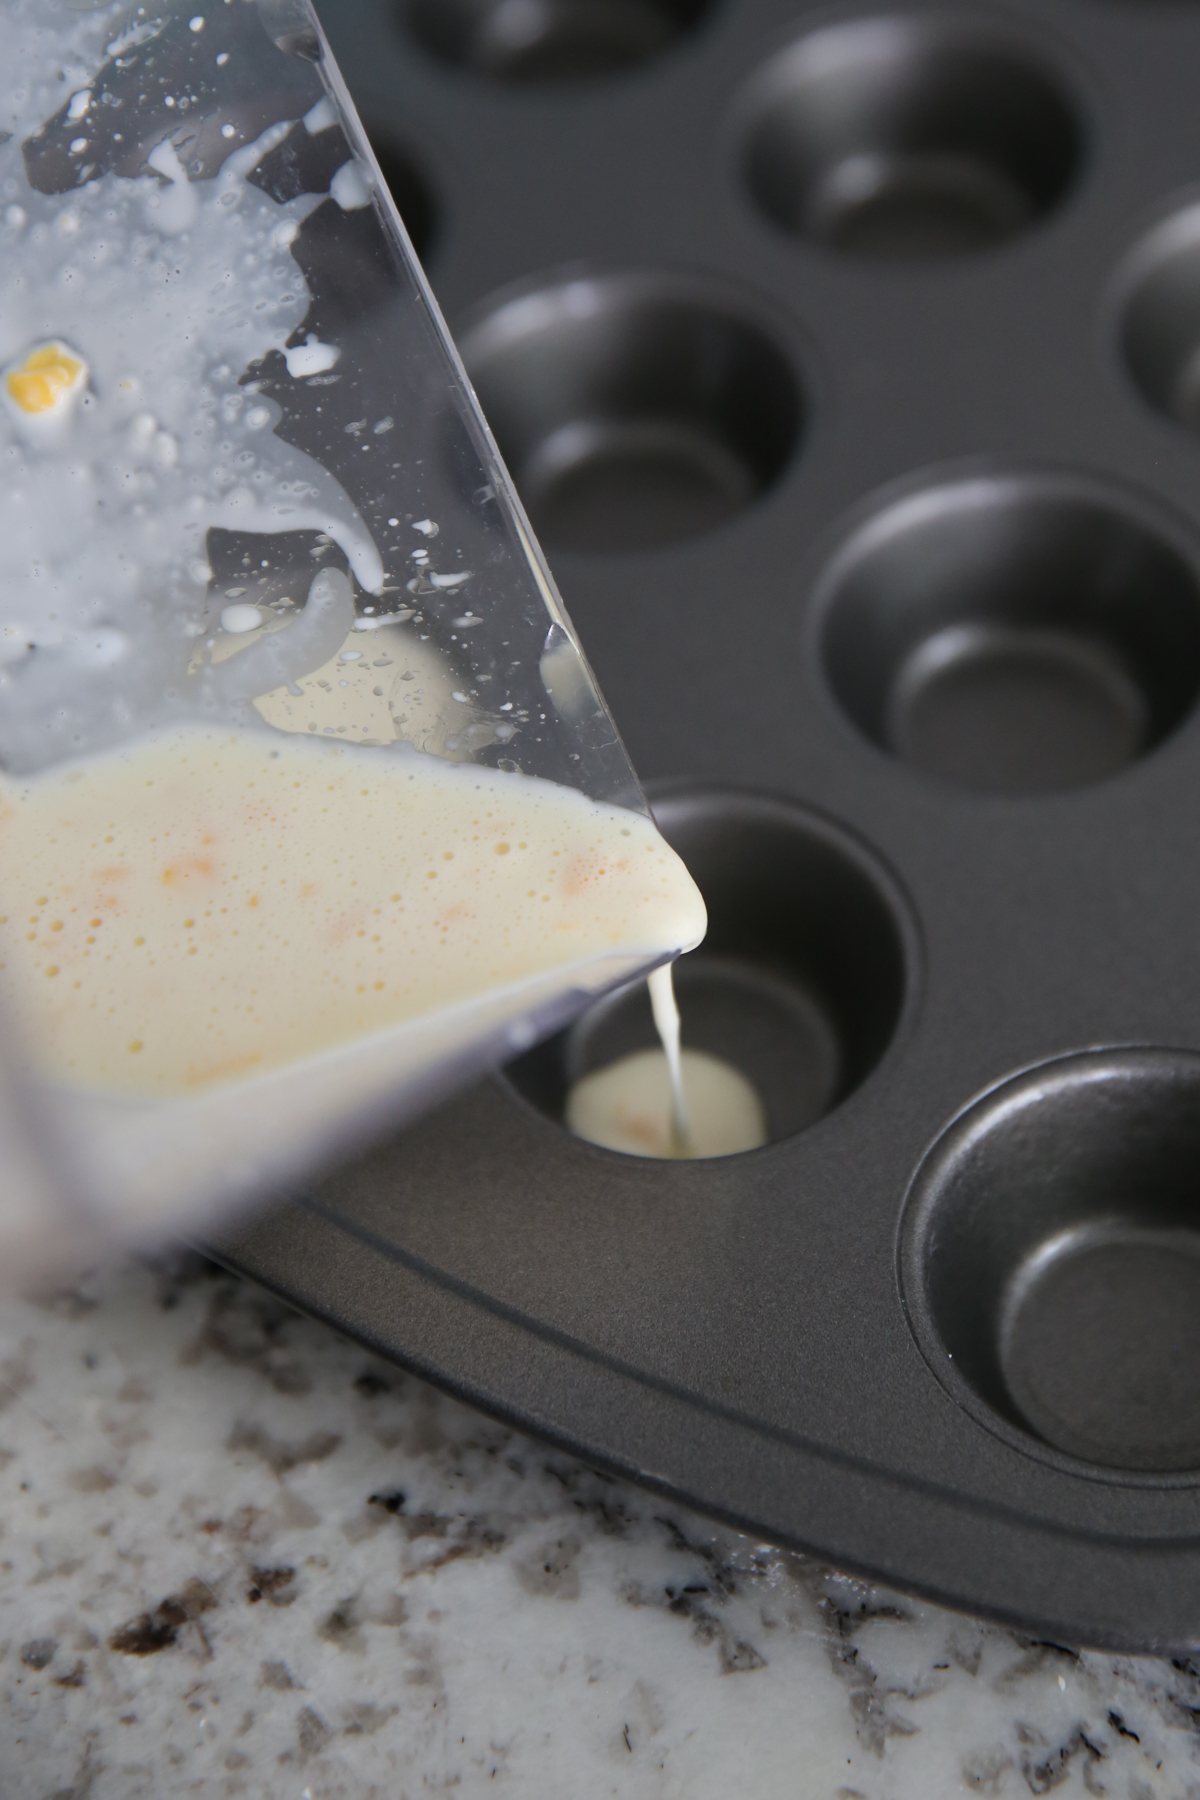
- Put all ingredients except cheese in the blender and blitz it up!
- Add cheese and pulse just a couple times
- Quickly pour into prepared muffin tin (I say quickly, so cheese stays distributed.
- Optionally, you can sprinkle a little more cheese on top
- Bake until puffed and just barely golden.
- They’ll be a little crispy on the outside and soft, airy, and tender on the inside. Almost a little chewy. Some of them are even kind of hollow. This version is definitely less dense than the kneaded dough variety. The yield is anywhere from 16-24 rolls, depending on how full you fill your muffin pan. I fill mine pretty full (a good 3/4 full) and I generally get about 16-18.
TRADITIONAL METHOD
Pay attention to the photos and my explanation here, because while I have made these a ridiculous number of times over the years, the finished dough, with the exact same ingredients and measurements (even weighed to be sure) often turns out with completely different consistencies. And it’s okay!
- First you’ll heat your milk and oil on the stove until just simmering.
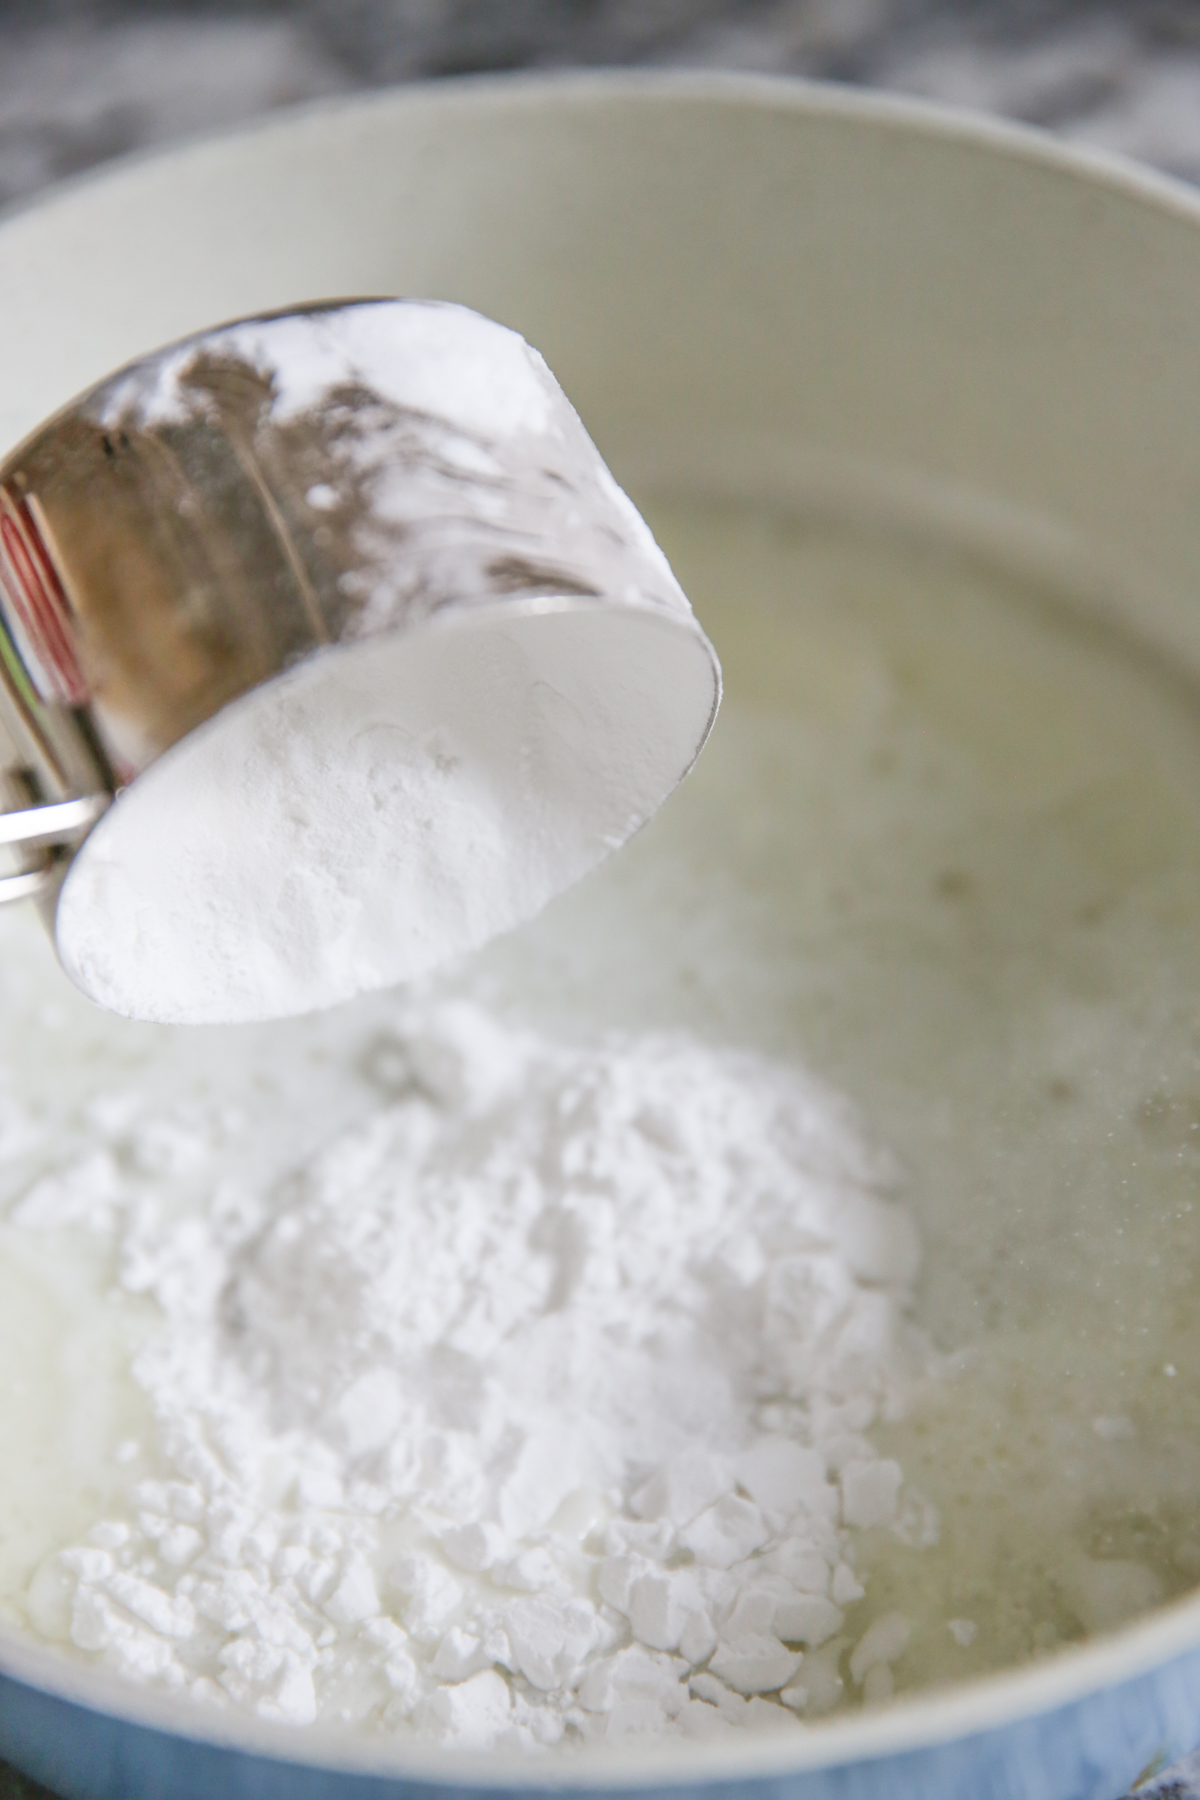
- Then you’ll add this to your tapioca flour. You’ll notice in the photos below, I’m adding the flour directly to the pot, but often I put the flour in my mixer, and pour the hot liquid over it and that’s fine too.
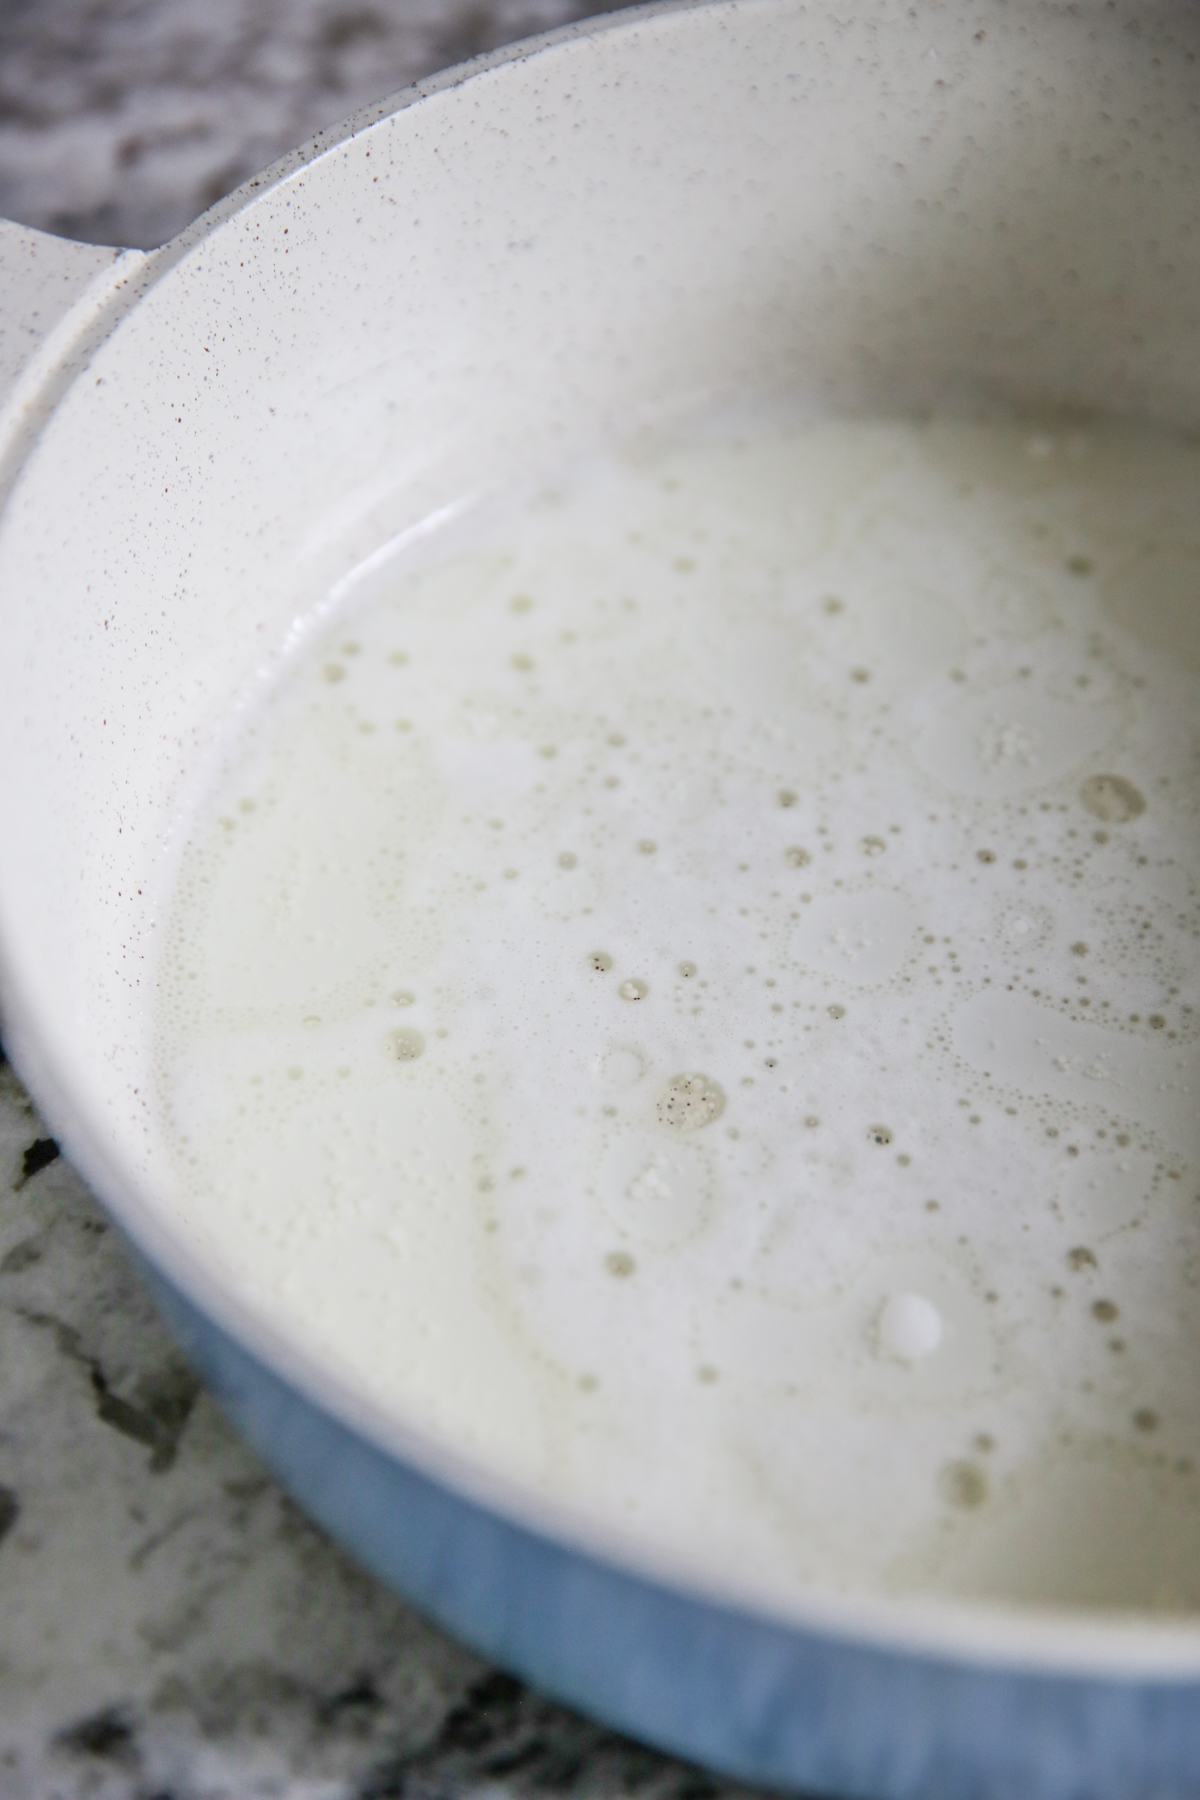
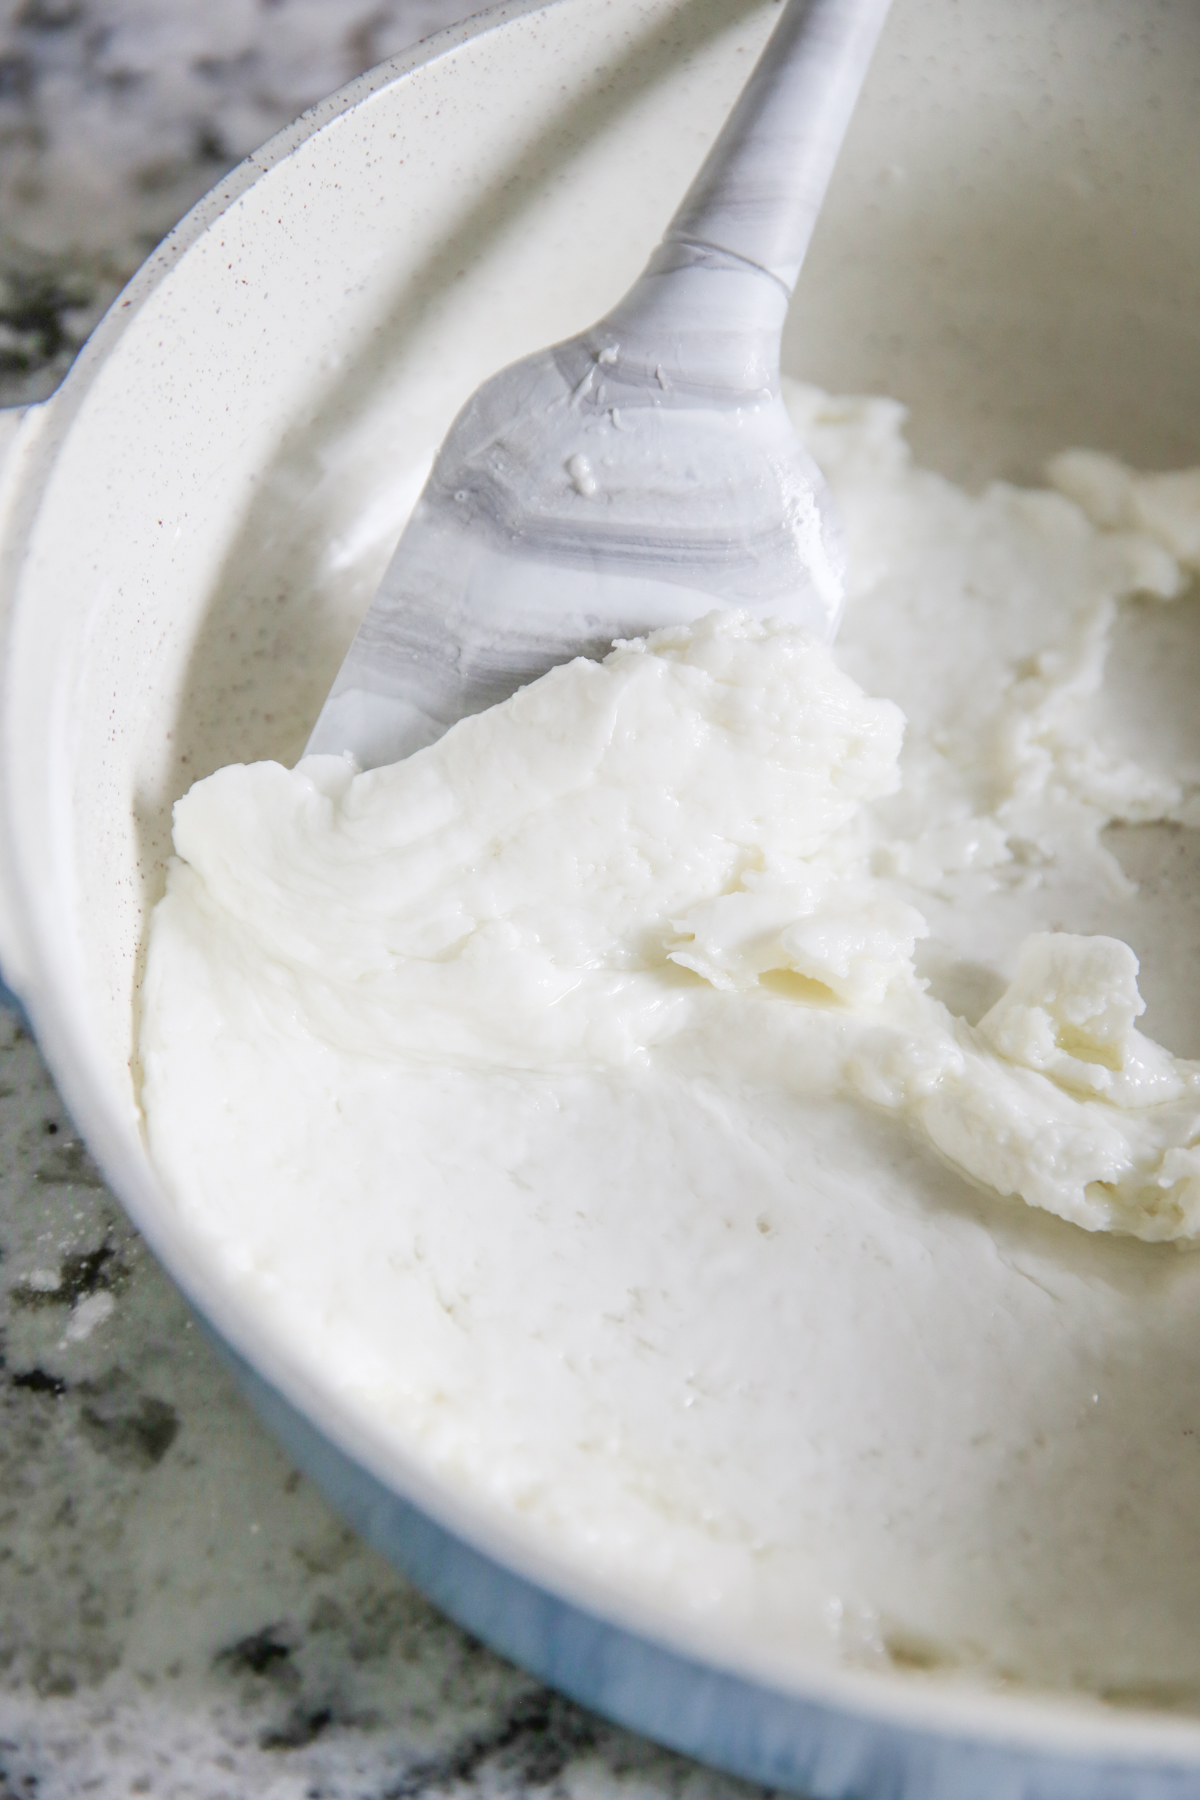
Here’s where it gets interesting. Sometimes this mixture comes out smooth and silky like playdough. Other times it’s crumbly like wet sand. You’ll notice the smooth version in the pan below left, and the crumbly batch (with the egg on top) on the right. The lack of consistency has driven me crazy for years, but after trying other people’s recipes and encountering the same thing, I think it’s just part of the fun haha. I know that different brands of tapioca flour have different levels of absorbency, but even with the same bag of flour, I find this still happens, so now I just go with it. Bottom line- either of these outcomes is okay!
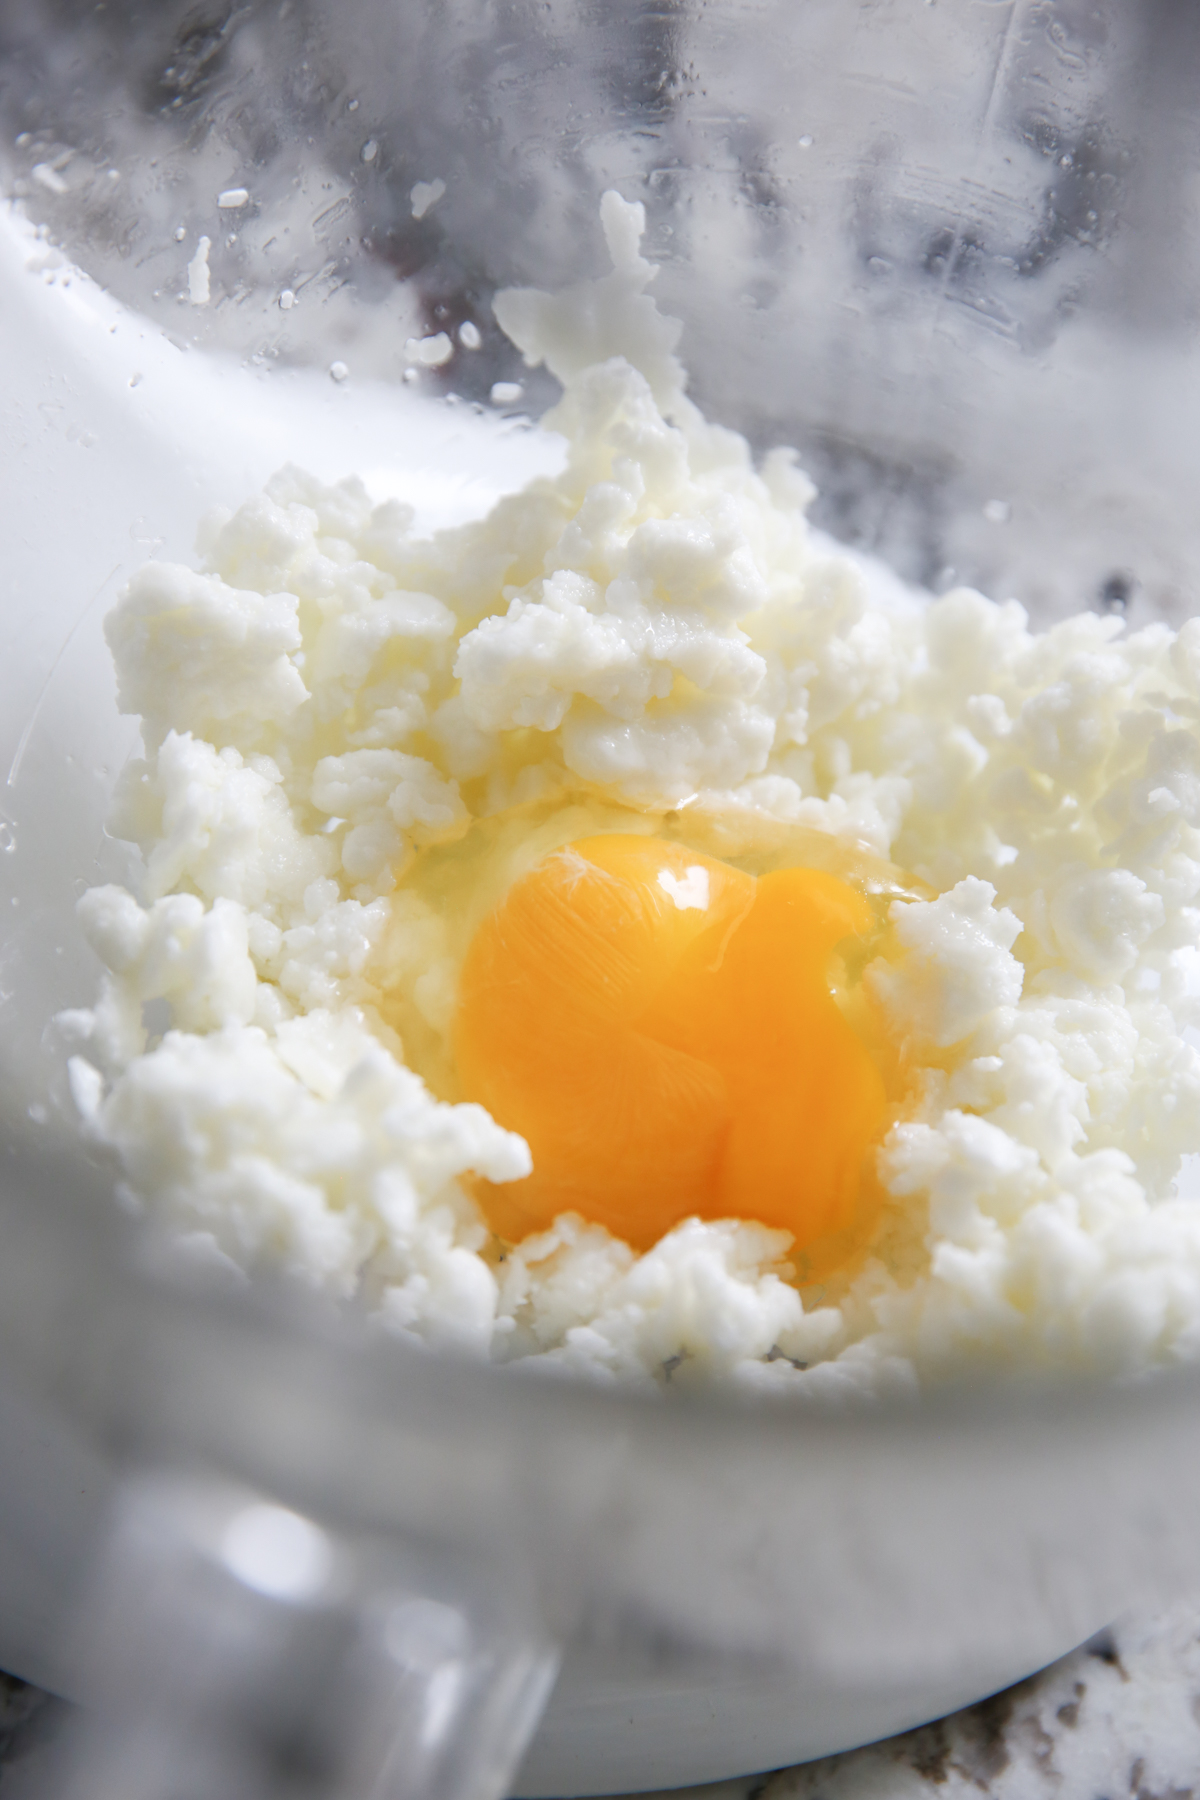
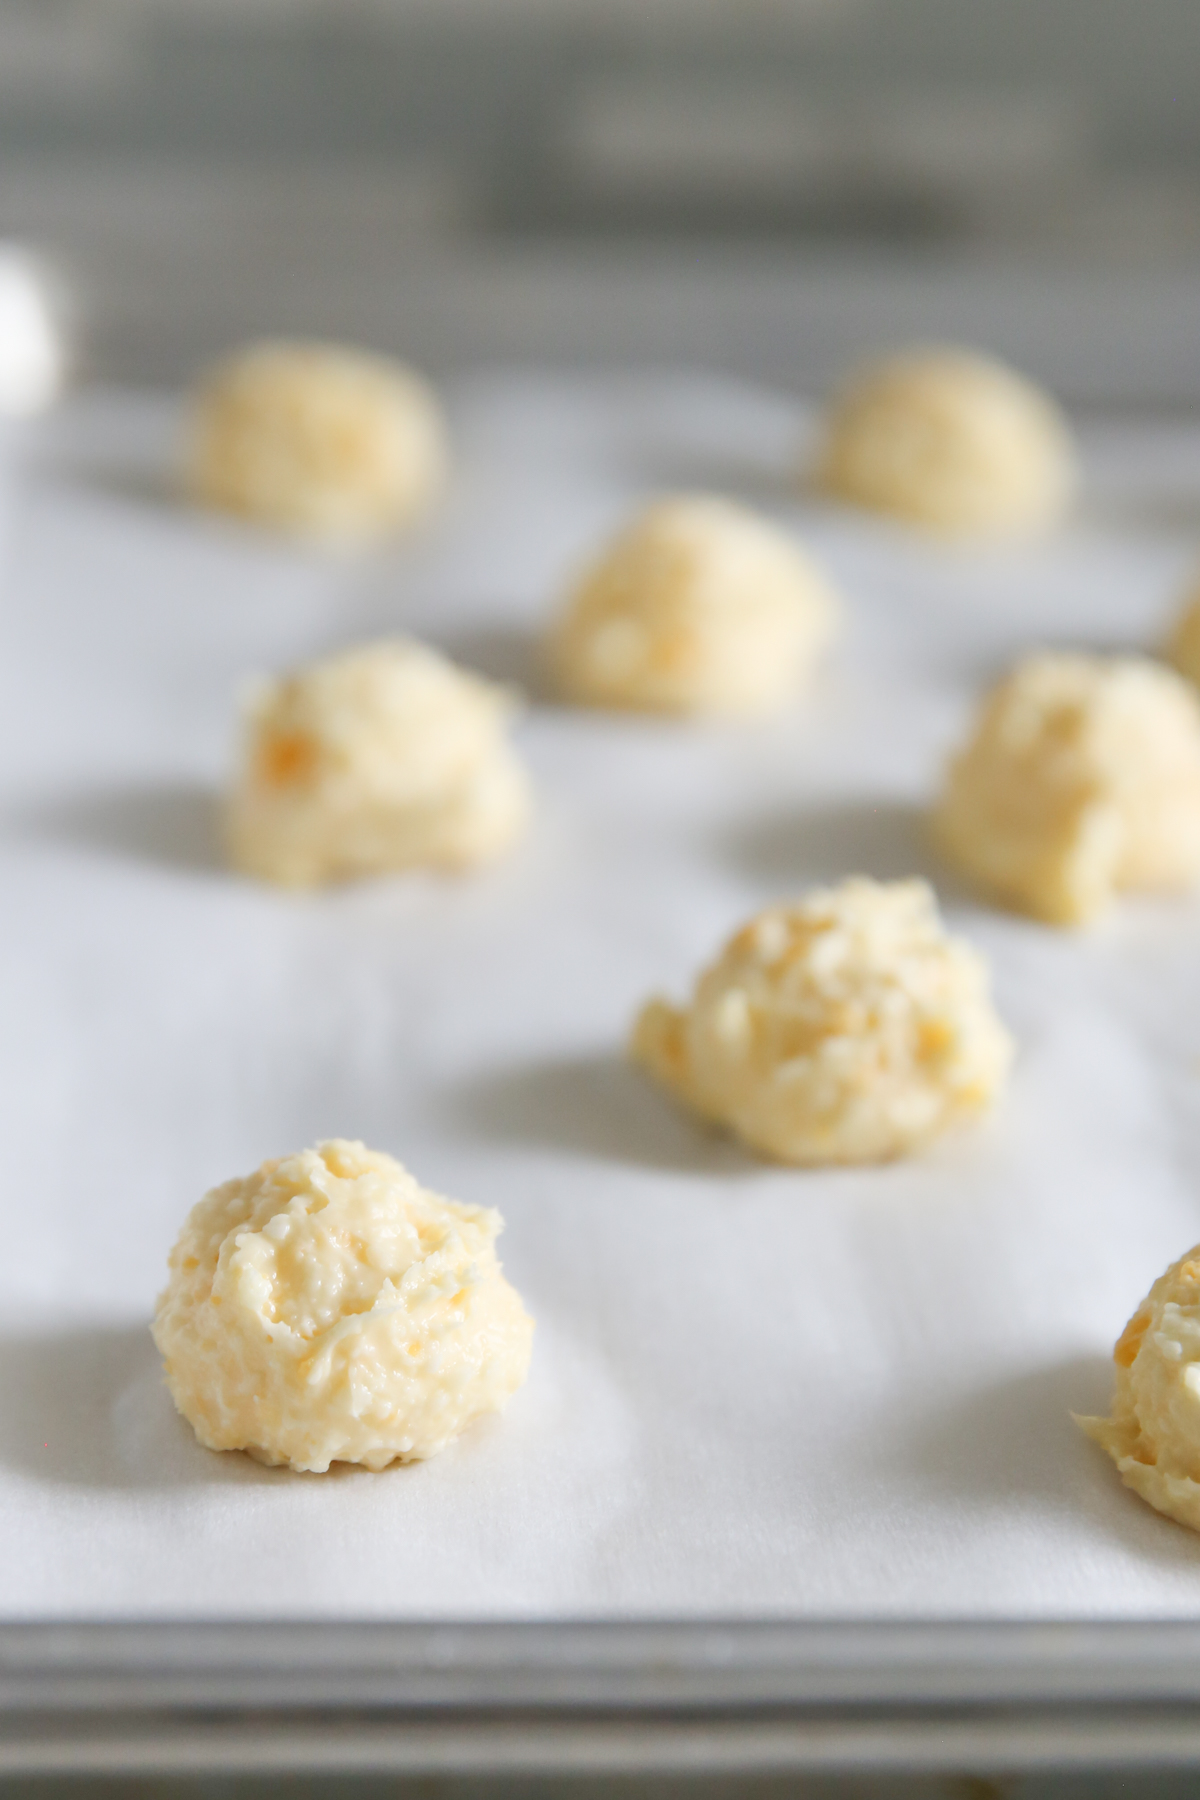
3. The next step is beating in the egg, and then the cheese. Ideally, your mixture should look like a wet cookie dough:
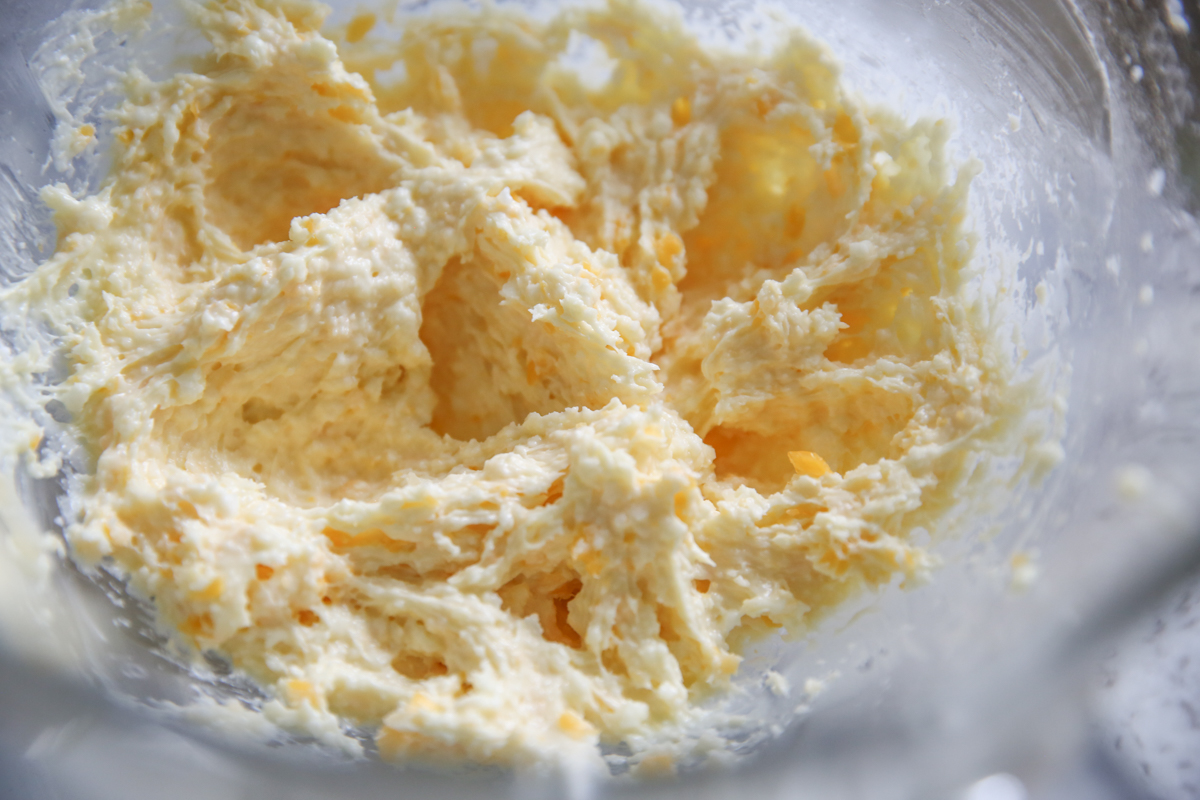
4. You can then use a cookie scoop to drop it on a baking sheet and bake until puffed and golden.
SOS!
But let’s say your batter is super runny! There’s no way it will hold its shape. Guess what? Happens to me too! Sometimes it just does that. No problem! If it’s just slightly too wet, you can simply add a bit more tapioca flour and even a bit more cheese. If it’s really loose, simply spoon your batter into a muffin tin (mini OR full size) as opposed to the baking sheet, and they will bake right up and be absolutely delicious. They’ll be a little crispy on the outside and soft, tender, and chewy on the inside.
The yield is anywhere from 16-24 rolls, depending on how full you fill your muffin pan. I fill mine pretty full (a good 3/4 full) and I generally get about 16-18.
Frequently Asked Questions
- Can these be made ahead? These are best eaten fresh, but you can absolutely make the dough/batter ahead of time. With the traditional method, refrigerate dough in an airtight container for up to 2 days. Chilling also helps it set up if it’s a little runny.
- Can you freeze Pao de Queijo? The baked breads aren’t as good after freezing, but if you use the traditional method of preparation, you can scoop the dough onto parchment and then freeze. Place frozen dough balls in an airtight container or zip top back for up to 3 months. Bake from frozen, adding a few minutes onto baking time.
Brazilian Cheese Rolls | Pao de Queijo
- Total Time: 30 minutes
- Yield: 16
Description
Traditional Brazilian cheese bread. These little rolls have a unique texture as they are made with tapioca flour. They’re chewy and flavorful and a perfect snack or side! This recipe includes 2 different methods to make them.
Ingredients
- 1/2 cup milk
- 1/4 cup canola oil
- 1 cup tapioca flour (sometimes labeled tapioca starch) no substitutions
- 1/2 teaspoon kosher salt
- 1 large egg
- 1/4 cup grated cheddar cheese (preferably medium or sharp)
- 1/4 cup grated Parmesan cheese
- Optional: extra cheese to sprinkle on top and any herbs/flavorings you’d like to add. Try rosemary and or garlic powder, my favorites!
Instructions
Quick Blender Version:
- Preheat oven to 400 degrees. Spray a mini muffin tin with non-stick spray or rub with butter.
- Place egg, milk, oil, tapioca flour, and salt in blender and blend until smooth. Add cheeses and pulse just a couple times.
- Immediately pour batter into a mini muffin tin , filling each well about 3/4 full. If desired, sprinkle a bit of parmesan cheese on top.
- Bake for 15-20 minutes until puffed and golden. Remove from oven and cool for a few minutes before removing rolls from pan. Serve warm.
Traditional Method
- Preheat oven to 400 degrees. Line a baking sheet with parchment paper, or* spray a muffin tin with non stick spray or rub wells with butter (*see note).
- Place milk and oil in a small pot and heat until just simmering and remove from heat.
- Place tapioca flour and salt in a mixing bowl and pour hot milk and oil over top. Beat to combine.
- NOTE: At this point, your mixture might look crumbly and grainy, this is okay.
- Beat in egg.
- Add cheese and beat to combine.
- Scoop dough into balls (I use a cookie scoop, you can do any size you like, I aim for golf ball size) onto parchment-lined baking sheet* and bake until puffed and set on the outside, just slightly golden. Time will vary depending on size, but usually around 15 minutes.
- *NOTE: I’ve made this recipe a million times and have found at this point, sometimes the finished dough is scoop-able like cookie dough, and other times it’s kind of runny like thick pancake batter. Tapioca flour differs in absorption levels and this isn’t unusual. If your dough is not scoopable, you can always add a little bit more flour. But what I usually do is just bake the mixture in a muffin tin as opposed to a baking sheet. They still turn out great!
Notes
- *Tip: You can play around with the cheese. I’ve used Monterey Jack, low-moisture mozarella, swiss, and even gruyere in place of the cheddar. All great- sharper, stronger cheeses will make for a more flavorful roll.
- Keep in mind, these actually don’t re-heat well, so I recommend making and eating fresh.
- Prep Time: 5-15 minutes
- Cook Time: 15-20 minutes


Questions & Reviews
I love these cheesy ‘gems’. If there are any left the next day slice them in half horizontally and toast them using a toaster or toaster oven. They taste almost as good as freshly baked. Enjoy!
I tried these cheese rolls at a Brazilian restaurant and I’m so glad I found this recipe! It tastes exactly like the one I tried for the first time! It’s easy to make and always a hit. Thank you!
Due to having numerous food intolerances, I had to make this dairy free. Thankfully it was already gluten and soy free. In case anyone else is interested, I substitute non-dairy milk (almond, cashew or coconut) for the milk, olive oil for the canola oil, and daiya vegan cheese for the cheddar. I’ve even added some nutritional yeast in place of parmesan. I still think they are delicious, as does the rest of the family. Thanks for the recipe!
I am so mad that I found this recipe, and that it was so easy and delicious!
Now I’ll probably be making this weekly…damnit!
And I already made them again… They were eaten within seconds…I think I’m going to attempt to make them in a full sized cupcake pan next to see if I can make bigger ones, maybe like popovers for Thanksgiving! I only have one mini pan with 12 muffins, and this recipe makes 2 1/2 trays. I just don’t have the patience to wait for all to be made before eating them…
I’ve had the frozen version of this dozens of times. I masde this tonight and will never buy them frozen again. I freaked out a bit because it was liquidy from the blender, but puffed up beautifully! My boyfriend who prefers food “with gluten” as he says, LOVED these! I’ll defiantly make again! Thanks!
I don’t usually comment on these threads, but just had to say thank you for this recipe! I had tried the Brazi Bites brand and thought they were just ok but way overpriced, and I searched for a easy homemade version and found this. I have since made it over 10 times at least. And no matter how accurate my measuring has been or (more likely) not been, the end result turns out pretty great. I haven’t tried adding the herbs yet, but have tried all sorts of cheese combinations, using whatever I have on hand. Today’s version featured a bagged shredded Mexican blend…tastes great as usual. I love that you can experiment with all sorts of flavor combinations with this easy recipe! I should add I’m not much of a cook, but this one turns out great for me. I have never been to Brazil, so I have no idea how “authentic” these are, but I don’t care about that. I will say not everyone in my family cares for these, might be more from the texture than taste (I describe these as having a mochi-like consistency/chew…but they are also really airy too), but that just means more for me! 🙂 It’s embarrassing to admit it, but I can easily eat half a batch of these all by myself! Anyways, long story short, thanks for a great, yummy, easy recipe!!!
Um, not embarrassing at ALL – I can totally eat an entire batch! I’m so glad you loved these!
I am going to try this recipe, but the one I got from my Daughter-in-Law (born and raised in Brazil) is delicious and easy. It is a thicker dough, and I can roll it in my hand and bake on a cookie sheet or freeze them to bake later. They are just as good frozen, then baked, but like you said, are best warm out of the oven.
The recipe is:
1 cup of Tapioka flour
1 egg (beaten)
12-18 oz of Queso Fresco (white Mexican cheese) shredded or broken into sm pieces
Mix all together, knead, roll into balls (size of quarter)
Bake @ 350, 10-15 minutes,
or freeze for baking later.
I made these for a Brazilian Carnaval celebration. I’ve never had them before, but I was told by several native Brazilians the recipe is spot on! Thank you for sharing a delightful new tradition!
So I just made these, and the flavor is just fantastic!!! These are totally on point but I’m afraid I’m going to eat them ALL!!! LOVE THIS RECIPE!!!!!
Hi one of my favorite restaurants in the world is Brazilian all because of the cheese bread! I was never able to find out how to make it. I found your recipe on facebook and I was so excited!! I got the ingredients and followed the recipe to a T. So amazing!!! So light and just like I had at forgo de chao!! Thankyou!! I found that some of your people that commented had trouble with the batter rising try bringing all the cold ingredients to room temperature that seems to help. Also spray tin with Pam and put flour in blender last. Thankyou!!!!
I know you said NO subs on the flour ? But I gave it a try with potato starch because I have it on hand…they taste like they should but are just a little heavier, but still maintains the right taste IMO. If I were somewhere that I couldn’t find tapioca starch I would make them like this again…love all of your recipes!
Good to know!
I LOVE these!!! If you sub oil for melted butter they get a little flaky…it is a great variation!!! Thanks so much for the simple recipe!
I made these today and they are so delicious. Thanks for the recipe. Has anyone substitute the canola oil with butter?
So I’ve attempted this three times! The first time was with the boiled milk and cooked dough and made them by hand. They didnt come out too bad, a little large. The other two times i tried the wet batter. The biggest issues I have is that they come out too oily and then they flatten out immediately and they look like flat gummie cakes. ive seen recipes with baking powder, not sure if that makes a difference. I’m going to try less oil this time too. The oil starts dripping off the pan.
Hello,
I am going to make these little bites of goodness for my daughter’s ‘Around The World’ school event that they are having. She’s representing Brazil this year. I bought Queso Fresco today to use as my cheese, as my sister, who was just in Brazil, said that is the cheese they always use in these bread balls. BUT, I can’t find a recipe that actually uses it!! Any opinion you have on this would be helpful! Just want to make sure I make them as authentically as I can!
Thanks!
Sarah
Sure, that would work, however I would also include some cheddar or Parmesan in there just for flavor. Can’t really mess up, any mix of cheese is good!
I tried this recipe tonight and the breads didn’t rise, they just kind of sunk in the middle. Have you ever had that problem?
Yep, it’s not abnormal. They usually puff while baking and then sink as they cool.
Love this recipe. Thanks for sharing! 🙂
ok… just finished eating the first batch and we are waiting for the ones in the oven. Crazy good!I have played a bit with the recipe but not too much: I replaced canola with rice bran oil and I have added dried basil, dill and sesame seeds…. I think the seeds were in fact, the cherry on top!…
My hubby is very picky, but he decided: you should only make these from now on!
Thank you!
Love this!
Thank you so much for sharing this!
How wonderful Brazilian cheese bread can expand without yeast or baking soda,this is magic otherwise someone can explain the reason why and how,regards.
How wonderful Brazilian cheese bread can expand without yeast or baking soda,this is magic or perhaps someone can tell me the eason why,regards
I have made these rolls many times and I love them. I have to eat gluten free along with two of my daughters. These rolls are so easy to make and they only take one flour. Many other recipes take several flours. Thank you for this recipe and all the other recipes you post.
Delicious! Thank you SO much for posting this heavenly recipe! I love how quick and easy this is and yet still so yummy! Takes me right back to Argentina! I found the tapioca flour in bulk at Good Earth in Utah for only a little over a $1/lb.
Love this recipe. I’ll add chopped jalapeños to the batter to add some spice. Very tasty. My coworkers at work cannot get enough when I make them.
I’m a professional chef and I looked at this recipe and said to myself “No way will these turn out right.” Tonight, I ate my words. (And 5 pao de queijo)
Have you ever made the batter a day ahead?
Oh, YUM! My 6 year old has Celiac Disease and I never make breads from scratch, but this was easy enough – with all ingredients on hand – that I HAD to try it! I panicked the first time and added extra tapioca – my mistake! Second time, I stuck with the recipe and it was GREAT!! (even the first time my older son and I ate the tough, chewy puffs anyway, LOL) I’ve seen alternative versions that are harder to make and also ones that are stuffed with ham or other ingredients. I like the simplicity of this, but I may add to it if I’m feeling daring. THANK YOU for a FABULOUS and EASY recipe! It’s harder to say this than to make it! 🙂
Loves this recipe! QUESTION: Can we make the dough and keep it in the fridge over night? So we can make the pão de queijo in the morning? Thanks!
Super, super delicious. I made them in a regular muffin pan and while I loved them, I definitely need to pick up a mini muffin pan because they came out a lot more gooey than yours did.
I’m curious how these will hold up the next day? They sound fantastic and I’d love to make them for a World Cup party here at my office this summer, but I’d have to make them the night before and reheat the day. Would they still be good the next day?
I think they’re probably best fresh. If I were you I’d test it out and see. Make some and save a few for the next day 😉