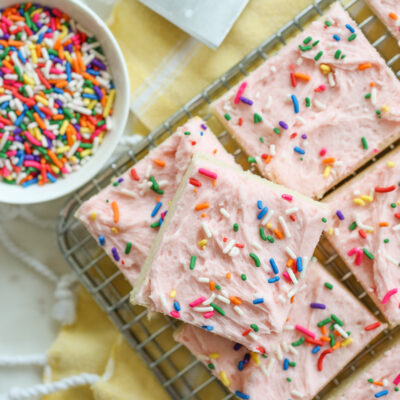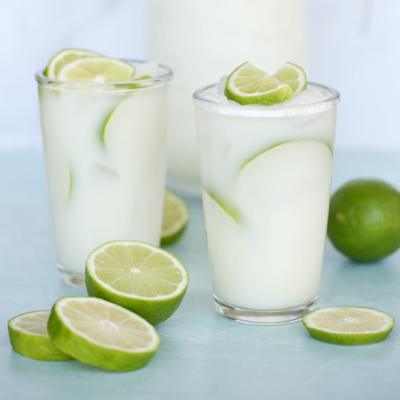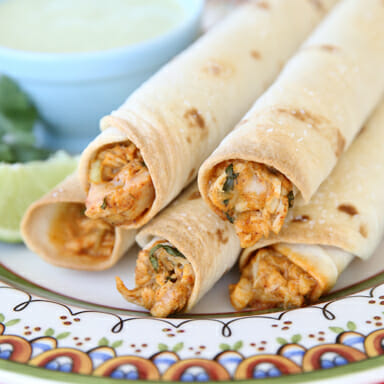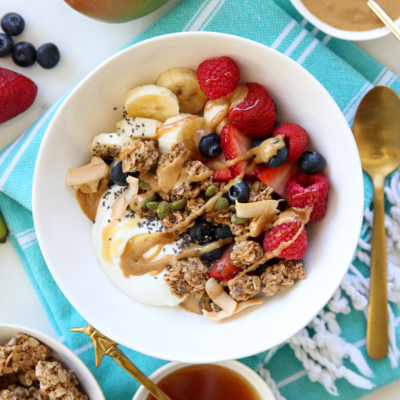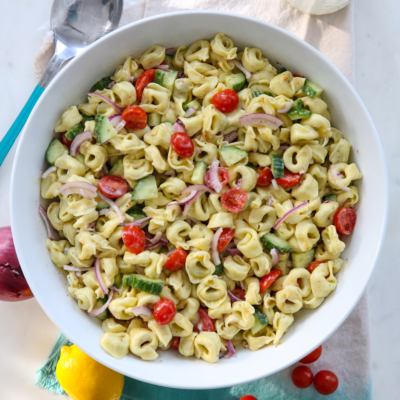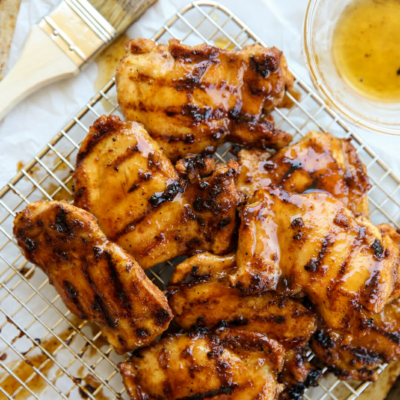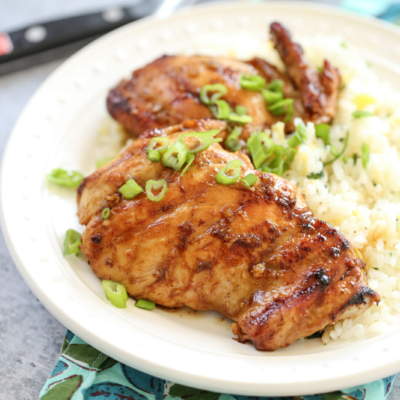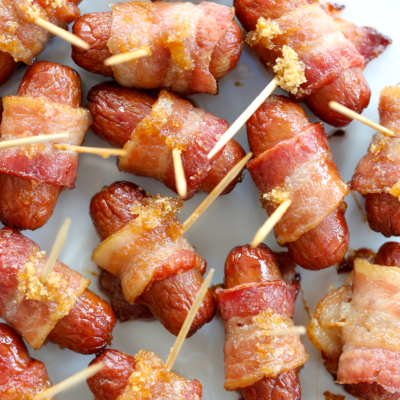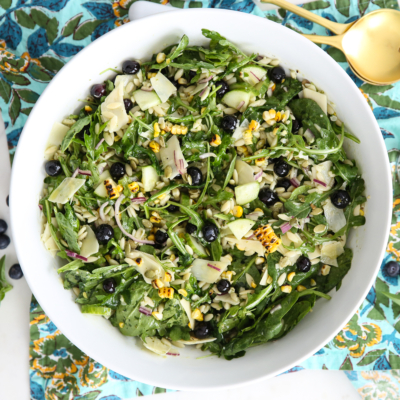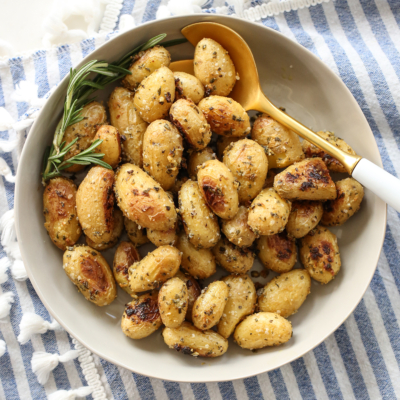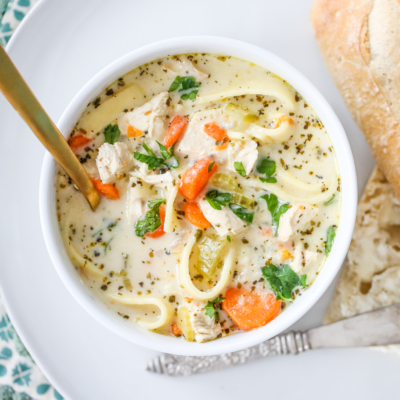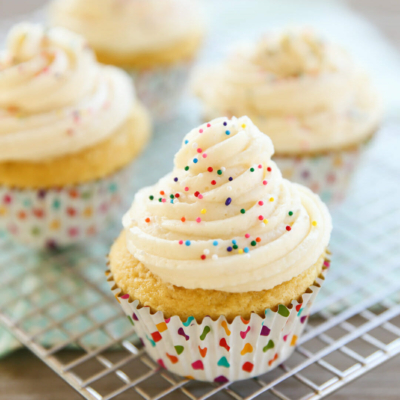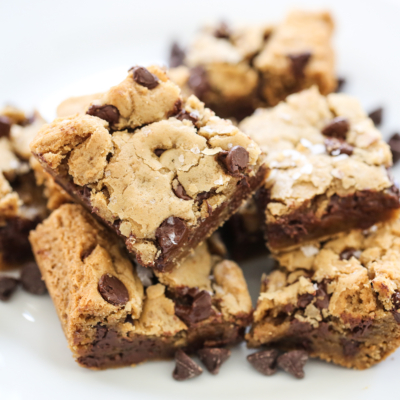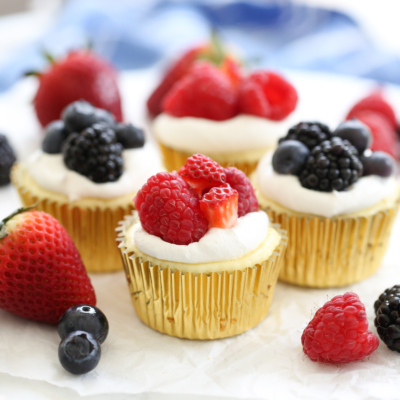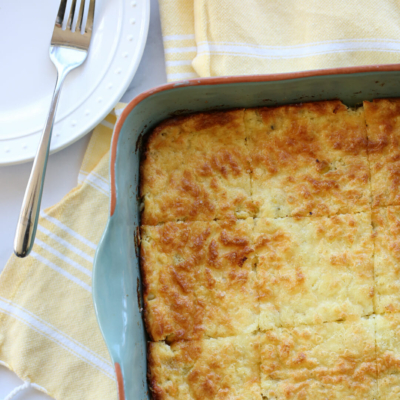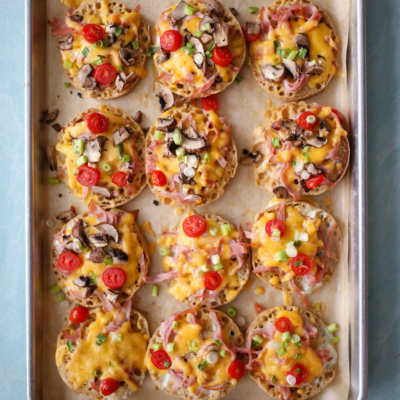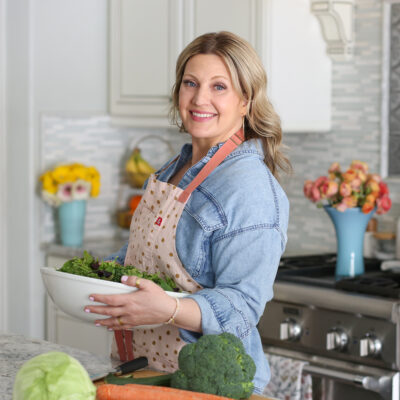
Do you ever do special things on your birthday like kick your feet up, go on a laundry strike, and refuse to cook anything that day?? Well today is my birthday (the big #3-1 if you’re wondering) and because of that I’m taking a break from cooking (and let’s be honest, I always suck at the laundry so nothing new there) so we’re going to talk pictures!
We get a lot of emails asking questions about photography so I thought I’d just answer them all right here so I don’t have to keep re-writing it! Let me start by saying that I feel kind of silly writing a post like this because I’m relatively new to this photography thing. So let it be known right now (all you photog’s listen up) that this isn’t an “I’m really good at this so let me teach you” kind of post, but rather a “You keep asking so I’ll show you exactly what I do” kind of post. Got it? I’ve only been using a DSLR for less than a year and I’m completely self-taught, so keep that in mind! That being said, I’ve found food photography to be a unique niche that I really love so I’m constantly reading tutorials on other blogs in order to keep learning and improving. And without drawing attention to some of the long-lost posts on this blog, Kate and I have both really improved since we started this two years ago! So maybe we can help give some tips for anyone else out there trying to photograph food.
I’m going to specifically answer the questions we get asked the most so here we go.
What kind of camera do you use?
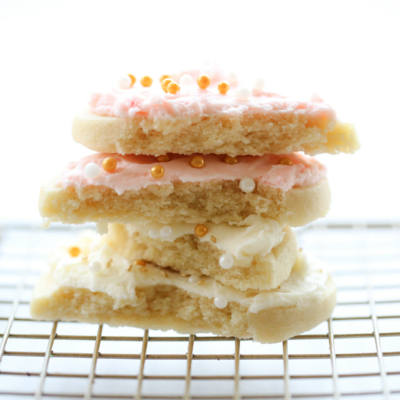
The posts on this blog vary because there are two people taking pictures and we’ve each been through a couple of cameras since we started the blog. Currently, I (Sara) use a Canon 40D with a 50mm f/1.8 lens. When I first started researching DSLR cameras and lenses it was pretty unanimous that for food photography, that lens was a must. And I love it. However, know that you don’t necessarily need DSLR to get good pictures. Before my Canon I shot with a Panisonic Lumix TZ5 (a point and shoot) and it got great pictures. Kate uses a Samsung SAC-41 and gets great shots as well (just look at these cute cookies!)
Do you edit your photos? What program do you use?
I use Photoshop Elements, and with food pictures I only do minor editing. I hate it when I go to a food blog and the food has been shot so artistically that you can’t even tell what it’s supposed to really look like. So I edit mainly to adjust lighting issues and remove stray crumbs 🙂
Do you have any advice for shooting pictures of food?
Here are a few tips for basic food photography, no matter what type of camera you have. And this is assuming you are just the average person without fancy lighting or photography equipment. Keep in mind there are always exceptions, these are just general guidelines.
1. Use natural light. Don’t use a direct flash. It will just reflect off the food and make it look greasy and unappealing. Indoor kitchen lights will often cast an orange/yellow glow to your pictures so be mindful of that and avoid them if you can, or at the very least combine them with natural light. Choose a place next to a window where you get natural, yet indirect light. Basically you don’t want the sun shining right on your food.
When I take “prep pictures”- the ones where I show the steps during the recipe, I take them right where I’m working so I don’t waste too much time while I’m cooking. I have a relatively dark kitchen in the afternoon/evening so I take pictures right next to my kitchen window. Because it’s so close and the light can cast shadows on the opposite side of the food, I often prop up a little foam board to reflect the light back on to the food and lighten the shadows.
If you have a spot like this, you can place a sheer sheet or piece of vellum over the window to diffuse the light. I should probably do that, but it’s way too much work for me. I just want to eat my food!
I take almost all of my “final” pictures on my back porch. It’s covered, so the sun is never shining right on the photo area, but it’s nice and bright outside most of the day. Sometimes I put out a tablecloth or a piece of white vinyl down for a solid background, and other times I put it right on my table, like in this post. Below you can see I draped a table cloth over the table to shoot this Fresh-Squeezed Lemonade, and when the pale glass didn’t show up well enough against the yellow, I just propped up a green placemat behind it. If you have a few supplies, all you need to do is be creative and try different things and you can get a great shot!
Light: Light is an interesting thing, and probably the most important when it comes to photography in general. If it’s later in the day and the sun is already on the other side of my house, then pictures taken on my back porch have cool gray/blue overcasts. Or sometimes it’s just entirely too dark all together to get a good picture. I recently got this little Lowel Ego light and I love it.
It’s great for times when outside pictures just aren’t going to happen but I want to snap something. It’s relatively inexpensive and perfect for someone like me who doesn’t want some giant lighting set-up. Take the pics below for example.
These were both taken on my kitchen counter late at night (when it’s completely dark outside). The one on the right was with just my normal kitchen lights on. The one on the left was taken at the same time, but with all of my kitchen lights off and just the Lowell Ego light on. You can see how the right type of light makes a huge difference in the outcome of your picture.
Here’s another example. This one wasn’t so late at night so it wasn’t completely dark outside, I was just a little low on light inside and I needed a touch more. So the picture on the left was taken next to the window with natural light, but I combined that with the Lowel light. The picture on the right was taken outside on my porch at the same time. You can see the different looks you get from the two situations- both good pics, just different looks.
Styling: This photo brings me to my next point. Style your food! I had to put that in bold because I think this is one area that makes a huge difference. With food photography, it’s really easy to make good food look bad (and vice a versa!). Don’t just slap it on your plate to eat and snap a picture before. Take the time to place things aesthetically and think about color and composition.
Dishes: One of my favorite things about being a food blogger is that I have a reason to buy cool dishes. You know, the ones you see but don’t buy because they obviously don’t match anything you have and you don’t want to buy a whole set? Well if you take pictures of food, then all you need is one!
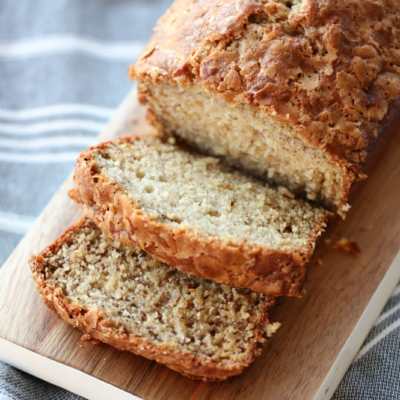
I love collecting cool dishes and it helps makes your food look more attractive. But you also don’t have to have a huge dish collection to take good pics. A plain white setting is always a safe bet.
Styling with placemats, napkins, utensils, etc. also helps. I have tons of placemats, but one of my tricks is to buy napkins.
They’re generally cheaper than placemats, and usually bigger too. I grab them when I see them on sale and then you can use them in pictures as either a napkin (like in this picture) or spread out as a placemat (used here) or propped up as a background like shown here. Of if you’re a seamstress, you probably have scraps of fabric around that will serve the same purpose. That’s what I used in this picture. I’ve been meaning to sew a table runner out of that!
I think that covers most of it. I hope it helps some of you out there who are learning more about food photography! And I have to give a huge thanks to two of my friends, Krista of Krista Faulkner Photography who completely held my hand and walked me through the process of buying a dslr camera and who answers all of my silly questions when I don’t know what I’m doing. Also my friend Nathaly who I often turn to when I’m too embarrassed to ask Krista something (like, um…I pushed a button on my camera and I don’t know what I did but everything looks funny. How do I fix it?) and somehow she always has the answer for me! I’m so glad I have talented friends!
Great hints! Thanks for sharing!
Great tips all of them. The hardest thing has been building up a collection of props…one day I'll get there:-)
happy birthday!!
Great info. I just put th light on my amazon wish list!
Allison–I didn't refrigerate mine and we were all okay, BUT I do think they taste even better when they're cold. So I'll probably pop mine in the fridge next time.
Hope that helps
Scott- make the egg mixture in it's entirety. (Cook it, add everything, etc.) Then you can either refrigerate just the egg mixture, or go ahead and roll them in the tortillas and refrigerate those.
Question about making the Lime-Chipotle Egg taquitos ahead of time… do you put the egg mixture in fridge BEFORE cooking or after cooking and adding all of the mix-ins? Thanks! You girls are amazing, thanks for all the inspiration! 🙂
So so so sooo helpful! Thank you for all the wonderful tips!!!!
Happy Birthday!
xxMK
http://delightfulbitefuls.blogspot.com/
Wonderful recipe and wonderful photos!! Quick question on the cream cheese and jam sugar cookies… would these need to be refrigerated if I didn't eat them all the first day???
Thanks for the BEST food blog!!
Thank you so much for these great tips! I just told my hubbie I want that light for my birthday next month. 🙂
I loved this post! I'm fairly new to the food blogging world (sadly no blog of my own yet) and I've been wondering how everyone gets such delicious photos. Your descriptions were perfect and the photo narrative spot on Thank you!
Great tips! My kitchen is in the exact middle of my house so there was no natural light before we put in a skylight. It is still limited. Plan to try some of your ideas!
Great tips!
Glad to hear I'm not the only one with a potato bug problem…thanks for your comment on my site today!
Hope you have had a super day!
~Jamie
I adore this post. I love food, food blogging, and food pix! 😉 Thanks for the little lamp tip. I put it on my wish list. I have the SAME camera and lens!
HAPPY BIRTHDAY SARA! Thanks for the photography tips too. You always take such great pictures. That's part of the reason I always love checking out your guys' blog. 🙂
I covet that light. Not that I take a ton of food pictures but wow, the difference in those pictures is awesome!
Happy Bday again!
HAPPY BIRTHDAY!!!!!!!!! I hope you have a great day 🙂
Mandy
Thank you so much for this post. I have my own itty bitty food blog and a point and shoot and I REALLY needed some pointers. I've occasionally gotten some good shots, but this post answered a lot of the questions I had.
And I'll be 31 on the 27th! Yikes!
Happy Birthday!! Loved the tips. Your food alwasys looks great.
awesome tips sara thank you!!
but most importantly – haaaapppyyy birthday!!!! 🙂
LOVED this post! Thanks for showing us pictures of what the setup looks like along with the actual pictures. So helpful!!
Great tips! thanks for sharing. Been hearing some good things about the Lowel EGO light – I really need to find a solution for winter photography and this looks like it could be it.
These are great tips! Just started my own blog and will definitely have to try them out! Thanks!
– Christina http://bonappetitbeantown.wordpress.com
love the vellum trick! i will try that!
What a fantastic post! Great tips – thank you for being so generous with your knowledge!!
🙂
ButterYum
Happy Birthday!!!!
Great info! good to get incite from someone who isn't a pro – everyday, normal people have simpler solutions and I like that! Thanks for sharing.
Happy birthday! Thanks for all the food and photo tips! I hope someone makes you a delicious cake (as the cake maker in my house I always have to make my own cake. Which is fine since I know it will taste good. But still.)
Thanks for the very informative and useful blog post. Happy Birthday!
Great tips and photos!
Happy Birthday to you – enjoy your day!
That lemonade looks fantastic!! I've been drinking up lemonade like its water these days, so I want that entire pitcher right now.
Great tips!! I prefer using placemats for my photos. You can actually find some cheaper than napkins. All of mine were 1 to 2 dollars each. I only needed one each. Napkins can be too frilly for my tastes. I'm a simple type of person. So, my advice for others is to just pick decorations that best suit your taste as long as they make the food look good.
Thanks again for these great tips!
I LOVE your blog! Thanks for sharing. We're birthday twins – todays my day too – the big 3-1! LOL Happy Birthday!